
This recipe makes a very dark chocolate flavor, but a lighter ice cream overall. Because it uses silken tofu in place of some of the coconut milk, the fat content is lower and the texture is slightly denser. The tofu also adds protein. This recipe has a bit less sugar than my typical recipes, and it churns super fast. Also included: bonus chocolate mousse!

Dark Chocolate Ice Cream (coconut milk and tofu base, vegan)
This ice cream is a very dark chocolate. I find it plenty sweet, but if you prefer something sweeter, feel free to swap the 100% unsweetened chocolate for a lower percentage or even milk chocolate.
Makes ~1 quart
Ingredients
Instructions
-
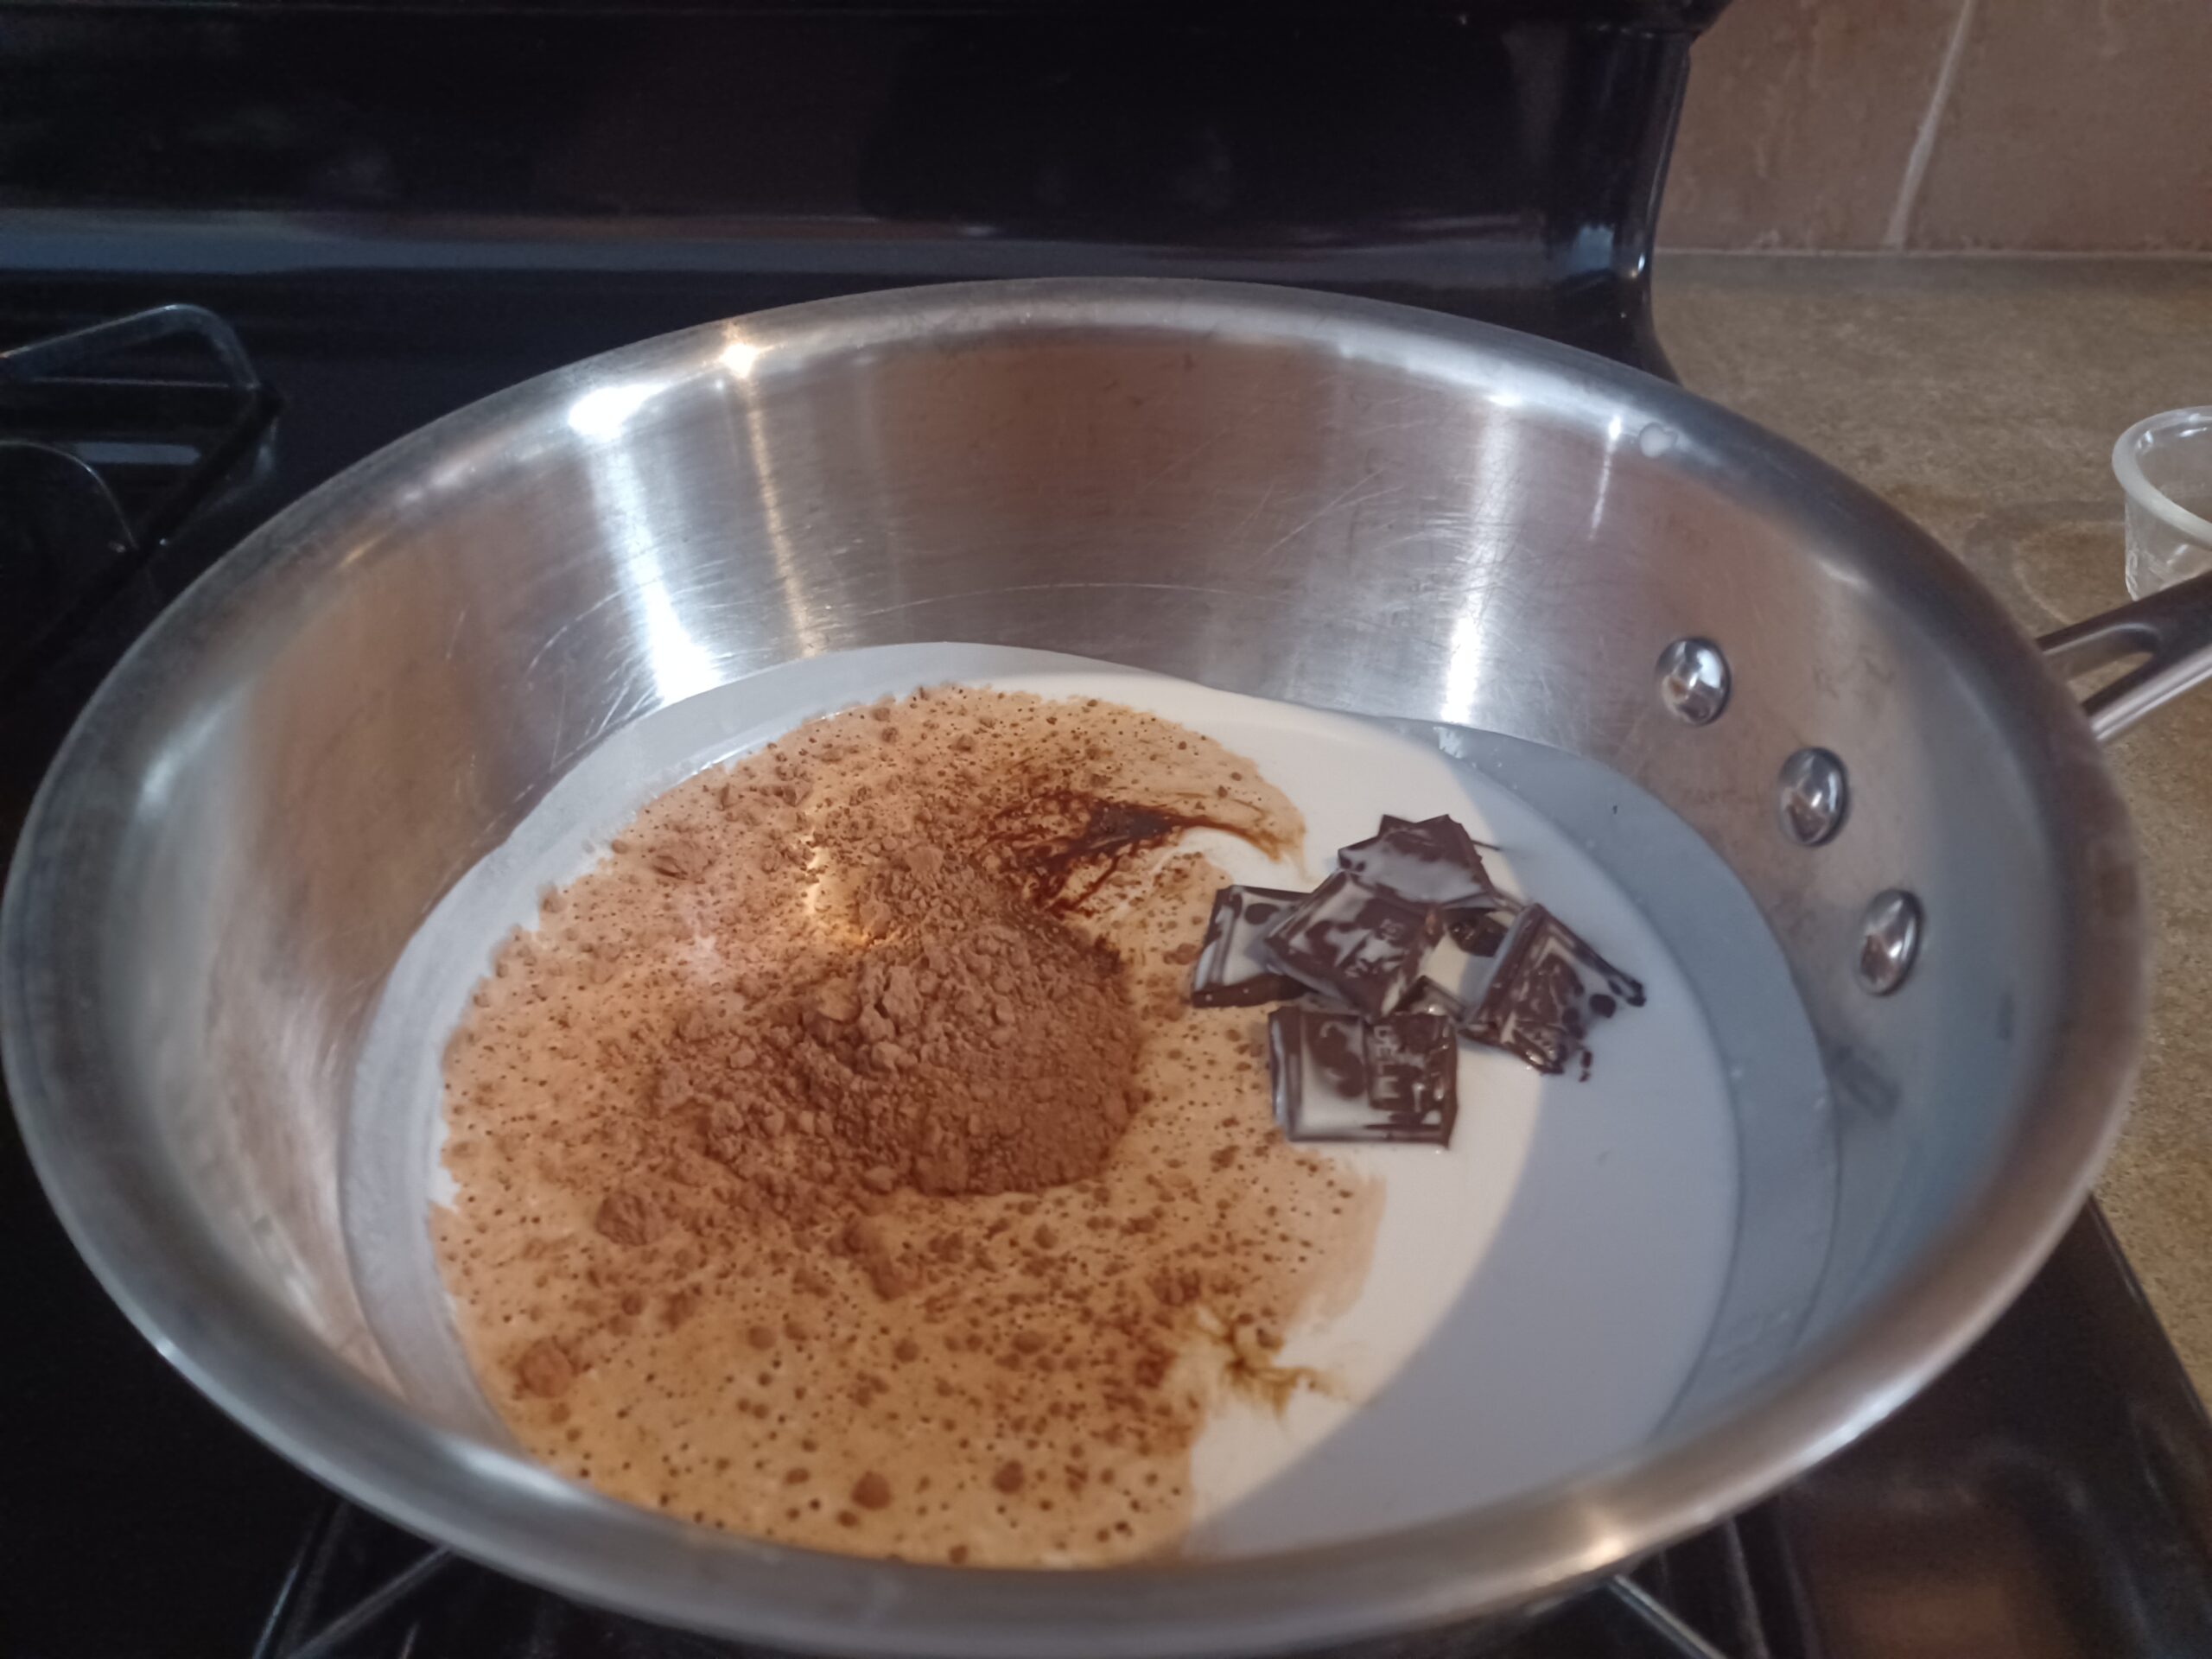
HEAT THE BASE TO MELT THE CHOCOLATE
In a large sauce pan on the stove over medium-low heat, gently heat the coconut milk, sugar, salt, chocolate, cocoa powder, and espresso powder. Stir frequently with a whisk to blend the ingredients and prevent the chocolate from sticking to the bottom of the pan. When the chocolate has melted and everything is combined, move to the next step. Don’t worry if you can still see some individual specs of chocolate at this point - that's normal. They'll be blended in later.
-
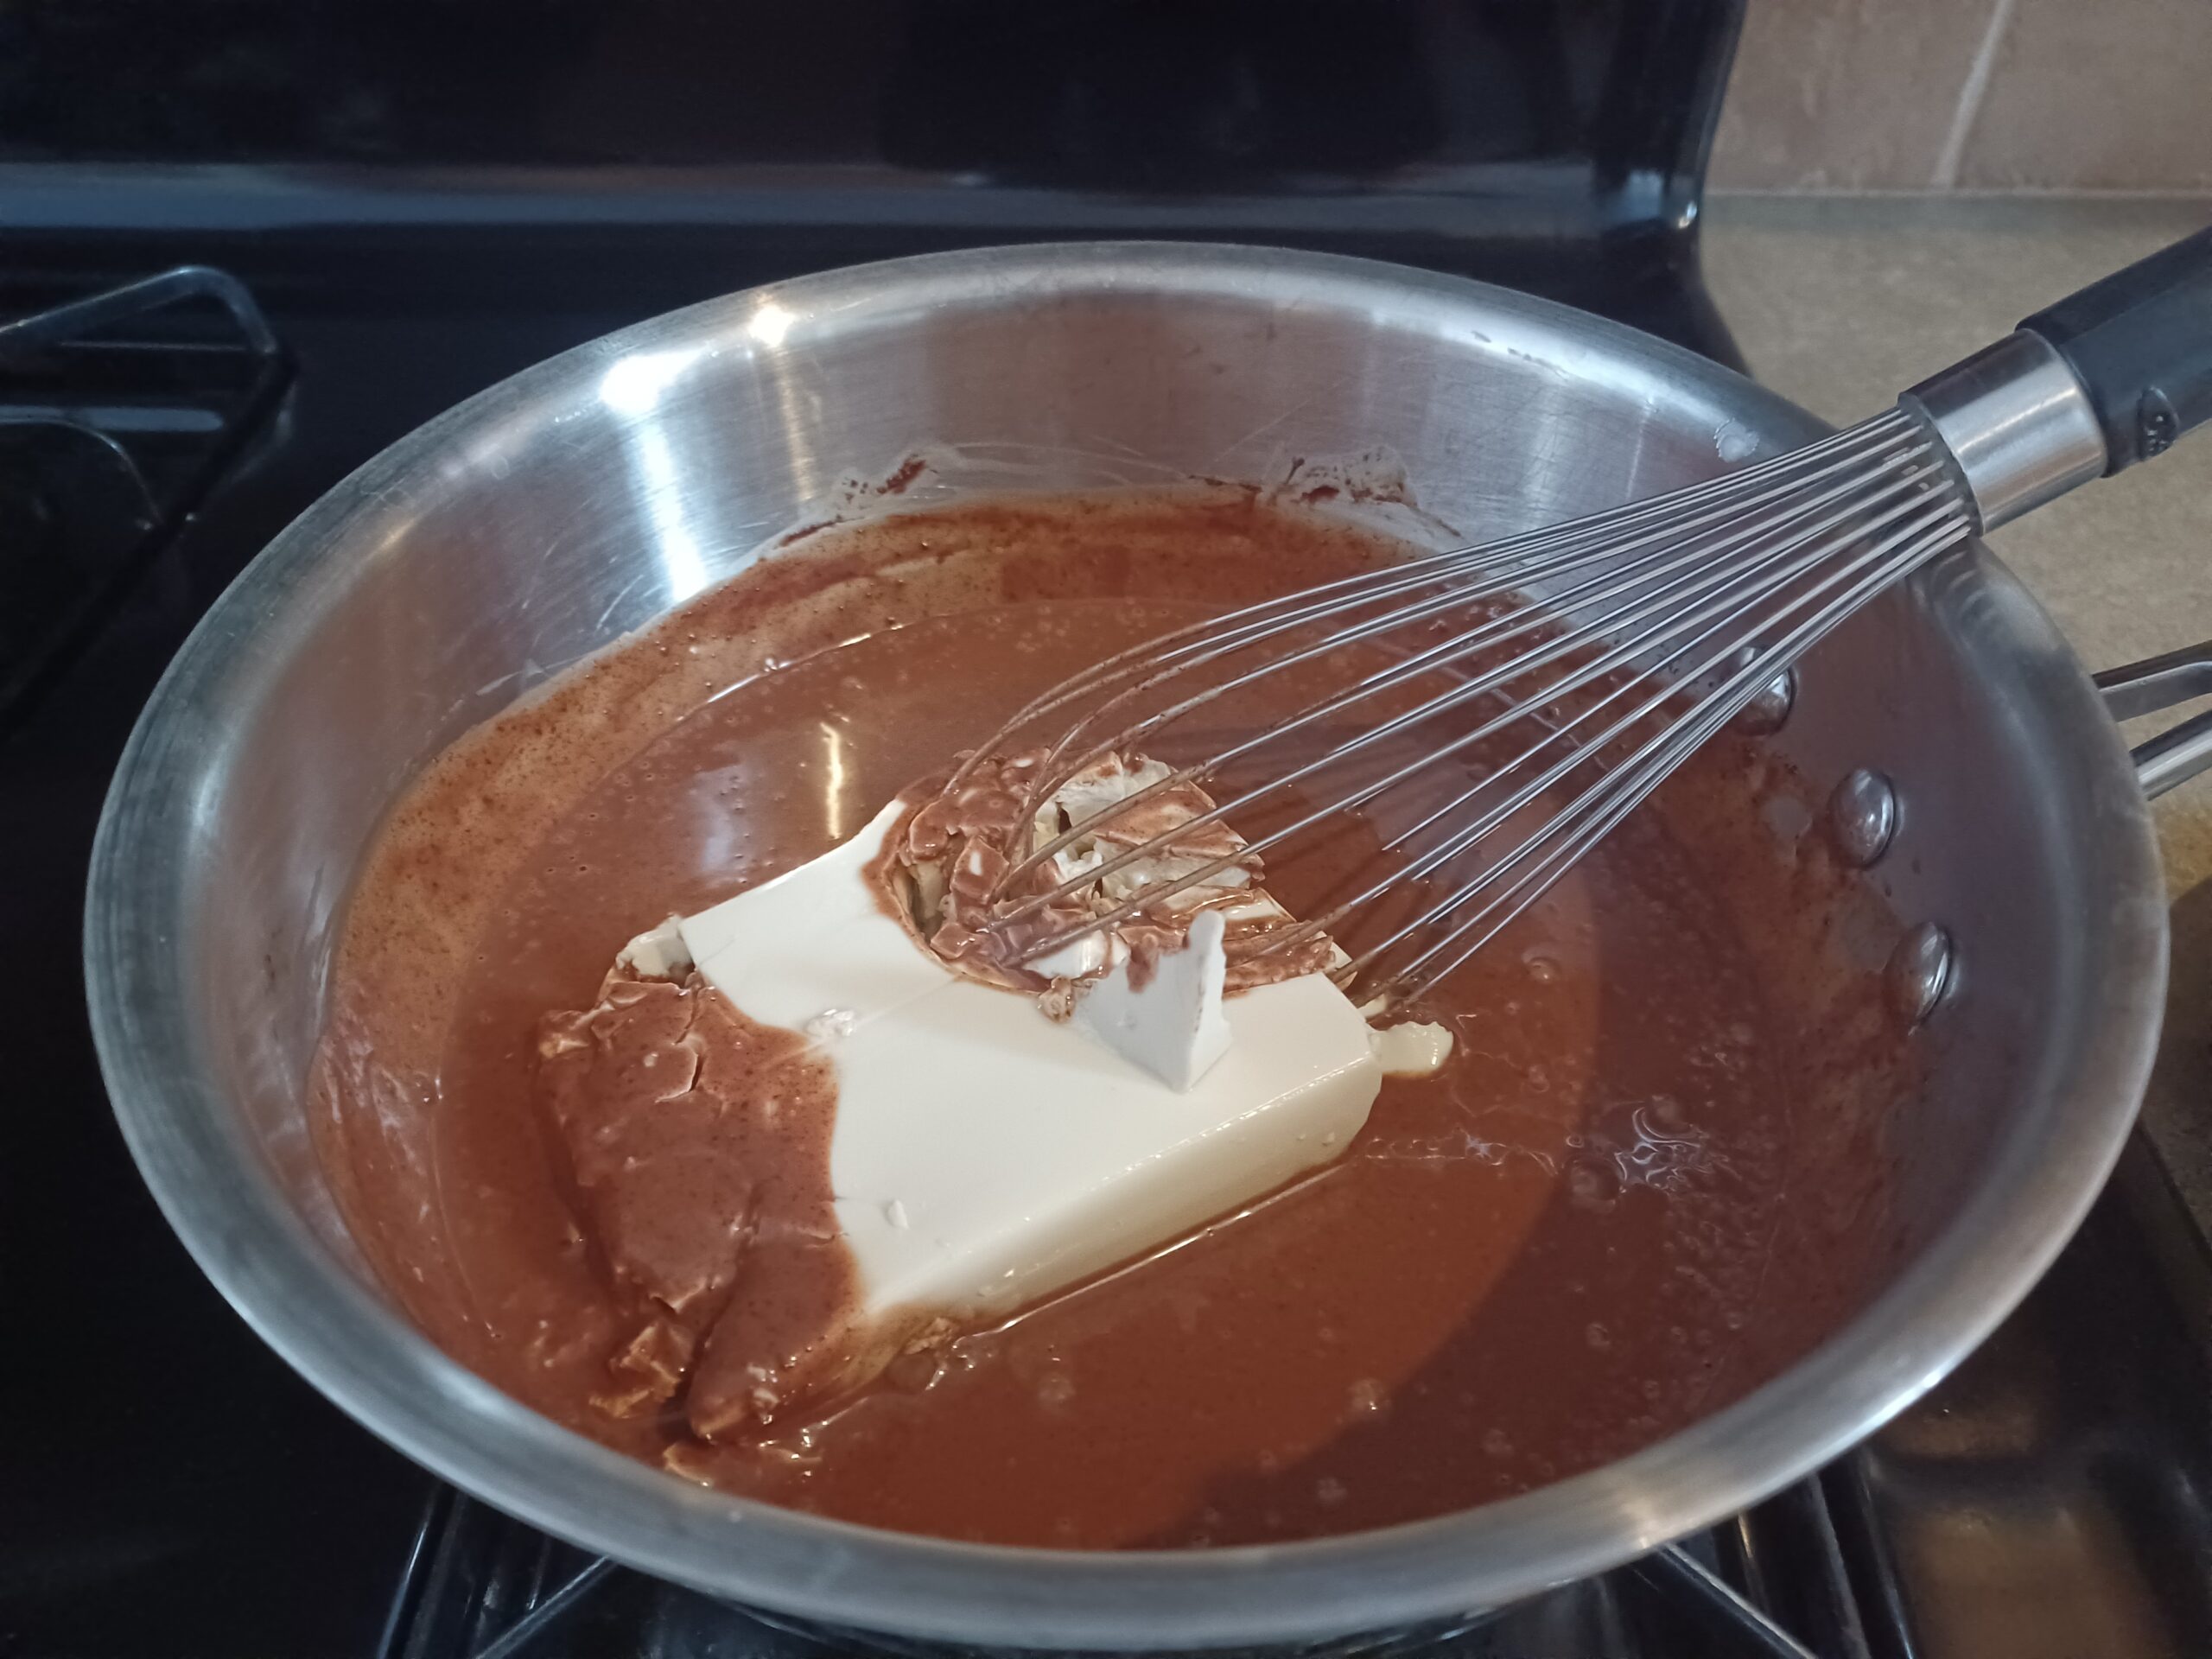
ADD REMAINING INGREDIENTS
Turn off the heat and add all remaining ingredients to the pan, breaking up the tofu with your whisk as you stir everything together.
-
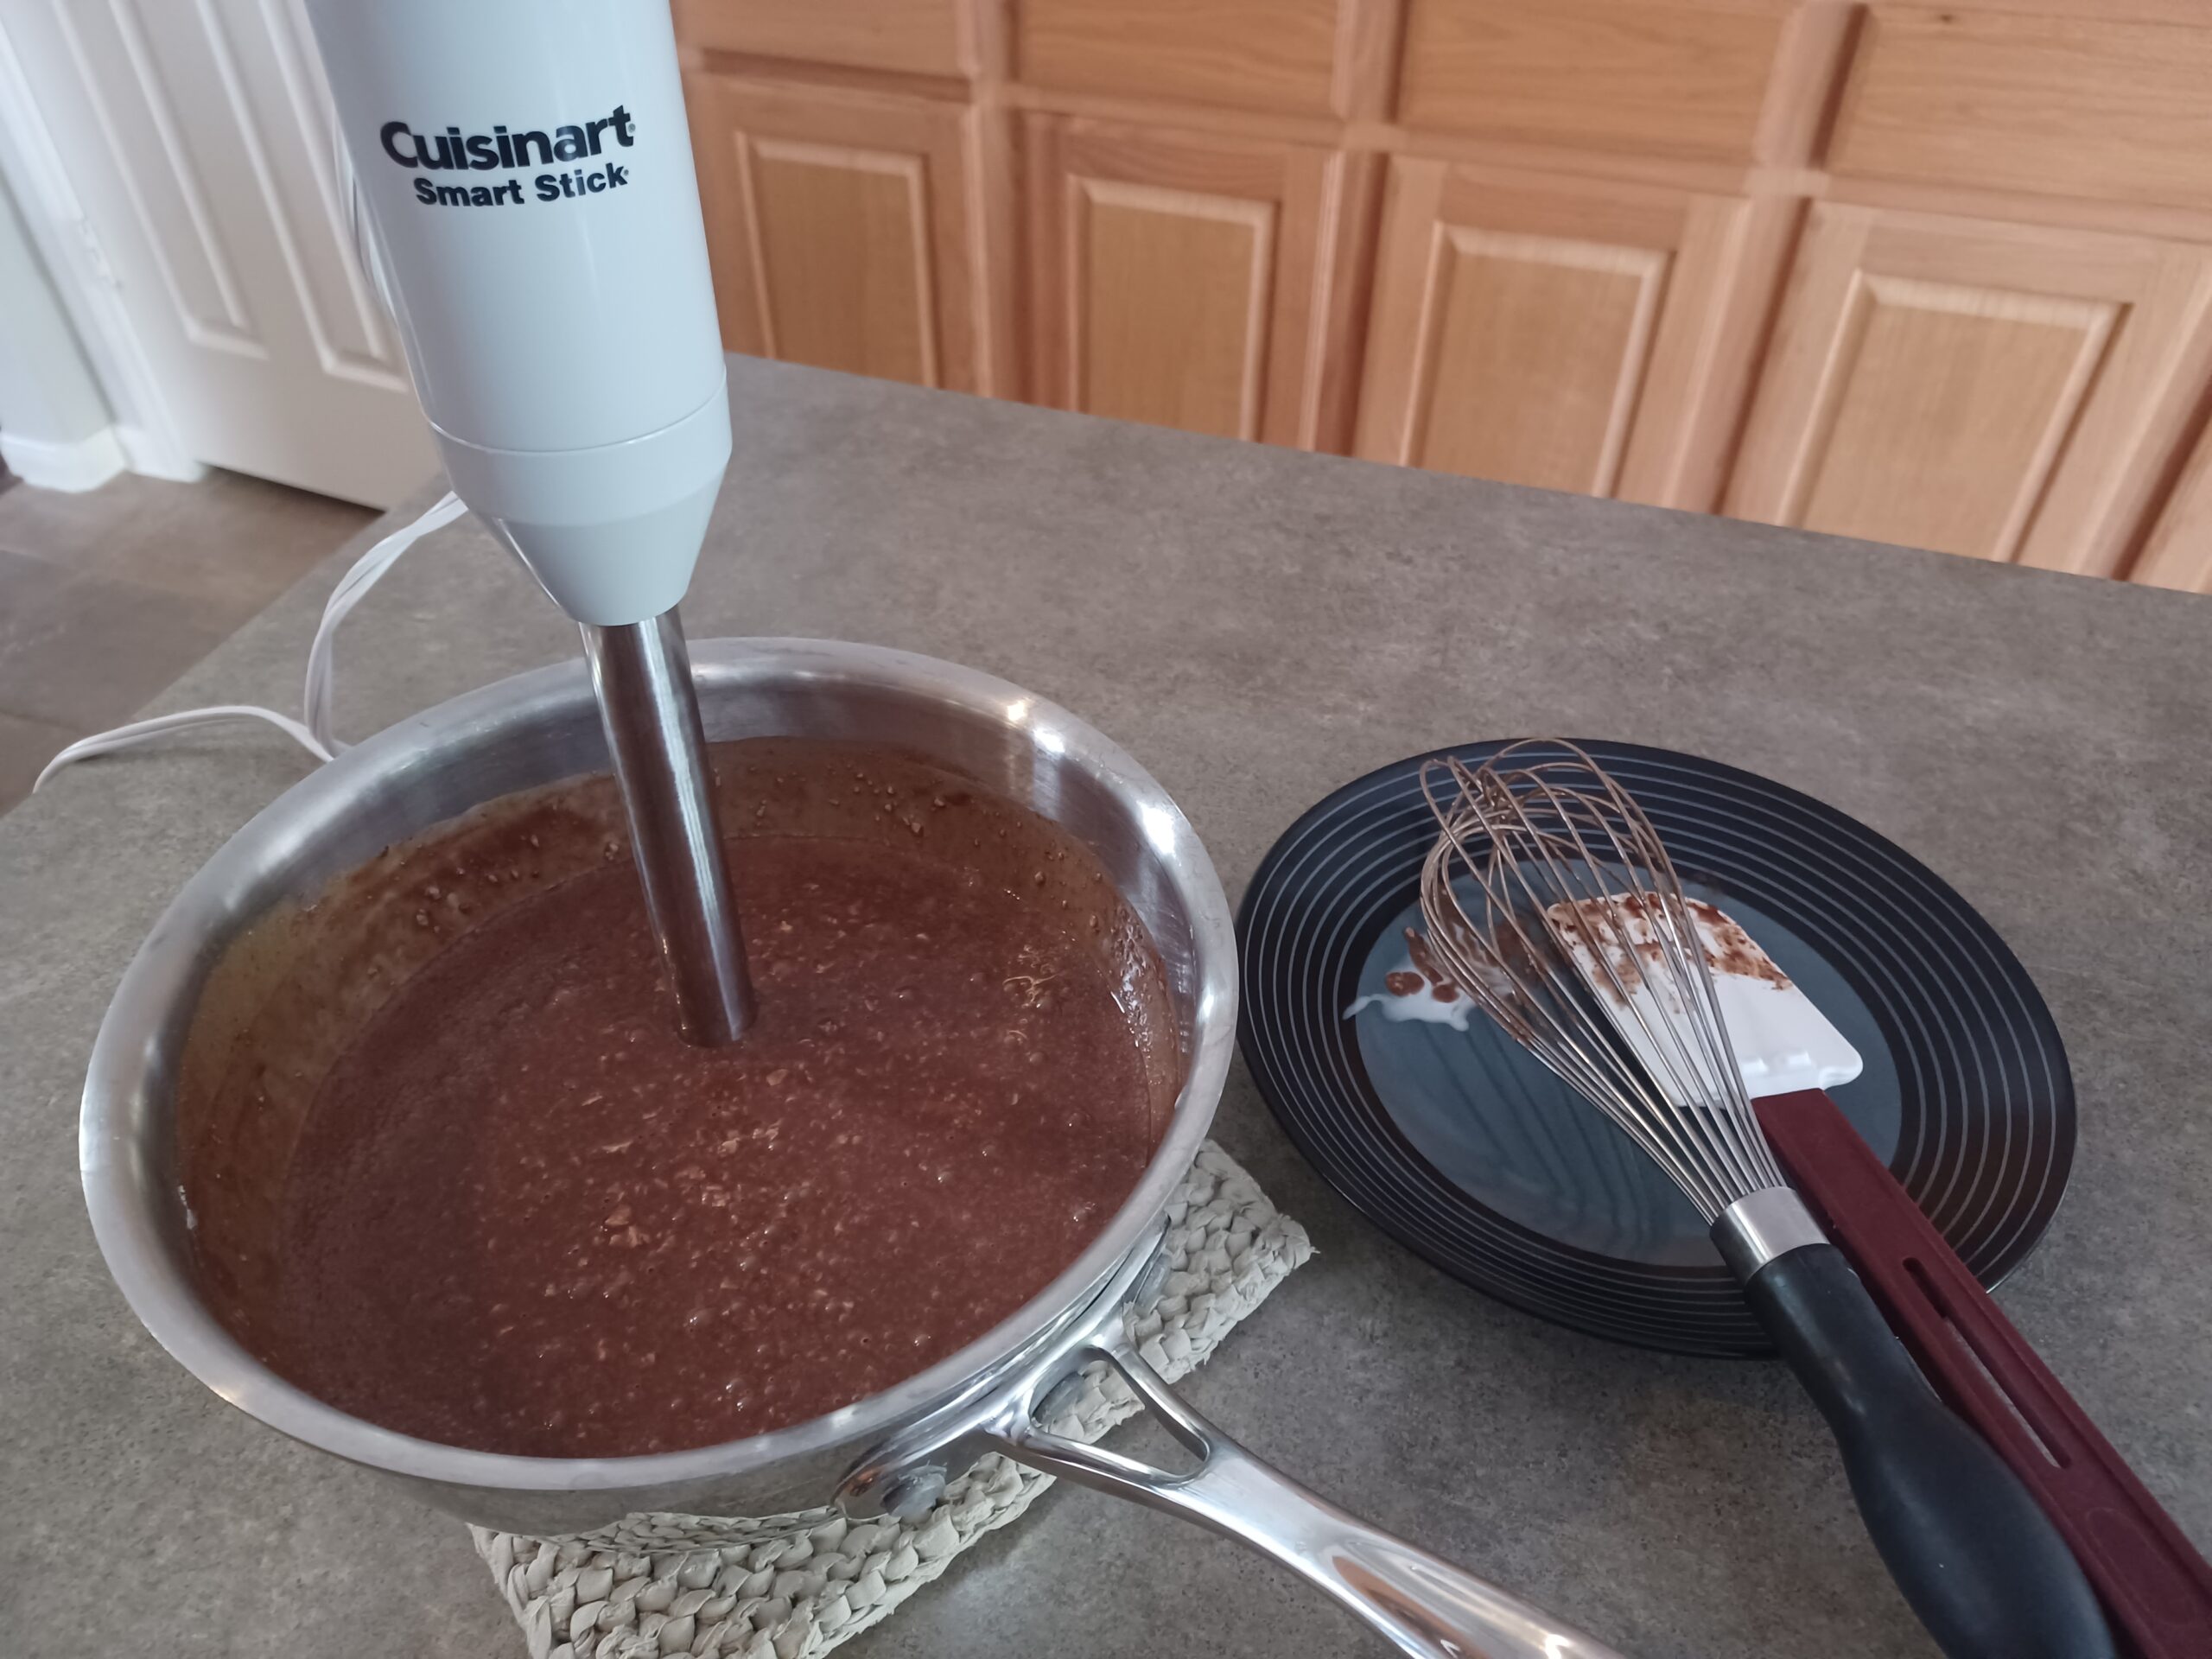
BLEND
Blend in the sauce pan with an immersion blender or transfer to a standard blender and blend thoroughly, scraping down the sides with a spatula, until you can no longer see white specks of tofu. This might take a couple of minutes!
-
CHILL
Transfer to a container and chill in the refrigerator for 8 hours or overnight.
For a quicker chilling time, place the bowl containing your mixture in an ice bath (a larger bowl containing ice water) for a few hours. Stir the mixture occasionally. As the water in the ice bath warms up, pour off some water and add ice to keep the mixture chilling as quickly as possible.
Ideally, the mixture will be about 40 degrees when you churn it.
 Bonus! When the ice cream base has chilled, it makes a lovely chocolate mousse. Feel free to skip the churning and just eat it now. ;)
 -
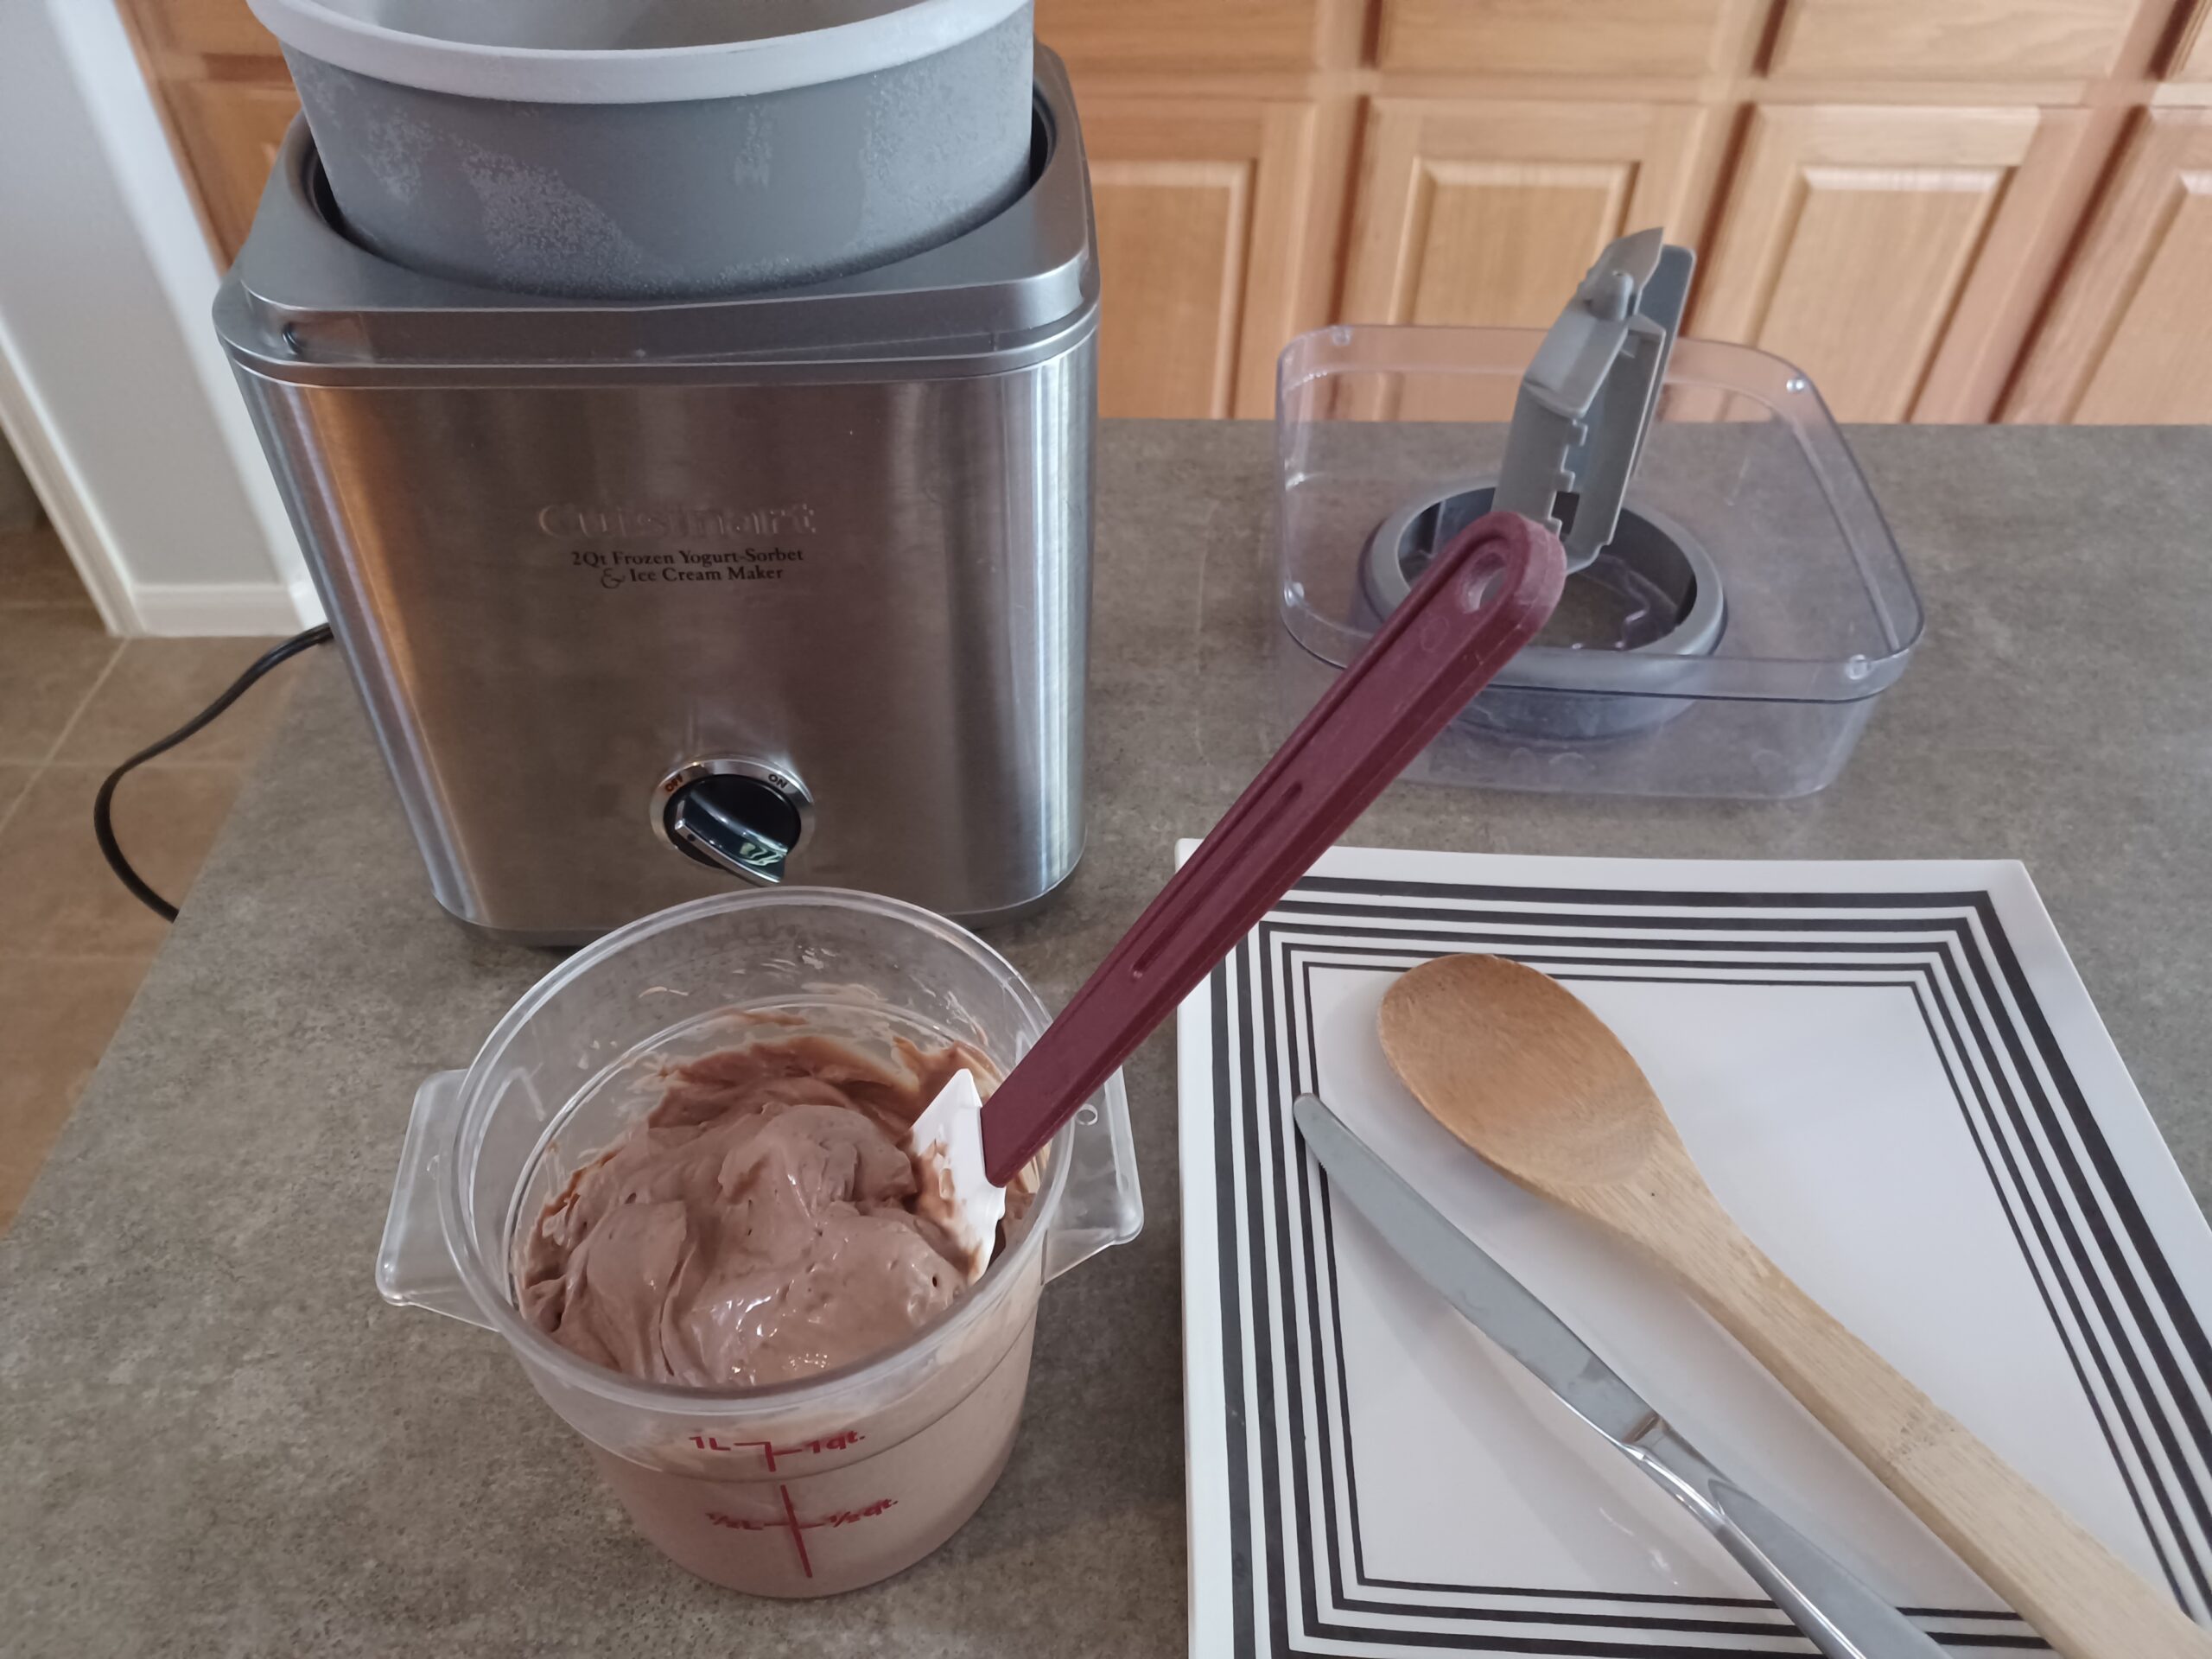
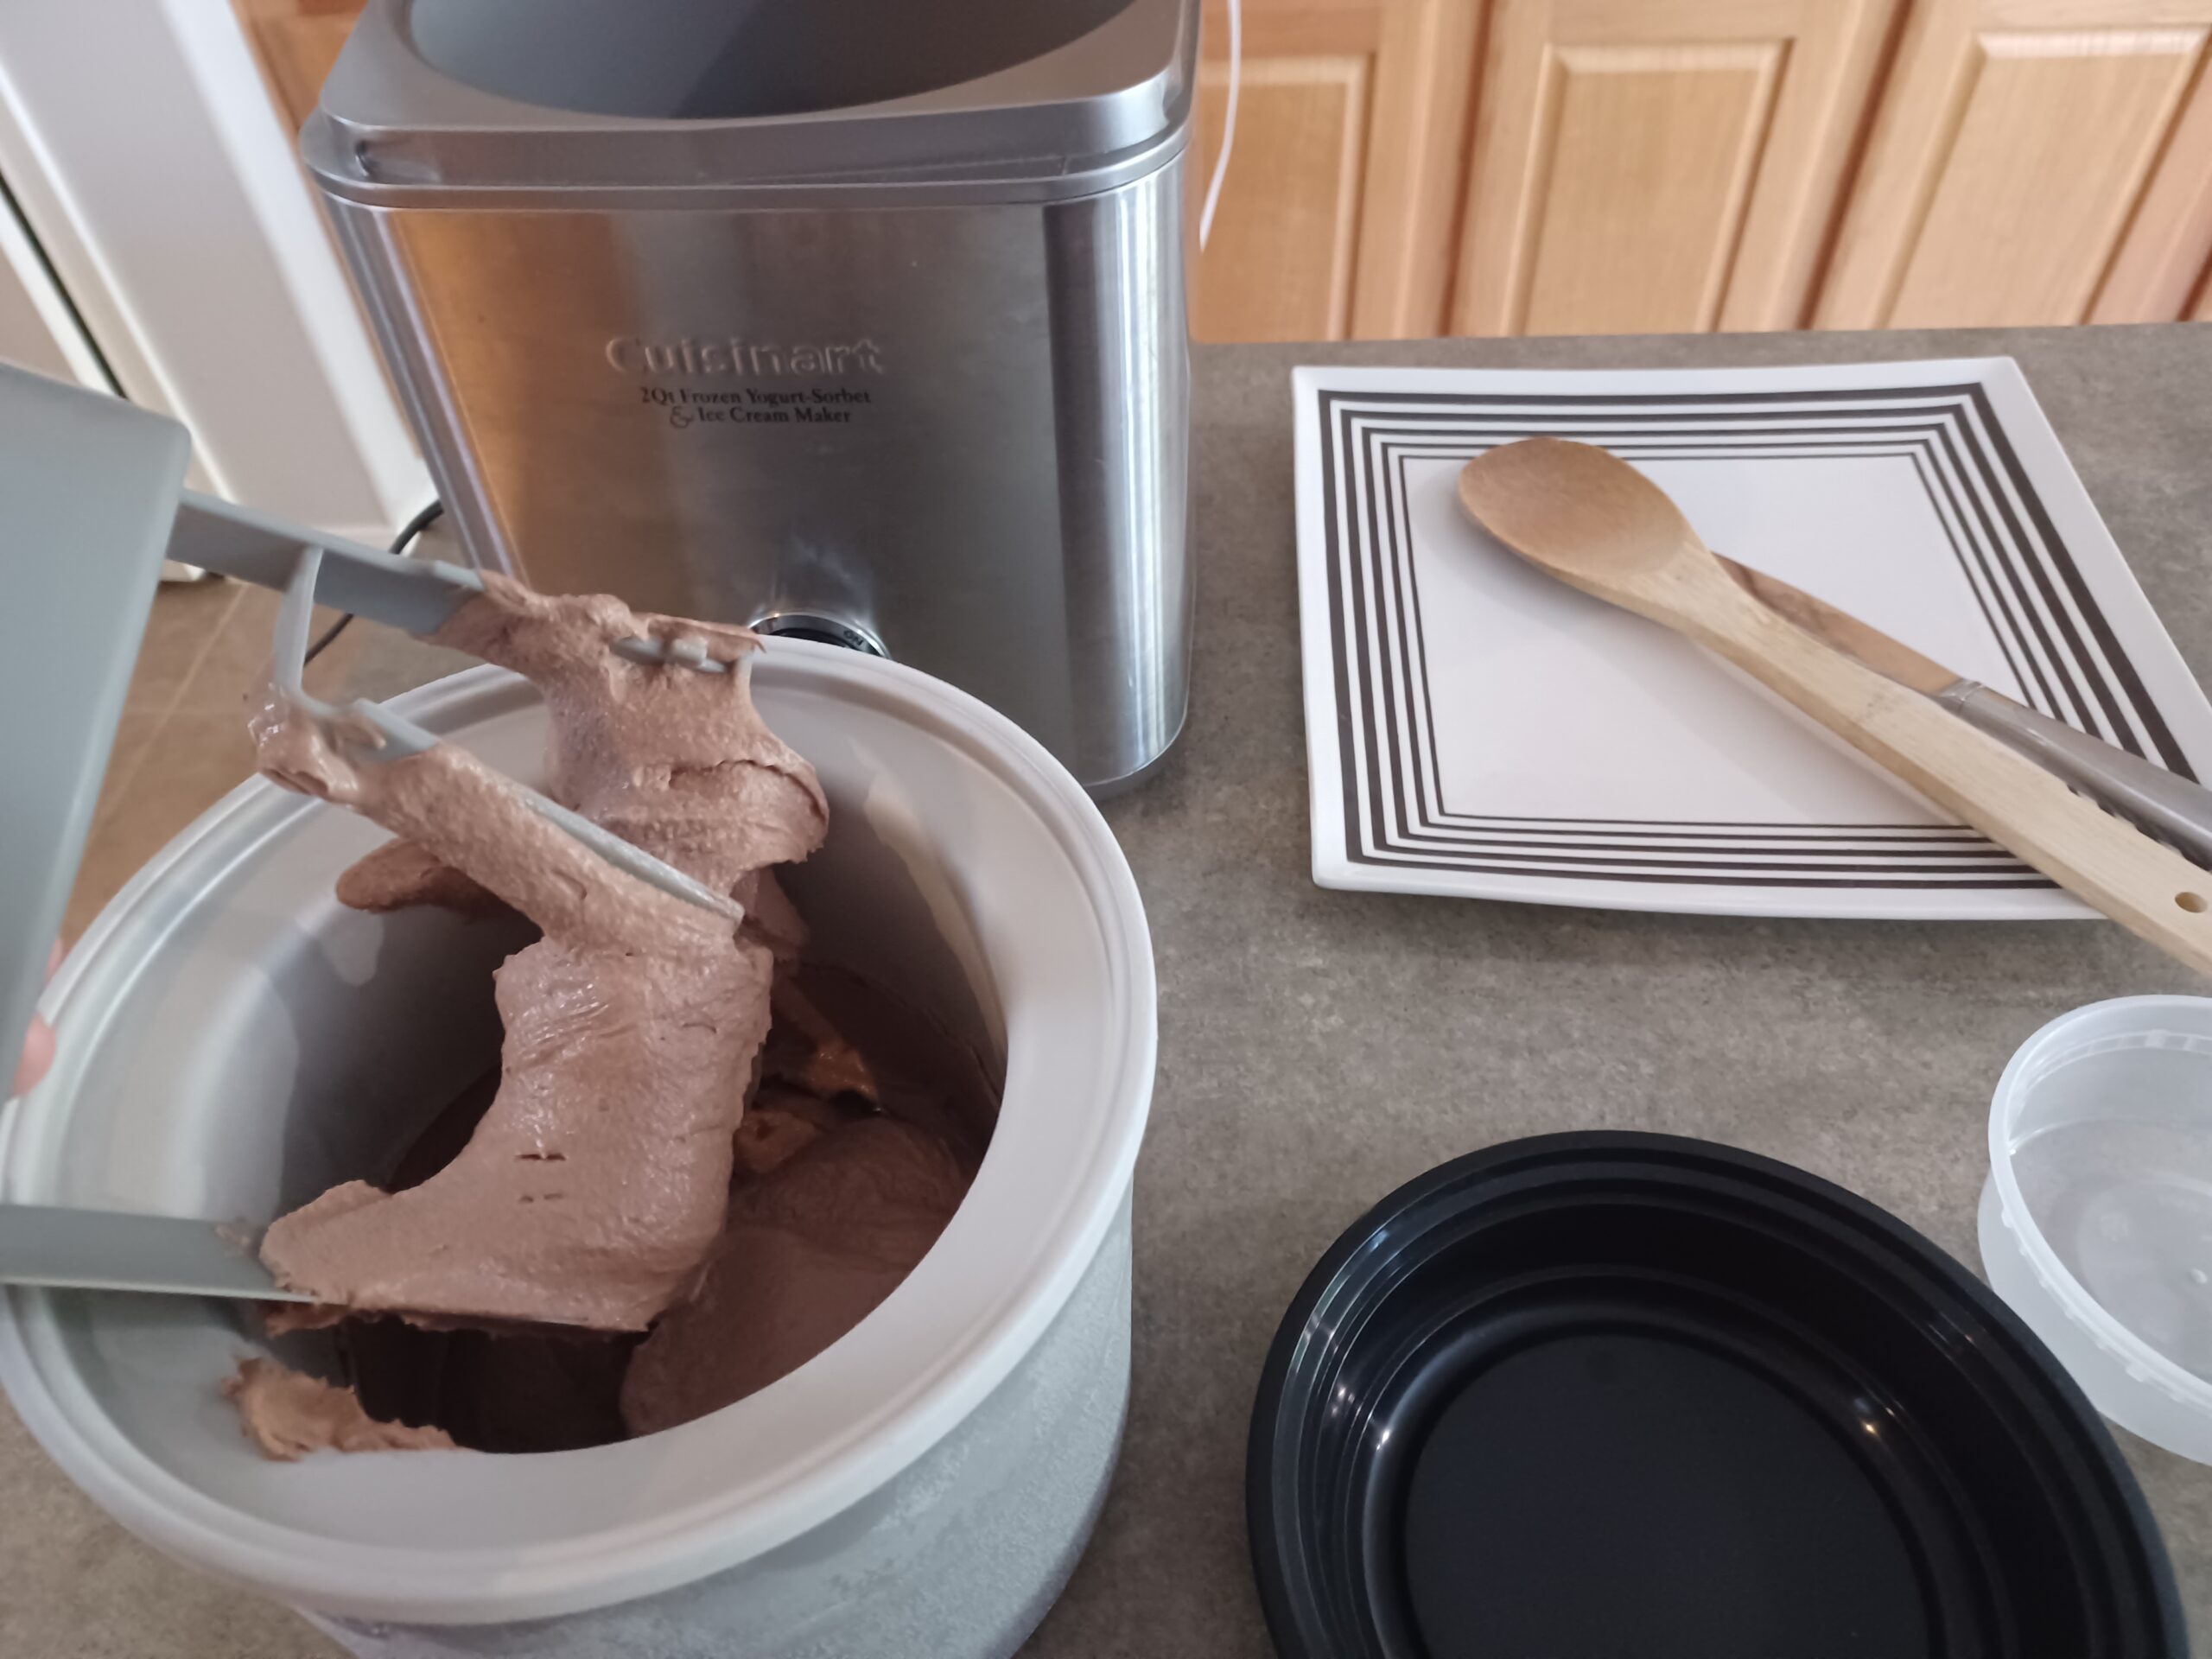
CHURN
Before you start churning, set up everything you'll need to quickly transfer the ice cream from the machine into a container for freezing. I use a knife to scrape down the dasher (or paddle) and a wooden spoon to scoop out the ice cream. When you are ready to churn, ideally your base will be about 40 degrees.
Set up your ice cream maker according to the manufacturer's directions. Pour (or scoop) your mixture into the ice cream maker and churn. This mixture is THICK when it's chilled. Don't worry, that's normal. It will still churn, but it will churn FAST! Mine was ready in 8 minutes.
It's finished churning when it looks like soft-serve and is pulling away from the sides of the container.
-
STORE
When the ice cream has finished churning, scoop it as quickly as possible into your storage container. Cover it with plastic wrap or parchment paper, if using. (Placing a sheet of parchment paper between the container and lid will help prevent frost, or you can press plastic wrap directly onto the surface of the ice cream.) Put the container in the freezer. The ice cream will be fully firm in a few hours.
Note
Optional additions:
- 1/4 teaspoon cinnamon or cardamom -- This amount won't create a strong flavor, but will add spice and complexity.
- 1-2 tablespoons of alcohol -- Alcohol lowers the freezing point of the mixture and makes the ice cream more scoopable straight out of the freezer. Since this recipe is lower in sugar and fat, it's on the firmer side, so alcohol is a nice addition. Whiskey, rum, Kahlua, or Irish cream are great choices.