
This Banana-Sesame Frozen Yogurt came from multiple inspirations and memories that happened to strike me around the same time.
Banana + Sesame
When I was a kid, my grandparents took us on special occasions to a fancy Chinese restaurant called Han-Chu. I googled it recently to see if it still exists. It doesn’t, but through the magic of the internet, I found a magazine review from 1986 saying, “One of the glossiest, and one of the busiest Chinese restaurants in Dallas, Han-Chu does well with all aspects of Chinese cooking.” I also found a digitized image of one of their matchbooks, which I often picked up at the door on my way out, even though I had virtually no use for it. Nifty!
My favorite dessert, which I ordered every time, was their sesame bananas served with vanilla ice cream. My somewhat fuzzy recollection is of chunks of banana, coated in sesame seeds, and served hot. Maybe the bananas were roasted, maybe fried, but they were amazing. I had completely forgotten about this favorite dessert until I watched Claire Saffitz (Dessert Person) make a banana cream tart. She added toasted sesame oil as a complementary flavor, and memories of Han-Chu’s sesame bananas came flooding back to me! So obviously banana and sesame needed to reunite in some ice-cream-related form. I owe a bit of technique to Claire as well: her Banoffee Pudding method cooks the bananas in a sauce pan on the stove. This makes the recipe easier than roasting the bananas in the oven, which was my first idea. Thanks, Claire!
Yogurt + Lactose
I’m mostly lactose intolerant, which is a large part of the reason I started making ice cream at home. However, I can eat yogurt just fine. The active cultures in the yogurt process the lactose, so my tummy is happy! Yay! But I learned the hard way that frozen yogurt is a bad thing. Why? Well, most commercially made frozen yogurts don’t contain active cultures for a couple of possible reasons: 1) the base is cooked, killing the active cultures, or 2) the base is made mostly from milk with very little yogurt.
I had wanted to try making frozen yogurt for quite a while, but knew I needed the right flavors and the right method. As soon as I started thinking about bananas and sesame, yogurt made a lot of sense. I’ve shared before that I drink a matcha smoothie for breakfast nearly every morning of my life, and bananas and plain yogurt play a big role. So I’m very familiar with how well those two go together. Claire adds sour cream to the topping of her banana cream tart with sesame, and that’s close to yogurt, so the three flavors have to be great all together, right?
Yes. It turns out they are.
I’ve used protein powder (whey in this case) to increase the protein and reduce the sugar, without sacrificing texture. For more details on how that works, click here.
Ingredients
Instructions
-
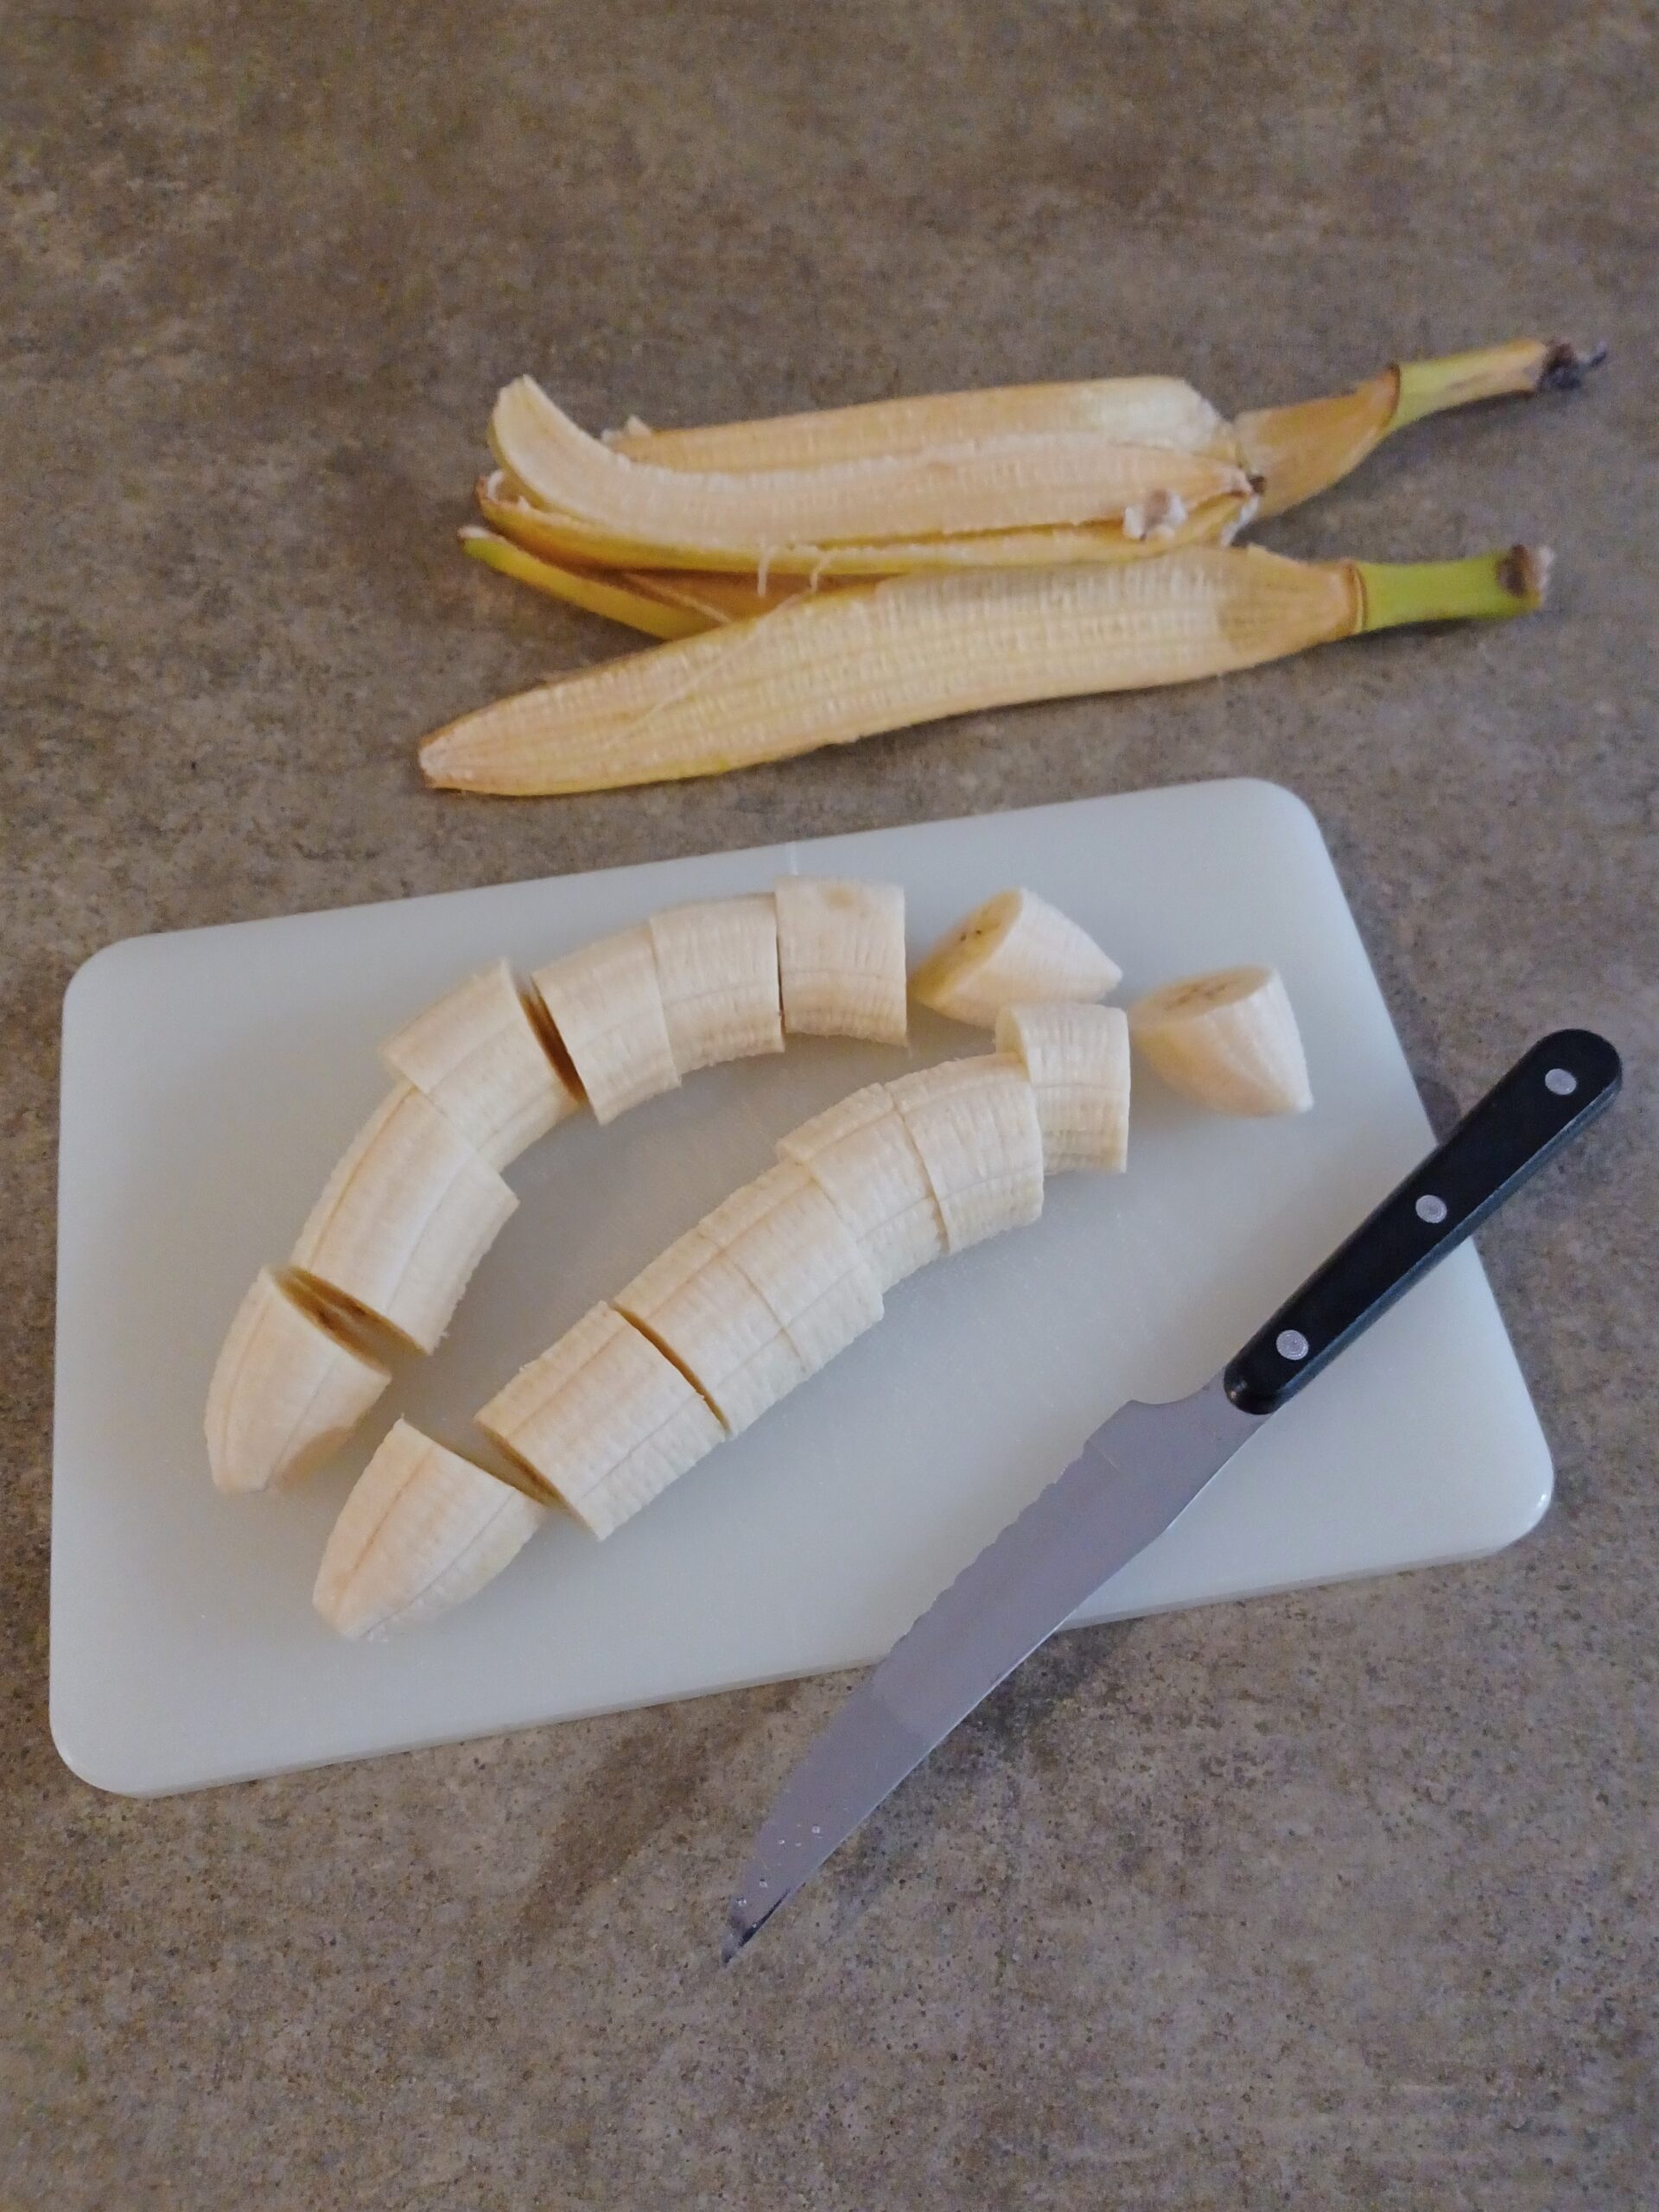
COOK THE BANANAS
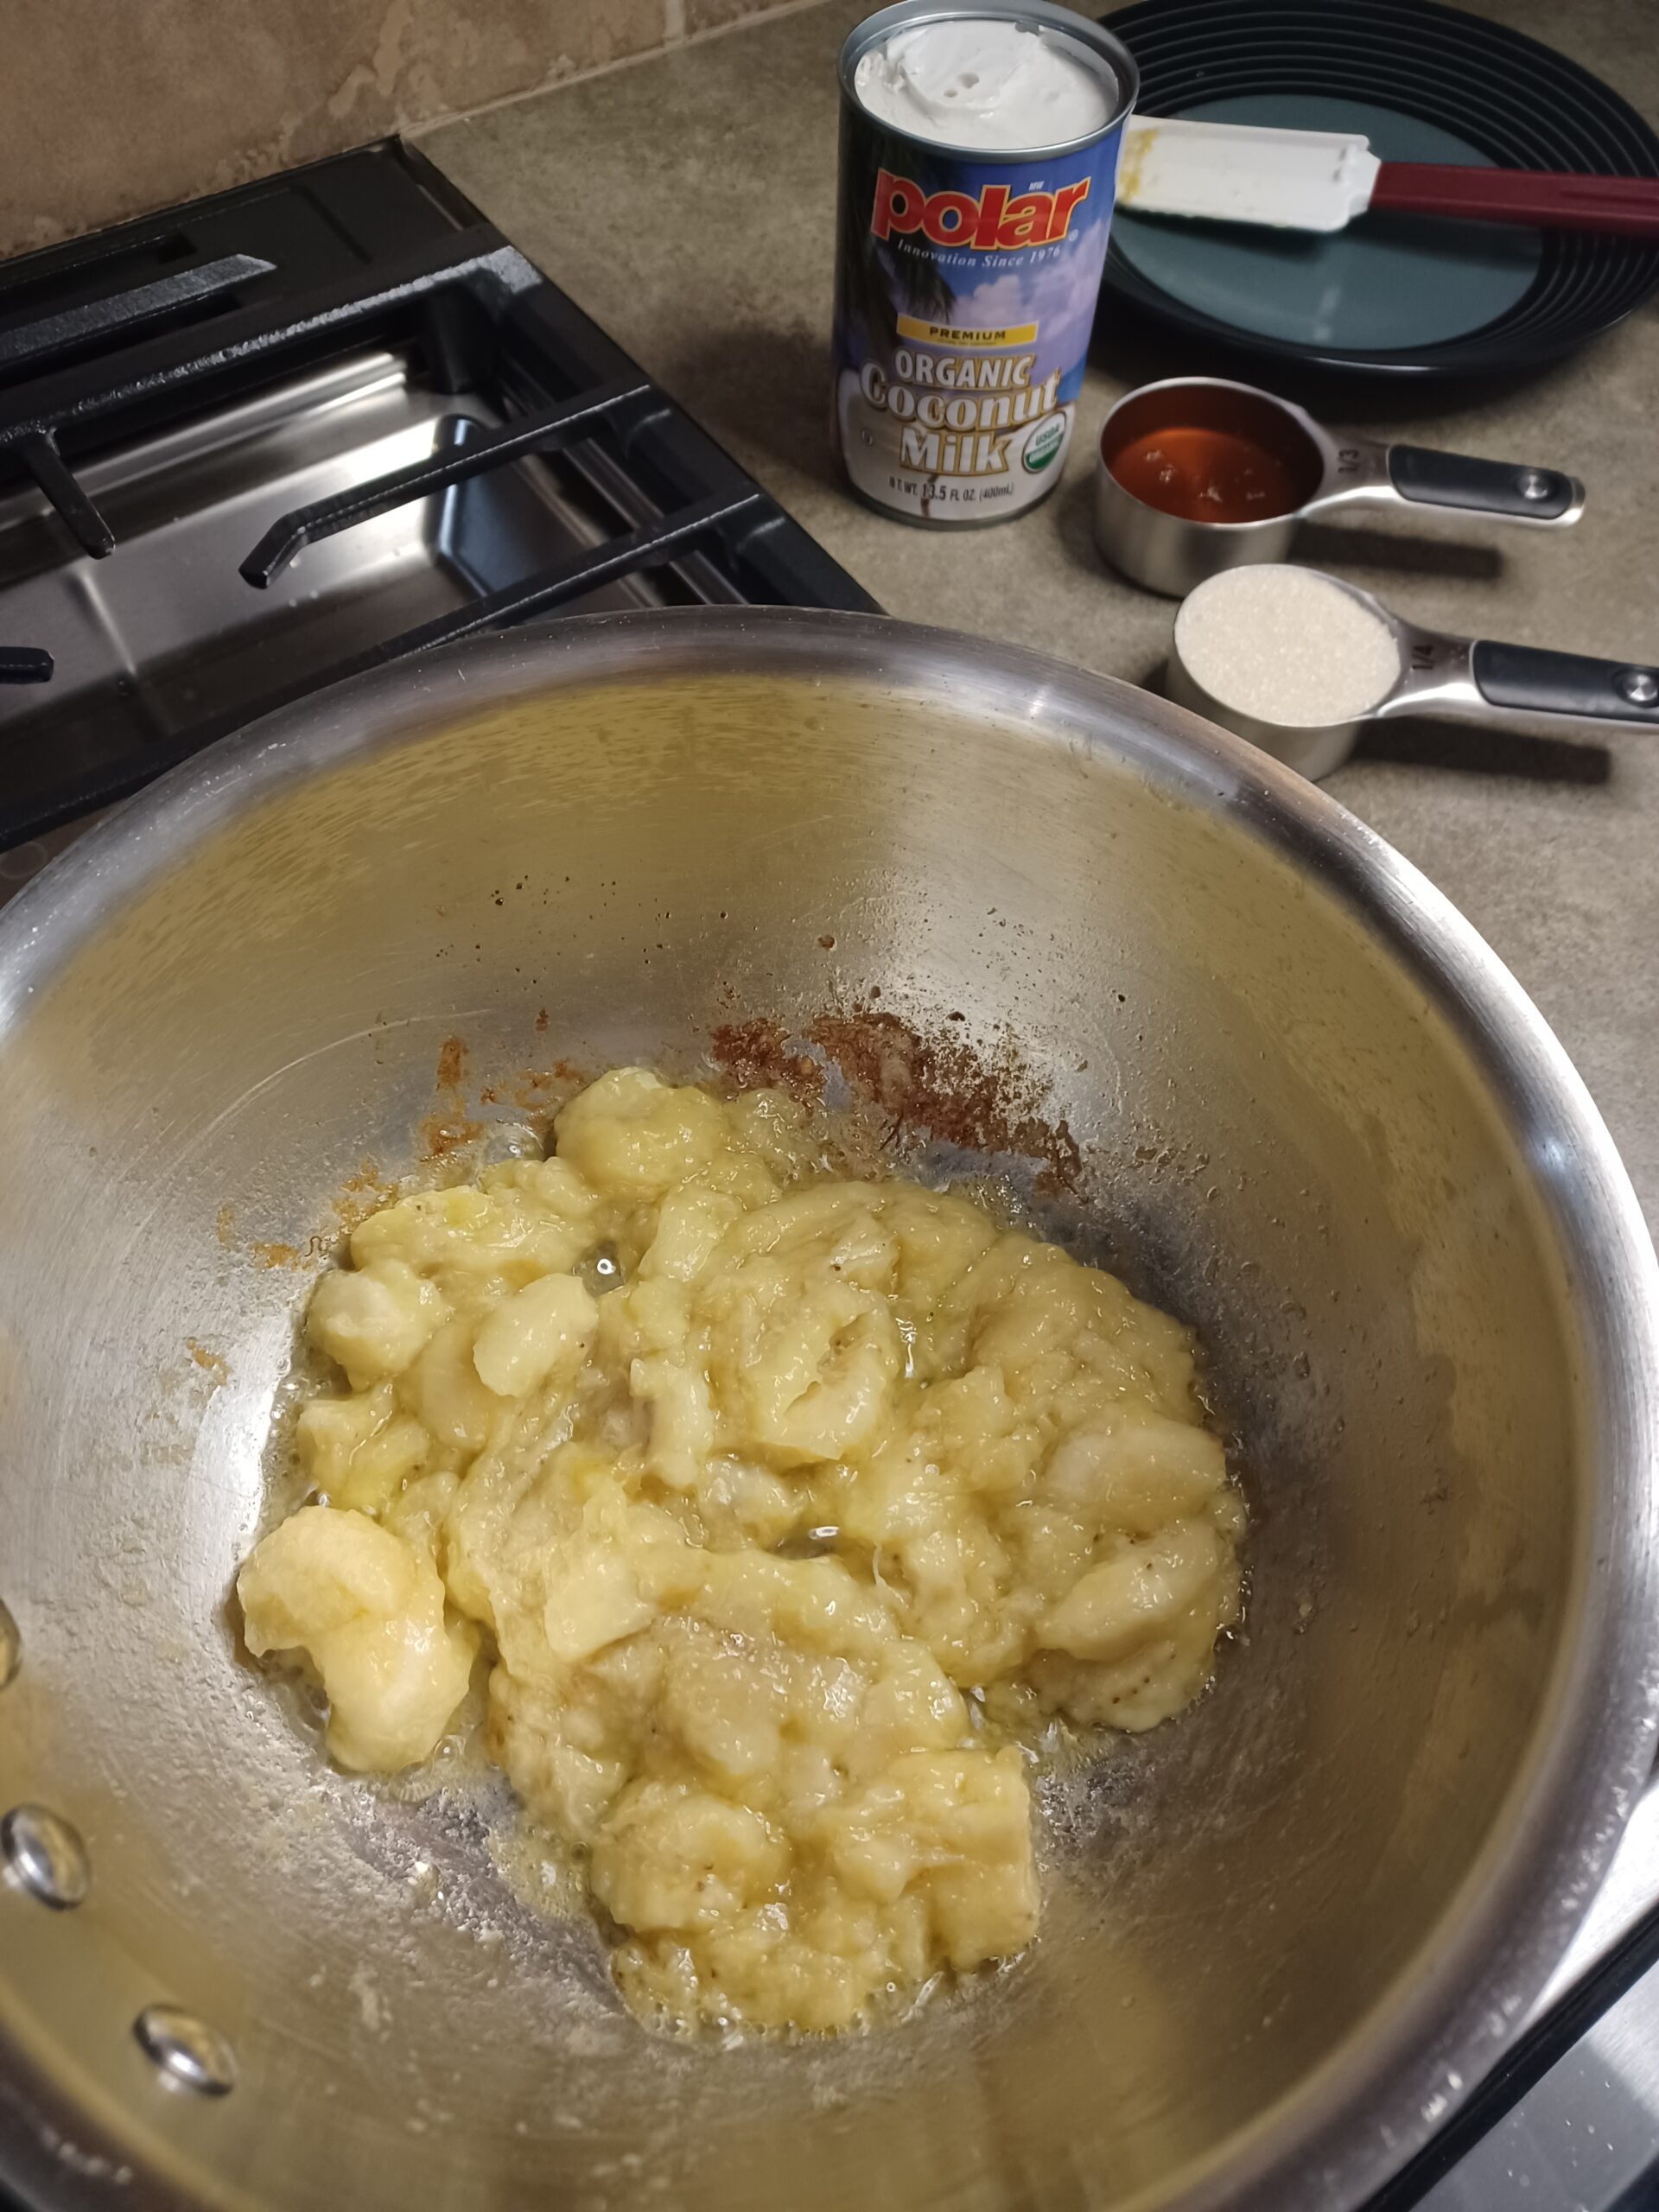
In a large sauce pan on the stove, combine the 2 tablespoons of oil, the salt, and the bananas. Cook the bananas over medium heat, stirring frequently, until they are very mushy and a little brown, about 5-7 minutes. Then turn off the heat and set the pan aside.
-
ADD COCONUT MILK, SUGAR, AND HONEY
Off heat, add the coconut milk, sugar, and honey and whisk everything together. It doesn't need to be perfectly smooth at this point. Then let the mixture cool off for about 10-15 minutes. It needs to be close to room temperature so as not to cook the yogurt in the next step.
-
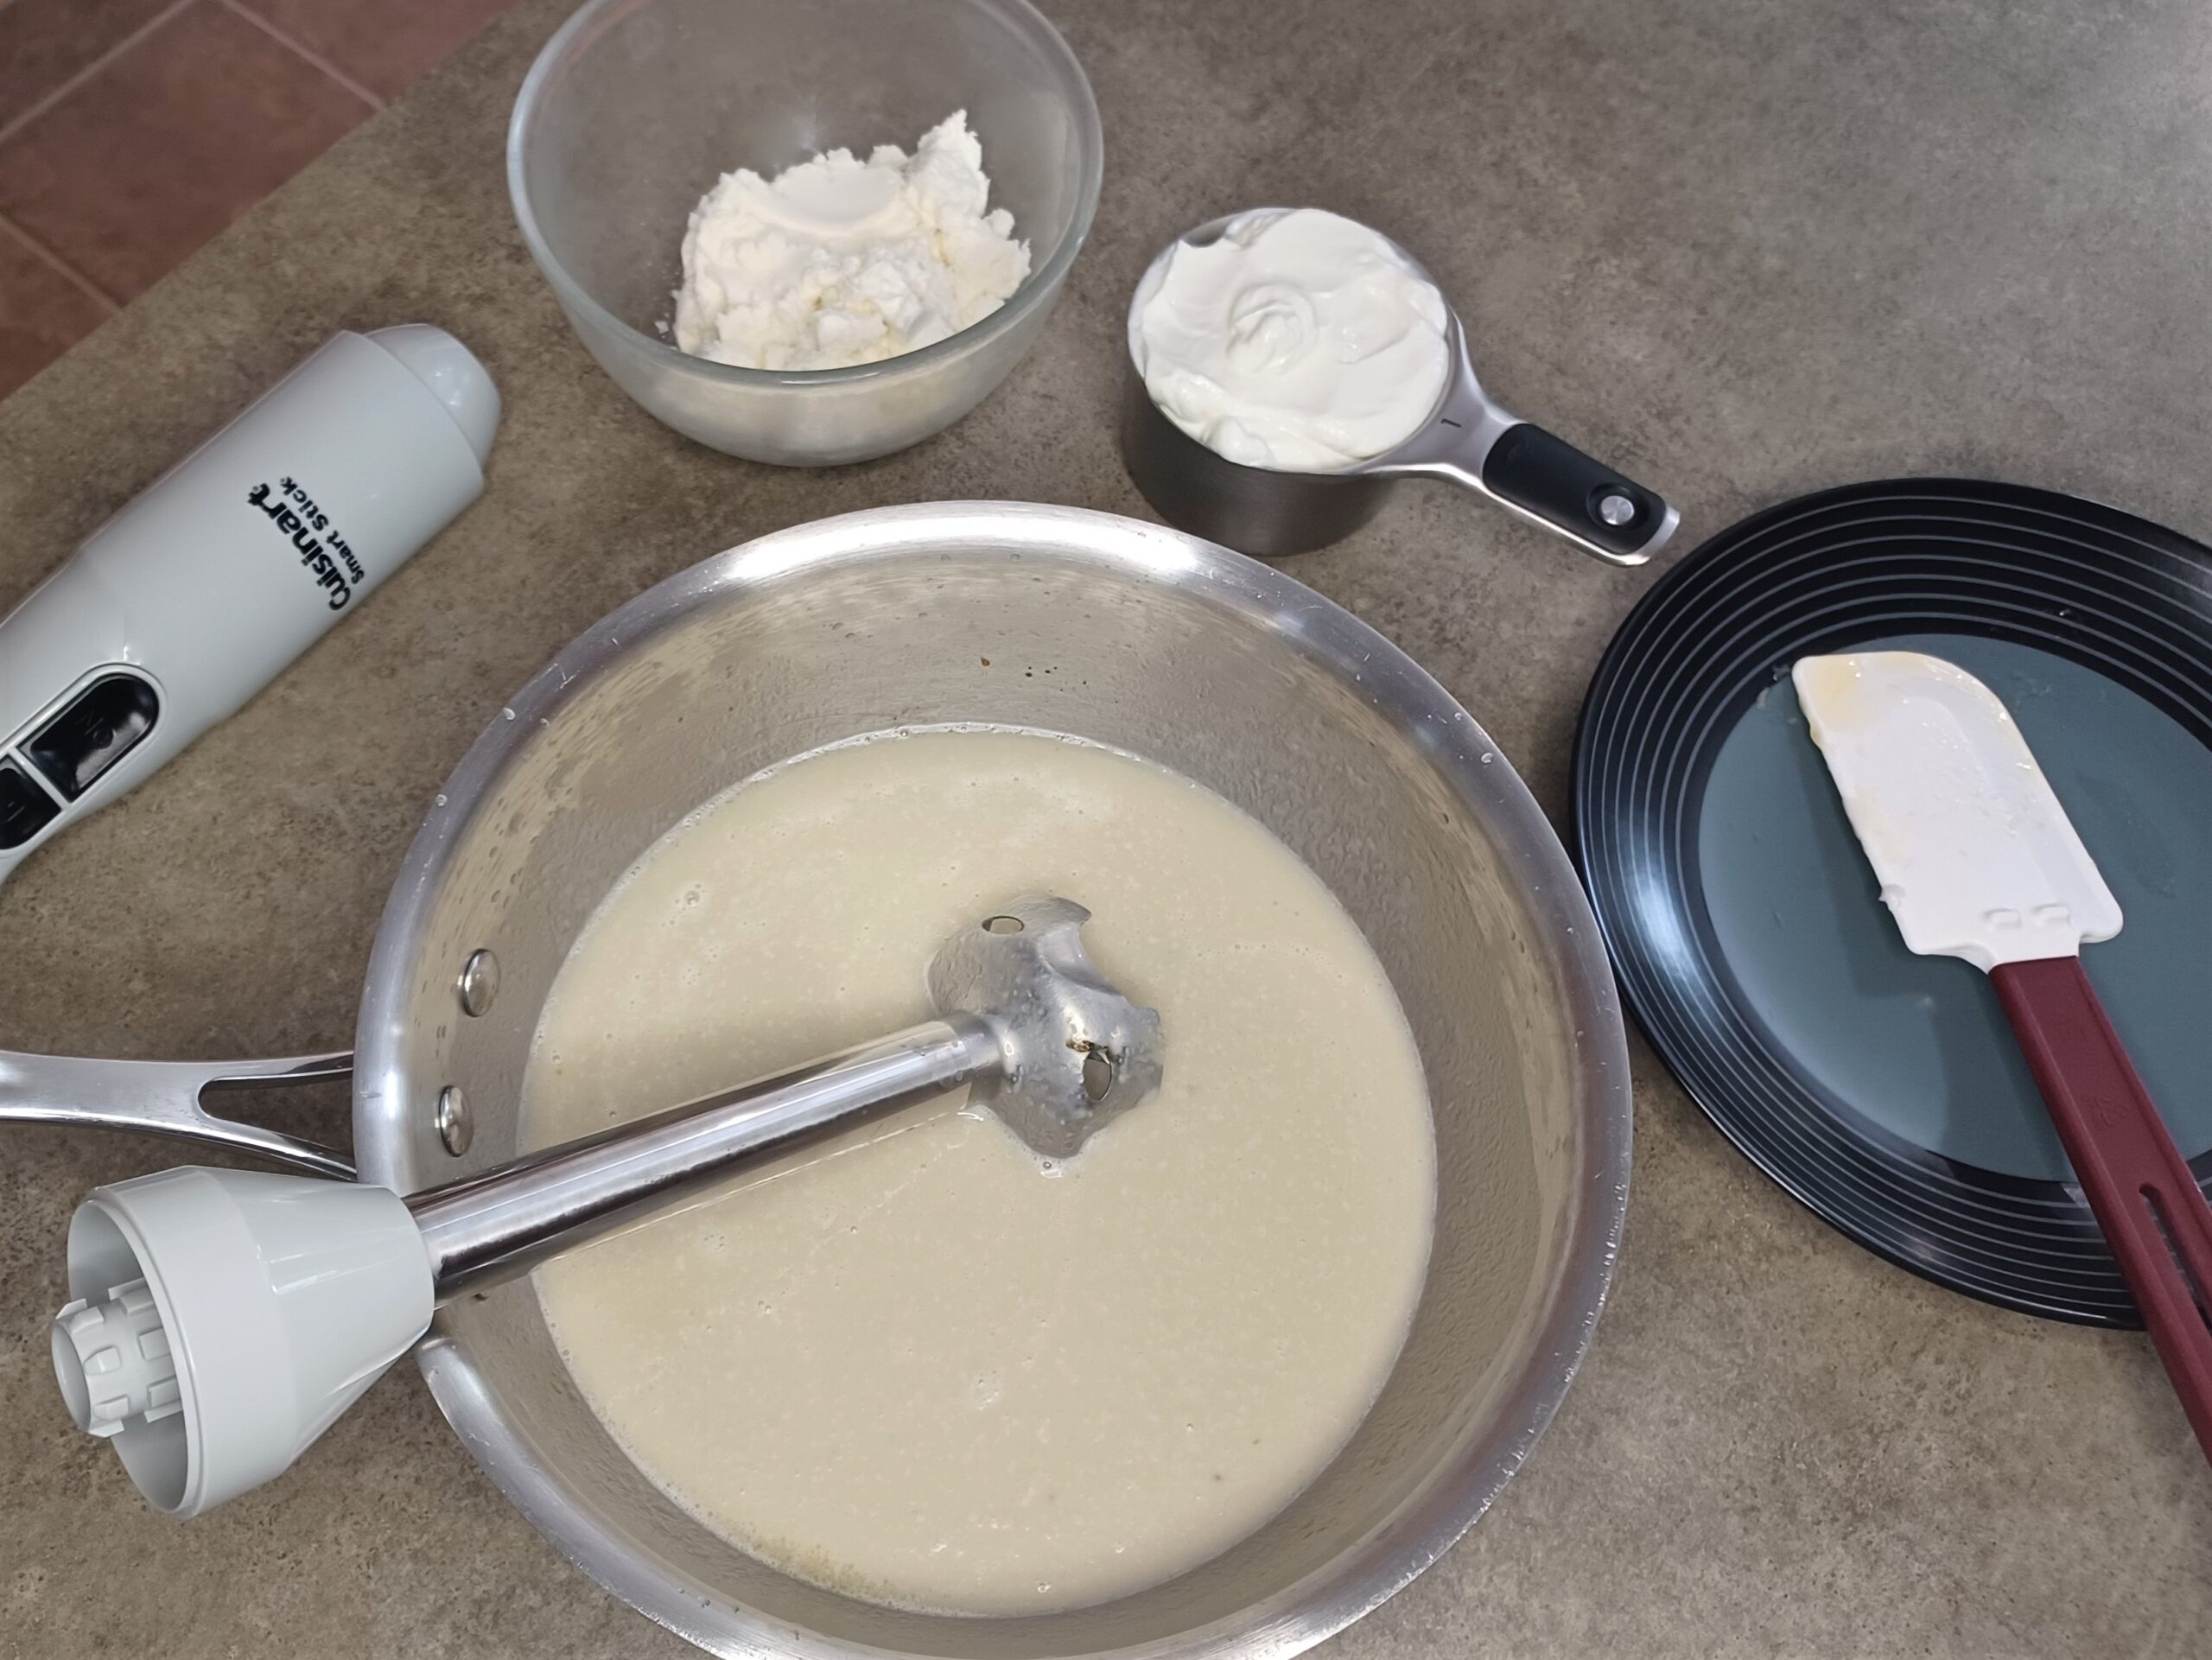
ADD REMAINING INGREDIENTS AND BLEND
Add the yogurt, sesame oil, vanilla extract, and xanthan gum, and blend the mixture using an immersion blender. (Or you can transfer the mixture to a regular blender.)
Finally, add the whey protein and blend again. (The whey blends better after the yogurt has been fully incorporated.)
-
CHILL
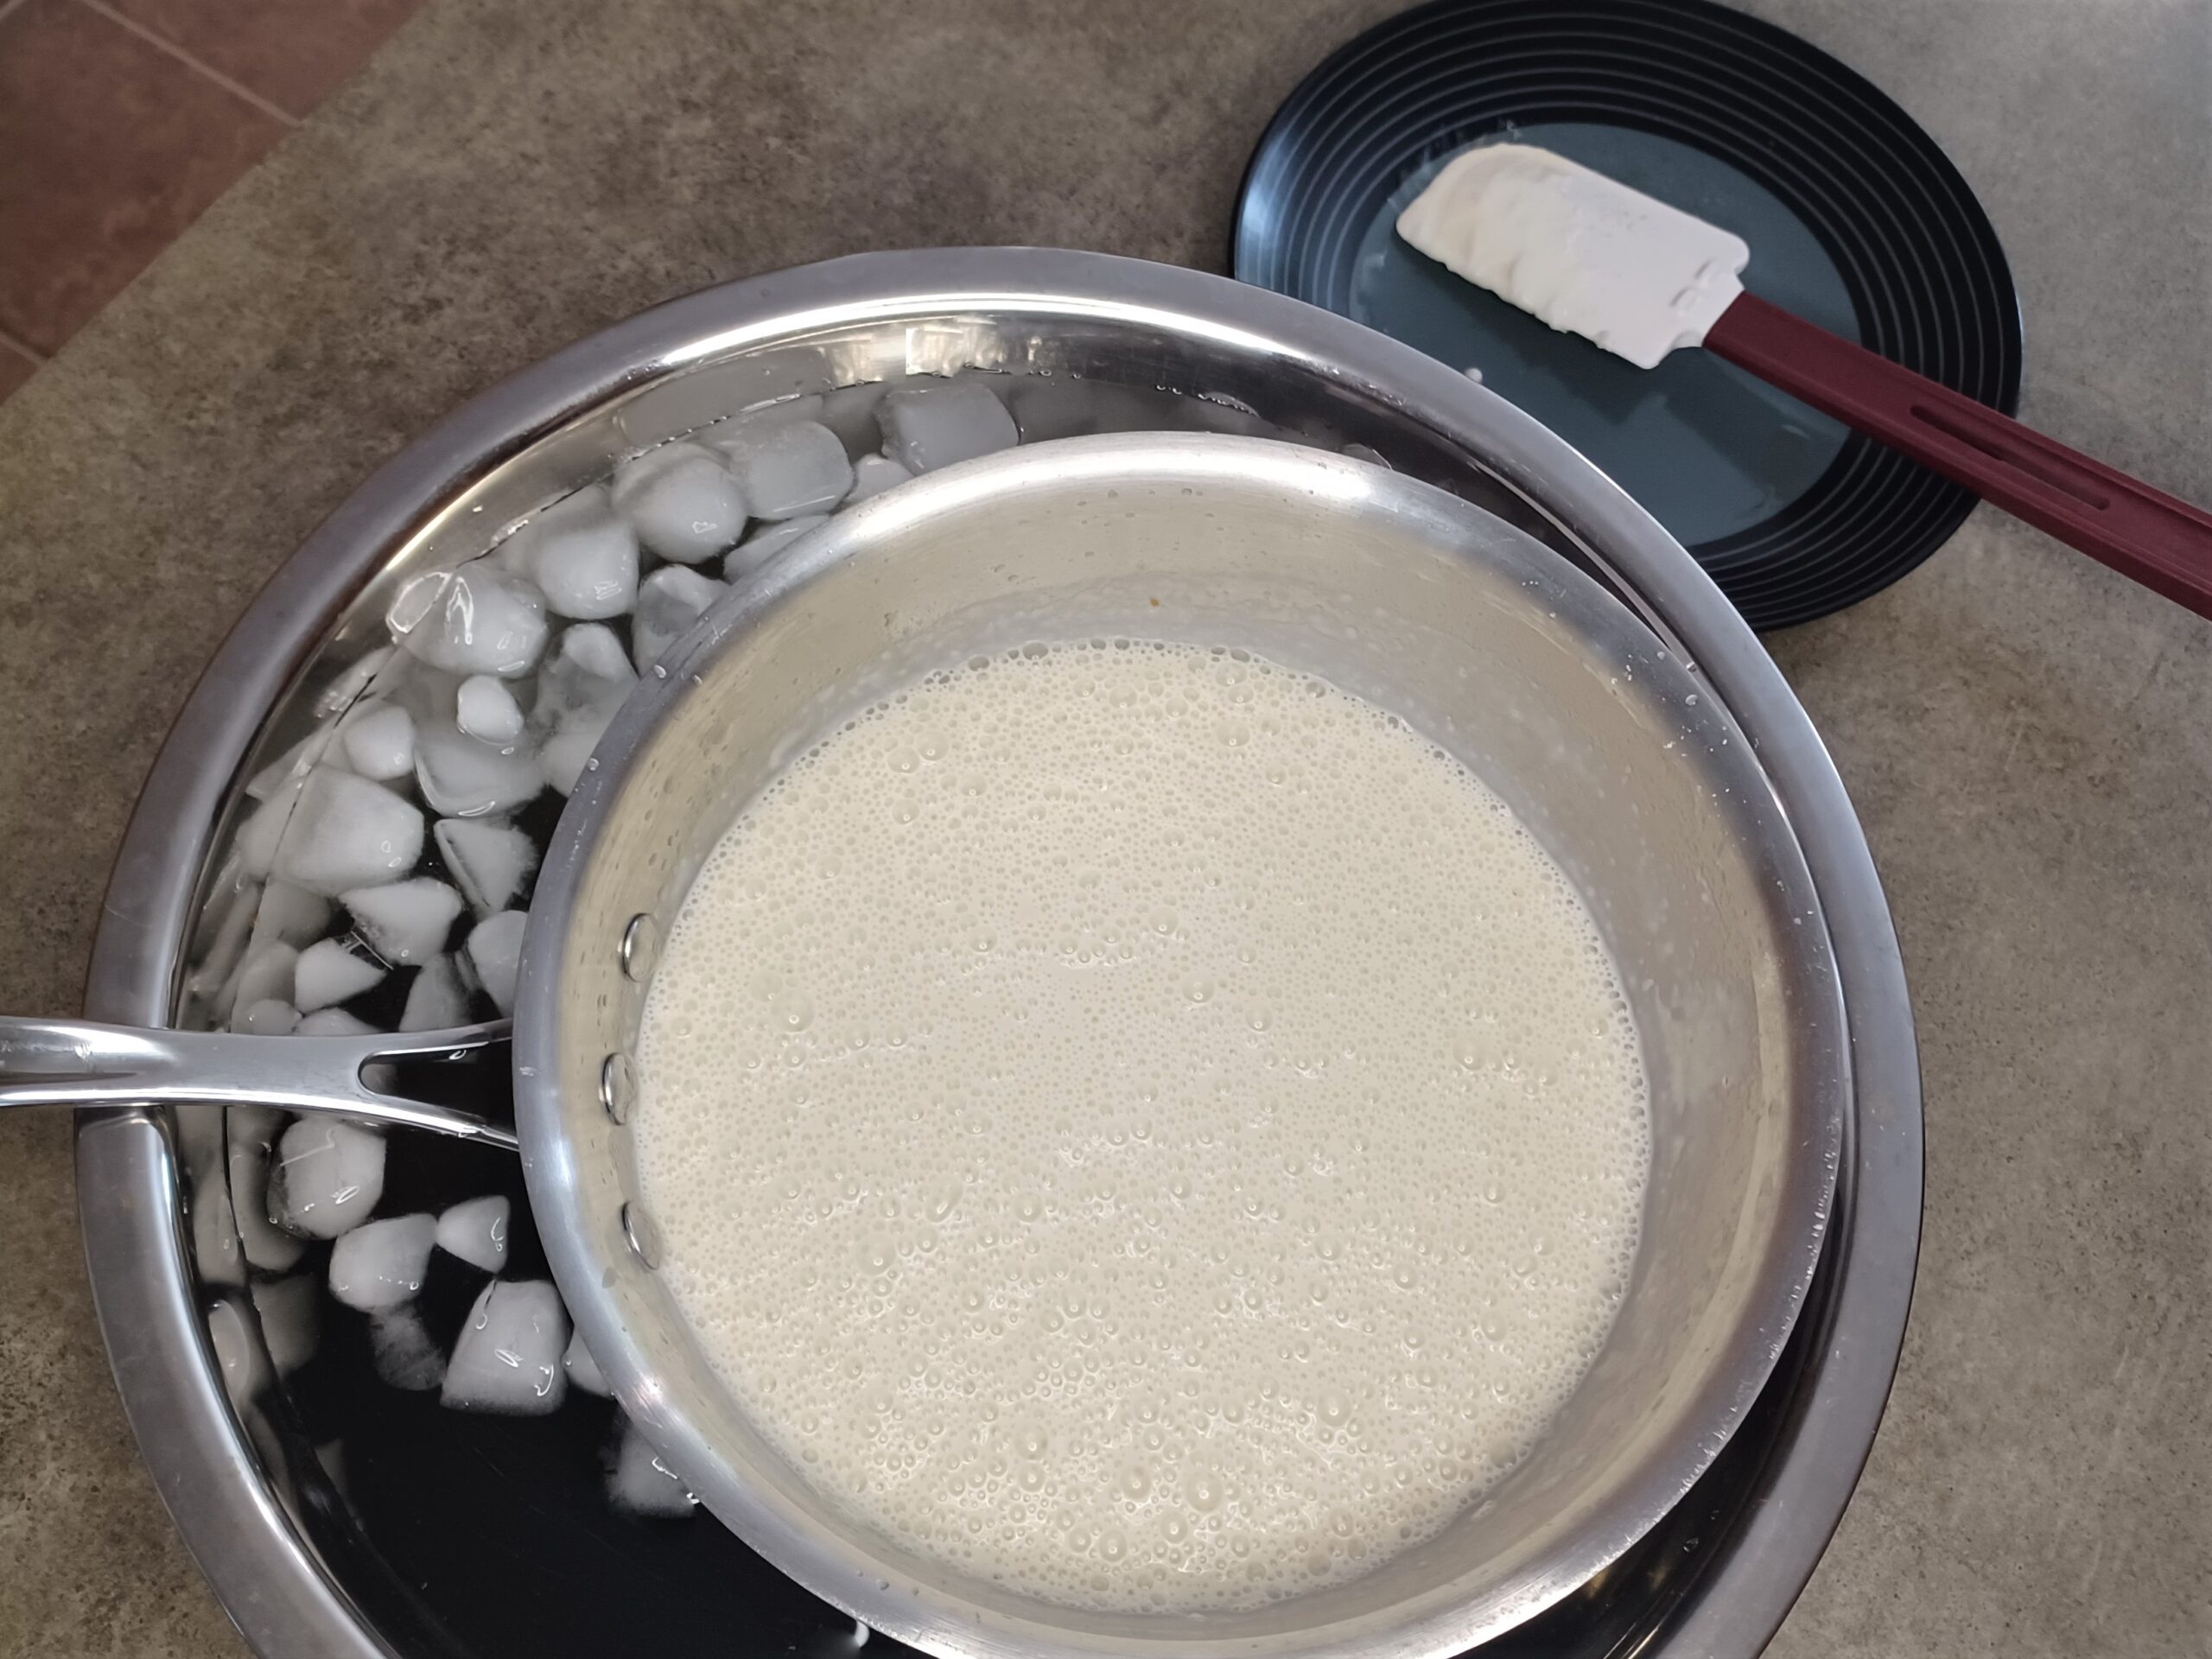
Transfer to a container and chill in the refrigerator for 8 hours or overnight.
For a quicker chilling time, place the bowl containing your mixture in an ice bath (a larger bowl containing ice water) for a few hours. Stir the mixture occasionally. As the water in the ice bath warms up, pour off some water and add ice to keep the mixture chilling as quickly as possible.
Ideally, the mixture will be about 40 degrees when you churn it.
-
CHURN
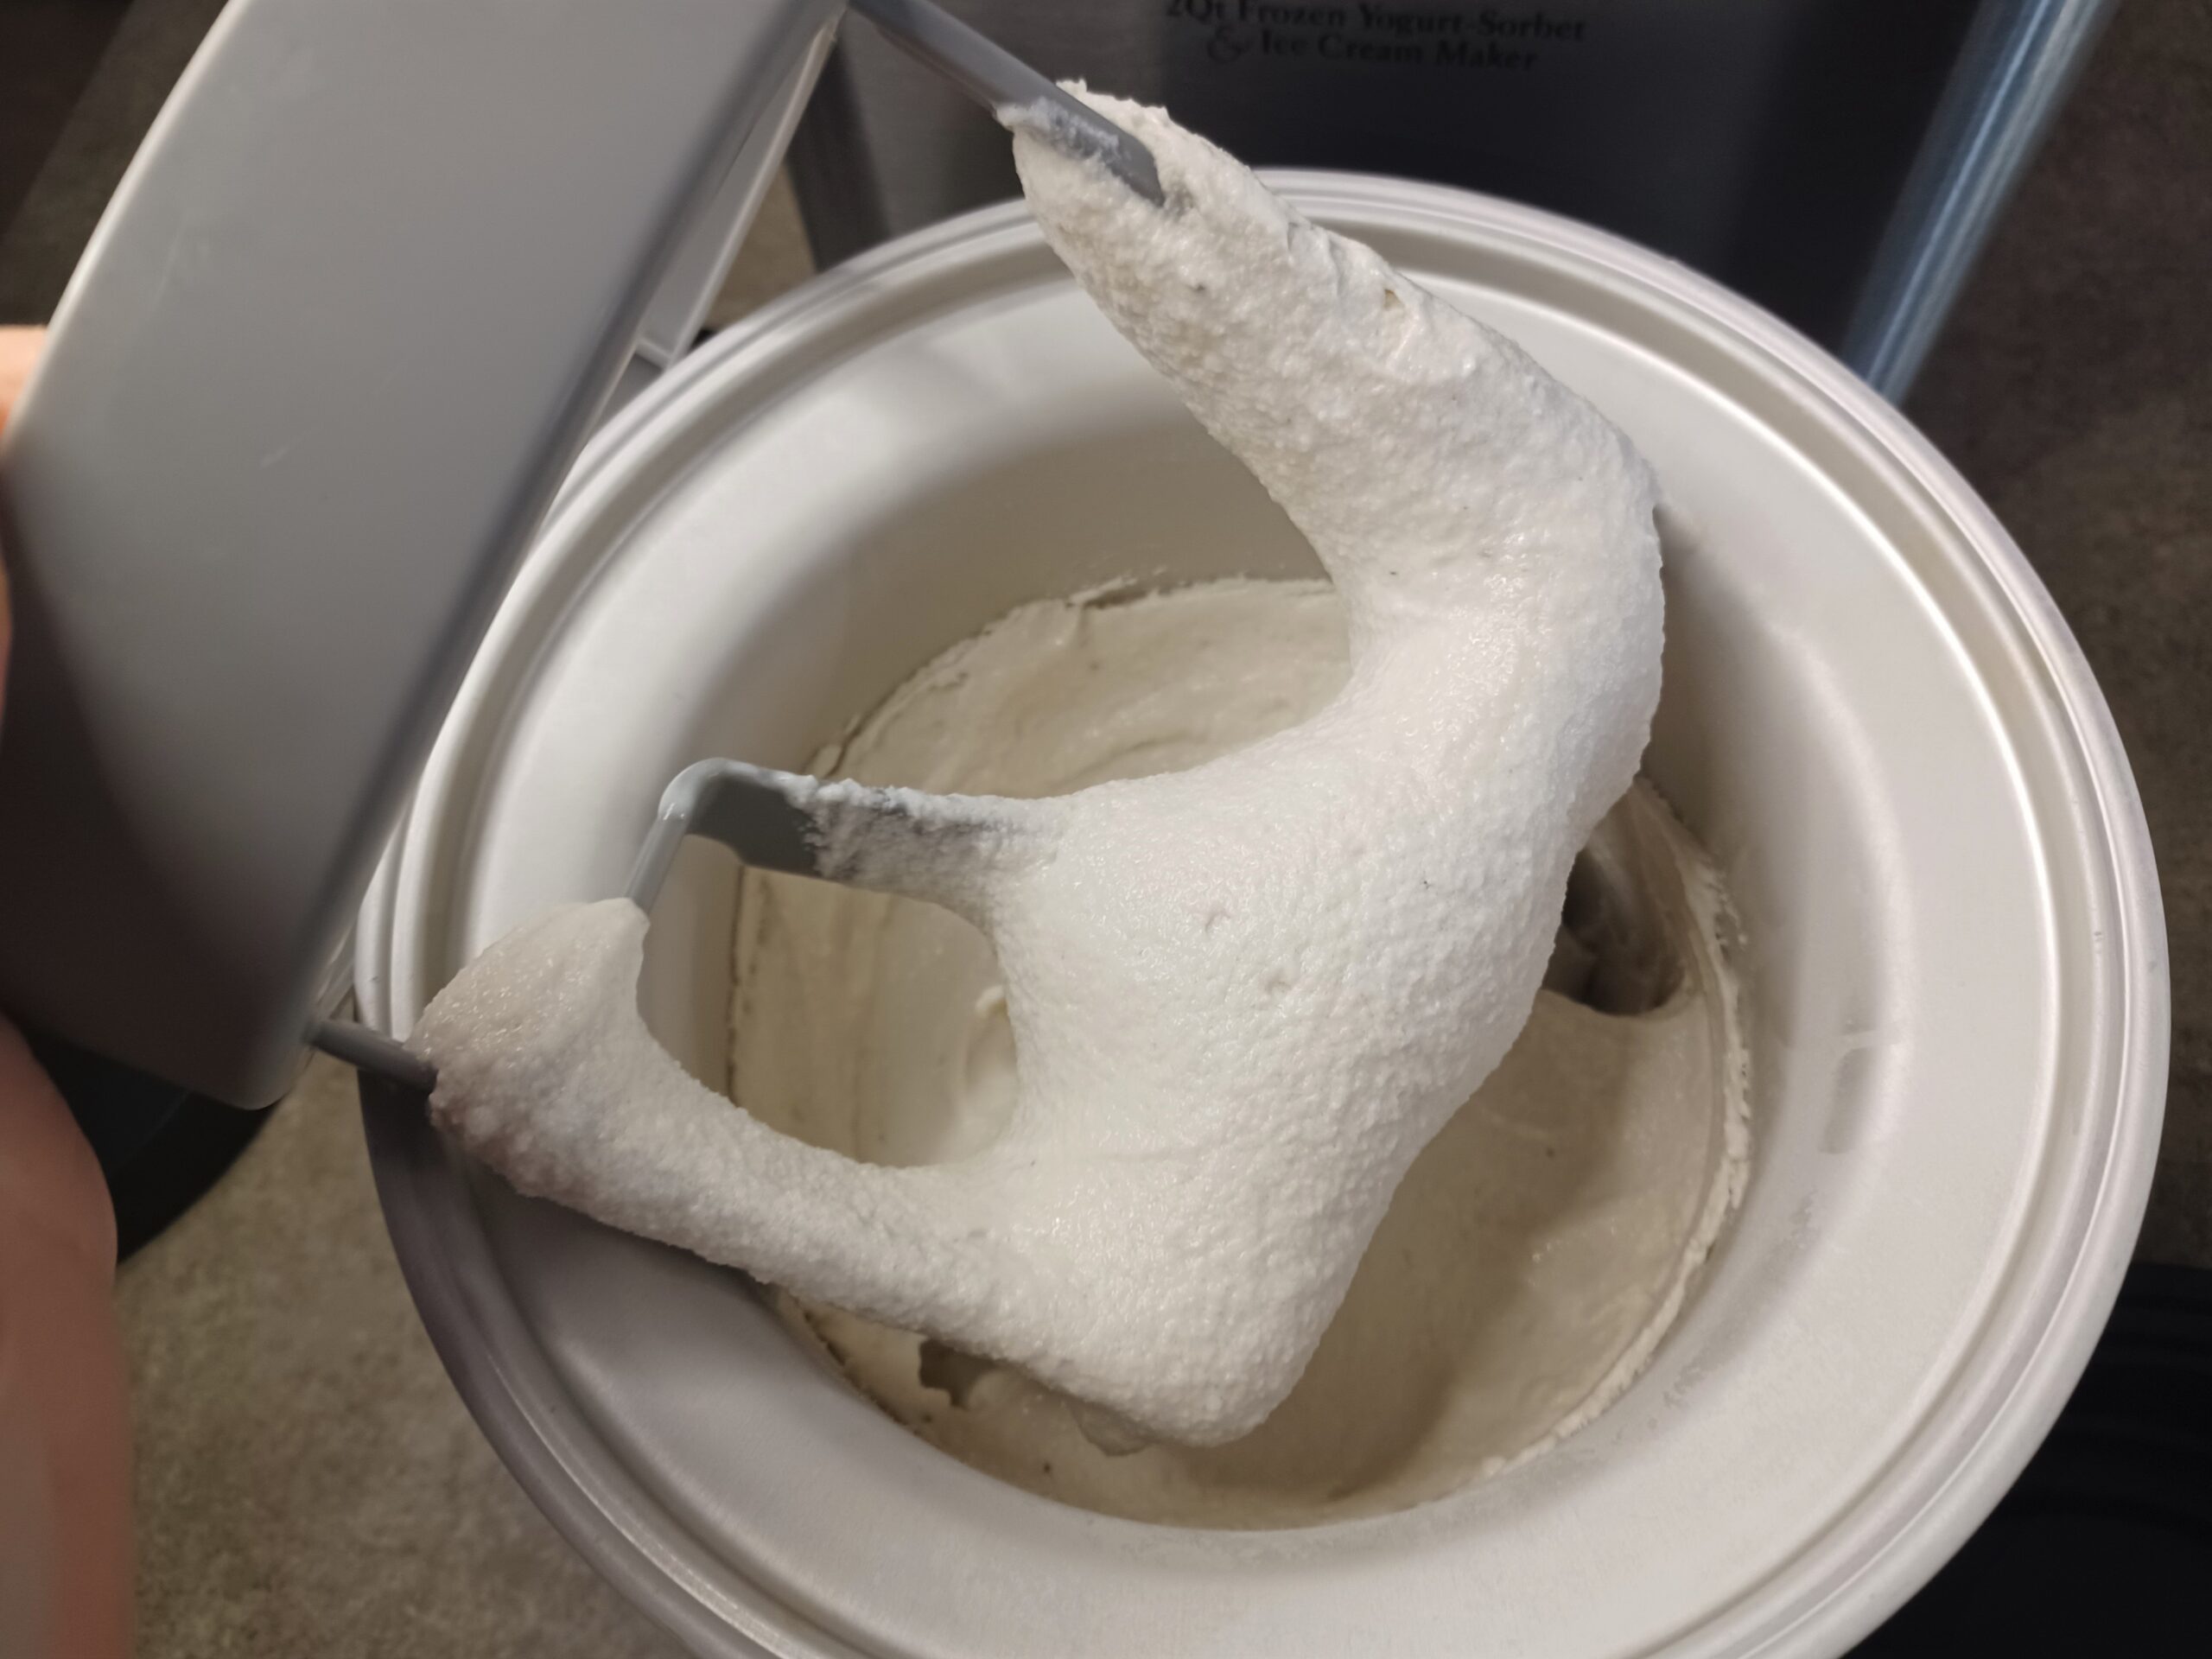
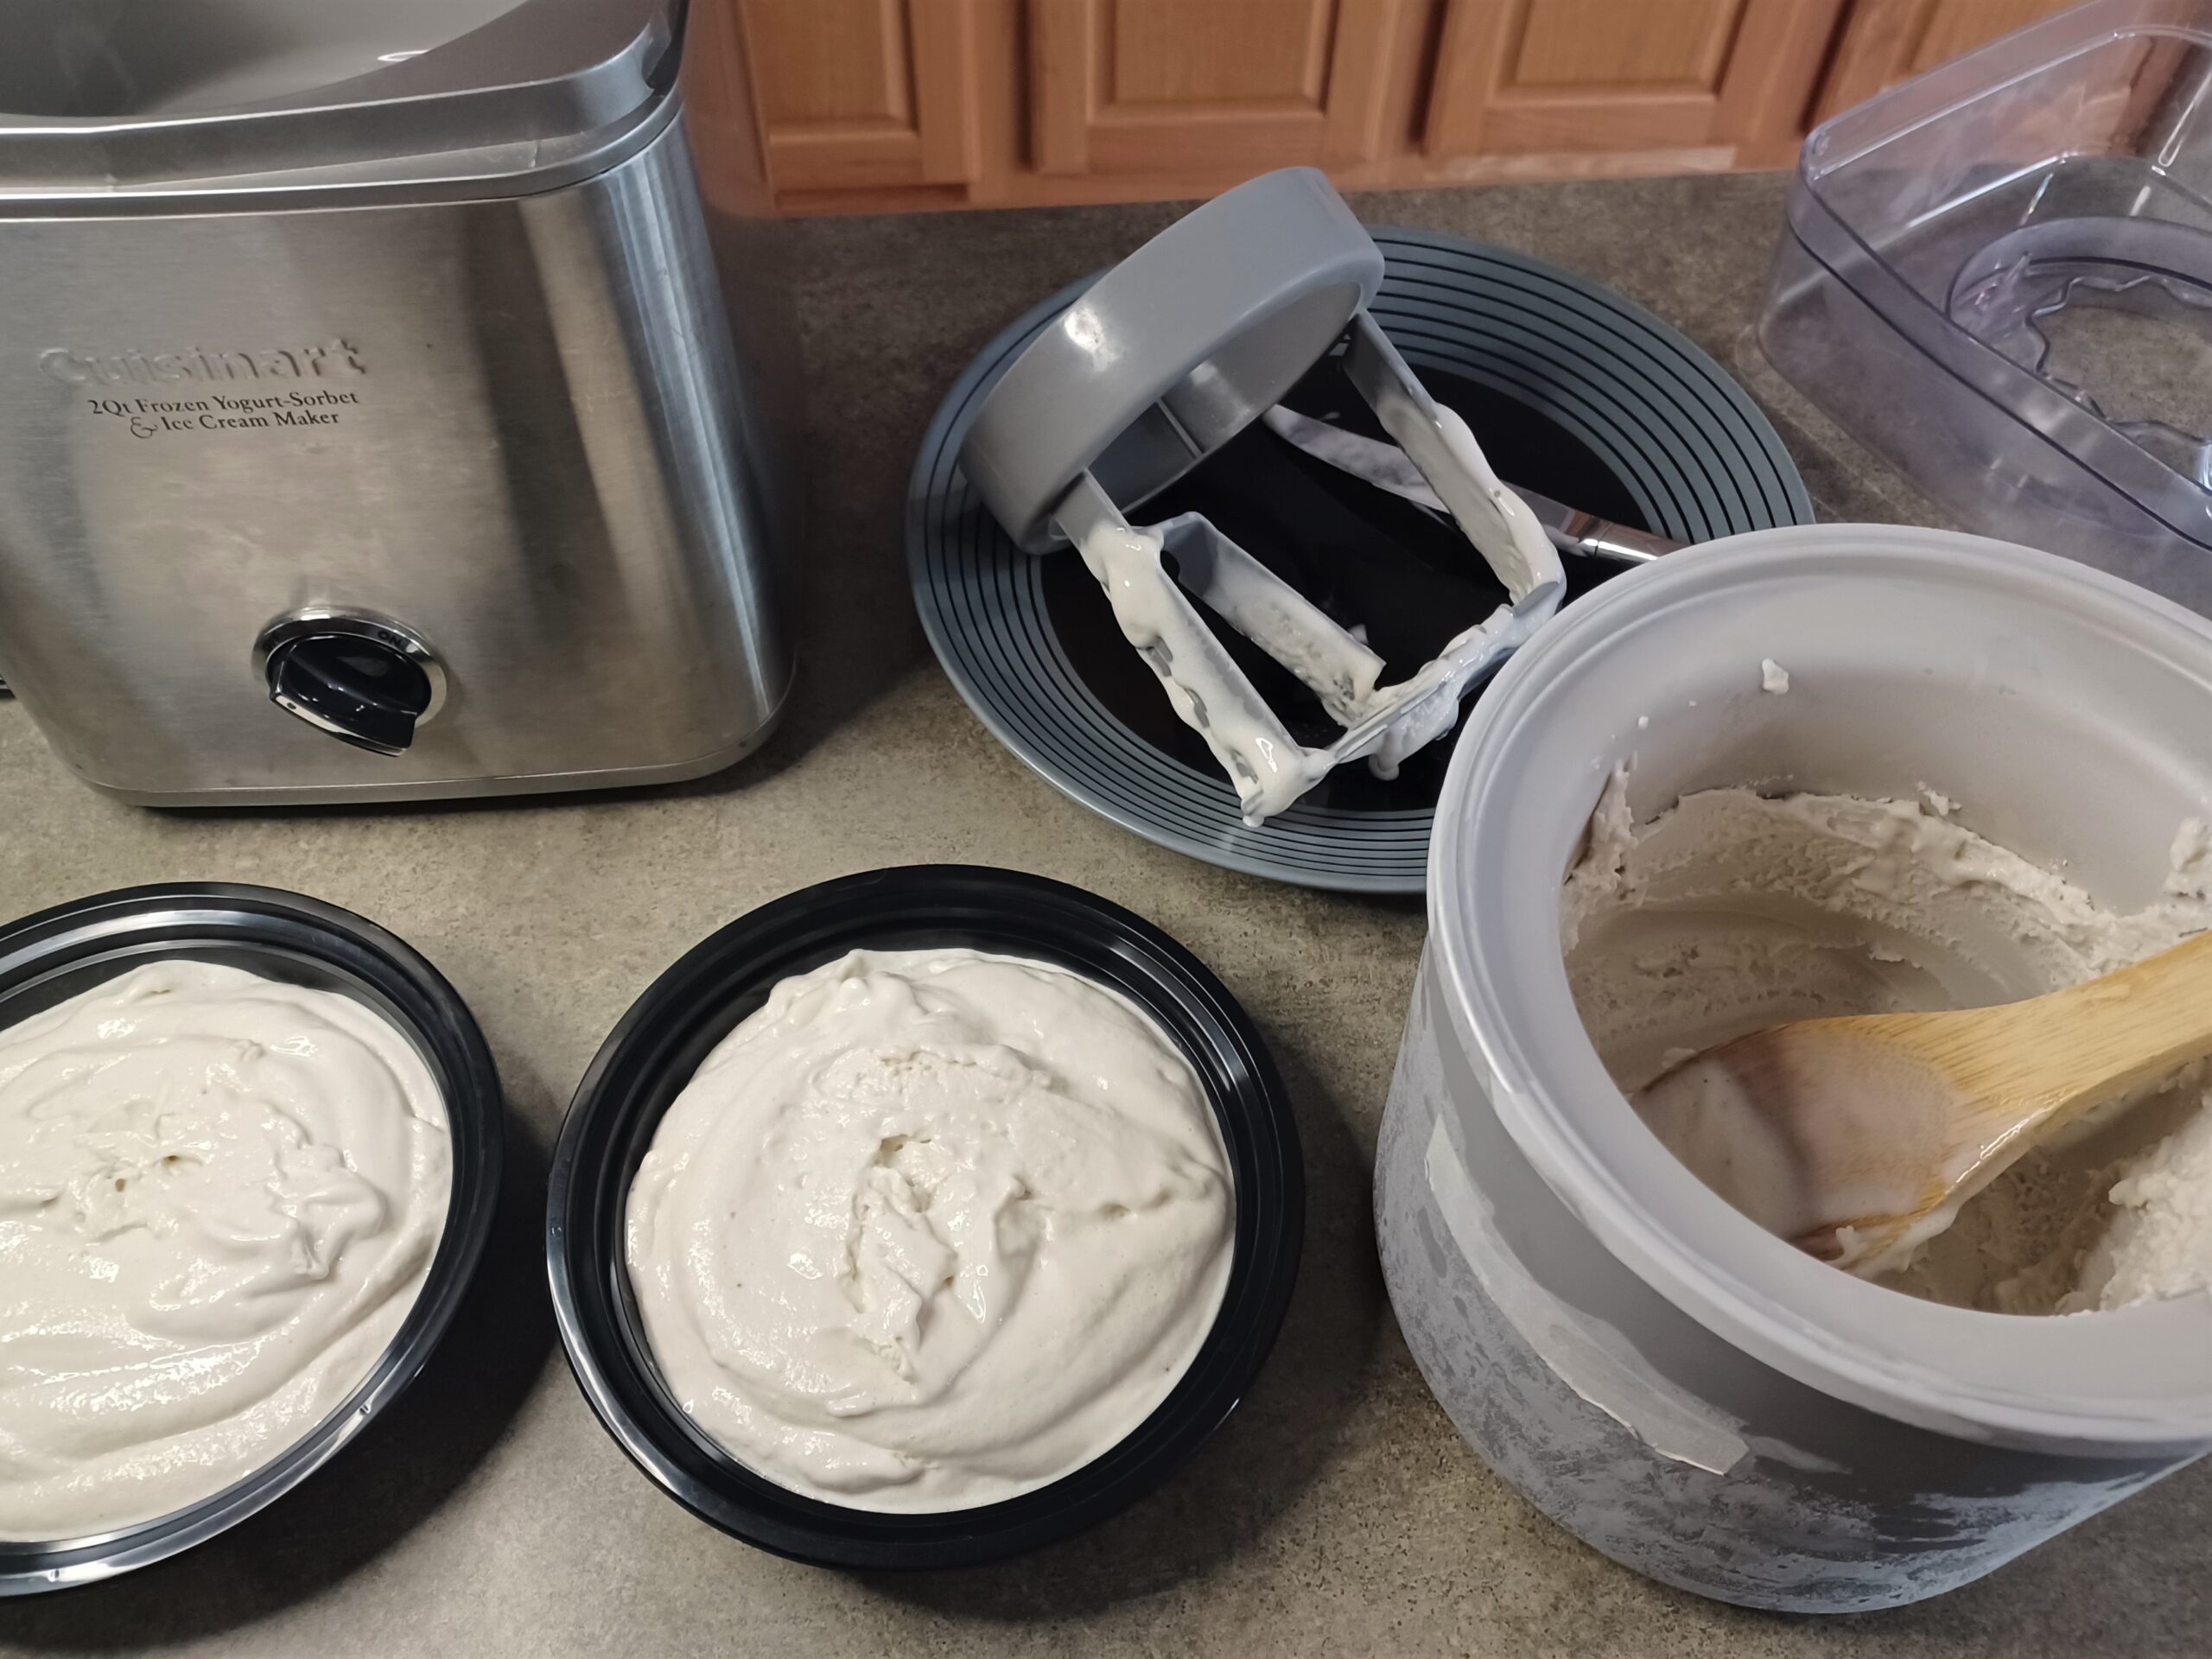
Before you start churning, set up everything you'll need to quickly transfer the frozen yogurt from the machine into a container for freezing. I use a knife to scrape down the dasher (or paddle) and a wooden spoon to scoop out the ice cream.
Set up your ice cream maker according to the manufacturer's directions. Pour your mixture into the ice cream maker and churn. In my machine the perfect churning time is 23 minutes, but your experience may vary.
The frozen yogurt is finished churning when it looks like soft-serve and is pulling away from the sides of the canister.
-
STORE
When the frozen yogurt has finished churning, scoop it as quickly as possible into your storage container. Cover it with plastic wrap or parchment paper, if using. (Placing a sheet of parchment paper between the container and lid will help prevent frost, or you can press plastic wrap directly onto the surface of the ice cream.) Put the container in the freezer. The ice cream will be fully firm in a few hours.
Note
You can use any unflavored, unsweetened protein powder you want. Whey, collagen, and egg white work the best. Vegan protein powders can work too, but sometimes create a chalky texture. Because different protein powders have different textures, the same volume of different powders may weigh different amounts. Weighing is the best method for ensuring you get the 50 grams the recipe calls for, but here are some estimates for using a cup measurement:
- 50 g collagen powder = 1/2 cup
- 50 g whey protein = 3/4 cup
- 50 g egg white protein = 1/2 cup + 2 tablespoons
- 50 g soy protein = 3/4 cup
- 50 g pea protein = 1/2 cup + 2 tablespoons
Suggested toppings:
- Toasted sesame seeds
- Fresh banana slices
- Caramel sauce
- Chocolate sauce
- Candied ginger
- Lemon zest
Recommended equipment: (may include affiliate links)
- My ice cream maker (2 qt)
- Newer version of my ice cream maker (2 qt)
- Well-reviewed less expensive ice cream maker (1.5 qt)
- Insulated ice cream container
- Heat-proof spatula
- Immersion/hand blender
- Ice cream scoop
Recommended ingredients: (may include affiliate links)