Do you like to chew your ice cream? Do you get excited about salty crunchy things paired with sweet chewy things? If you do, and if wrapping the salty-crunchies and sweet-chewies inside something cold and rich and creamy sounds even better, then this is your lucky day. Trail Mix Ice Cream is for you!
I’d wanted to make this flavor for a while, but I was waiting to get excited about it. You see, I knew I wanted to make an ice cream with a ton of mix-ins, a combination of things you’d find in trail mix, and call it Trail Mix Ice Cream. But what would the base flavor be? Vanilla? Seemed boring. Then one afternoon as I was snacking on sunflower butter (everyone eats spoonfuls straight out of the jar, right?), I realized I had found the perfect flavor for the base.
I love sunflower butter (this is the sunflower butter I use), but maybe not everyone does, so if you’d like to substitute another nut or seed butter, go for it. While I haven’t tested others, I bet they’d work fine. (Or you might want to check out my recipes for Salted Date, Tahini, and Cardamom Ice Cream or Almond Butter and Molasses Ice Cream, which are both vegan as well.)

The base couldn’t be simpler to assemble — just throw everything into a blender. In Trail Mix Ice Cream, the mix-ins are the star of the show, so don’t neglect them. The recipe lists the mix-ins I used, but you can customize them to your preferences. Additional suggestions are in the recipe notes below. The most important piece of advice I can give: toast your nuts! They’ll bring such a wonderful flavor, plus they’ll stay extra crunchy. (Serious Eats has a great method for toasting nuts in the microwave.)
What combinations of mix-ins would you try? I’d love to know!

Trail Mix Ice Cream (vegan)
Makes ~1 quart
Ingredients
For the ice cream base
For the mix-ins
Instructions
-
BLEND
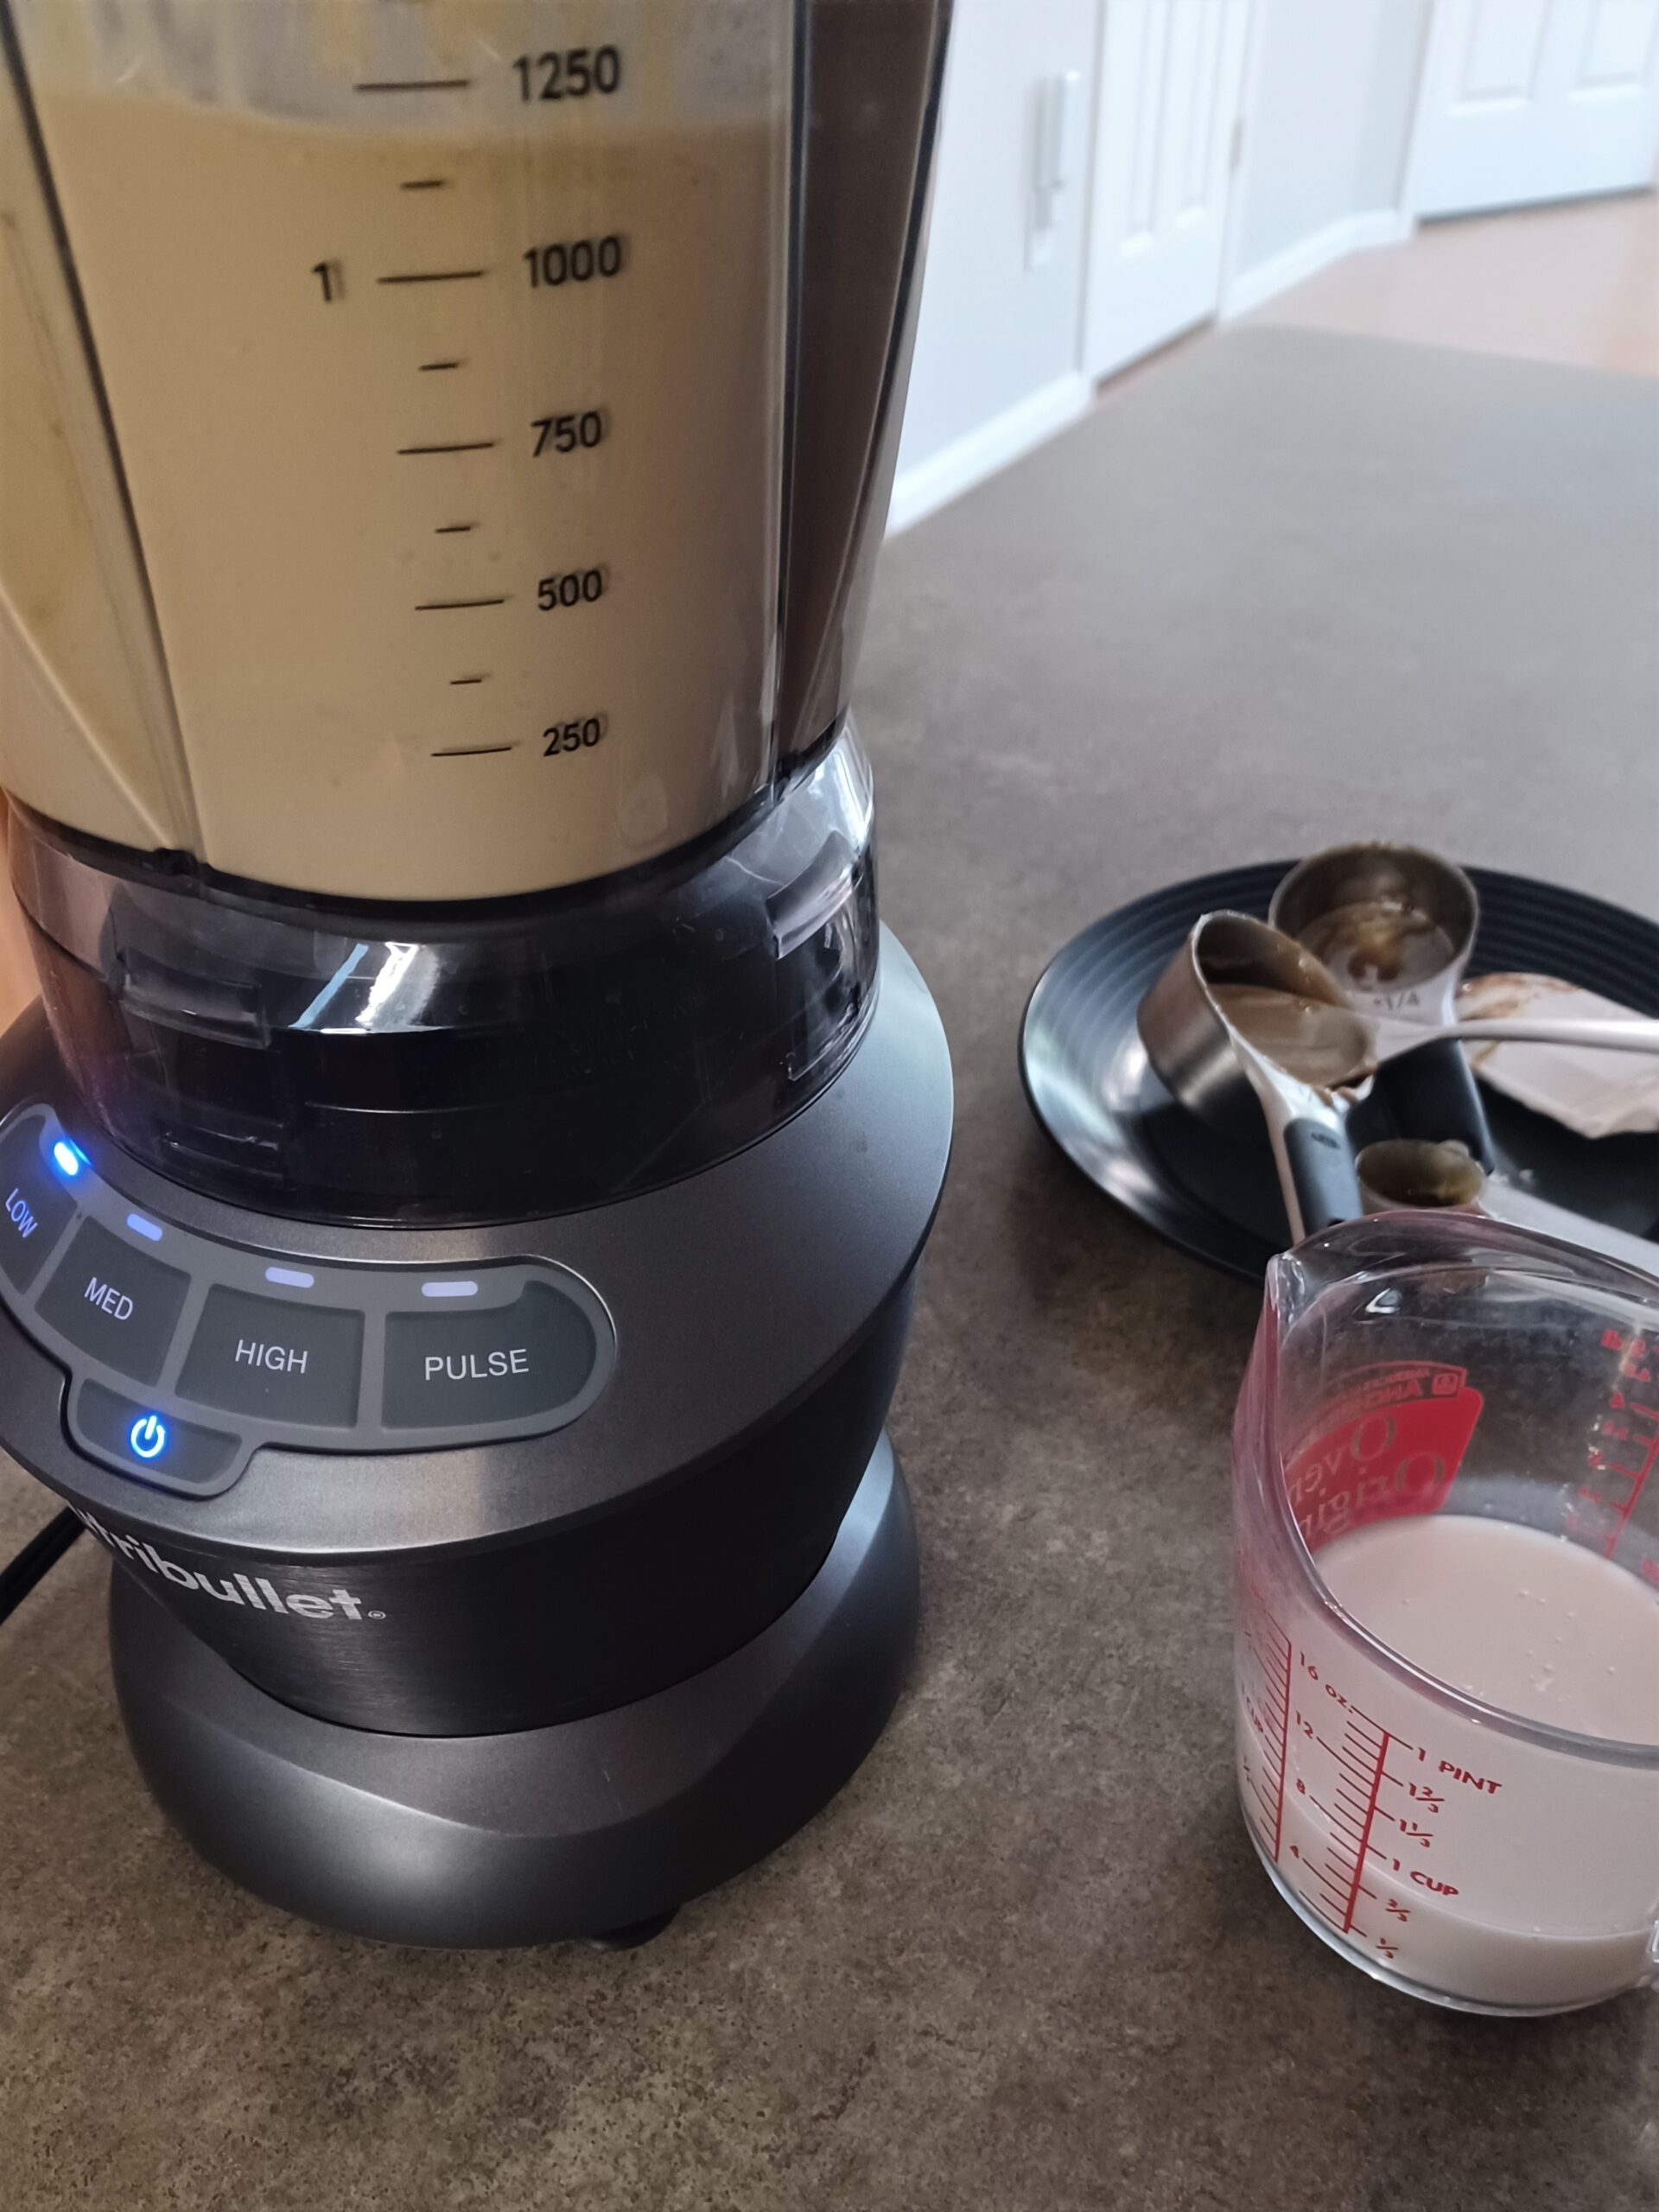
Place all ingredients for the ice cream base in a blender and blend until smooth.
-
CHILL
Transfer to a container and chill in the fridge for 8 hours or overnight.
For a quicker chilling time, place the bowl containing your mixture in an ice bath (a larger bowl containing ice water) for a few hours. Stir the mixture occasionally. As the water in the ice bath warms up, pour off some water and add ice to keep the mixture chilling as quickly as possible.
Ideally, the mixture will be about 40 degrees when you churn it.
-
PREP YOUR MIX-INS
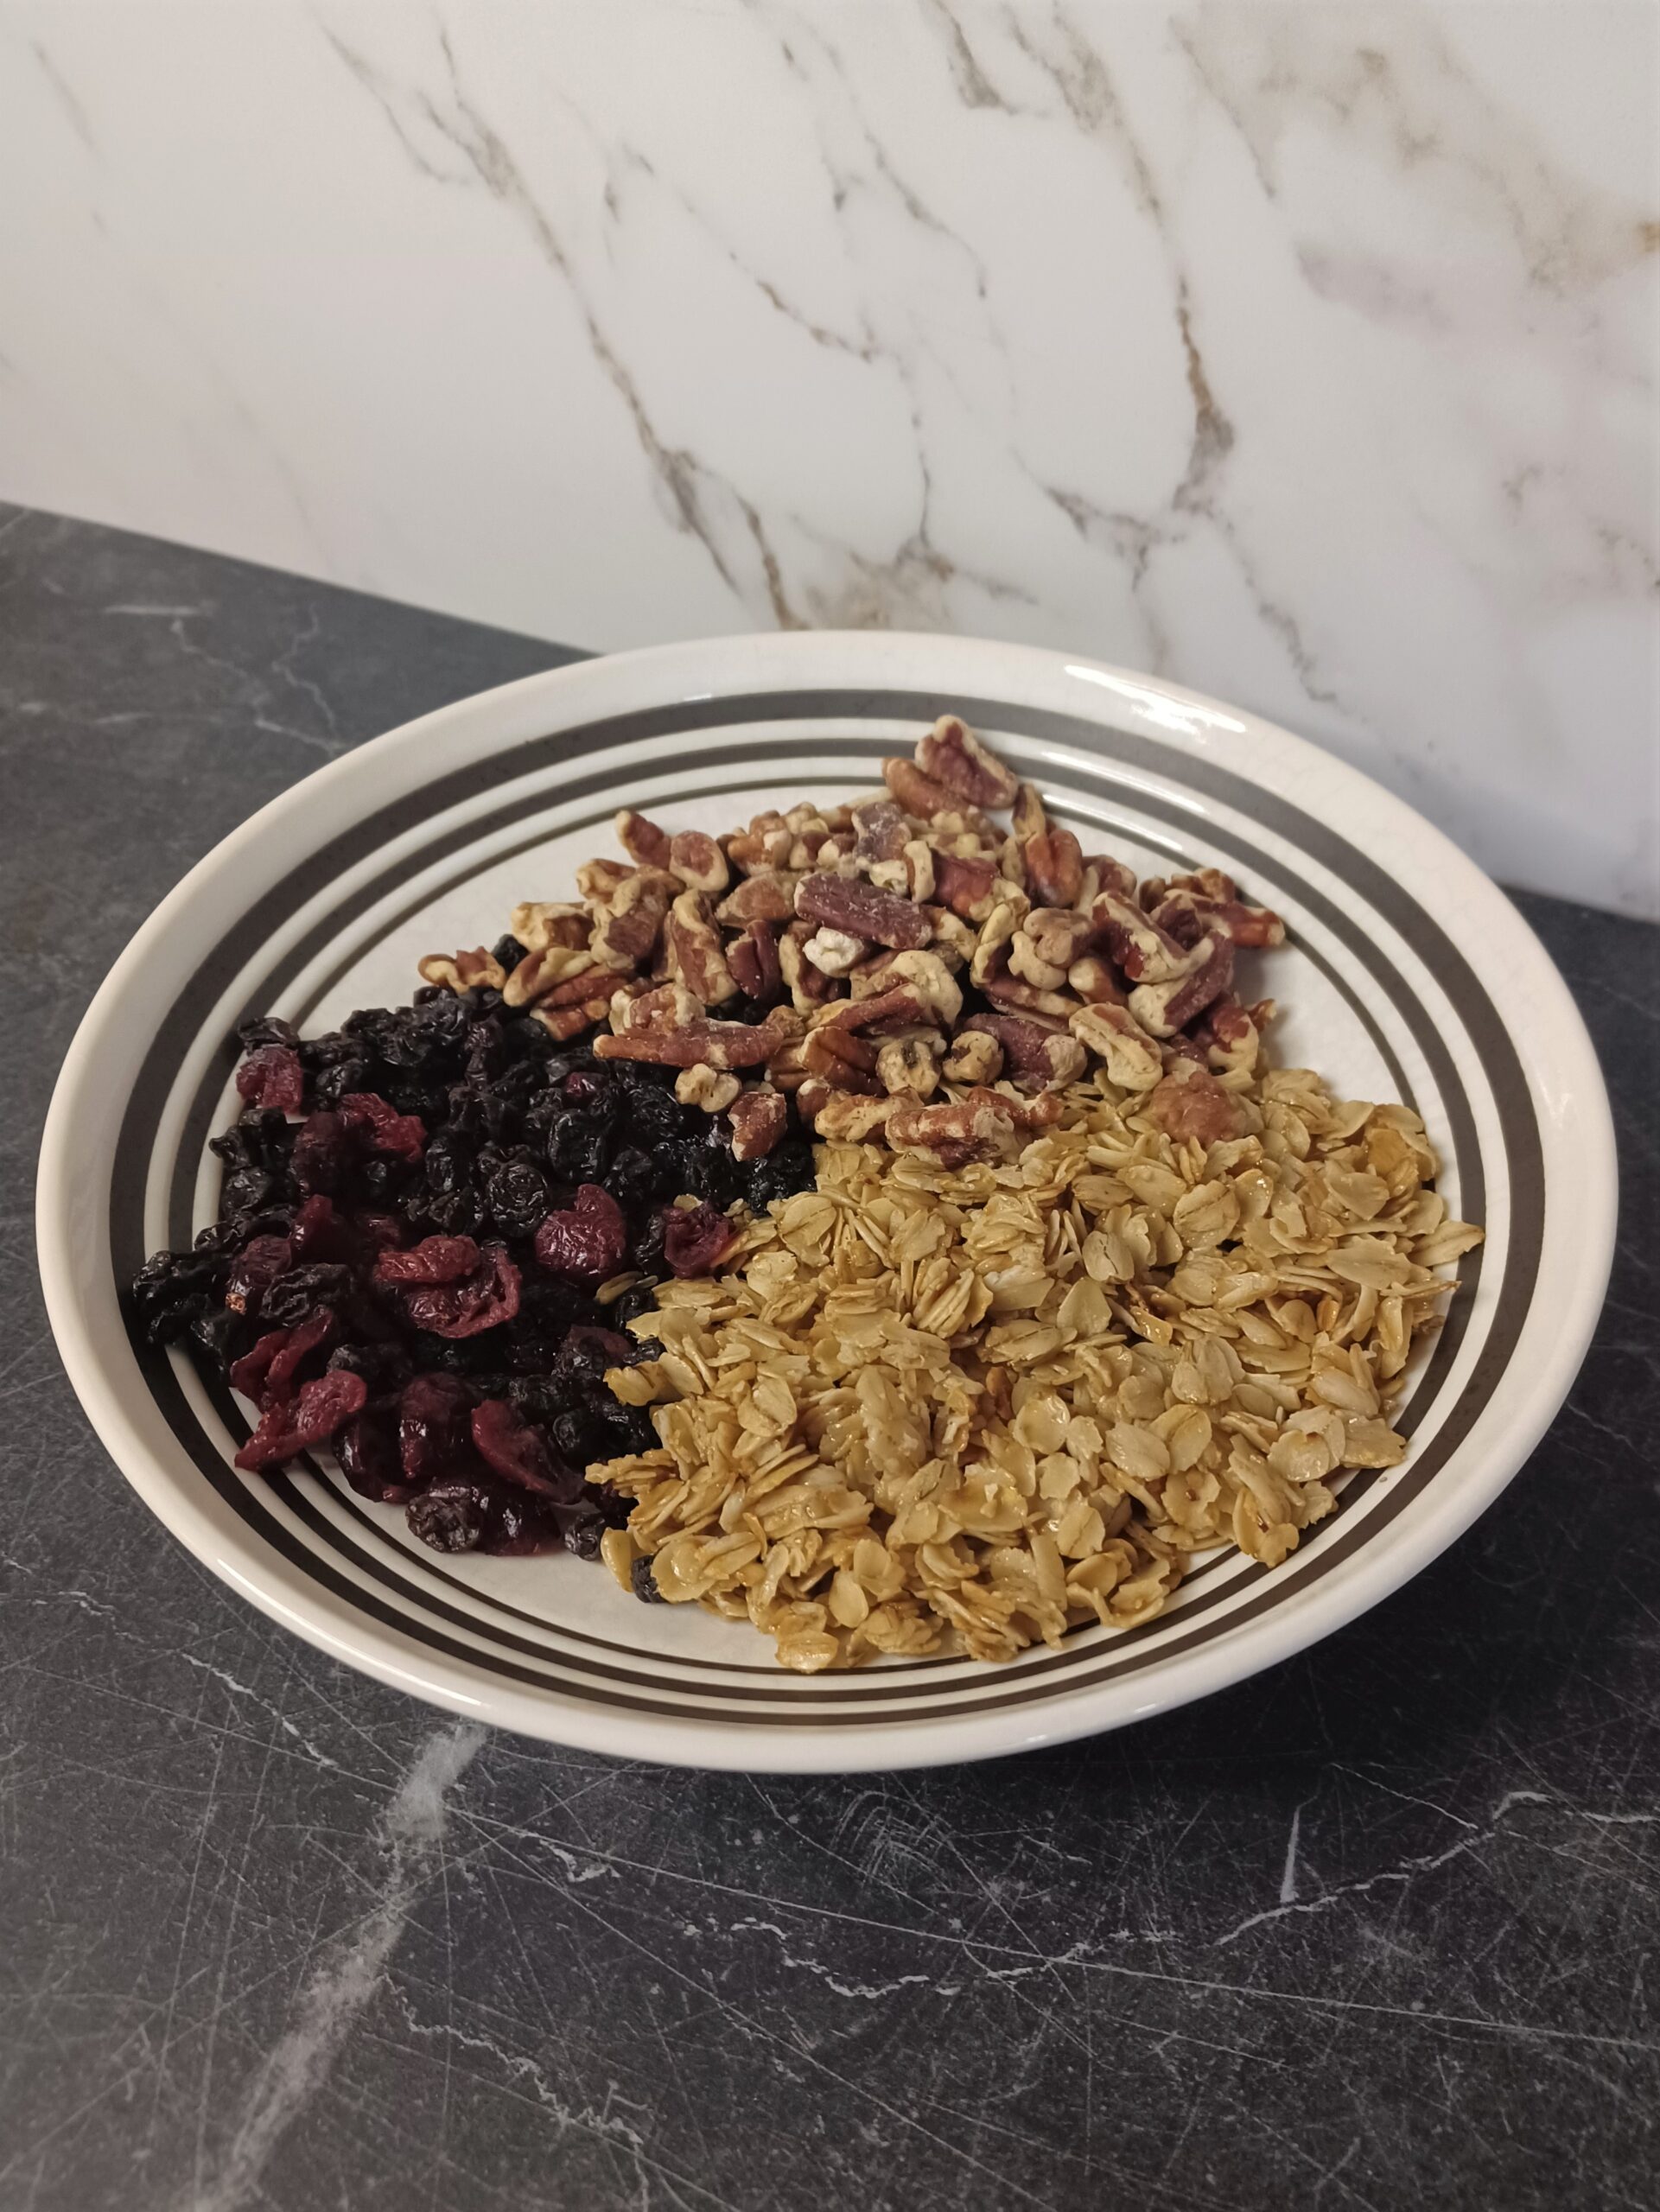
Get your mix-ins ready. I like to use 1 1/2 cups total, with a blend of granola, nuts, and dried fruit. Choose whatever mix-ins you like, and see the notes section for more ideas.
- Granola - Use your favorite store-bought variety or make your own. (I make a quick and simple version by toasting 1/2 cup of old fashioned oats in a pan on the stove. Add 1 tablespoon of oil, 1 tablespoon of maple syrup, and a pinch of salt. Continue cooking until the pan is dry and the oats are golden. They will get crispy as they cool.)
- Fruit - Anything larger than a raisin should be chopped into smaller pieces.
- Nuts - Chop into whatever size you prefer. I like the nuts to be about the same size as the pieces of fruit. Don't skip the toasting step! It adds wonderful flavor.
-
CHURN
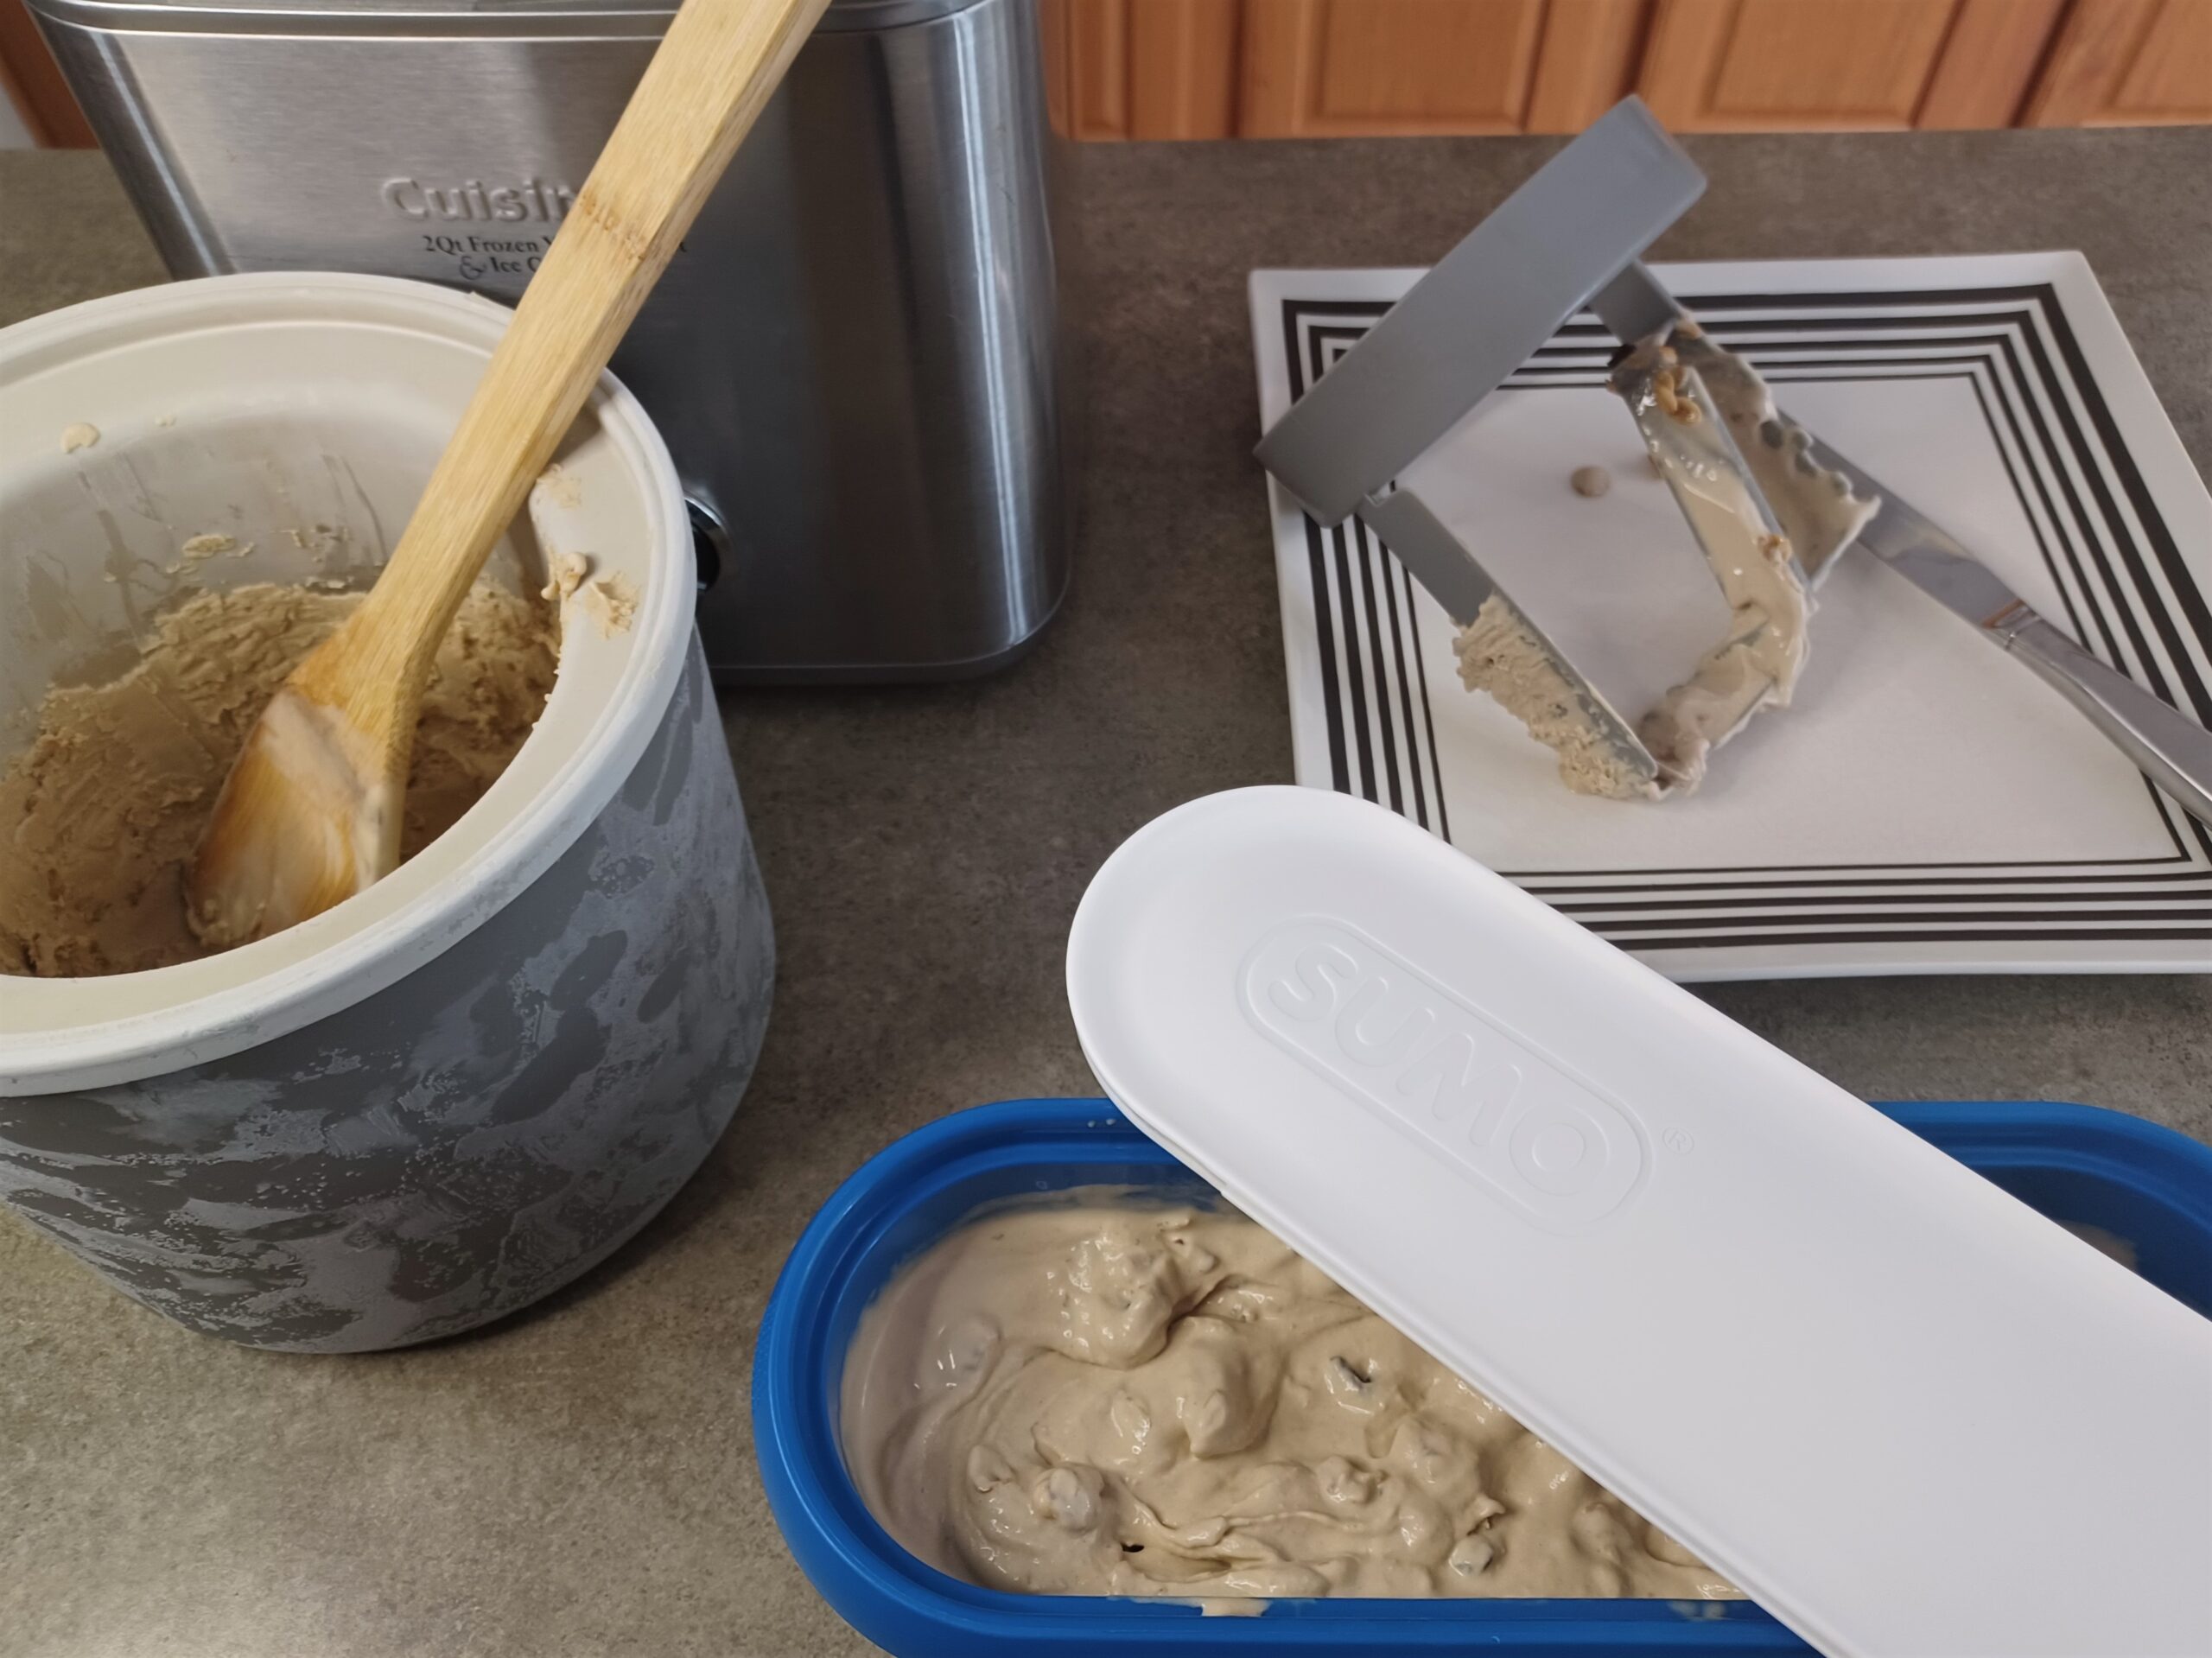
Before you start churning, set up everything you'll need to quickly transfer the ice cream from the machine into a container for freezing. Grab your mix-ins! I use a knife to scrape down the dasher (or paddle) and a wooden spoon to scoop out the ice cream.
Set up your ice cream maker according to the manufacturer's directions. Pour your mixture into the ice cream maker and churn. Because this mixture is thicker than many ice cream bases, it churns more quickly than most. In my machine the perfect churning time is 13 minutes, but your experience may vary.
The ice cream is ready when it has the consistency of soft serve and has started pulling away from the edge of the canister. You'll notice it also gets lighter in color as air is mixed in.
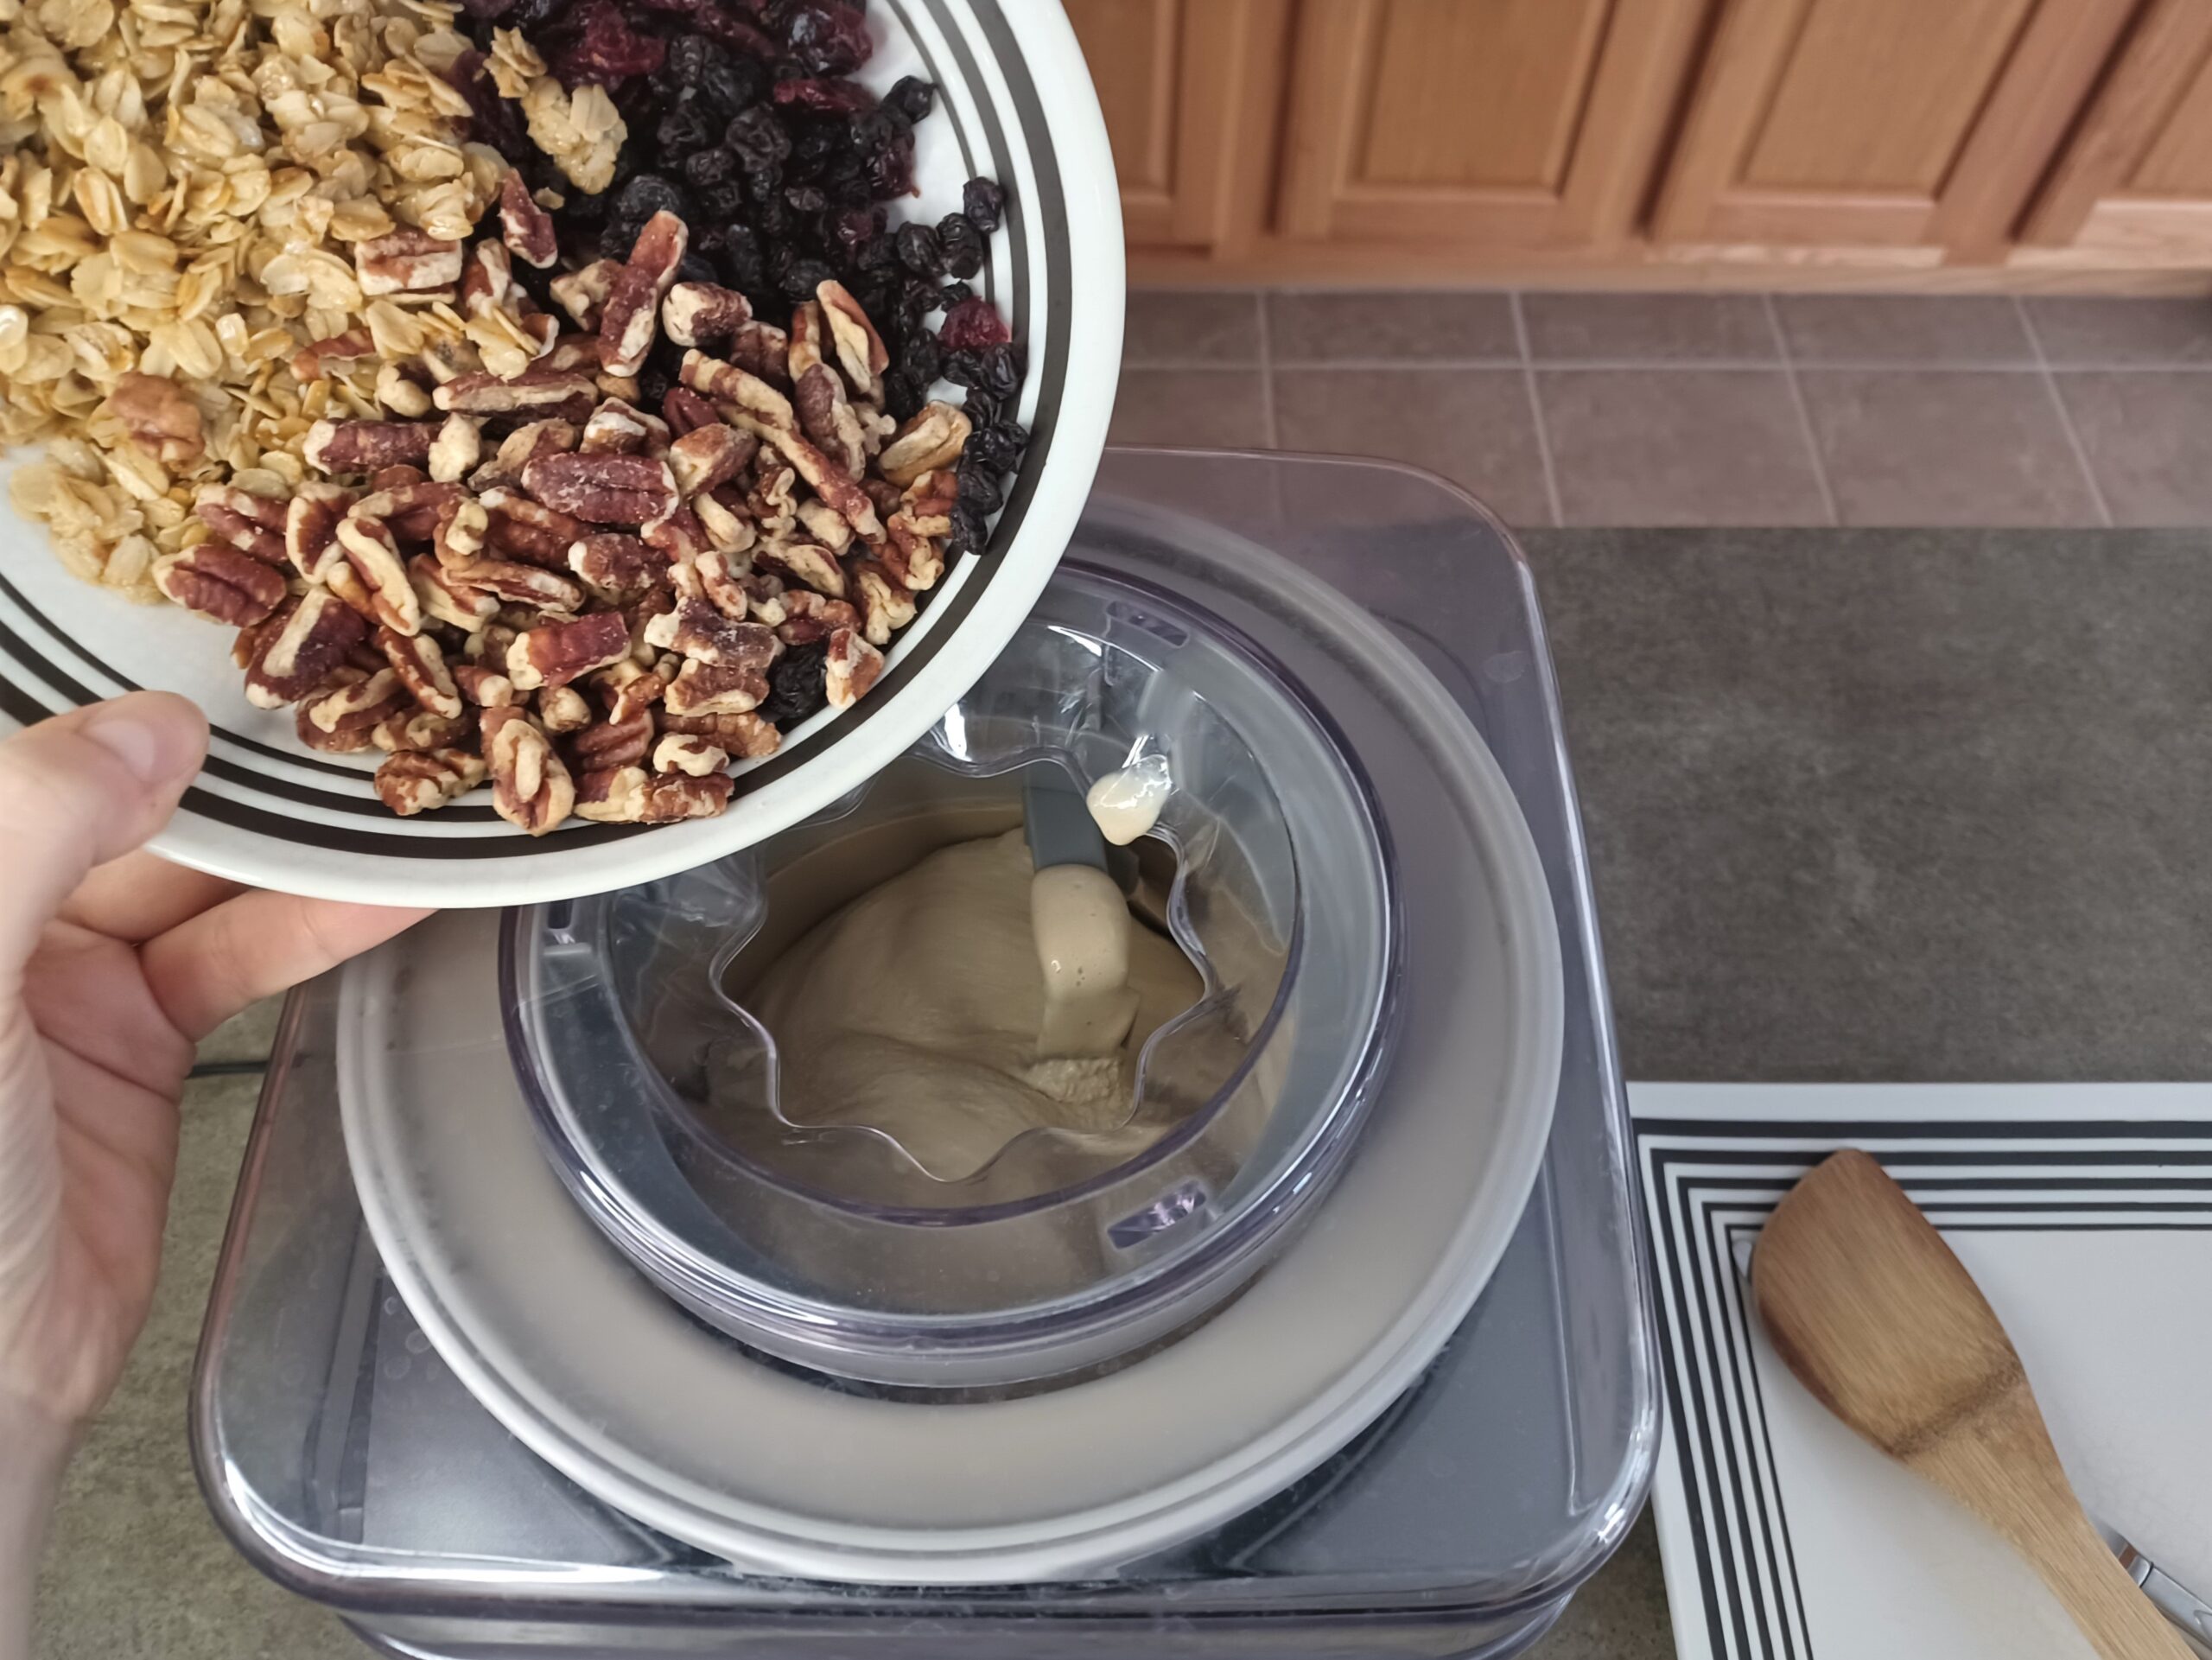
Add the mix-ins in the last minute of churning, or stir them into the churned ice cream as you transfer it to your storage container.
-
STORE
When the ice cream has finished churning, scoop it as quickly as possible into your storage container. Stir in the mix-ins if you didn't add them to the machine in the last minute of churning.
Cover it with plastic wrap or parchment paper, if using. (Placing a sheet of parchment paper between the container and lid will help prevent frost, or you can press plastic wrap directly onto the surface of the ice cream.) Put the container in the freezer. The ice cream will be fully firm in a few hours.
Note
Suggested mix-ins:
- any type of chopped, toasted nuts or seeds
- any type of dried fruit, chopped if the pieces are large
- candied ginger
- corn nuts
- chocolate chips or M&Ms
- melt-in-your-mouth chocolate flakes (see instructions in the recipe for Mint Chocolate Chip Ice Cream)
To create a mix-in, wait until the last 1-2 minutes of churning and add the pieces to the ice cream maker. Adding them too early will mean they sink to the bottom. Alternatively, you can layer or stir them into the ice cream as you transfer it to your storage container.
Suggesting toppings:
- caramel sauce
- crumbled cookies, like ginger snaps or oatmeal raisin
- flaky sea salt, like Maldon
Recommended equipment: (may include affiliate links)
- My ice cream maker (2 qt)
- Newer version of my ice cream maker (2 qt)
- Well-reviewed less expensive ice cream maker (1.5 qt)
- Insulated ice cream container
- Heat-proof spatula
- Immersion/hand blender
- Standard blender
- Ice cream scoop
- Measuring cups
Recommended ingredients: (may include affiliate links)


