Here in Houston, where it is often blazing hot, sometimes very wet, and sometimes quite dry, my basil crop is…uneven, to put it nicely. Sometimes I have giant, healthy bushes of it. Sometimes I’m struggling to keep it alive. When it’s prolific, I look for creative dishes that use lots of it (besides pesto). Hence, Basil Ice Cream was born.
Basil may seem an unusual flavor for a dessert, but it’s in the same family as mint and has a somewhat minty taste. I’ve sometimes used a combination of fresh basil and mint in this recipe, with great results. Basil also complements many other flavors, so you have plenty of interesting options for toppings or mix-ins. (See the notes below.)
This Basil Ice Cream recipe calls for collagen powder, which doesn’t affect the flavor, but does give the ice cream a dense, silky, gelato-style texture. You can customize the recipe for your nutrition/dietary needs by swapping out the collagen for whatever type of protein powder you prefer. Just make sure it’s unsweetened and unflavored. Check the notes below for advice on making substitutions.
The base uses coconut milk and silken tofu, which lowers the fat content compared with a pure coconut milk base (or a traditional dairy base). But we need to add some fat back in for texture purposes, so I’ve chosen olive oil as a healthy fat and complementary flavor.
Basil ice cream is the perfect treat for a hot summer — fresh, light, and sweet — plus a creative way to get the most from your herb garden.

Basil Ice Cream (dairy free)
Makes ~1 quart
Ingredients
Instructions
-
INFUSE THE COCONUT MILK WITH BASIL
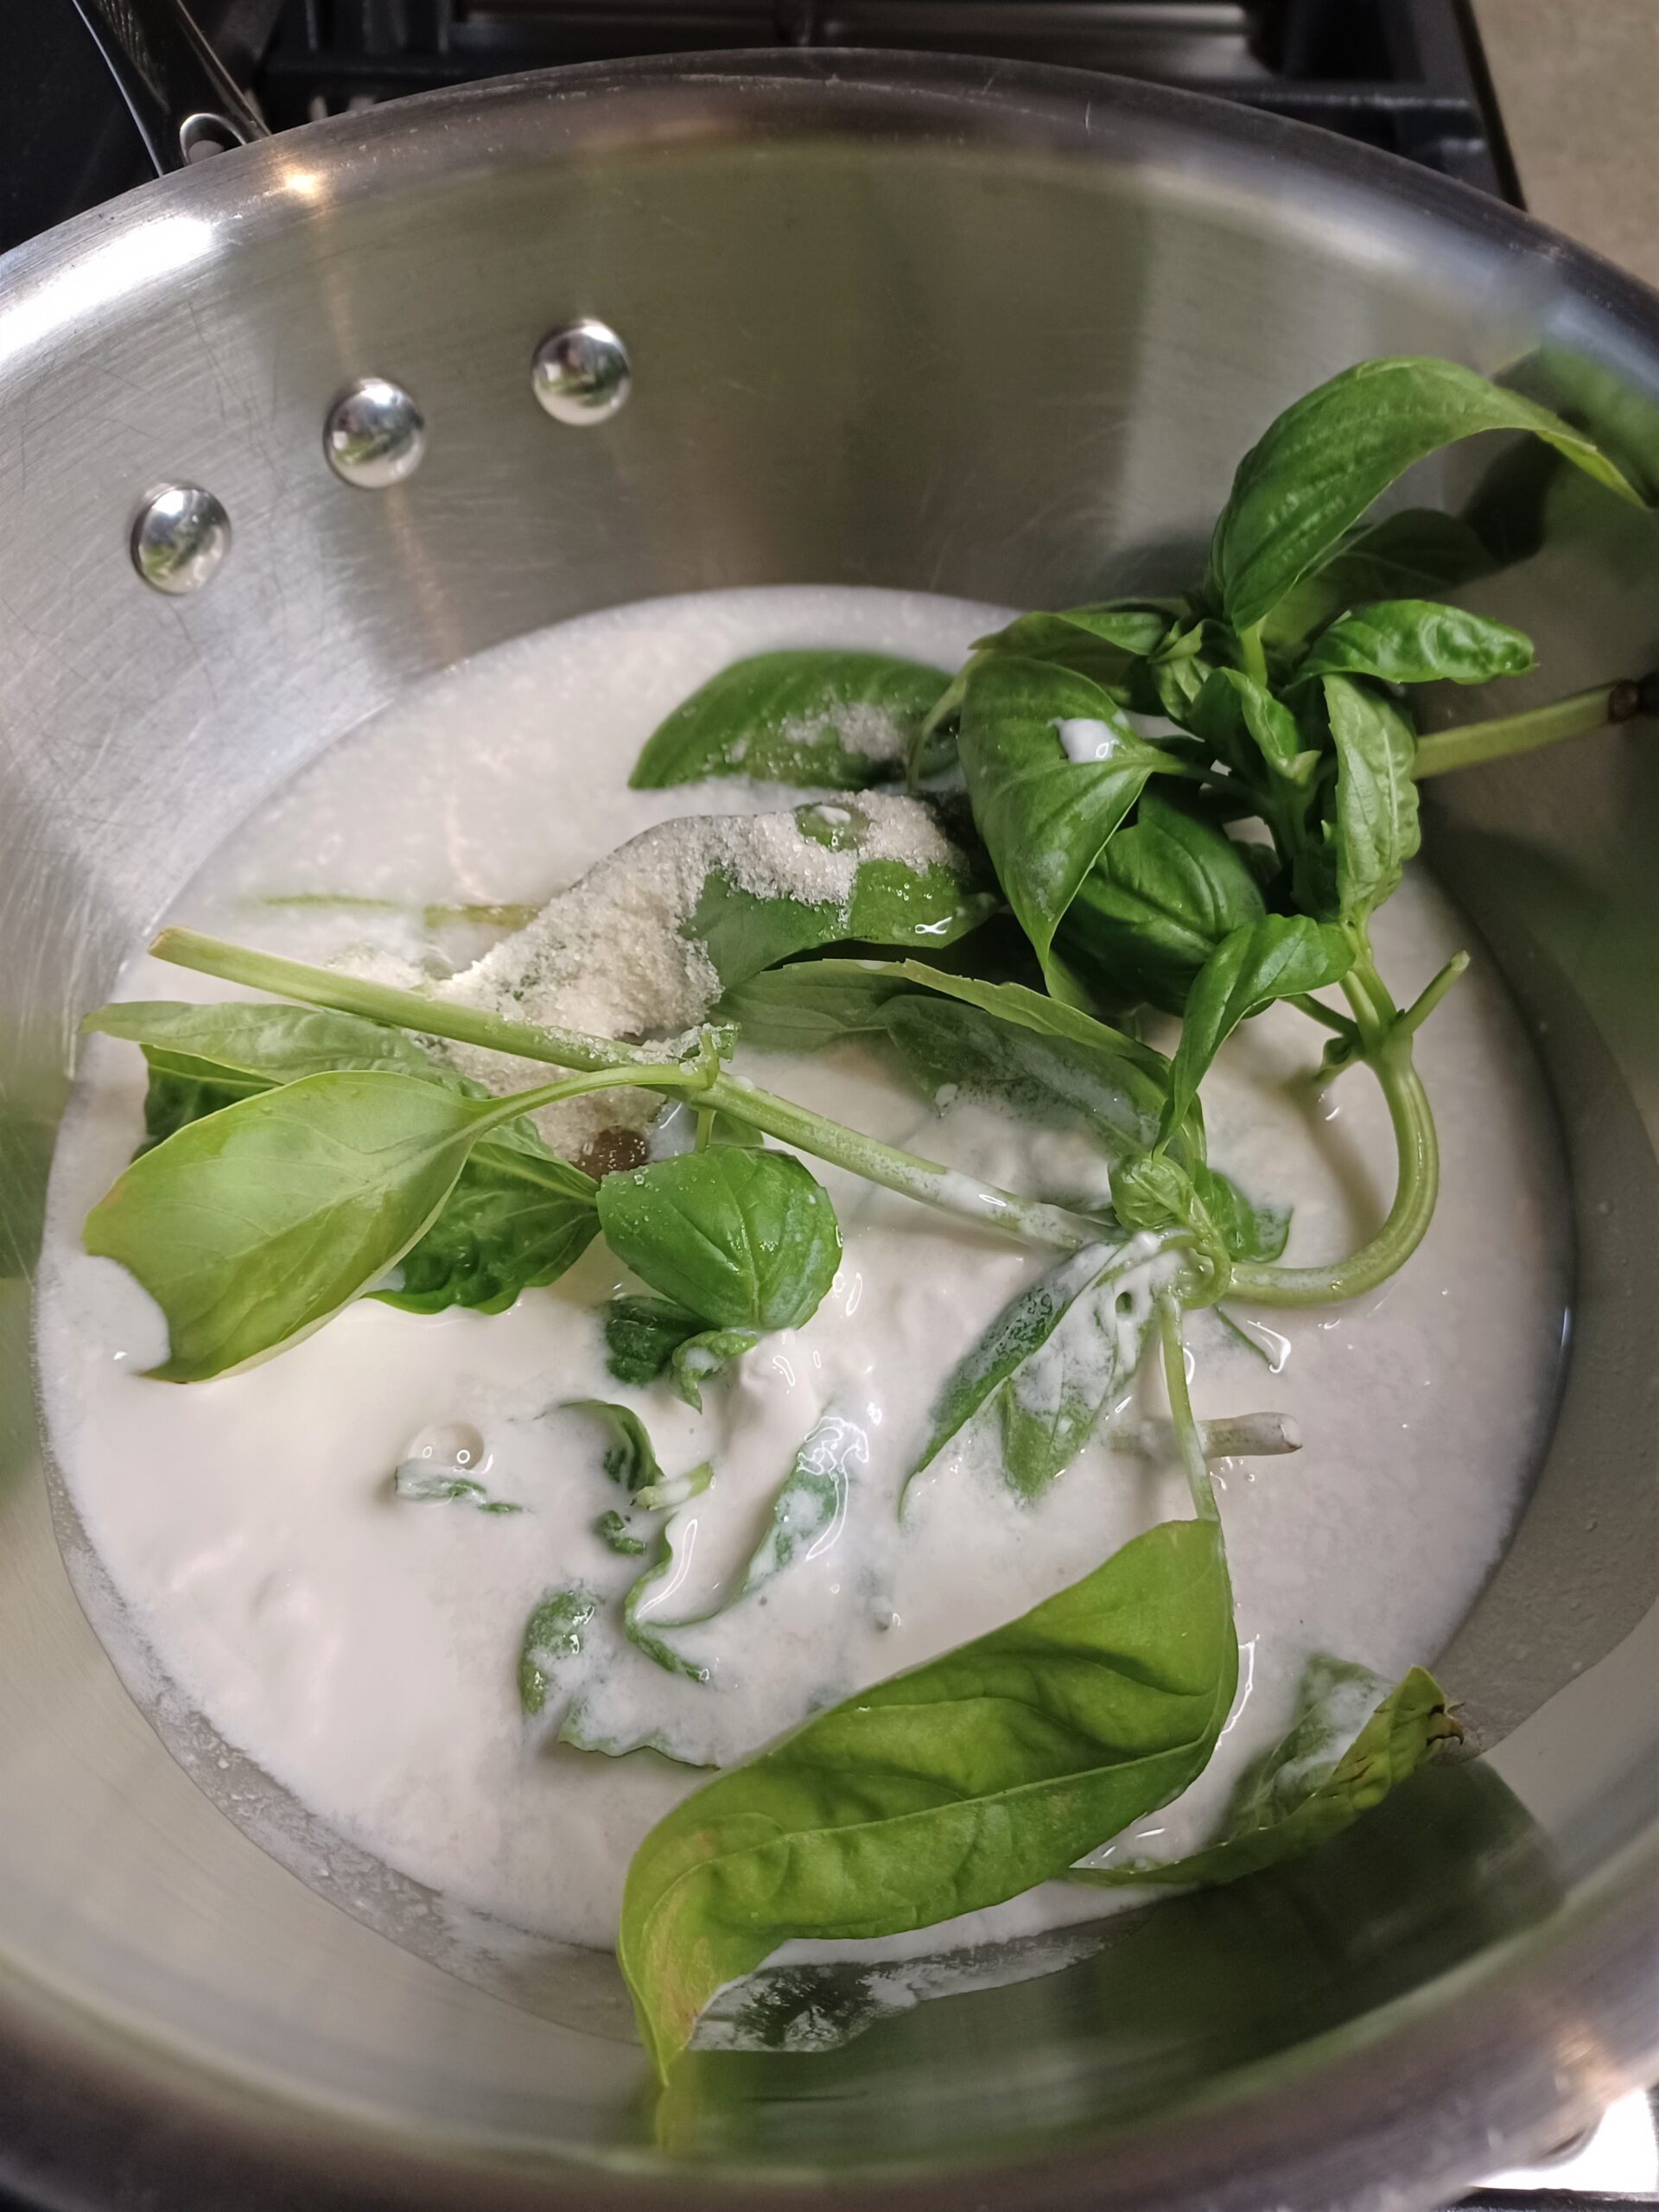
In a large sauce pan on the stove, whisk together the coconut milk, sugar, and salt. Add the basil leaves and stems. Over medium heat, bring the mixture to a simmer, pressing the basil down into the liquid if needed. Then turn off the heat and let the basil steep for 15 minutes.
-
STRAIN OUT THE BASIL
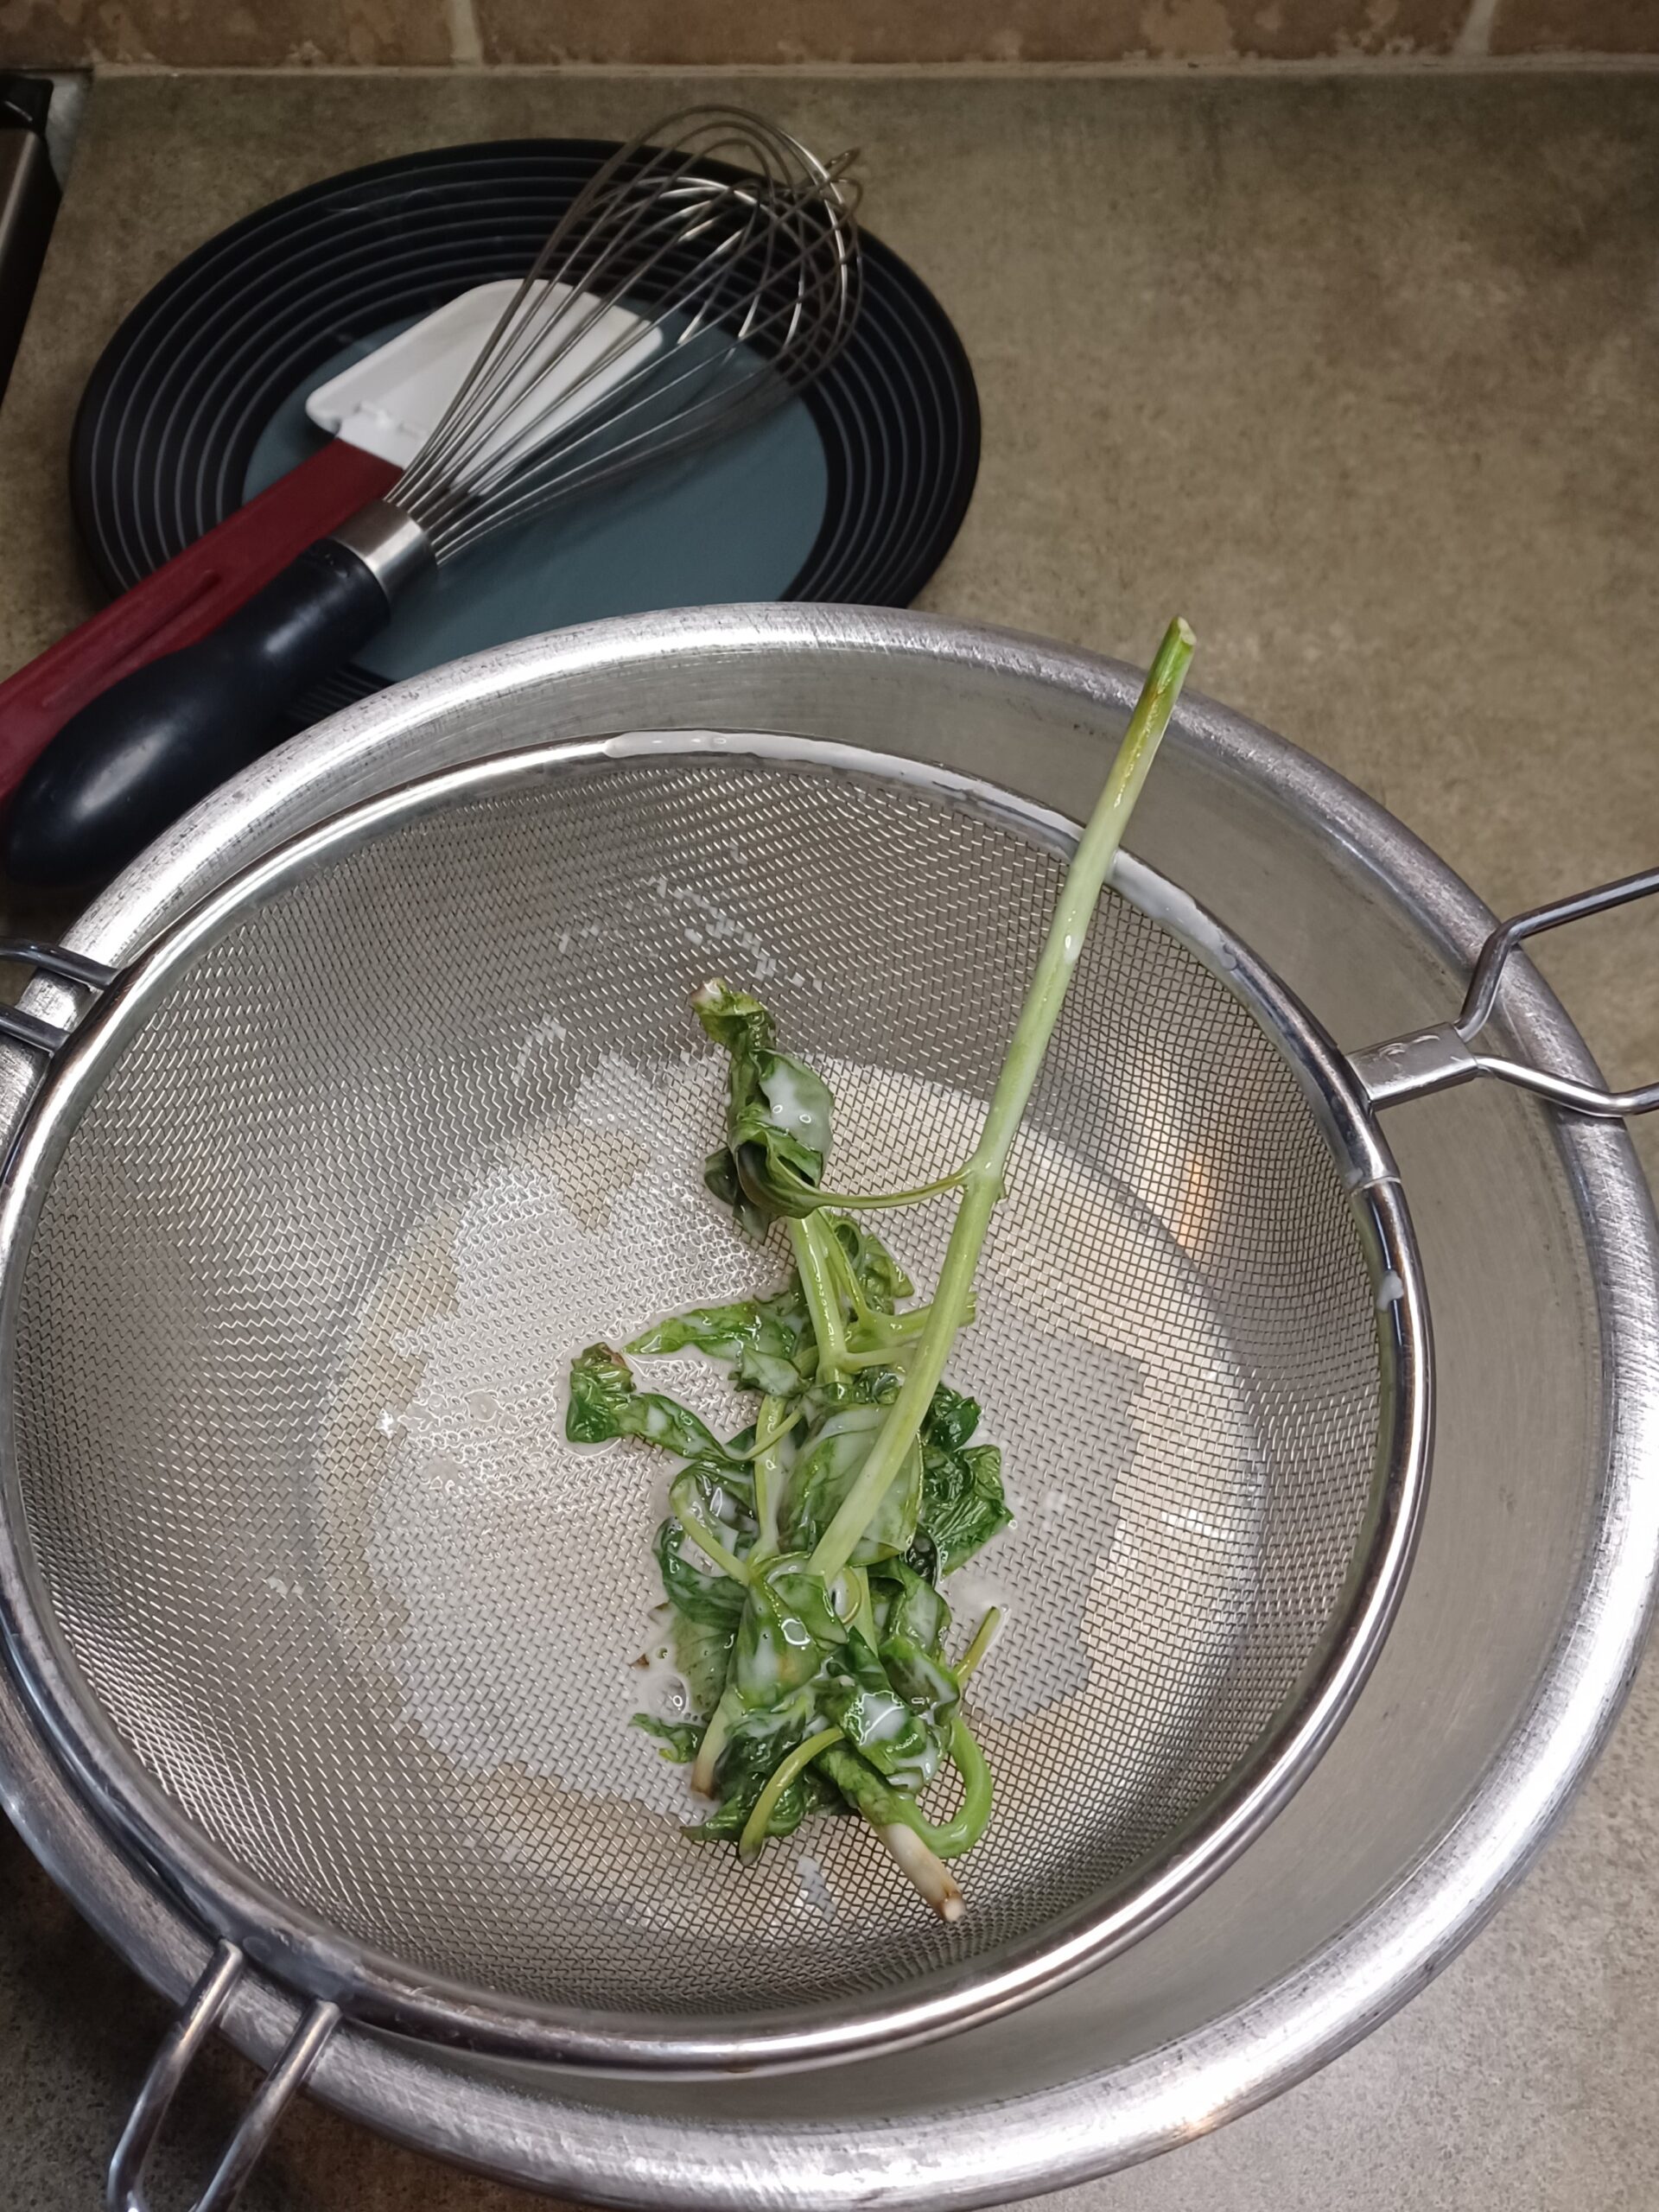
Pour the mixture through a sieve into a large bowl to strain out the basil.
-
ADD REMAINING INGREDIENTS
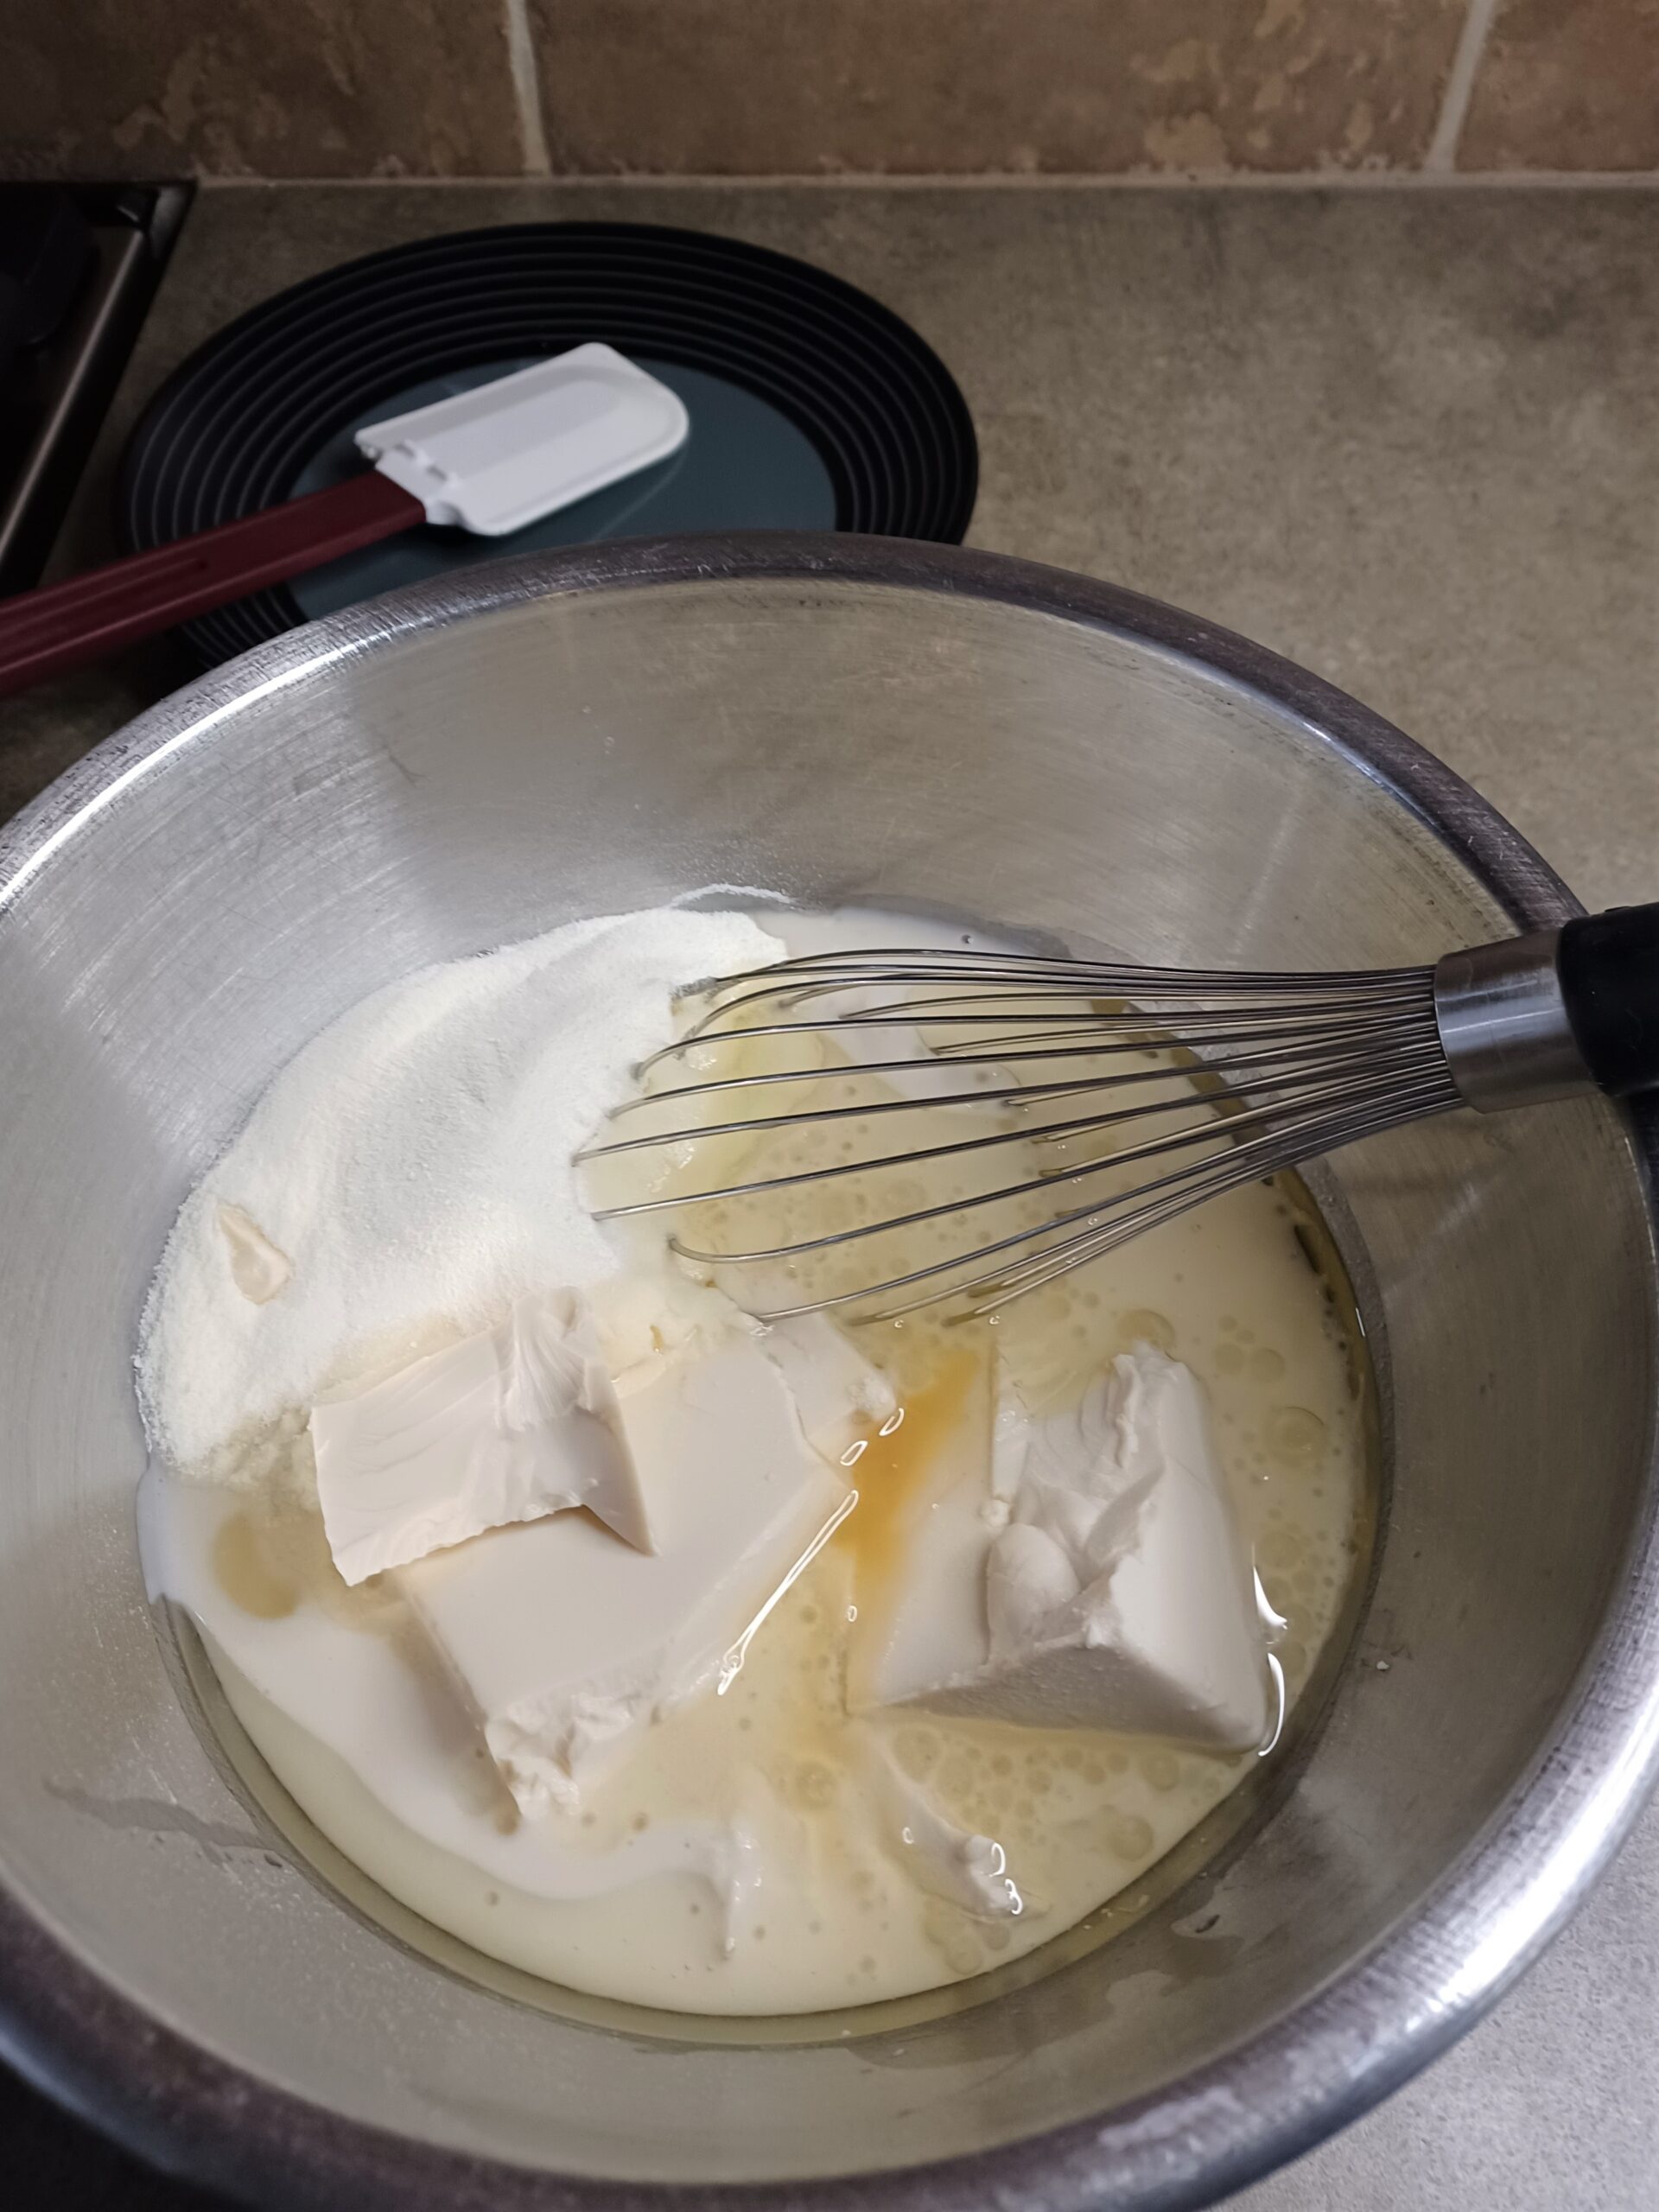
Add all the remaining ingredients (tofu, collagen, honey, olive oil, and xanthan gum). Use your whisk to break up the tofu and start to blend everything together, but don't worry if it's still lumpy, because we're about to...
-
BLEND
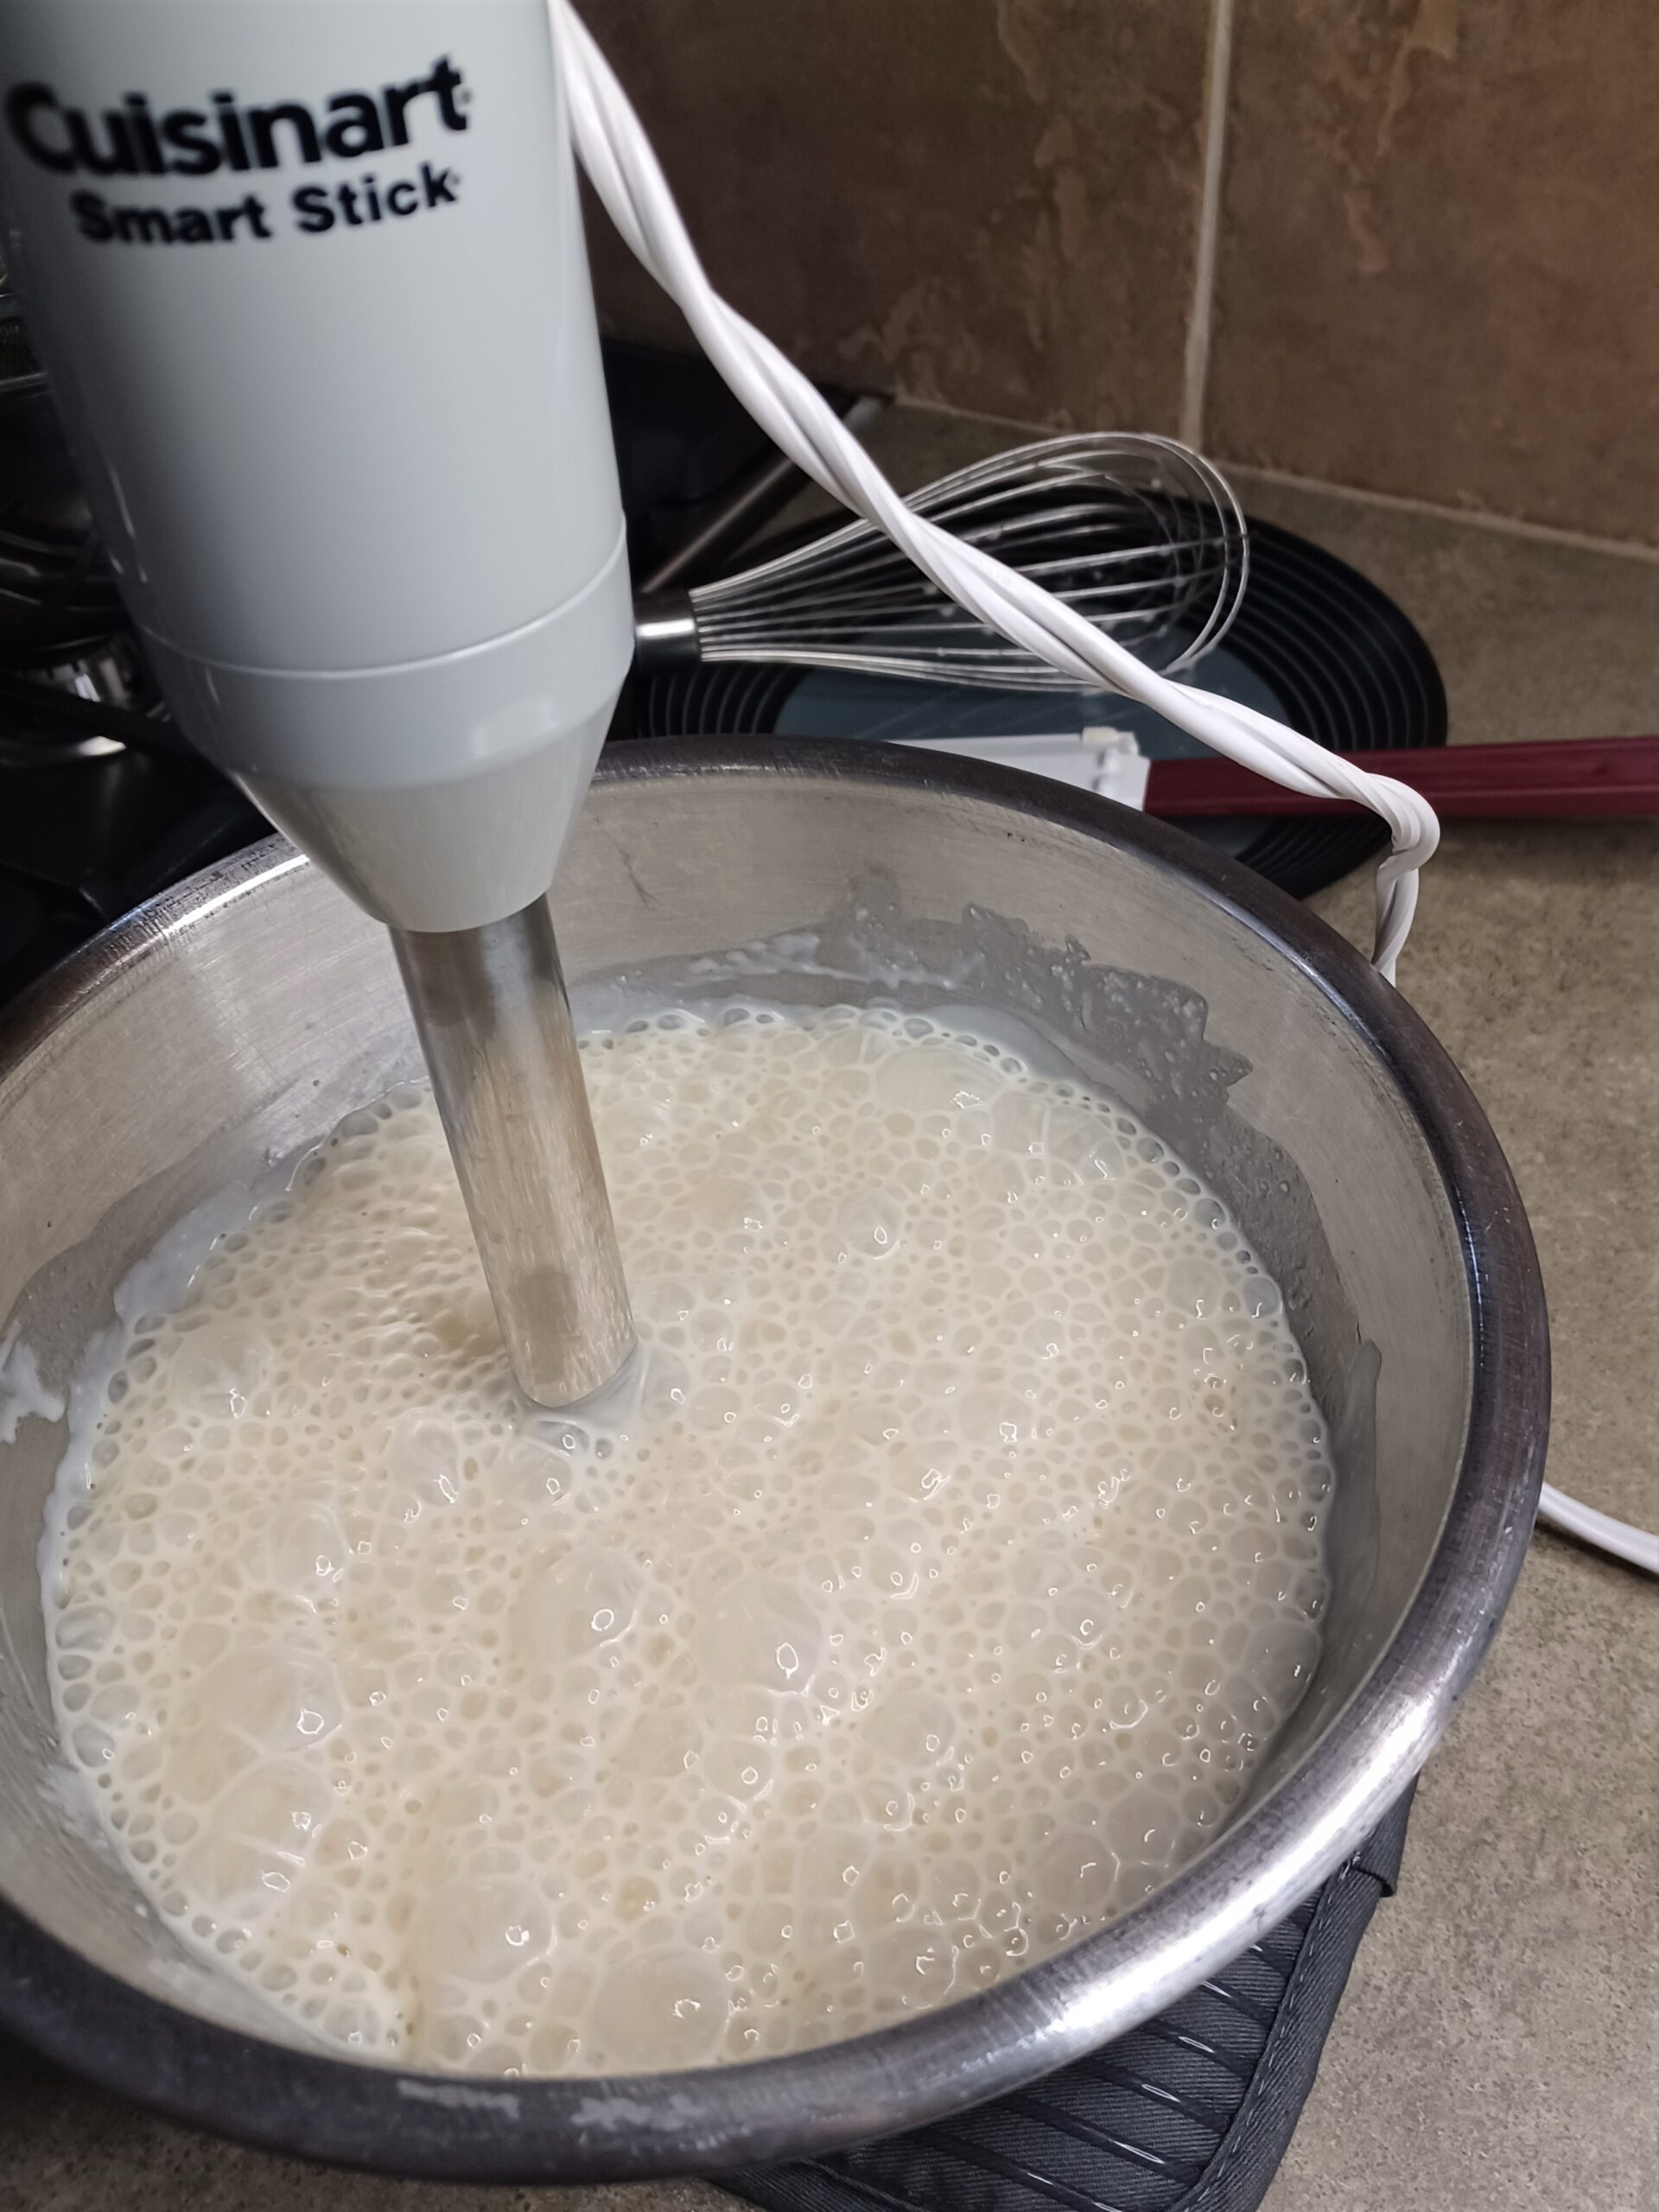
Blend with an immersion blender or transfer to a standard blender and blend thoroughly, scraping down the sides with a spatula, until you can no longer see white specks of tofu. This might take a couple of minutes!
-
CHILL
Transfer to a container and chill in the refrigerator for 8 hours or overnight.
For a quicker chilling time, place the bowl containing your mixture in an ice bath (a larger bowl containing ice water) for a few hours. Stir the mixture occasionally. As the water in the ice bath warms up, pour off some water and add ice to keep the mixture chilling as quickly as possible.
Ideally, the mixture will be about 40 degrees when you churn it. When your mixture is fully chilled, it will be thick like pudding because of the tofu. Don't worry, it will churn just fine (but fast!).
-
CHURN
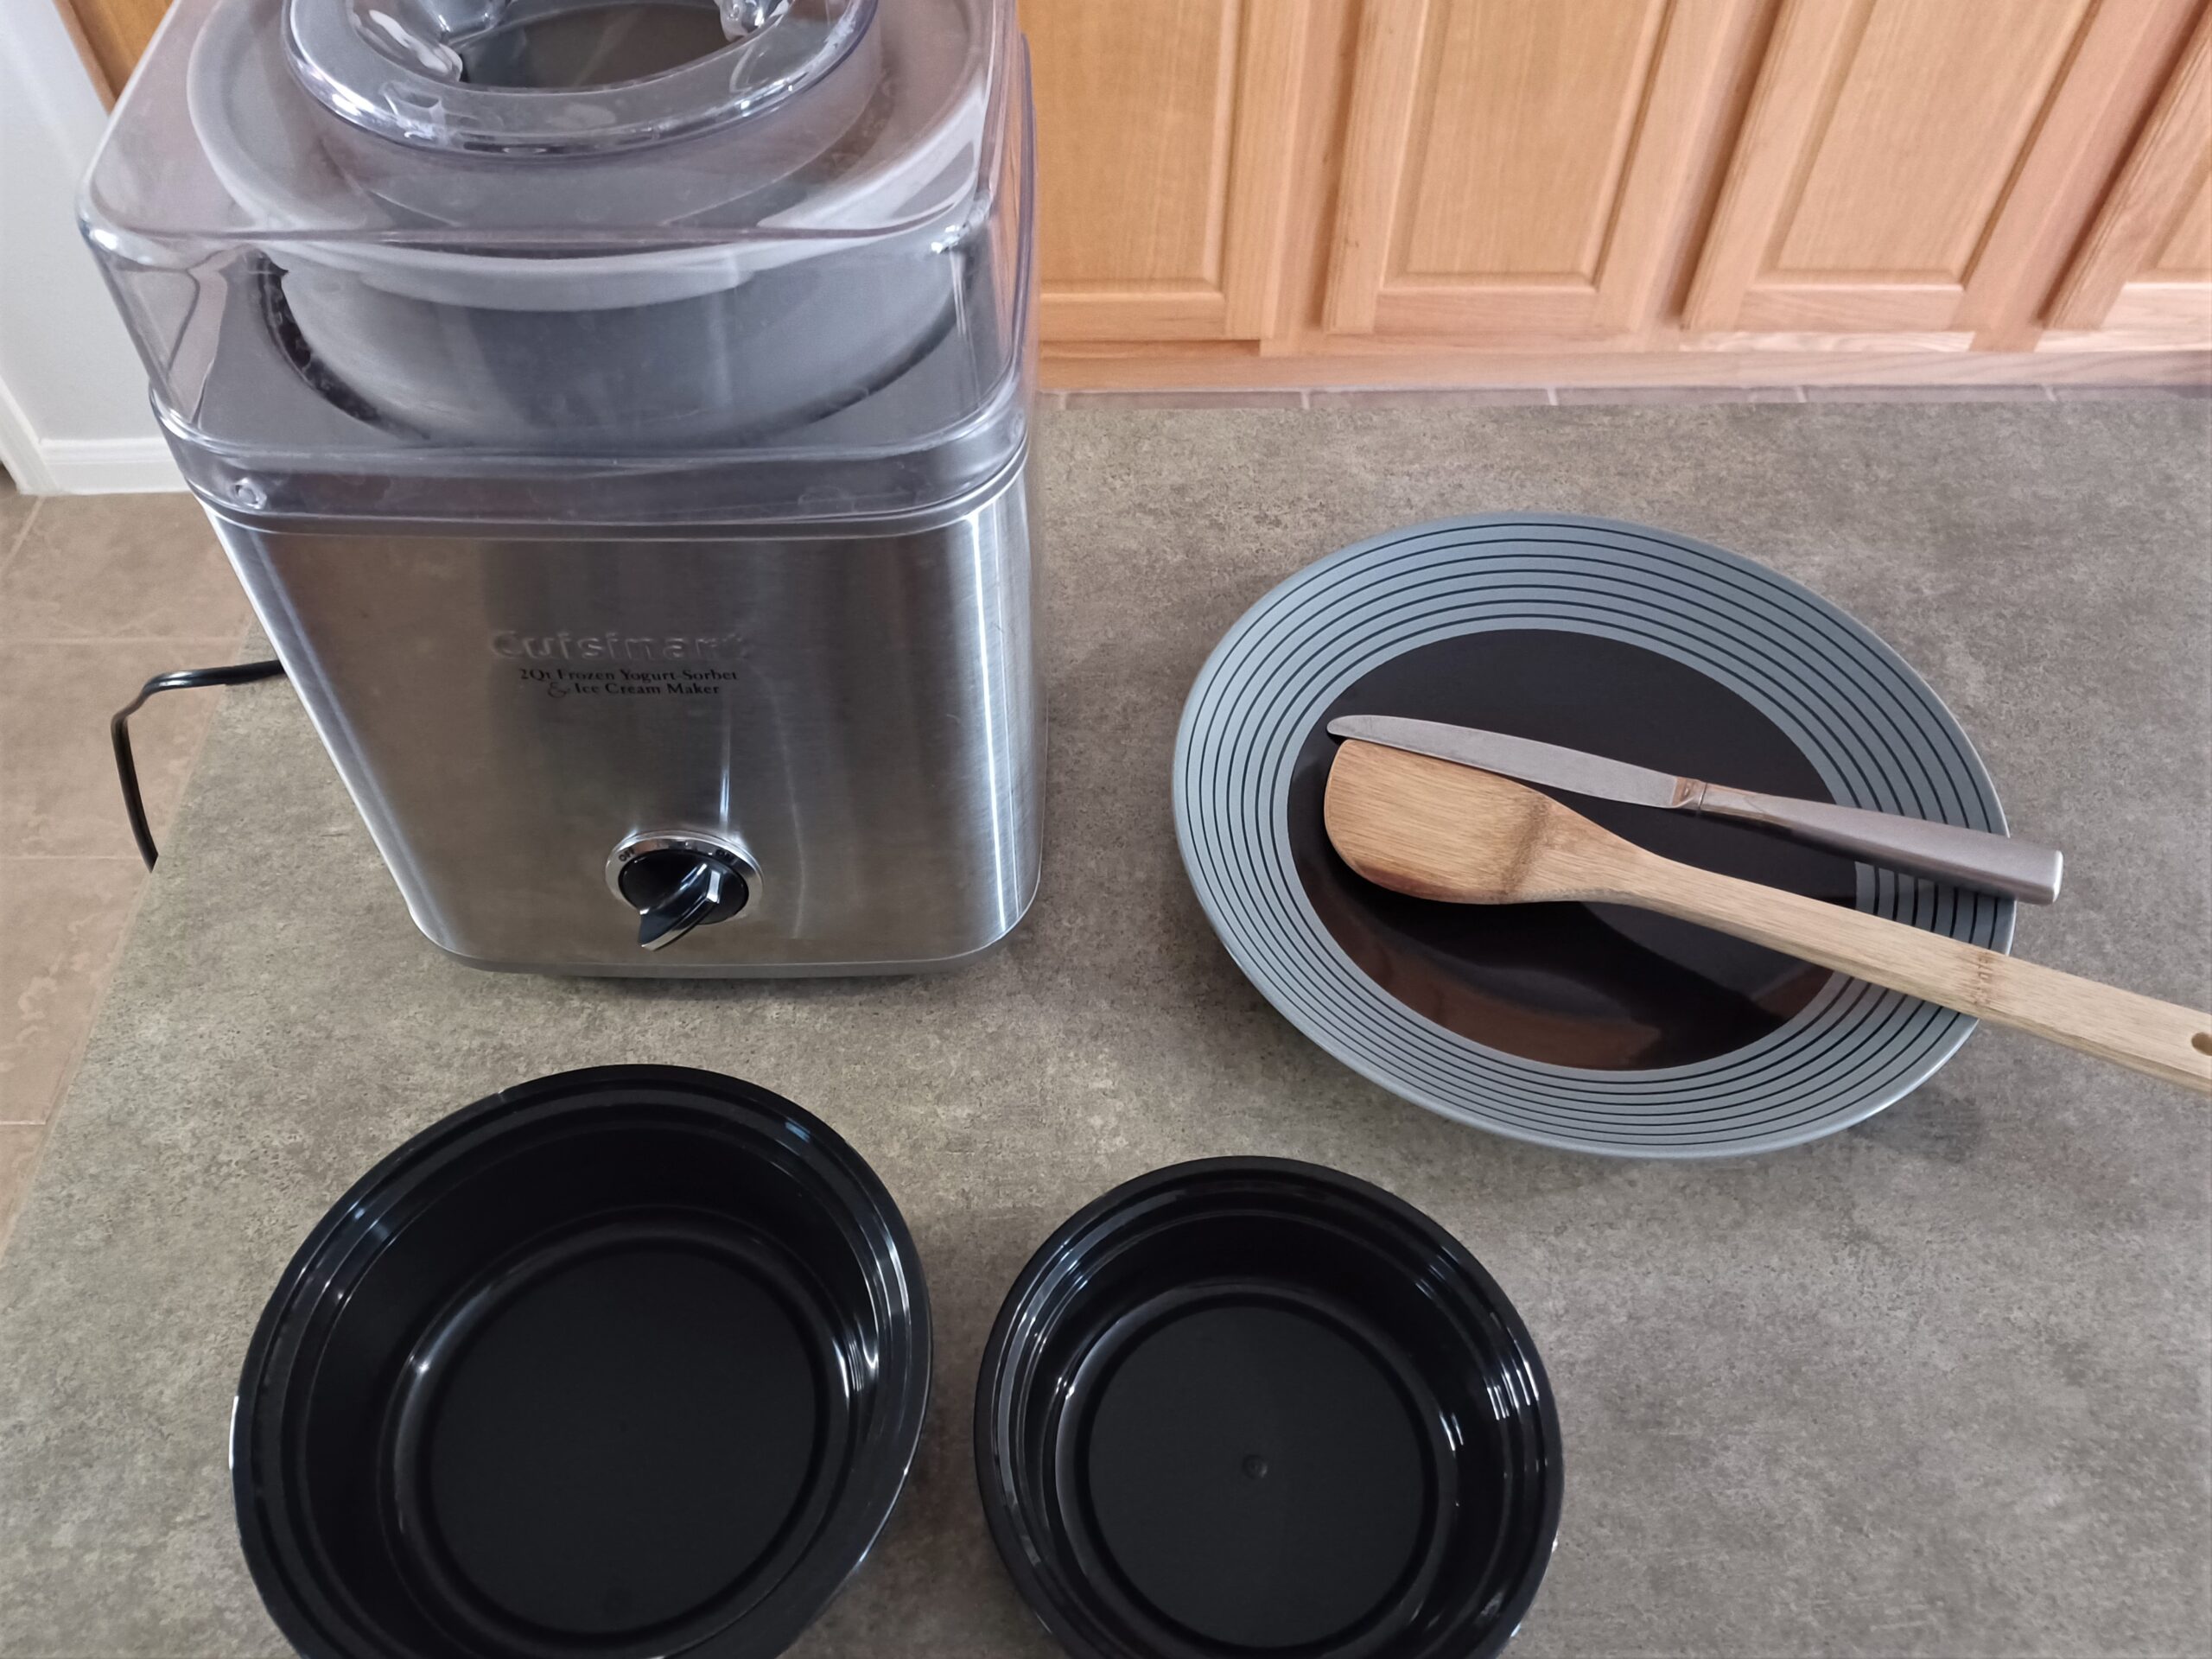
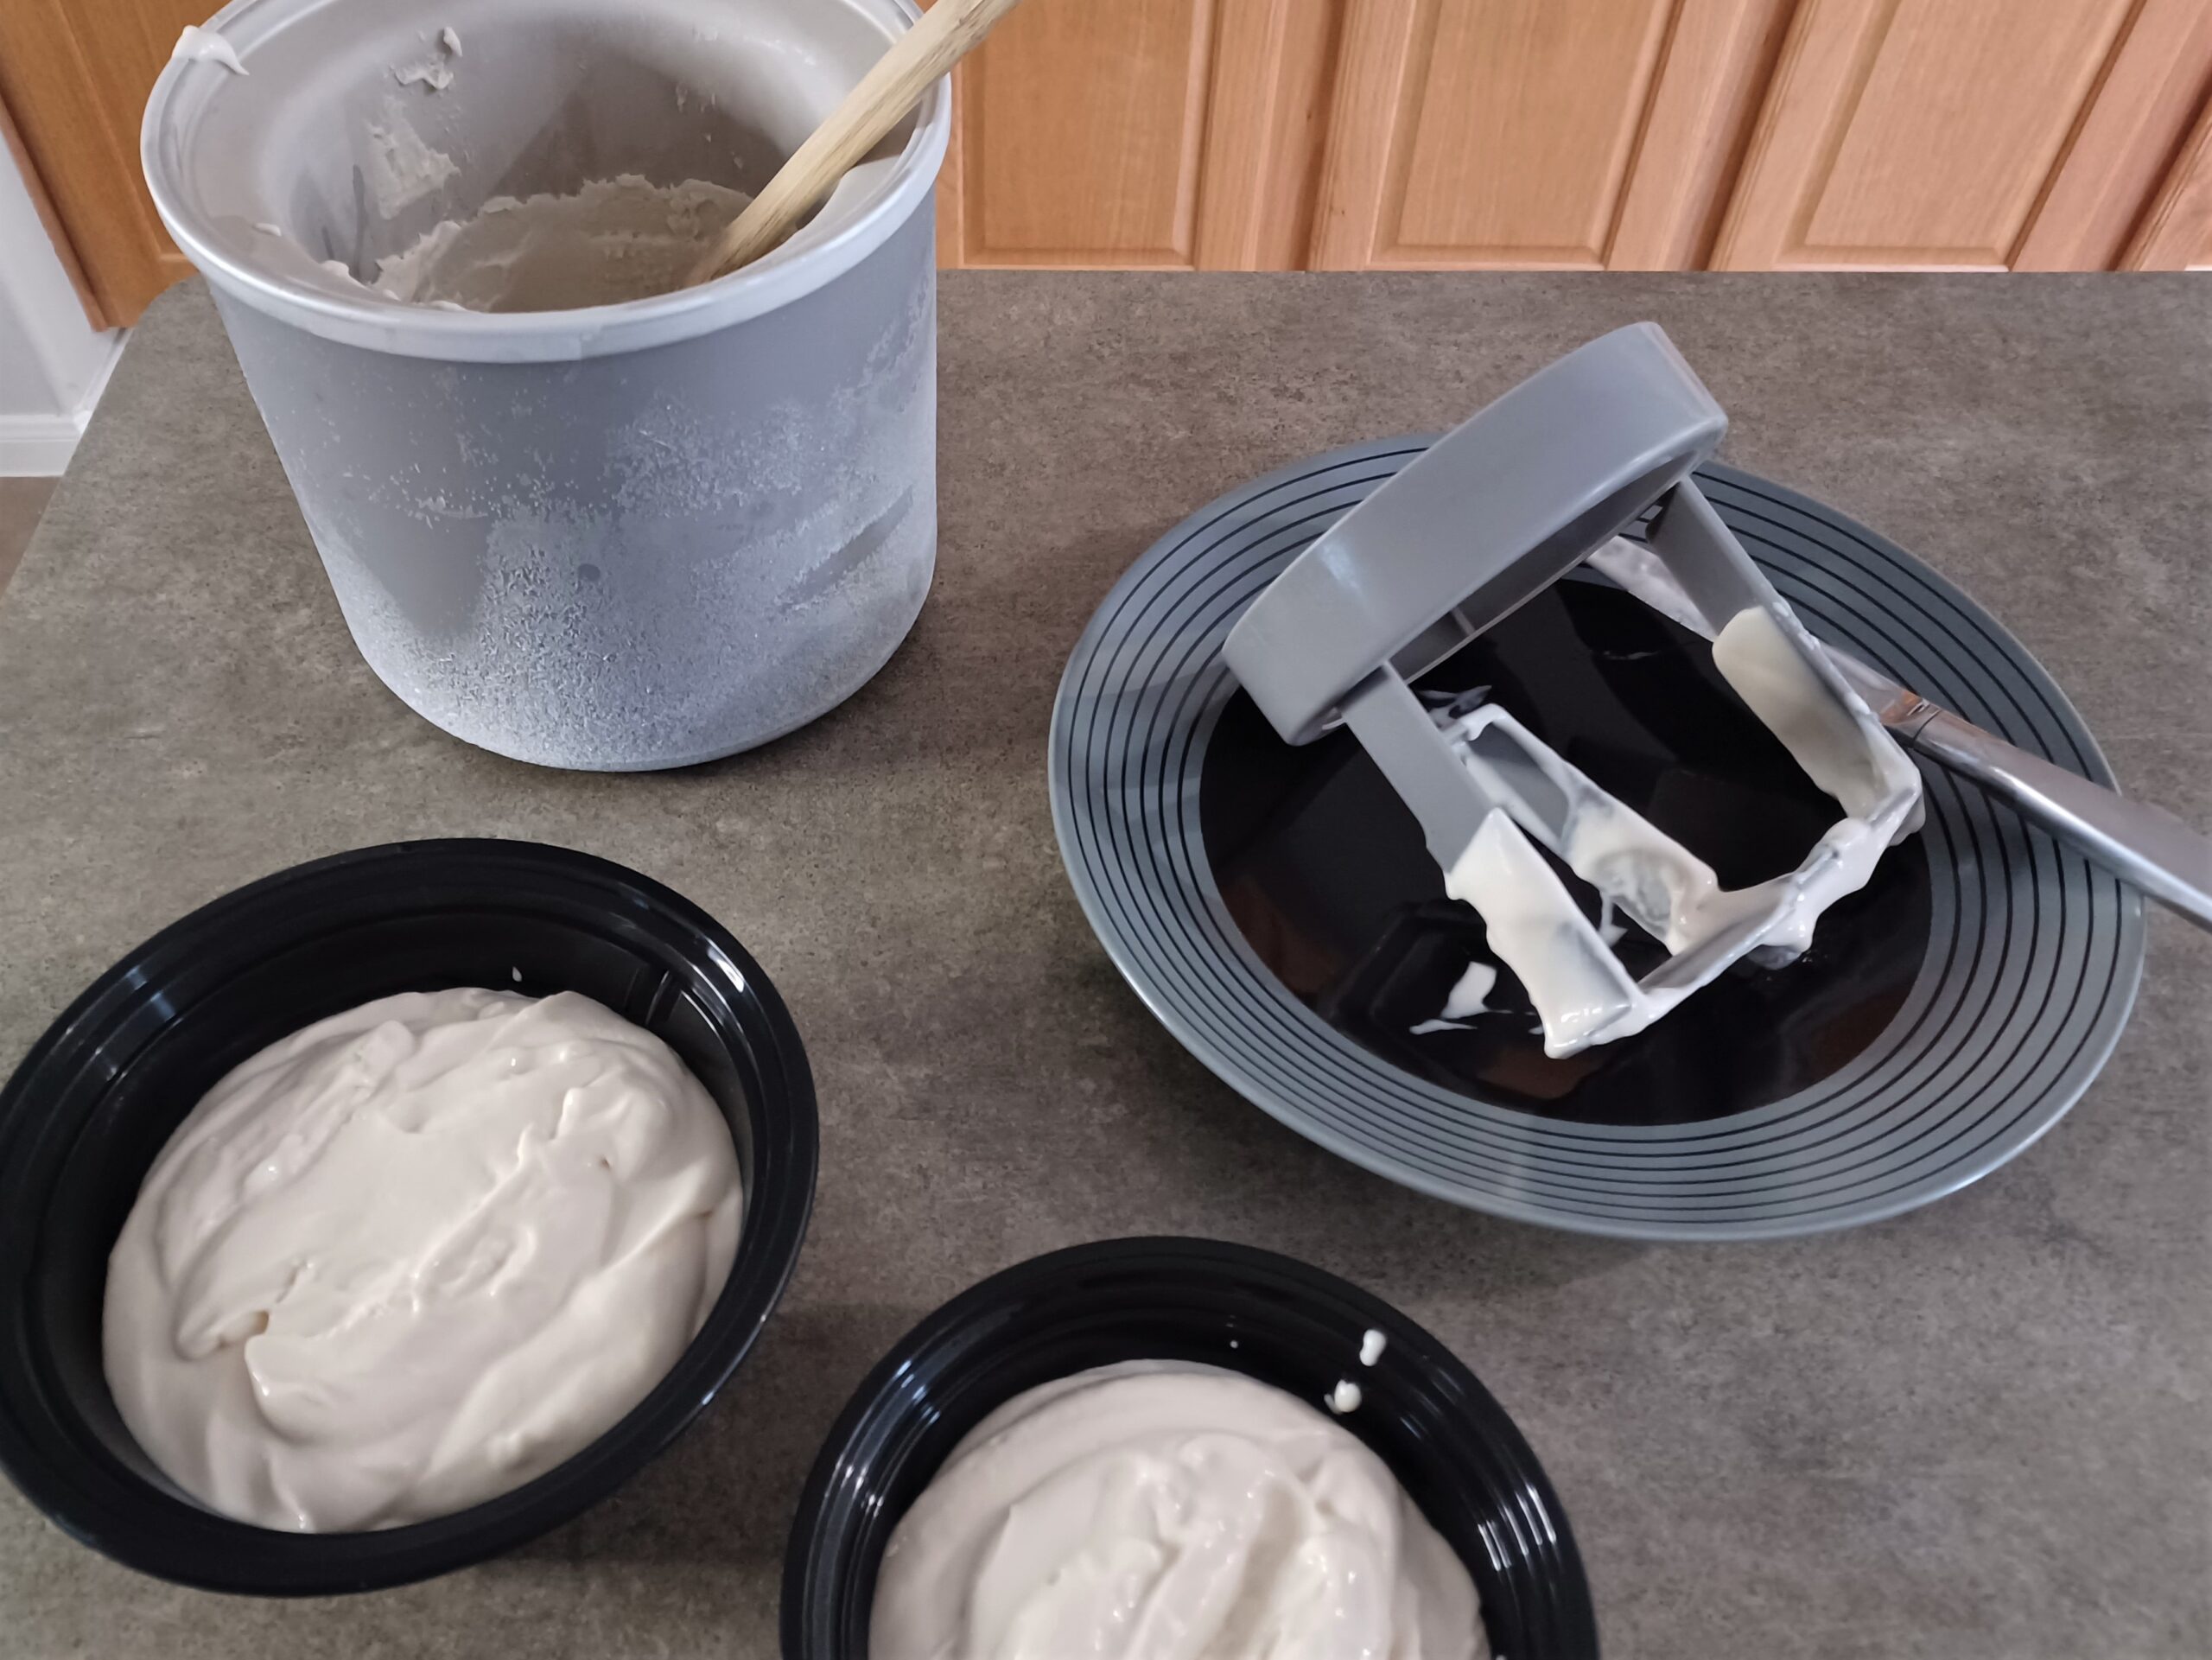
Before you start churning, set up everything you'll need to quickly transfer the ice cream from the machine into a container for freezing. I use a knife to scrape down the dasher (or paddle) and a wooden spoon to scoop out the ice cream.
Set up your ice cream maker according to the manufacturer's directions. Scoop your mixture into the ice cream maker and churn. Because this mixture is thicker than many ice cream bases, it churns more quickly than most. In my machine the perfect churning time is 15 minutes, but your experience may vary.
It's finished churning when it looks like soft-serve and is pulling away from the sides of the canister.
-
STORE
When the ice cream has finished churning, scoop it as quickly as possible into your storage container. Cover it with plastic wrap or parchment paper, if using. (Placing a sheet of parchment paper between the container and lid will help prevent frost, or you can press plastic wrap directly onto the surface of the ice cream.) Put the container in the freezer. The ice cream will be fully firm in a few hours.
Note
Protein powder substitutions:
You can use any unflavored, unsweetened protein powder you want. Whey, collagen, and egg white work the best. Vegan protein powders can work too, but sometimes create a chalky texture. Because different protein powders have different textures, the same volume of different powders may weigh different amounts. Weighing is the best method for ensuring you get the 50 grams the recipe calls for, but here are some estimates for using a cup measurement:
- 50 g collagen powder = 1/2 cup
- 50 g whey protein = 3/4 cup
- 50 g egg white protein = 1/2 cup + 2 tablespoons
- 50 g soy protein = 3/4 cup
Optional additions:
- 1-2 tablespoons of alcohol -- Adding alcohol improves the texture and scoopability of the final product and gives a little kick of extra flavor. Gin, rum, or vodka would be good choices here.
Suggested toppings/mix-ins:
- ginger snaps (pictured above) -- could be served alongside, crumbled on top, or crumbled as a mix-in
- candied ginger -- as a topping or mix-in
- roasted, chopped pistachios
- toasted, slivered almonds
- chocolate sauce as a topping, or melt-in-your-mouth chocolate flakes as a mix-in (see recipe for Mint Chocolate Chip Ice Cream)
To create a mix-in, wait until the last 1-2 minutes of churning and add the bits to the ice cream maker. Adding them too early will mean they sink to the bottom. Alternatively, you can layer them into the ice cream as you transfer it to your storage container.
Recommended equipment (may contain affiliate links):
- My ice cream maker (2 qt)
- Newer version of my ice cream maker (2 qt)
- Well-reviewed less expensive ice cream maker (1.5 qt)
- Insulated ice cream container
- Heat-proof spatula
- Immersion/hand blender
- Ice cream scoop
Recommended ingredients (may contain affiliate links):

