
Sometimes here at GPIC HQ, we focus on unique tastes or gourmet ingredients. But sometimes, we need a nostalgic flavor that we can throw together fast. Oreo Ice Cream falls into the latter category. Just toss everything into the blender, chill it, churn it, and use a store-bought sauce as your swirl and/or topping.
“Oreo” or “Cookies and Cream”?
When someone says “cookies and cream,” I think of a vanilla or sweet cream base with crushed Oreos mixed in. This is not that. I’m calling this Oreo Ice Cream because the ice cream itself tastes like an Oreo: the ice cream is the cookie and the swirl is the filling.
Dutch-process cocoa, such as Hershey’s Special Dark, is the secret ingredient that makes an Oreo cookie taste like an Oreo. You can find Hershey’s Special Dark cocoa powder in most grocery stores, and it will work fine in this recipe. However, I went a step further and used black cocoa powder. Black cocoa powder is a darker and more intense version of Dutch process and will get you closer to that Oreo taste. I used King Arthur Black Cocoa Powder, and I’ve had good experience with Anthony’s products in the past [affiliate links].
If you browse the internet for homemade Oreo filling recipes, you’ll find various combinations of coconut oil, powdered sugar, and vanilla. However, this won’t work for an ice cream swirl. Coconut oil freezes as hard as a rock. Smucker’s Marshmallow Topping [affiliate link] provides a quick and easy solution. It stays gooey when frozen and works as both a swirl in the ice cream or a topping when serving.
The Oreo Ice Cream base is richly flavored and not too sweet, while the cream swirl is very sweet. Just like an Oreo cookie.
Vegan Options and Protein Powder
Oreo cookies are vegan, so the ice cream should be too! The recipe below is based on coconut milk and silken tofu, one of my favorite combinations for vegan and dairy-free ice cream. Smucker’s Marshmallow Topping is also vegan.
I usually include unflavored, unsweetened protein powder in my recipes, because it allows me to use less sugar and create healthier recipes while maintaining the texture and feel of premium ice cream. (Read more about that here.) This recipe works well without the protein powder, but you have some options…
Feel free to leave out the protein powder. The recipe is vegan without it. If you’d like to add protein powder, I find that whey and collagen work best. They create a wonderful texture without adding any noticeable flavors. If you’d like to add protein, but want to keep the recipe vegan, you can use soy protein powder. It will add a slight “soy” flavor and a slight chalkiness, but the ice cream will still be delicious. If you have another favorite vegan protein powder, give it a try and let me know how it goes!
And if you still want to stir crushed Oreos into it like it’s cookies and cream, well, that’s never a bad idea.


Ingredients
For the ice cream base
For the swirl
Instructions
-
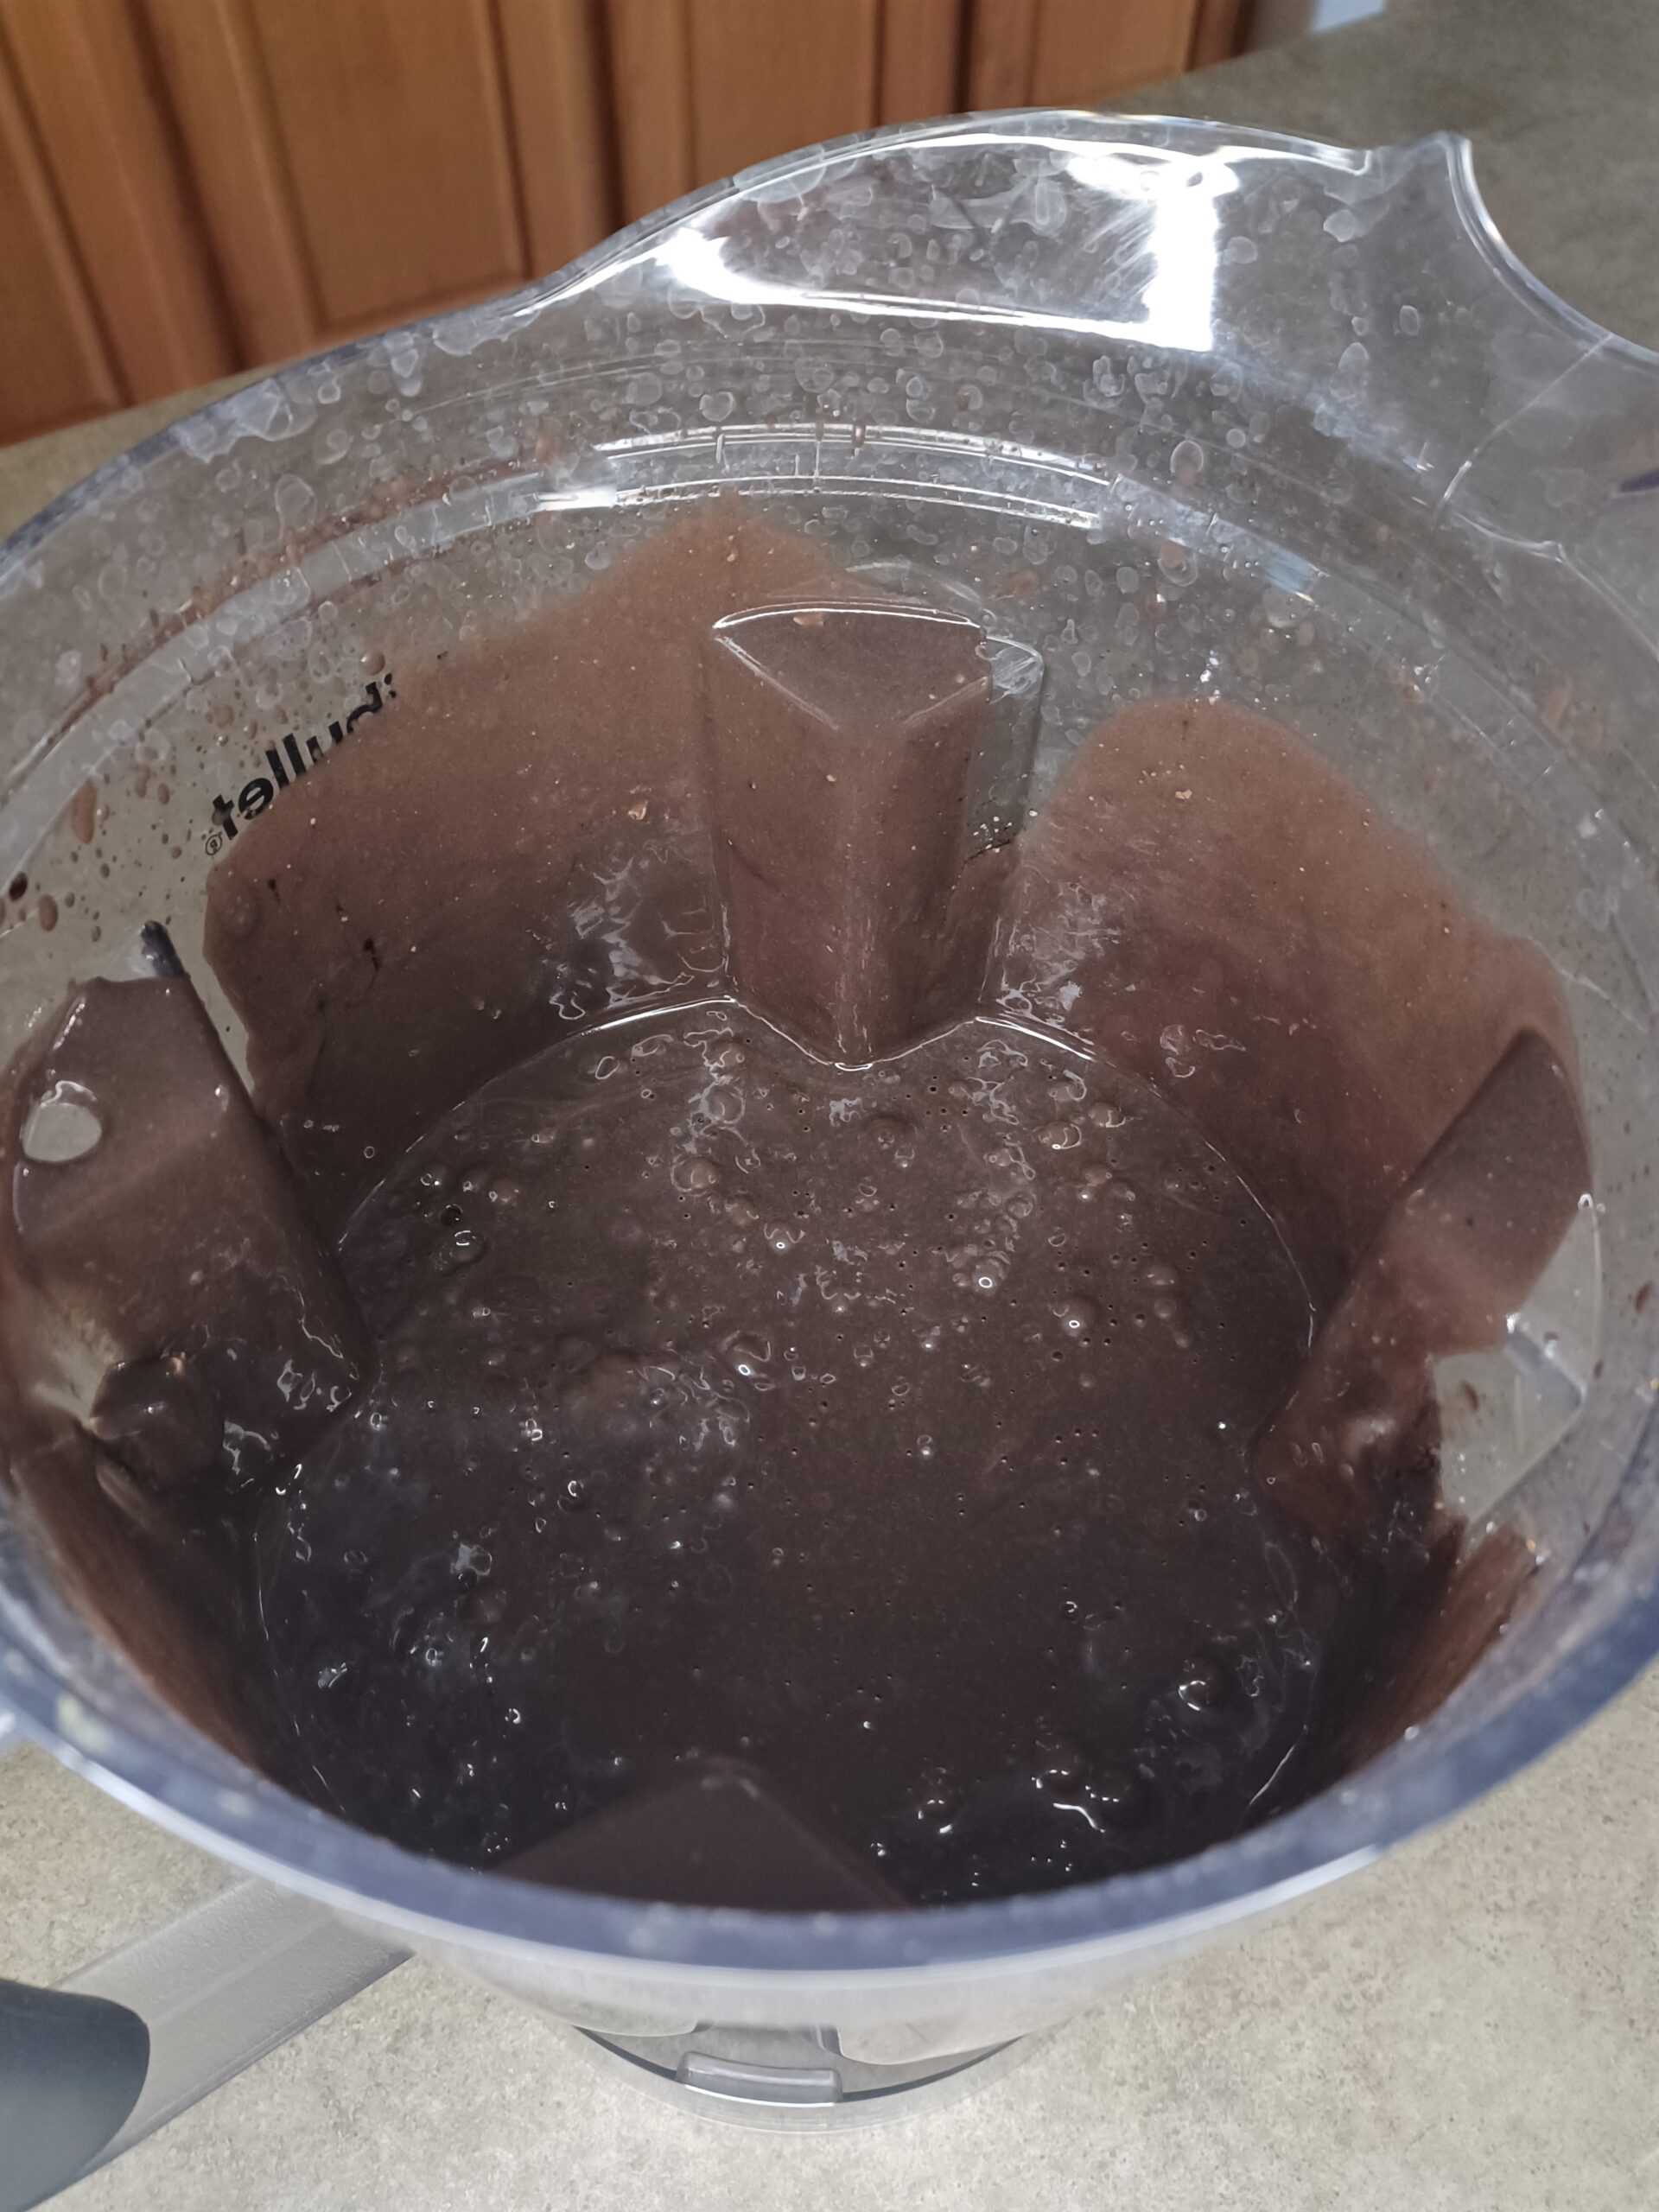
BLEND
Place all ingredients -- except the marshmallow topping for the swirl -- in a blender and blend until smooth, scraping down the sides a few times to get everything incorporated. I find it works well to hold back half of the coconut milk until everything else is well blended, then add the rest of the coconut milk at the end.
-
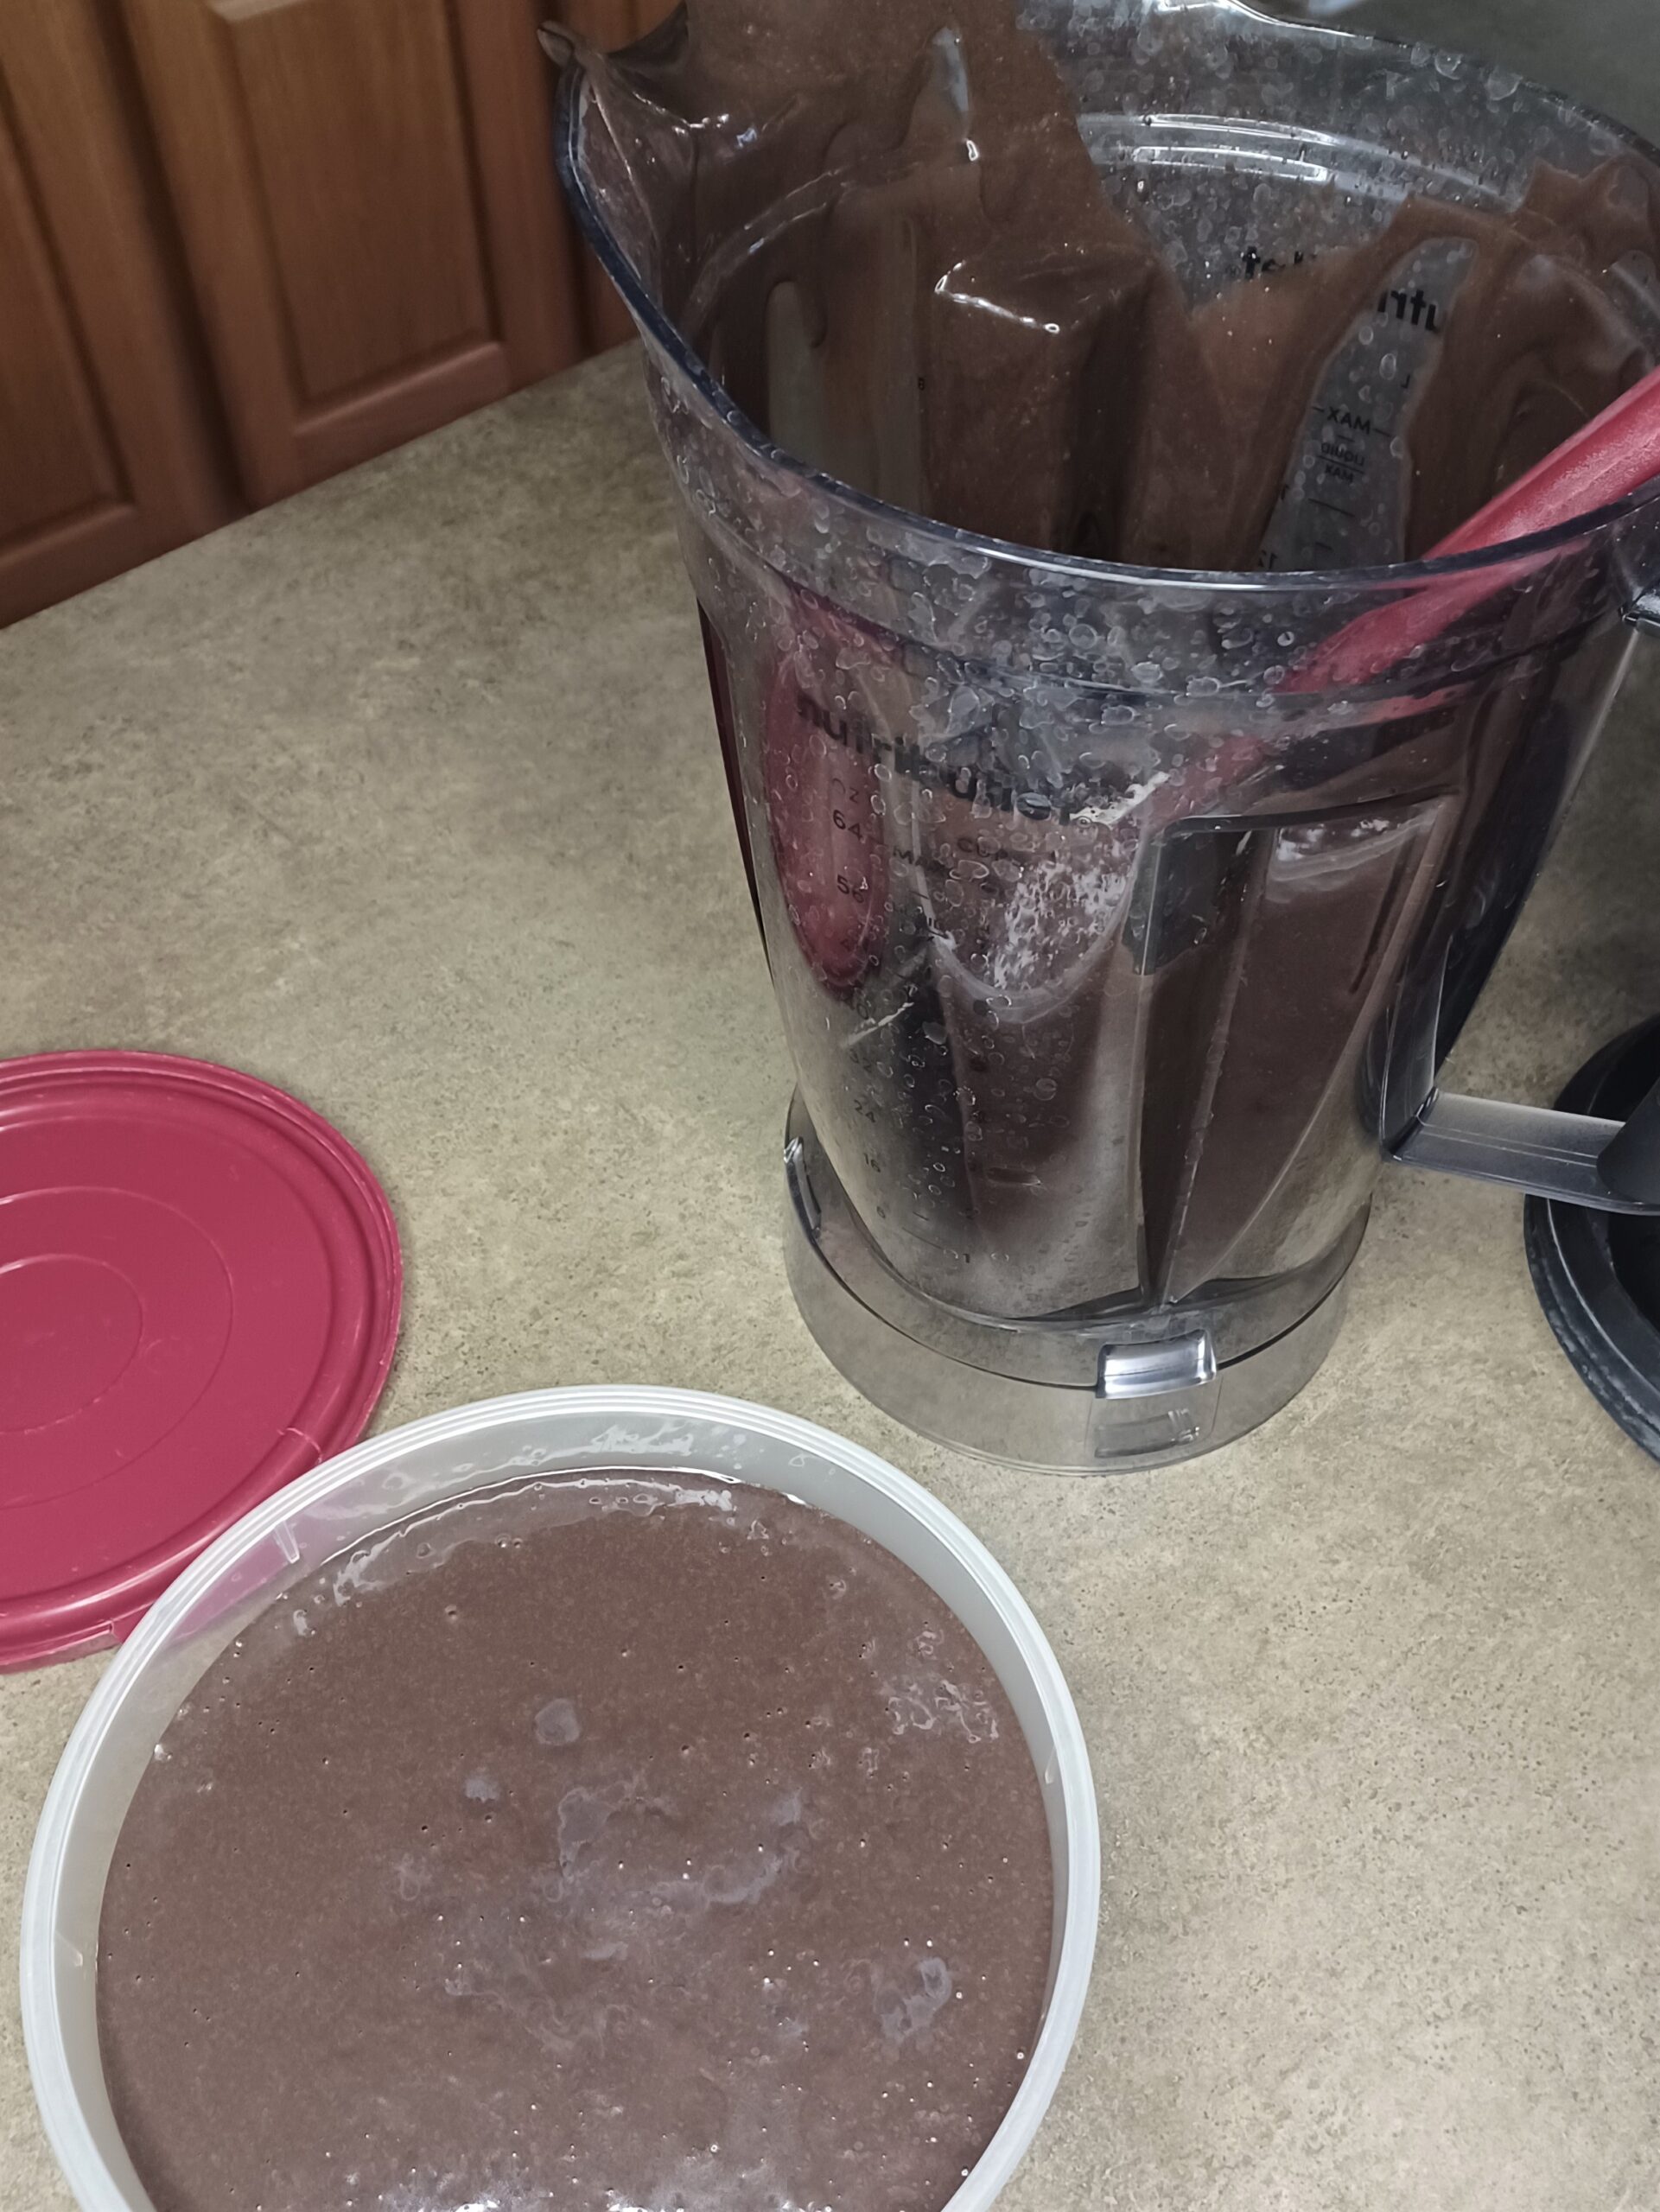
CHILL
Transfer to a container and chill in the fridge for 8 hours or overnight.
For a quicker chilling time, place the bowl containing your mixture in an ice bath (a larger bowl containing ice water) for a few hours. Stir the mixture occasionally. As the water in the ice bath warms up, pour off some water and add ice to keep the mixture chilling as quickly as possible. When fully chilled, this ice cream base is thick like pudding, because of the tofu.
Ideally, the mixture will be about 40 degrees when you churn it.
-
CHURN
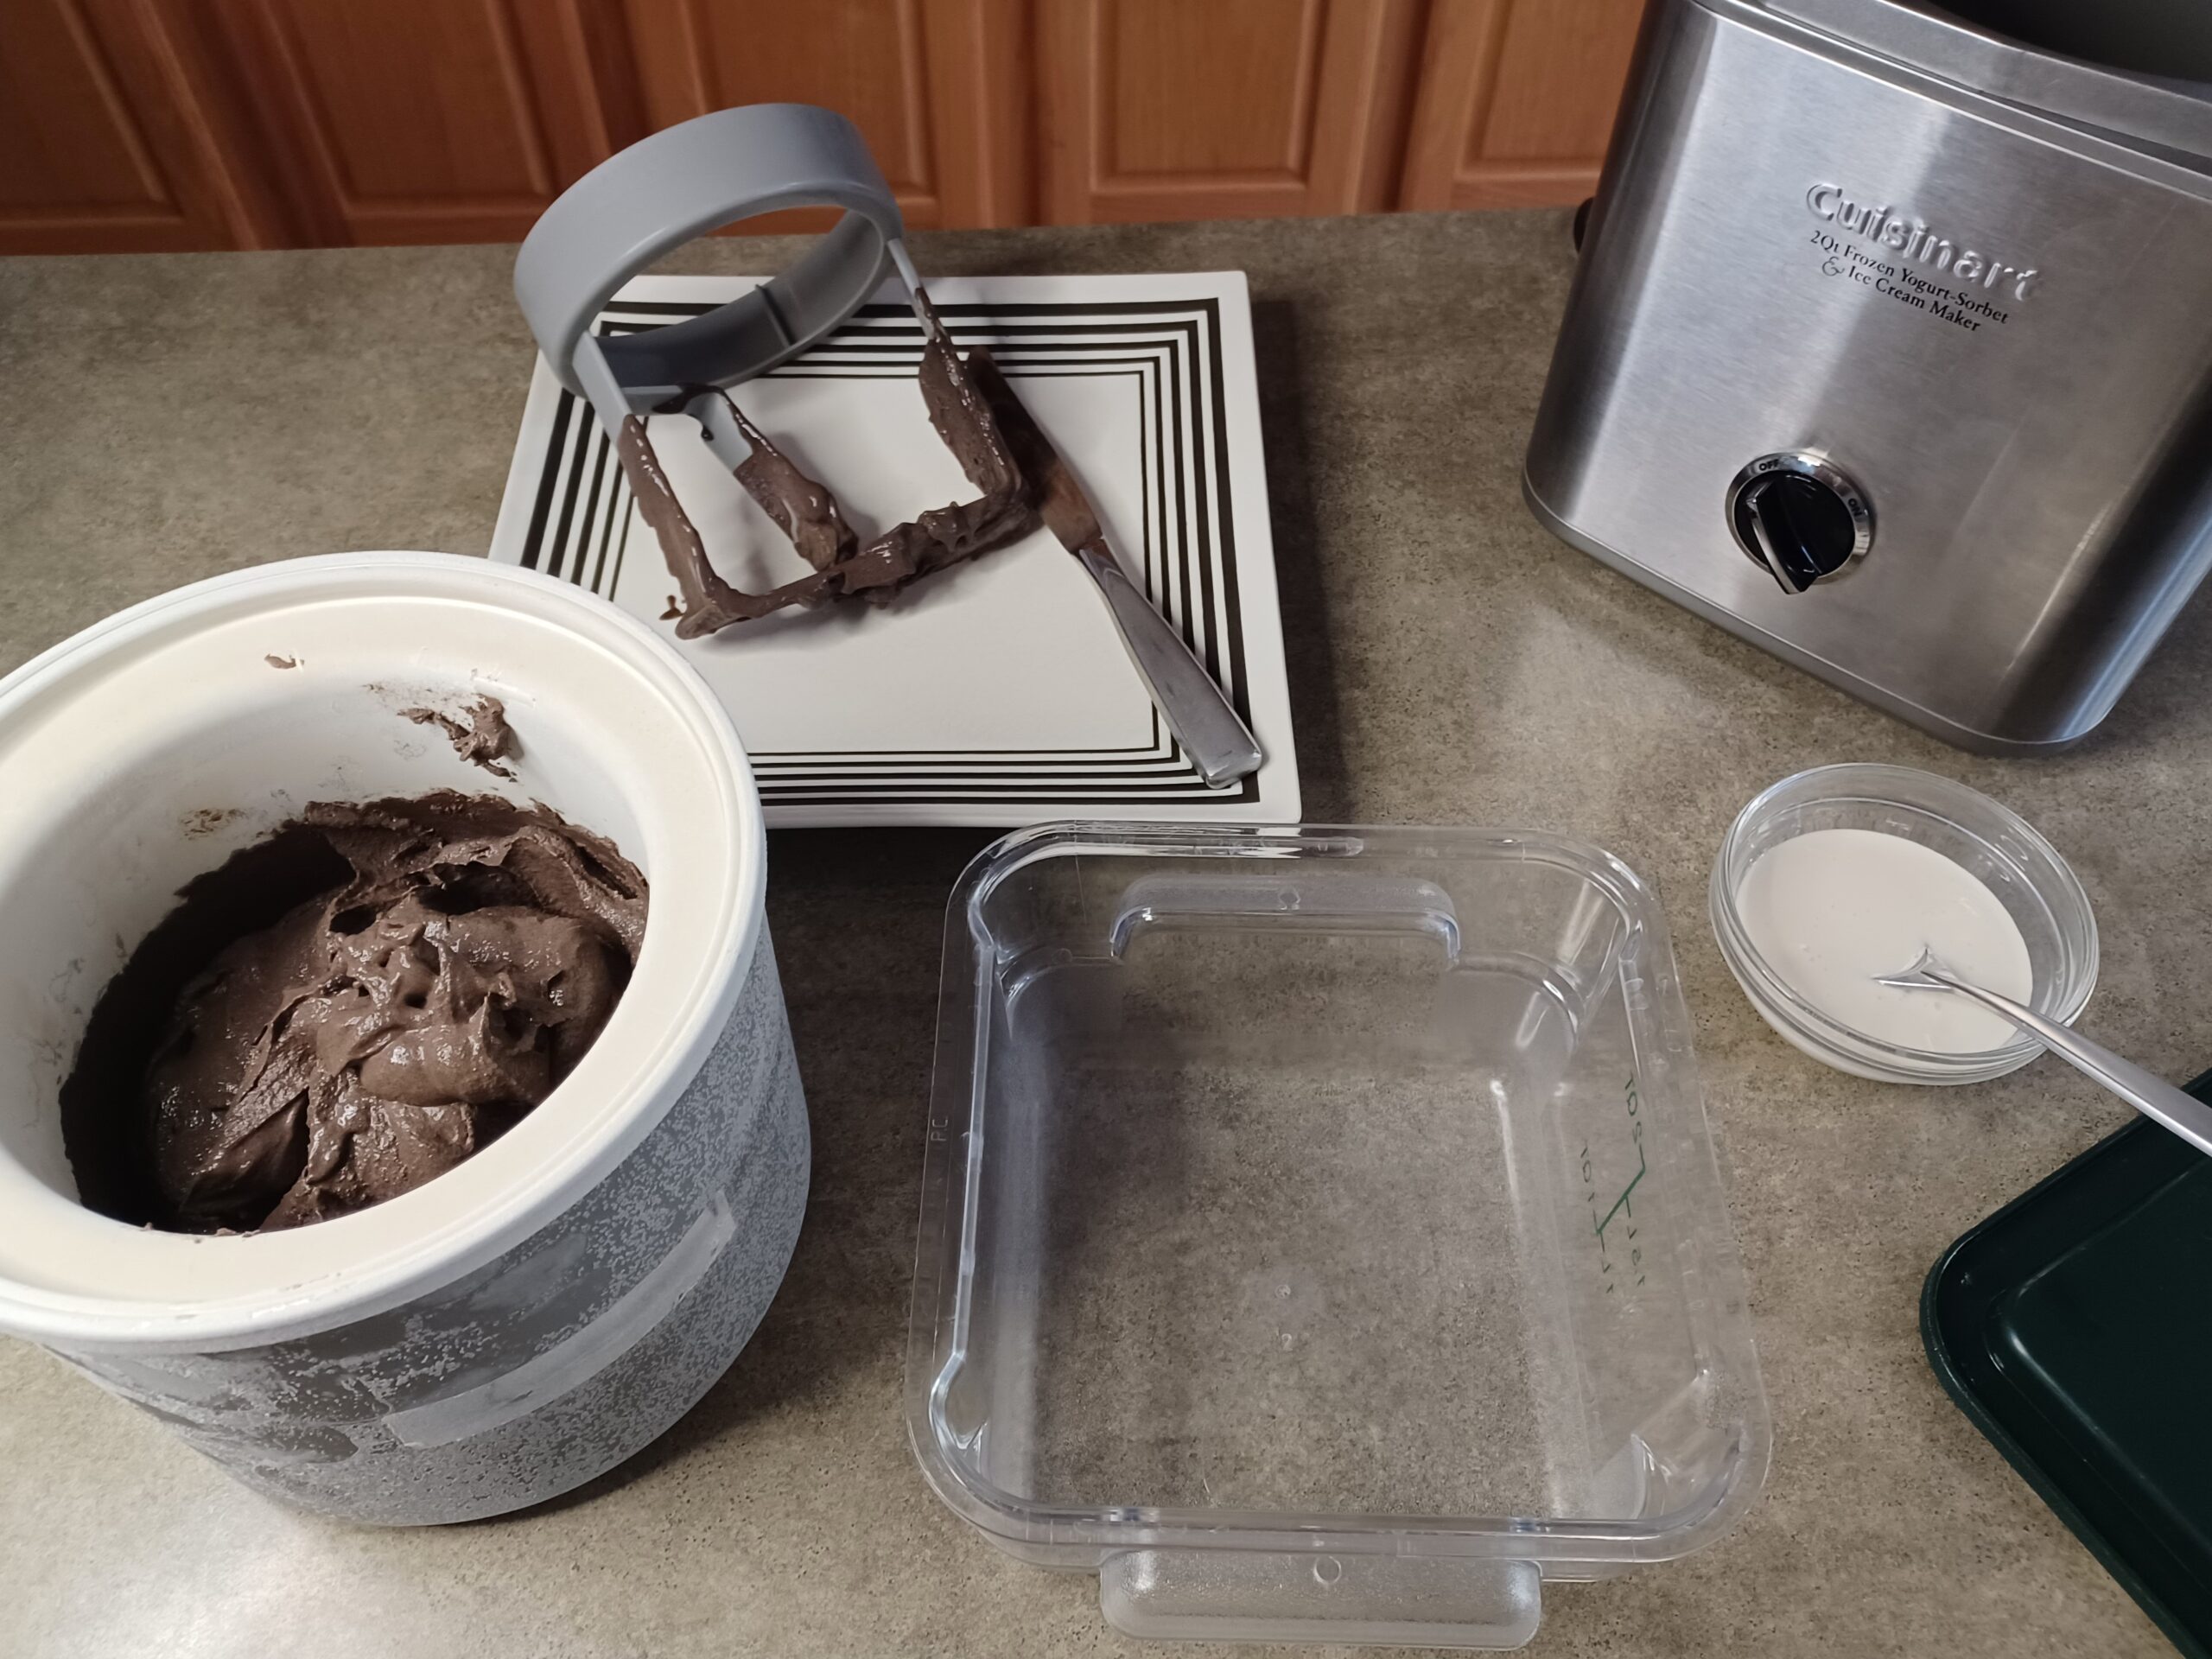
Before you start churning, set up everything you'll need to quickly transfer the ice cream from the machine into a container for freezing. I use a knife to scrape down the dasher (or paddle) and a wooden spoon to scoop out the ice cream. Grab your marshmallow topping for swirling!
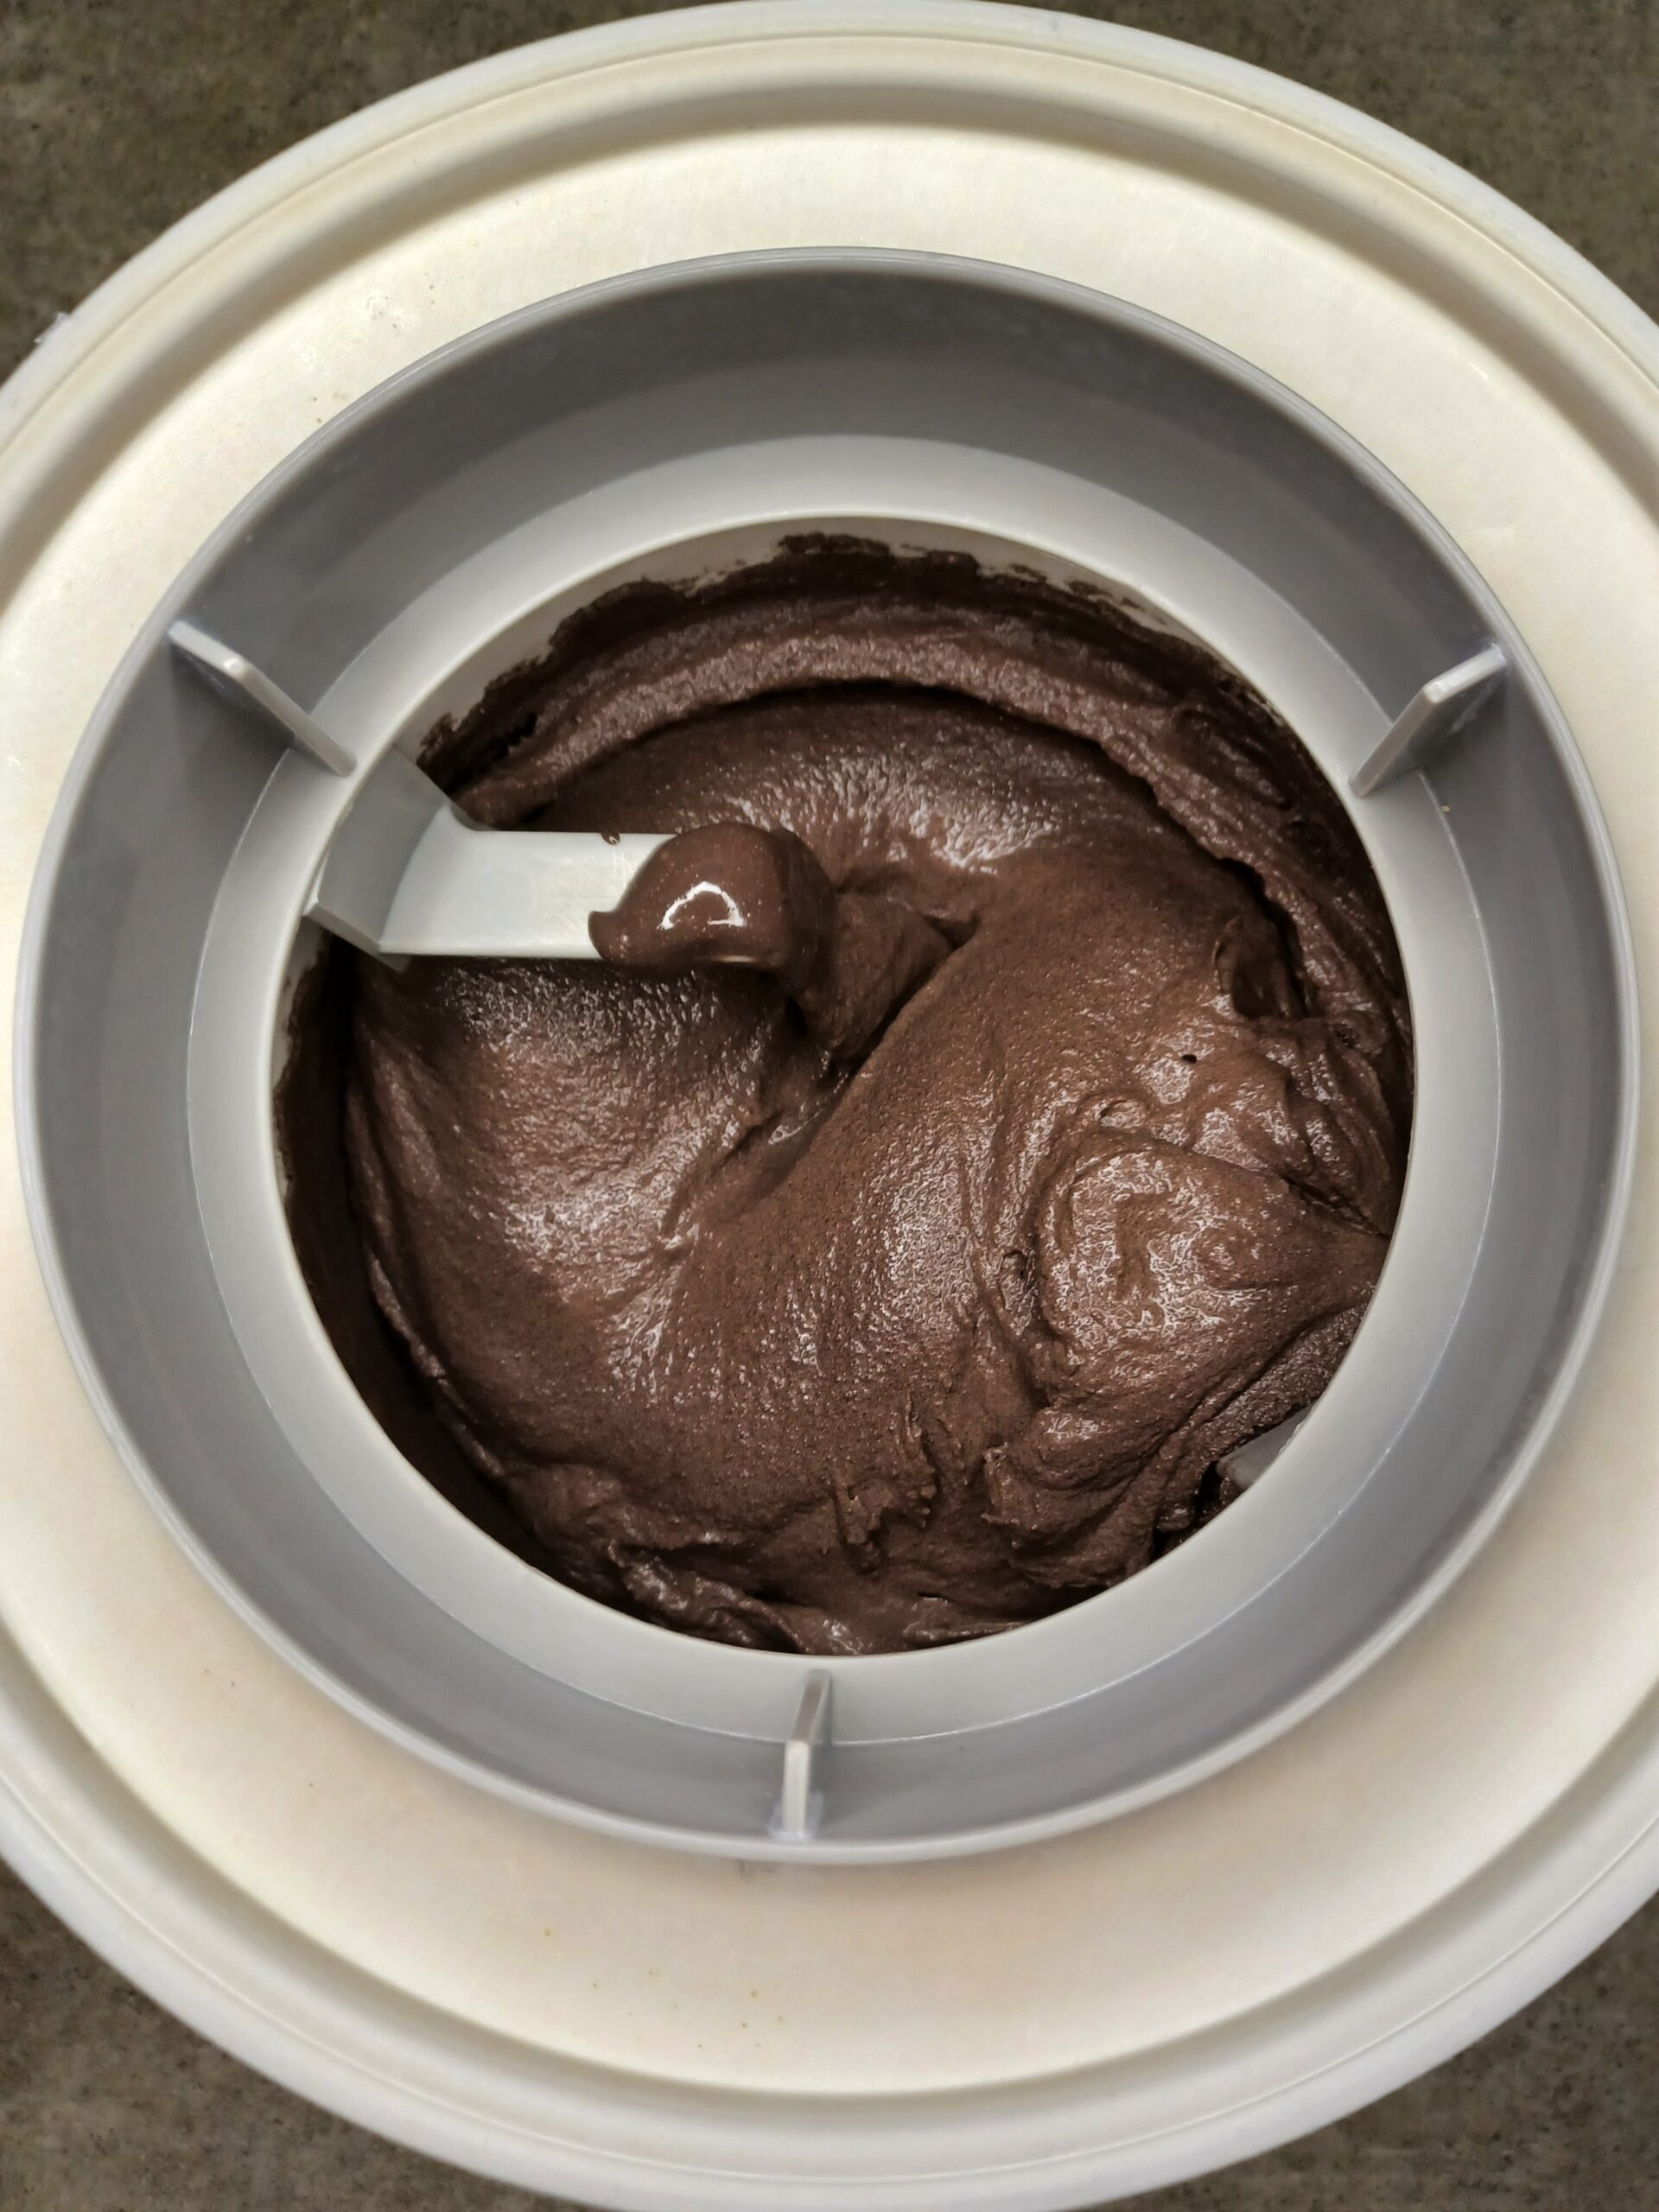
Set up your ice cream maker according to the manufacturer's directions. Pour (or scoop) your mixture into the ice cream maker and churn. Because this mixture is thicker than many ice cream bases, it churns more quickly than most. In my machine the perfect churning time is 15 minutes, but your experience may vary.
The ice cream is ready when it has the consistency of soft serve and has started pulling away from the edge of the canister.
-
SWIRL AND STORE
Working quickly, scoop about a third of your churned ice cream into your storage container. Spoon about half of your marshmallow topping on top. You can make large dollops or thinner layers as you prefer. The larger dollops make a more noticeable swirl in the finished ice cream.
Scoop another third of the ice cream on top, then do another layer with the remaining marshmallow topping. If you're making large dollops of marshmallow topping, try to vary the pattern from layer to layer to distribute it better throughout the container. Top with the remaining ice cream and transfer to the freezer.
Note
Suggested toppings/accompaniments:
- Smucker's Marshmallow Topping (as a swirl and a topping)
- Crushed Oreo cookies
- Glass of milk on the side
To create a mix-in, wait until the last minute of churning to add it to the ice cream maker. Adding the bits too early will mean they sink to the bottom. Alternatively, you can layer and swirl them into the ice cream as you transfer it to your storage container. I like using 1/2 to 3/4 cups (~2-3 oz). It's usually enough to get a little mix-in in every bite of ice cream.
To create a swirl, when transferring the churned ice cream into storage container, spoon large dollops of the swirl ingredient in different places throughout the container, alternating with layers of ice cream. If desired, push a knife or spoon vertically through the layers of ice cream and swirl, and draw it through the ice cream in a swirling pattern to further mix the swirl into the ice cream.
Recommended equipment: (may include affiliate links)
- My ice cream maker (2 qt)
- Newer version of my ice cream maker (2 qt)
- Well-reviewed less expensive ice cream maker (1.5 qt)
- Insulated ice cream container
- Heat-proof spatula
- Immersion/hand blender
- Standard blender
- Ice cream scoop
- Measuring cups
Recommended ingredients: (may include affiliate links)