
Vegetables for dessert!
I like pumpkin-flavored desserts not only because they taste good, but because pumpkin is a vegetable. So eating Pumpkin Cheesecake Ice Cream means I’m eating vegetables for dessert, which is very healthy and good for me, right? … RIGHT?
Pumpkin Cheesecake Ice Cream starts with a base of coconut milk and vegan cream cheese, flavored with a ton of pumpkin and spices. The recipe is dairy free, but if you’d like it to be fully vegan, just omit the collagen powder. Read on for details!
Vegan cream cheese
Developing this recipe gave me my first experience with vegan cream cheese. I don’t eat much dairy, because lactose doesn’t agree with me. I’m also not a fan of the fake cheese products with lots of starches and fillers. However, my grocery store had a vegan cream cheese based on cashew nuts with an ingredient list that didn’t sound like a science experiment: “Organic Cashews, Filtered Water, Organic Coconut Cream, Sea Salt, Cultures.” It tasted good!
If you don’t mind dairy, you can also use regular cream cheese in this recipe. It should work perfectly and taste great.
Protein powders and vegan options
As I mentioned above, this recipe is dairy free as written, but vegan if you leave out the collagen powder. I love using protein powders, especially collagen, in ice cream recipes because they allow you to reduce the sugar while maintaining a nice texture (more about that here).
For most of my recipes, I wouldn’t recommend omitting the protein powder, but in this case it works well. The texture will be slightly more icy, but still a great ice cream. You could also substitute a vegan protein powder (unflavored, unsweetened), but I’ve had mixed results with that — they tend to produce a chalky texture. Let me know if you find one that works!
On the other hand, if you’re okay with dairy, feel free to swap the collagen powder for whey protein (unflavored, unsweetened).
Blend, chill, churn, freeze, eat!
Pumpkin Cheesecake Ice Cream uses the simplest method possible: blend, chill, churn. When the base mixture is chilled, it makes a lovely mousse, so you can even skip the churning if you’re in a hurry.

This ice cream also welcomes a variety of mix-ins and toppings. For something sweet and creamy, try whipped cream (regular or dairy-free), marshmallows (vegan options are available), or this vegan marshmallow sauce. Toasted or candied nuts, like almonds, walnuts, or pecans, would be an interesting mix-in or topping. I’m partial to graham crackers and ginger snaps, because they add to the “cheesecake” experience, but be aware that they will soften in the ice cream if you mix them in. Use them as a topping if you want to keep them crispy. Chocolate or caramel sauce is nearly always a good idea, and I’d even try fresh raspberries… Check the notes below the recipe for more details.
I originally tried to develop this recipe using a whole can of pumpkin, because no one likes random amounts of leftover pumpkin. But a whole can was just too much. However, you can freeze what you don’t use, so there’s no rush to make that next batch of pumpkin bread. You could also use up some of the leftover pumpkin to make dairy-free PSL Ice Cream!
For other recipes that let you eat vegetables for dessert, try Carrot-Ginger-Coconut Sorbet (vegan) or Avocado Frozen Yogurt.
Pumpkin Cheesecake Ice Cream (dairy free with vegan option)
Makes ~ 1 quart
Ingredients
Instructions
-
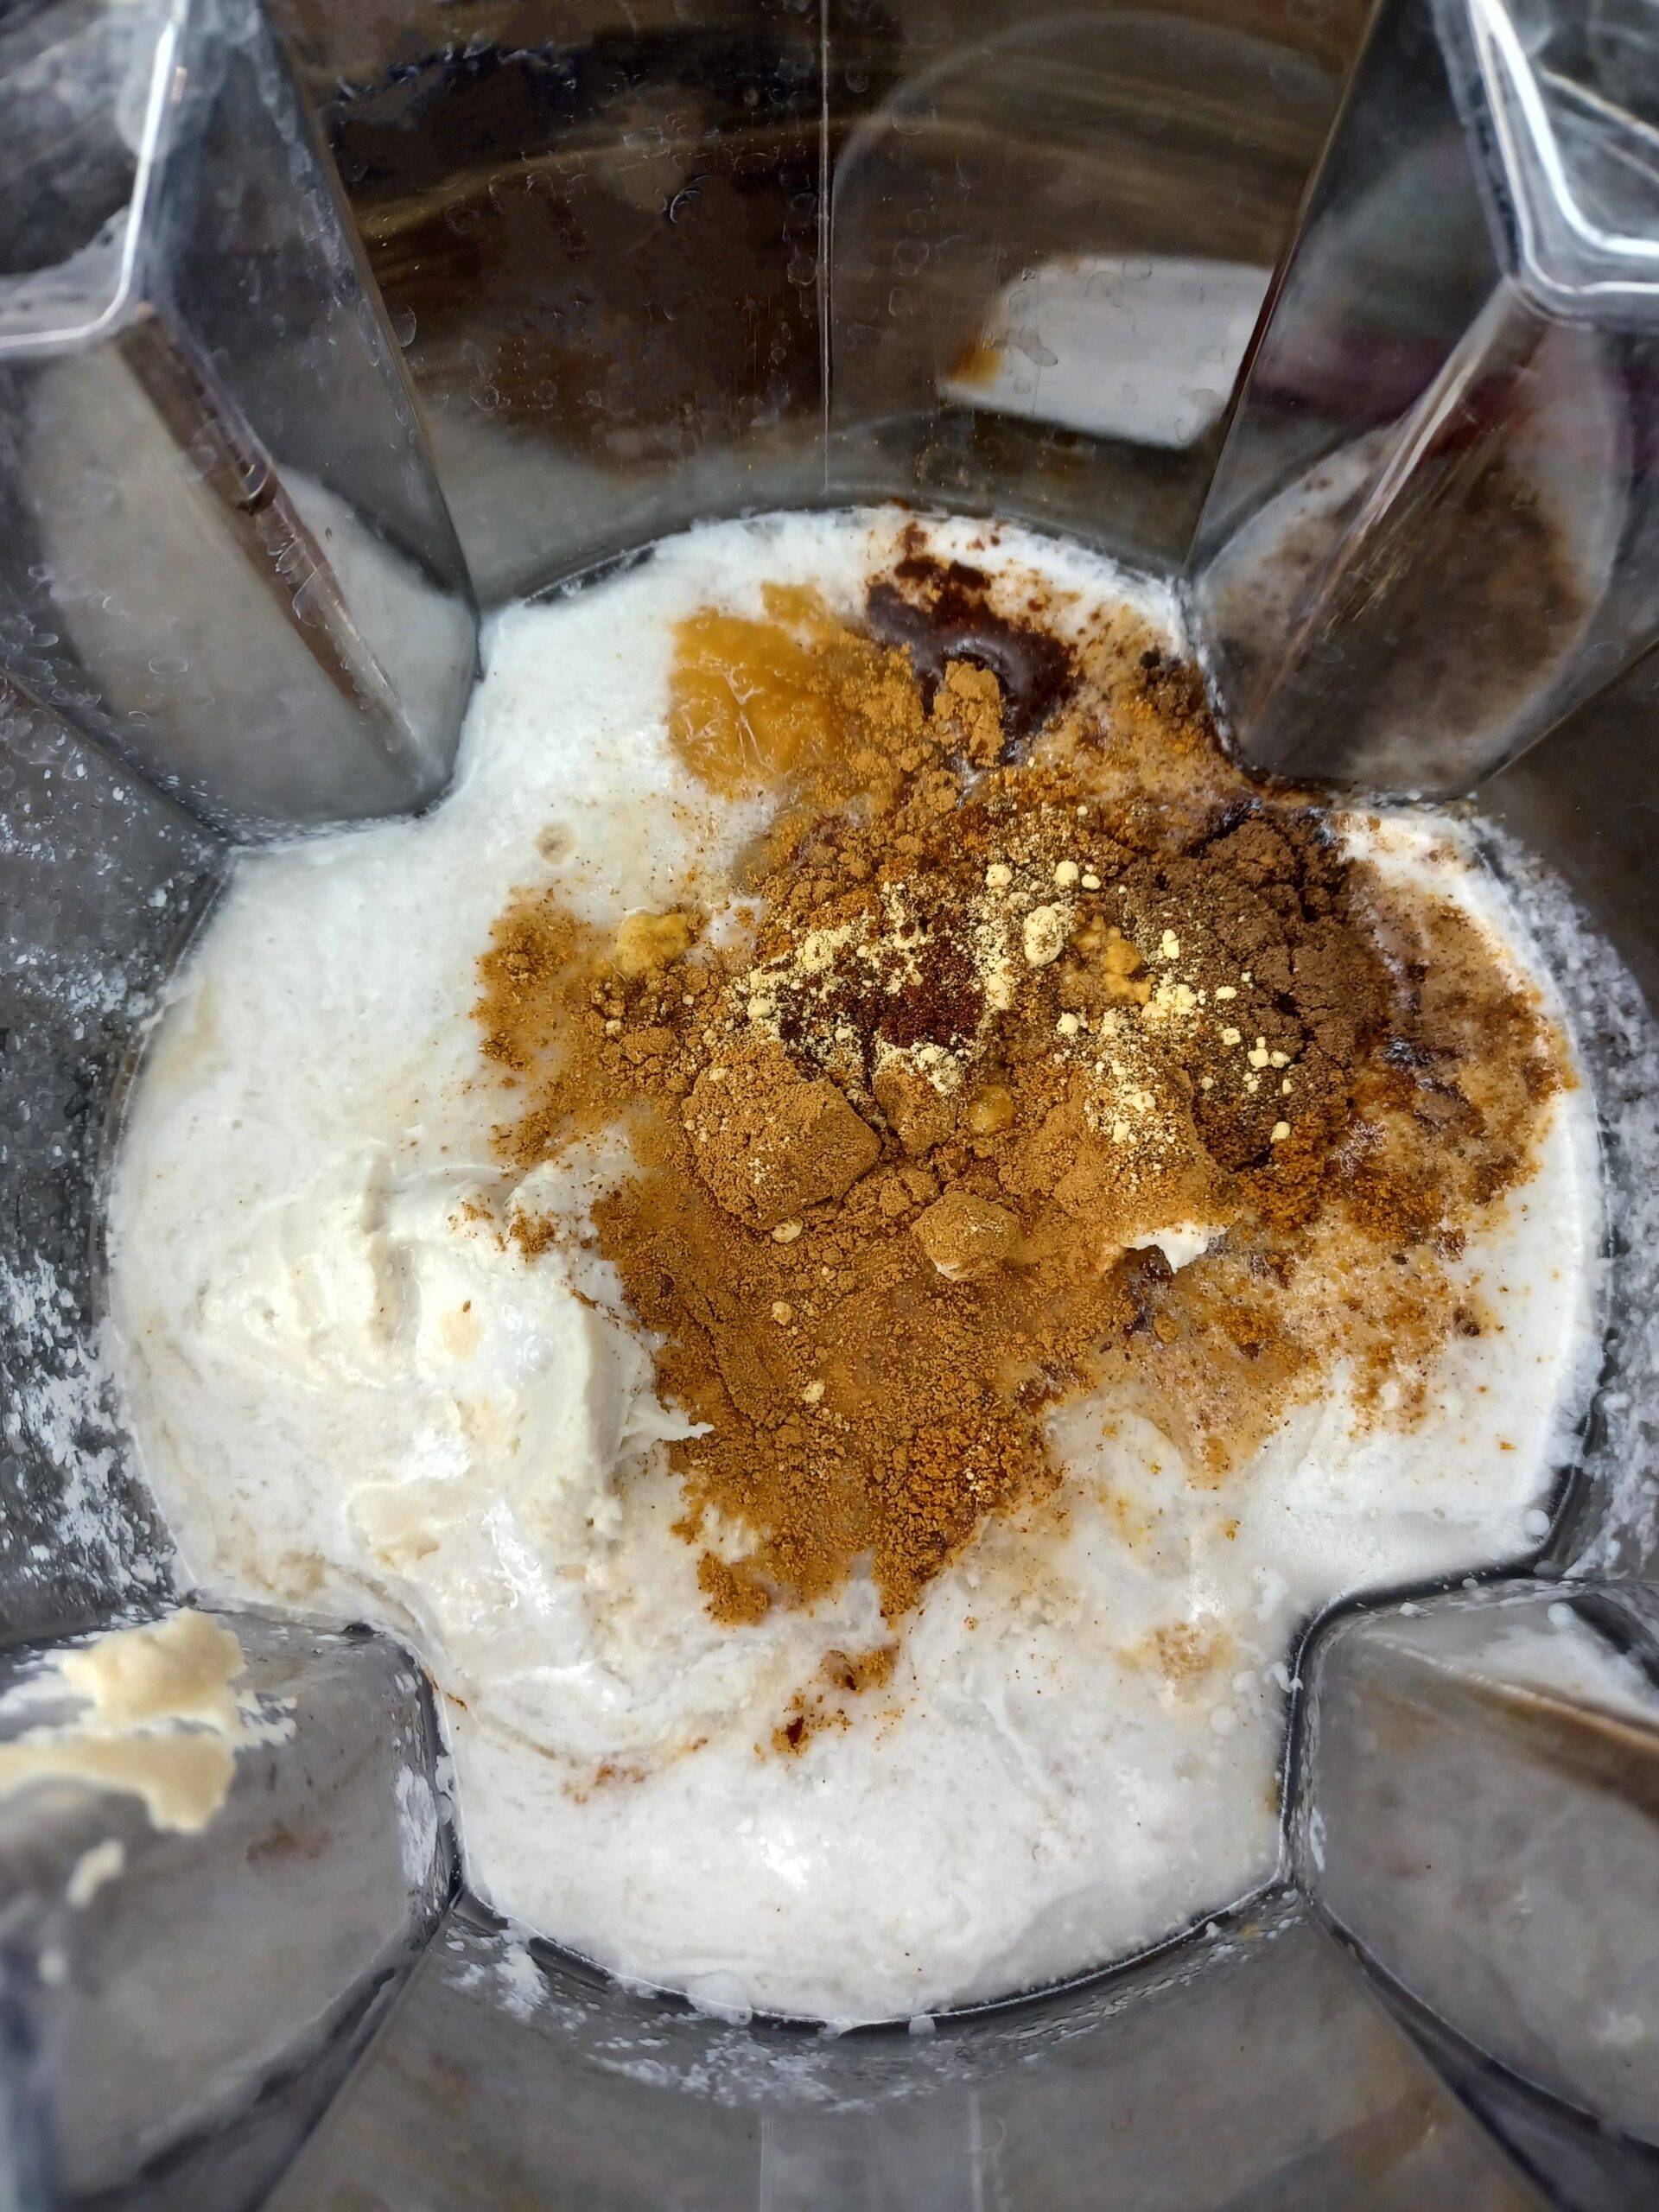
BLEND
Place all ingredients into a blender and blend until smooth.
-
CHILL
Transfer to a container and chill in the fridge for 8 hours or overnight.
For a quicker chilling time, place the bowl containing your mixture in an ice bath (a larger bowl containing ice water) for a few hours. Stir the mixture occasionally. As the water in the ice bath warms up, pour off some water and add ice to keep the mixture chilling as quickly as possible.
When fully chilled, this ice cream base is thick like pudding, because of the pumpkin and cream cheese. Ideally, the mixture will be about 40 degrees when you churn it.

-
CHURN
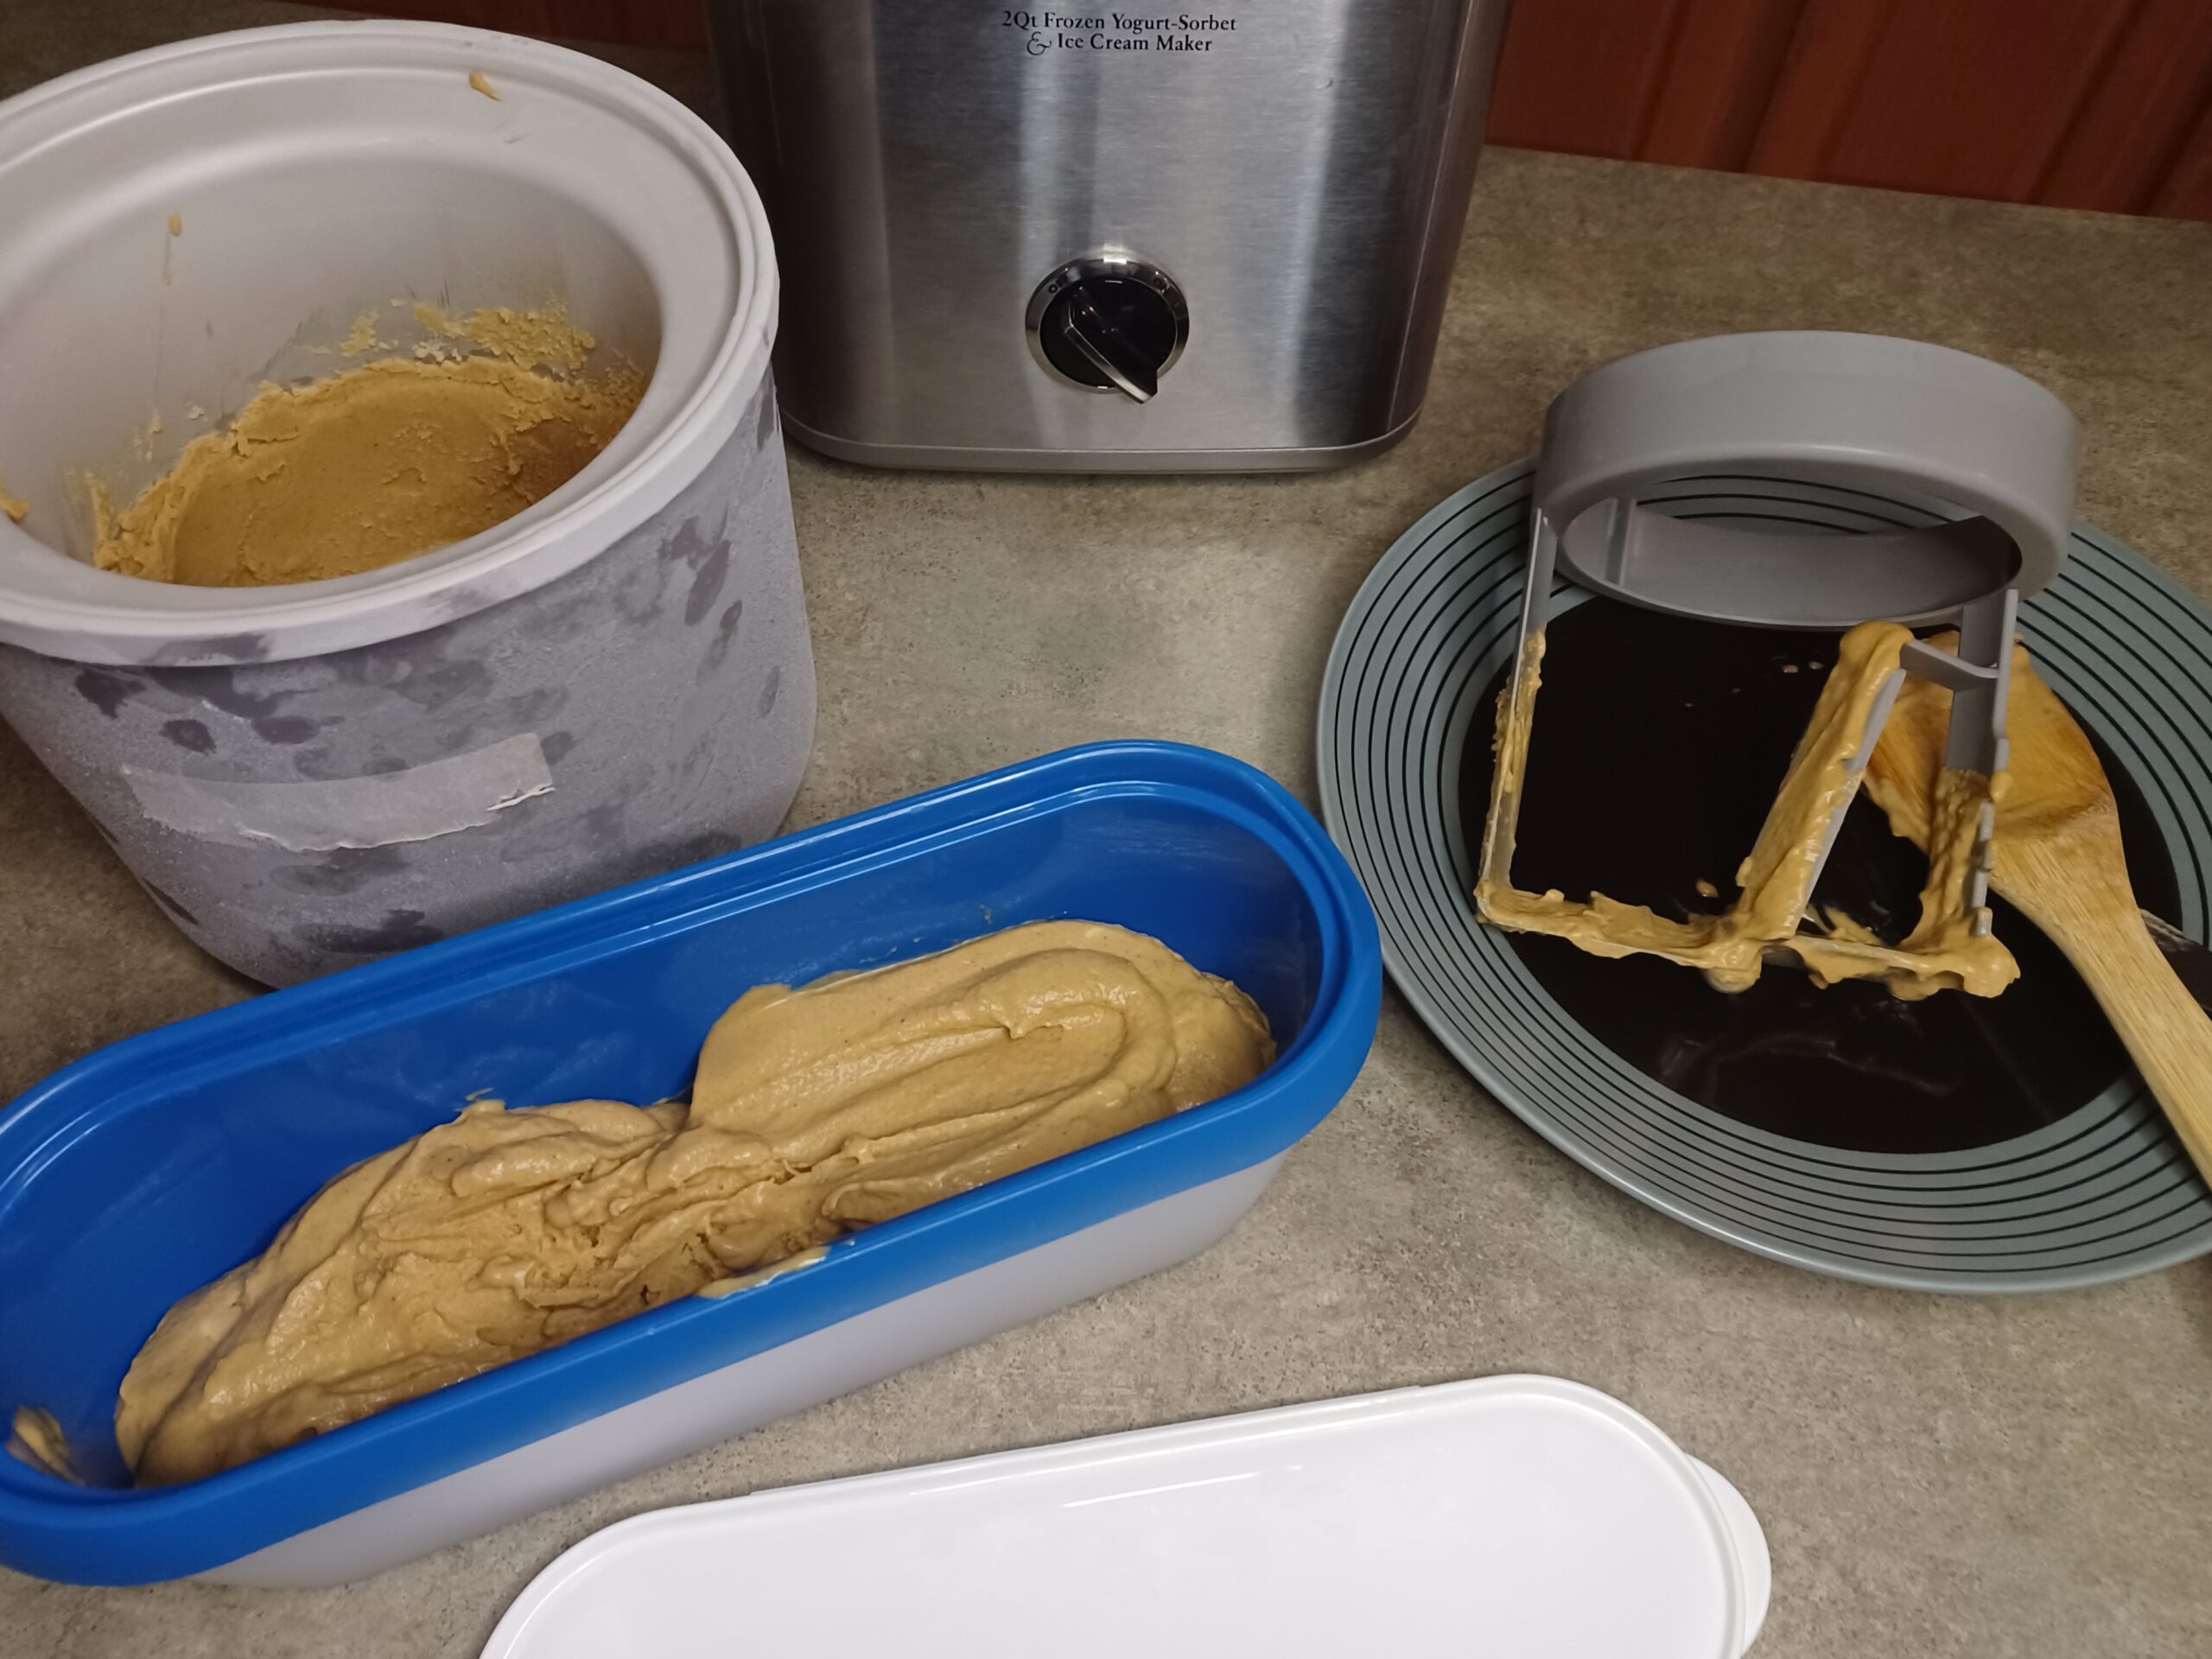
Before you start churning, set up everything you'll need to quickly transfer the ice cream from the machine into a container for freezing. I use a knife to scrape down the dasher (or paddle) and a wooden spoon to scoop out the ice cream.
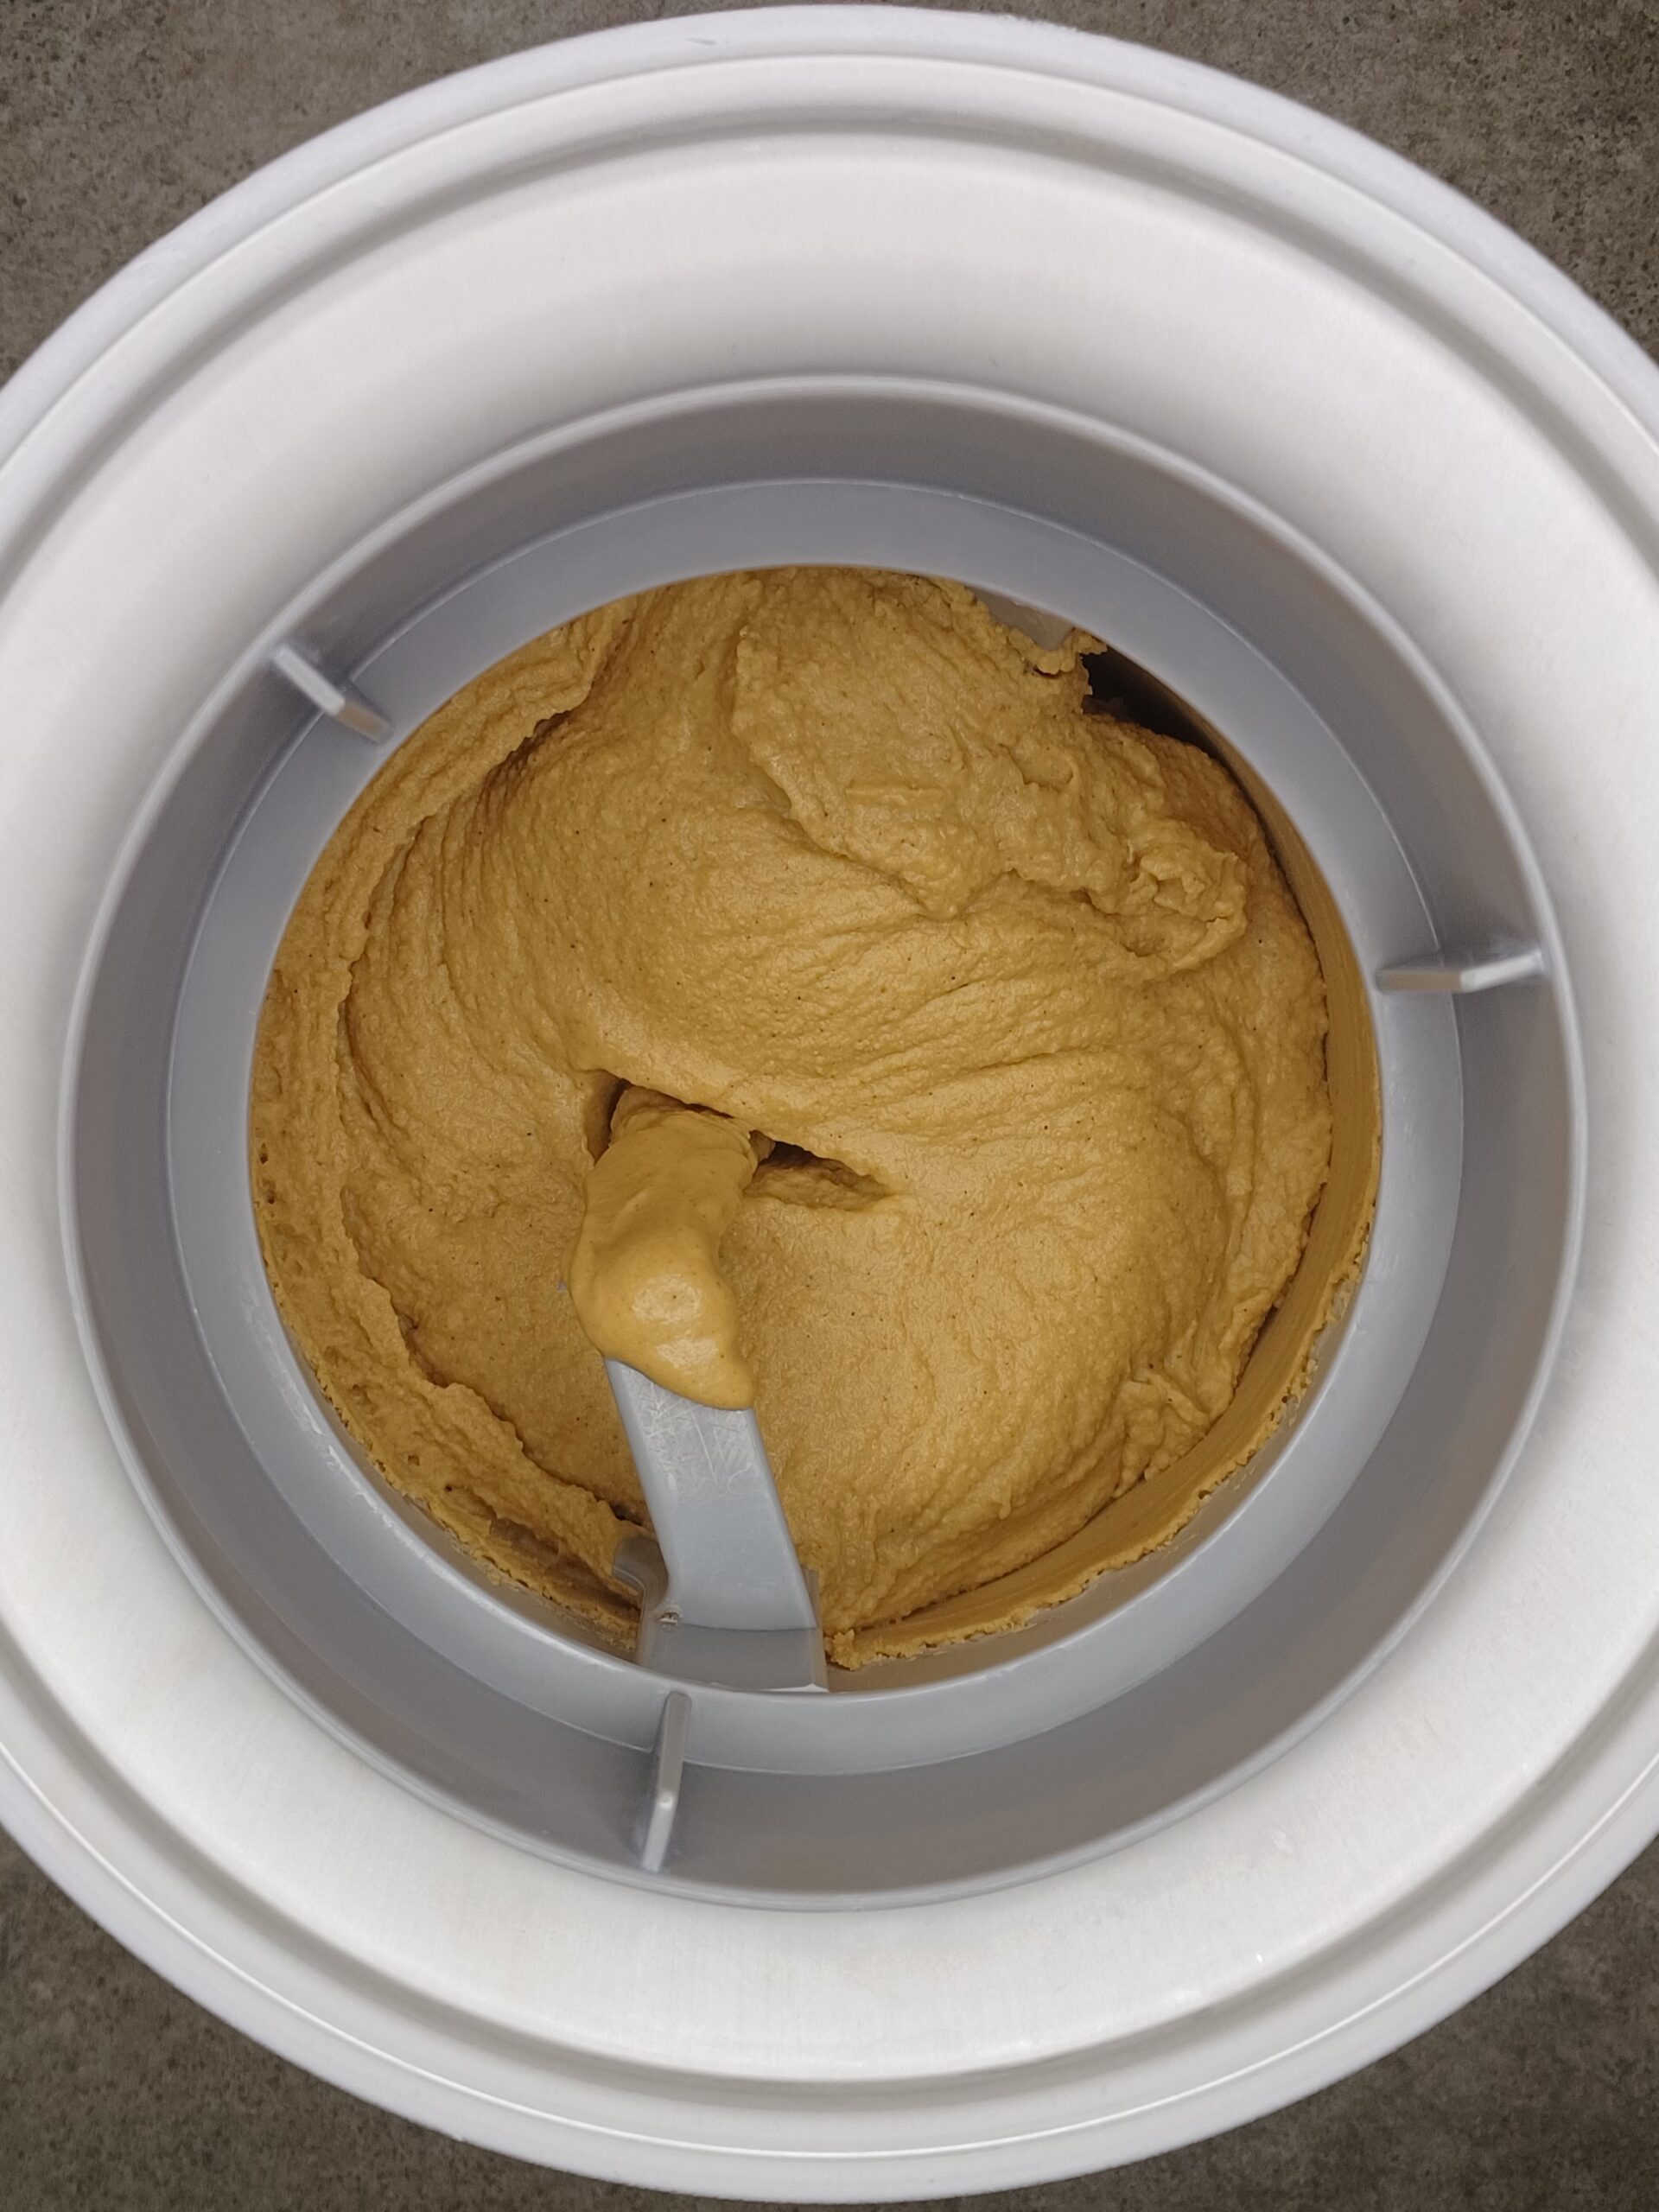
Set up your ice cream maker according to the manufacturer's directions. Pour (or scoop) your mixture into the ice cream maker and churn. Because this mixture is thicker than many ice cream bases, it churns more quickly than most. In my machine the perfect churning time is 14 minutes, but your experience may vary.
The ice cream is ready when it has the consistency of soft serve and has started pulling away from the edge of the canister. You'll notice it also gets lighter in color as air is mixed in.
-
STORE
When the ice cream has finished churning, scoop it as quickly as possible into your storage container. Cover it with plastic wrap or parchment paper, if using. (Placing a sheet of parchment paper between the container and lid will help prevent frost, or you can press plastic wrap directly onto the surface of the ice cream.) Put the container in the freezer. The ice cream will be fully firm in a few hours.
Note
Suggested toppings/accompaniments:
- Marshmallows
- Marshmallow sauce
- Ginger snaps
- Graham crackers
- Chocolate sauce
- Caramel
- Fresh berries
To create a mix-in, wait until the last minute of churning to add it to the ice cream maker. Adding the bits too early will mean they sink to the bottom. Alternatively, you can layer and swirl them into the ice cream as you transfer it to your storage container. I like using 1/2 to 3/4 cups (~2-3 oz). It's usually enough to get a little mix-in in every bite of ice cream.
Recommended equipment: (may include affiliate links)
- My ice cream maker (2 qt)
- Newer version of my ice cream maker (2 qt)
- Well-reviewed less expensive ice cream maker (1.5 qt)
- Insulated ice cream container
- Heat-proof spatula
- Immersion/hand blender
- Standard blender
- Ice cream scoop
- Measuring cups
Recommended ingredients (may contain affiliate links):