
Three hundred years ago, people in America made chocolate from cocoa beans ground with nuts and spices. In Colonial Williamsburg you can watch the chocolate-making process and taste the result. I’m taking an original recipe from the 1700s and adapting it as closely as I can into ice cream. The resulting “Williamsburg Chocolate Ice Cream” has a unique, nutty, spicy flavor that deserves to be popular again today.
The basic process is to grind the nuts into a nut butter, add chocolate, sugar, and spices, then slowly add coconut milk, chill, and churn. The result is rich, chocolatey, highly spiced, and vegan. You’ll want a food processor or high-powered blender for this, unless you want to be authentic to the 18th century and grind everything in a mortar and pestle (not recommended!).
Chocolate from the 1700s
Colonial Williamsburg is one of my favorite places. It’s a living history museum, where you can walk through a recreated town filled with reenactors who dress and act like they’re living in Colonial America. For history nerds, it’s basically Disneyland. When we visited a few years ago, we watched a demonstration of chocolate making in the 1700s. In a very time-consuming and labor-intensive process, the cocoa beans were ground by hand along with a lot of nuts and spices.
Today we often see nuts mixed into chocolate bars, but not ground up with the chocolate itself. We might also see spices added to chocolate, but nowhere near the quantity and variety of spices in the 18th-century version. On the other hand, any grocery store candy aisle shows that we love chocolate combined with almost every imaginable flavor. Maybe our taste in chocolate today isn’t all that different from 300 years ago.
Adapting a 300-year-old recipe
The Art of Cookery Made Plain and Easy by Hannah Glasse was a popular cookbook in Colonial America. I bought a copy in the gift shop during our visit to Williamsburg. Glasse includes a recipe for chocolate with almonds, pistachio nuts, and lots of spices. I’ve used the same spices in the ice cream, coming as close to the original proportions as I can. The most surprising spice for me was achiote, because I associate it with Mexican food, but apparently it was used in Virginia in the 1700s! You can also buy “American Heritage Chocolate” in the gift shop in Williamsburg, and the ingredients include some of the spices from this recipe.


How to make Chocolate.
Take six pounds of cocoa-nuts, one pound of anise-seeds, four ounces of long pepper, one of cinnamon, a quarter of a pound of almonds, one pound of pistachios, as much achiote as will make it the colour of brick, three grains of musk and as much ambergrease, six pounds of loaf sugar, one ounce of nutmegs, dry and beat them, and searce [?] them through a fine sieve; your almonds must be beat to a paste, and mixed with the other ingredients; then dip your sugar in orange-flower or rose-water, and put it on a skillet, on a very gentle charcoal fire; then put in the spice, and stew it well together, then the must and ambergrease, then put the cocoa-nuts last of all, then achiote, wetting it with the water the sugar was dipt in; stew all these very well together, over a hotter fire than before; then take it up, and put it into boxes, or what form you like, and set it to dry in a warm place. The pistachios and almonds must be a little beat in a mortar, then ground upon a stone.
The Art of Cookery Made Plain and Easy, by Hannah Glasse

Did you notice musk and ambergrease [ambergris] in the list of ingredients? We think of both in relation to perfume, but they were used in cooking in the past. Today, ambergris is actually illegal. Musk is not easy to get. For this recipe I wanted the spices to be readily available, so it was an easy decision to skip them.
Making “Williamsburg chocolate ice cream”
When developing ice cream recipes with less sugar, more protein, and dairy-free or vegan options, starting with a nut butter works great. Nuts provide healthier fats for richness and help prevent the iciness that happens when you reduce the amount of sugar. Williamsburg Chocolate Ice Cream fits this method perfectly.
Nut options: The recipe calls for almonds and pistachios, just like Hannah Glasse says, but you have some options in the details. I used raw, sliced almonds, but you could use toasted almonds if you want. I used roasted, salted pistachios because they are easy to find, and I like the roasted flavor. You could also use raw pistachios, but I’d recommend increasing the salt in the recipe to account for the lost salt from the roasted, salted nuts. Pistachios without their skins will blend more smoothly, so I recommend buying them pre-shelled and skinned (which you get with the roasted, salted variety).
Chocolate options: I’ve written the recipe to include cocoa powder as well as solid, melted chocolate. (We’re definitely not starting with cocoa beans like Hannah Glasse did!) I think a combination of the two types achieves the best flavor and texture. For the solid chocolate, use any type you like. My favorite is 70%, but you can use anything from milk chocolate up to 100% unsweetened baker’s chocolate. I’ve tested the recipe with chopped baking bars as well as chocolate chips, and they both work fine. Just remember to check the ingredients if you want the chocolate to be vegan.
The process: The key to making the best Williamsburg Chocolate Ice Cream is to make sure the nuts are blended until they’re completely smooth before adding the liquid. This requires time and patience! The nuts should be ground by themselves first, until almost smooth. Then spices and other dry ingredients are added. Liquid should be added very slowly at the end. Adding too much liquid too soon will make it very difficult to get the nuts completely smooth. Step-by-step instructions are in the recipe below, but for more details, check out the post for Pistachio Ice Cream. Also check out this great video from Sohla El-Waylly about making nut butters.
You might also like these other chocolate ice cream recipes:
Williamsburg Chocolate Ice Cream (vegan)
Makes ~1 quart
Ingredients
Instructions
-
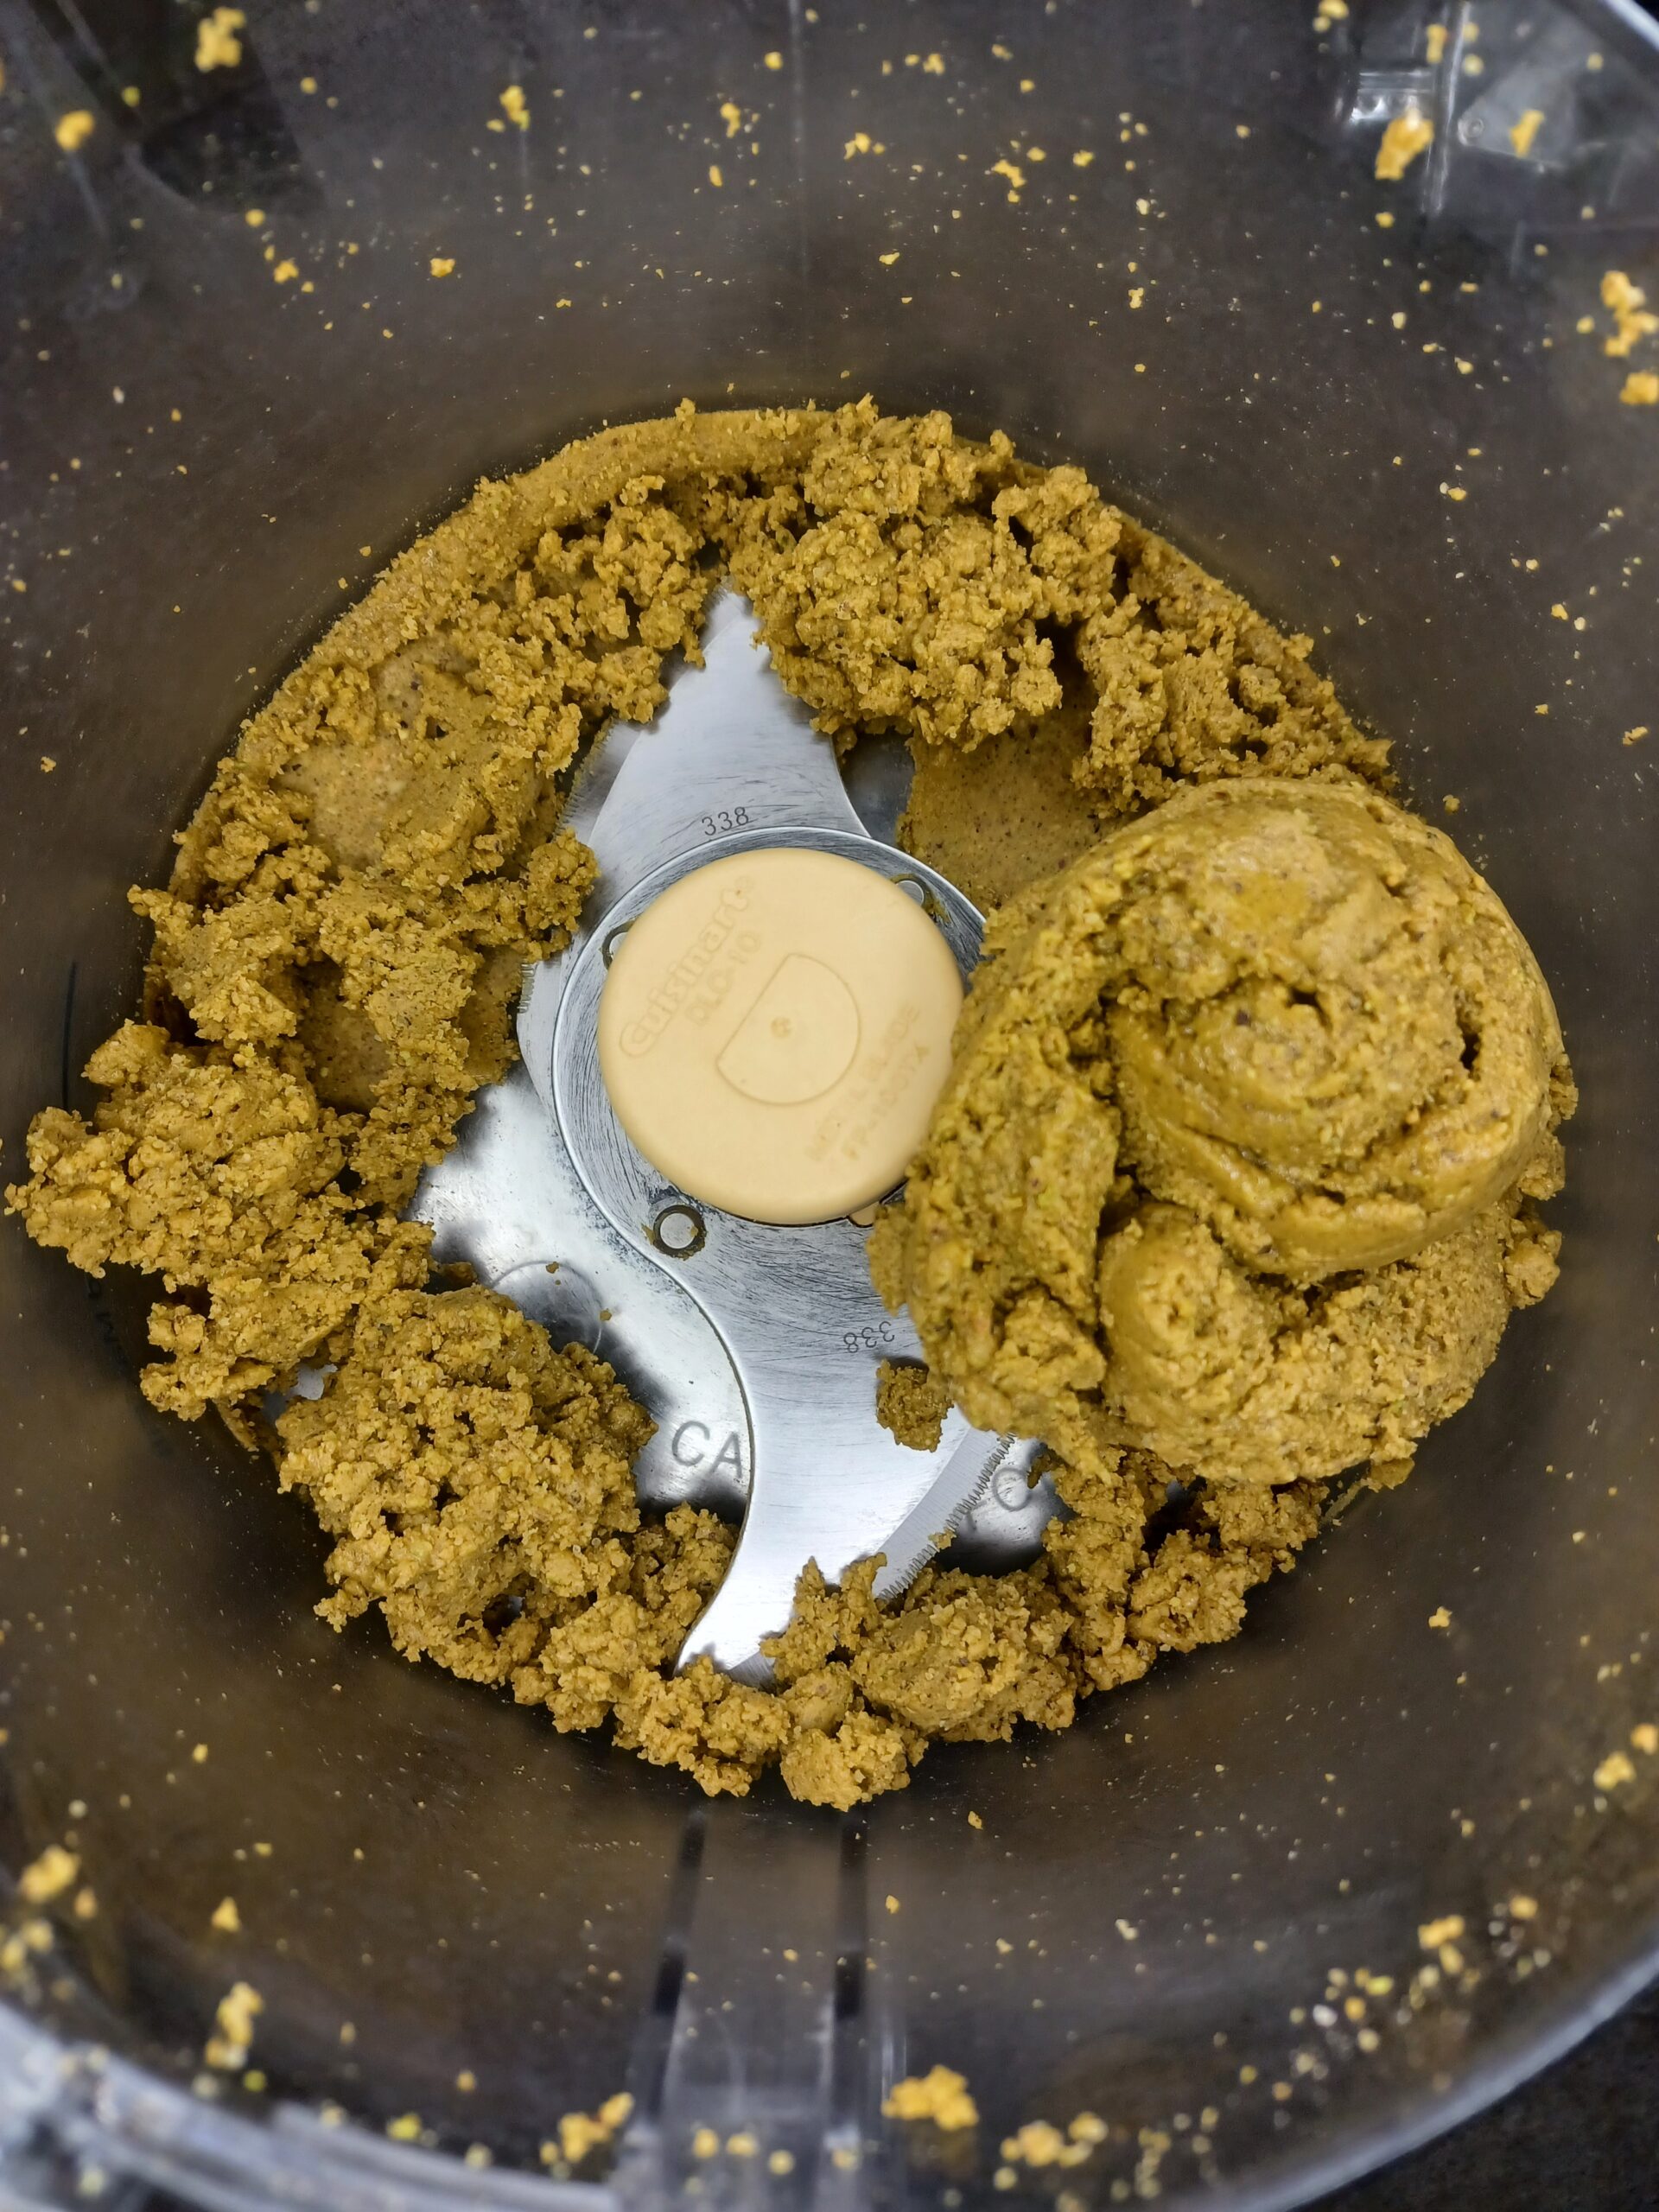
START GRINDING THE NUTS
Place your almonds and pistachios in a food processor or high-powered blender and begin grinding them. This process may take a while, and you might need to let your machine rest a few times if it gets too hot. The nuts will break up quickly, then begin to clump up as the oils start to be released. You may need to break up the clumps a few times to keep them processing. [The picture just shows pistachio nuts, but it looks the same with pistachios and almonds.]
-
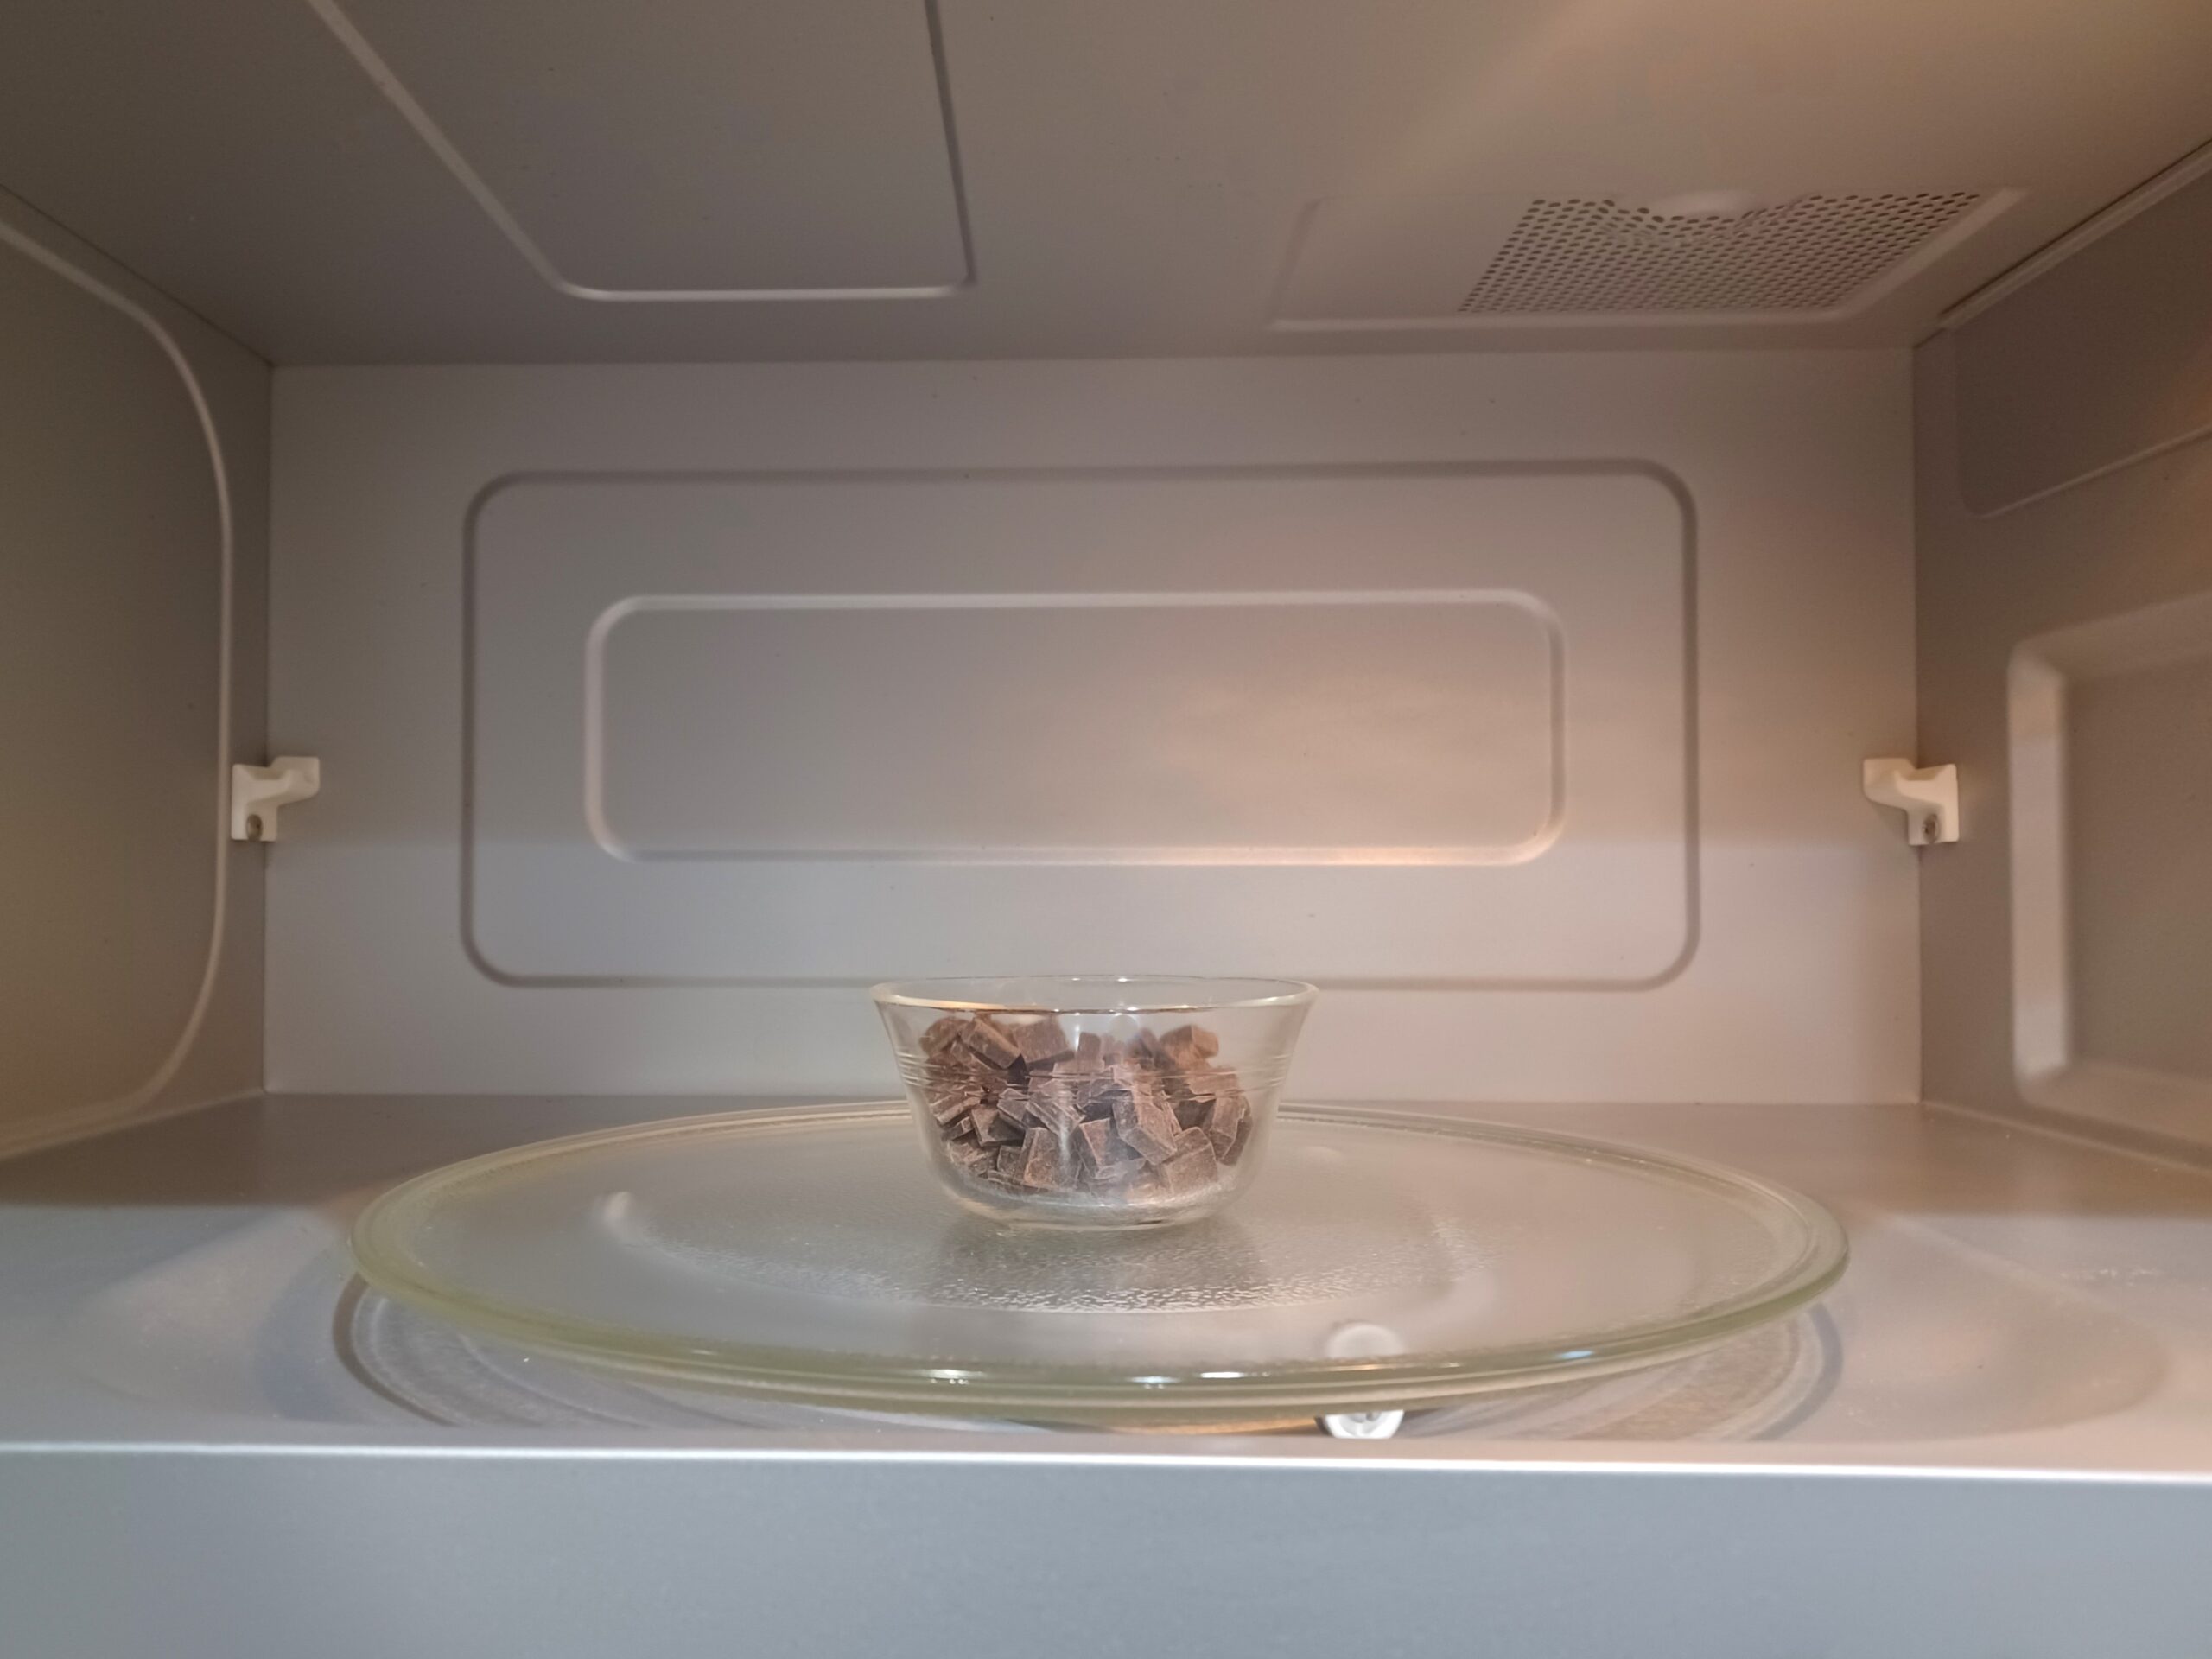
MELT THE CHOCOLATE
While the nuts are grinding, chop your chocolate if needed (no need if you're using chocolate chips), then place it in a microwave-safe bowl. Microwave at 50% power for 30 seconds. Stir. Microwave again at 50% power for 30 seconds. Stir again. Keep doing this until your chocolate is melted, but take care not to overheat it. I like to stop microwaving before the chocolate is fully melted and let the residual heat finish melting the chocolate, while I move on to the next step.
-
CHECK THE NUTS & ADD DRY INGREDIENTS
Continue processing the nuts and scraping down the sides of the bowl as needed. The nuts will progress from dry crumbles to clumpy/oily crumbles to (eventually) something that looks like a smooth nut butter.
When you are close to a smooth nut butter, add the remaining dry ingredients: sugar, salt, spices, cocoa powder, and xanthan gum (if using).
-
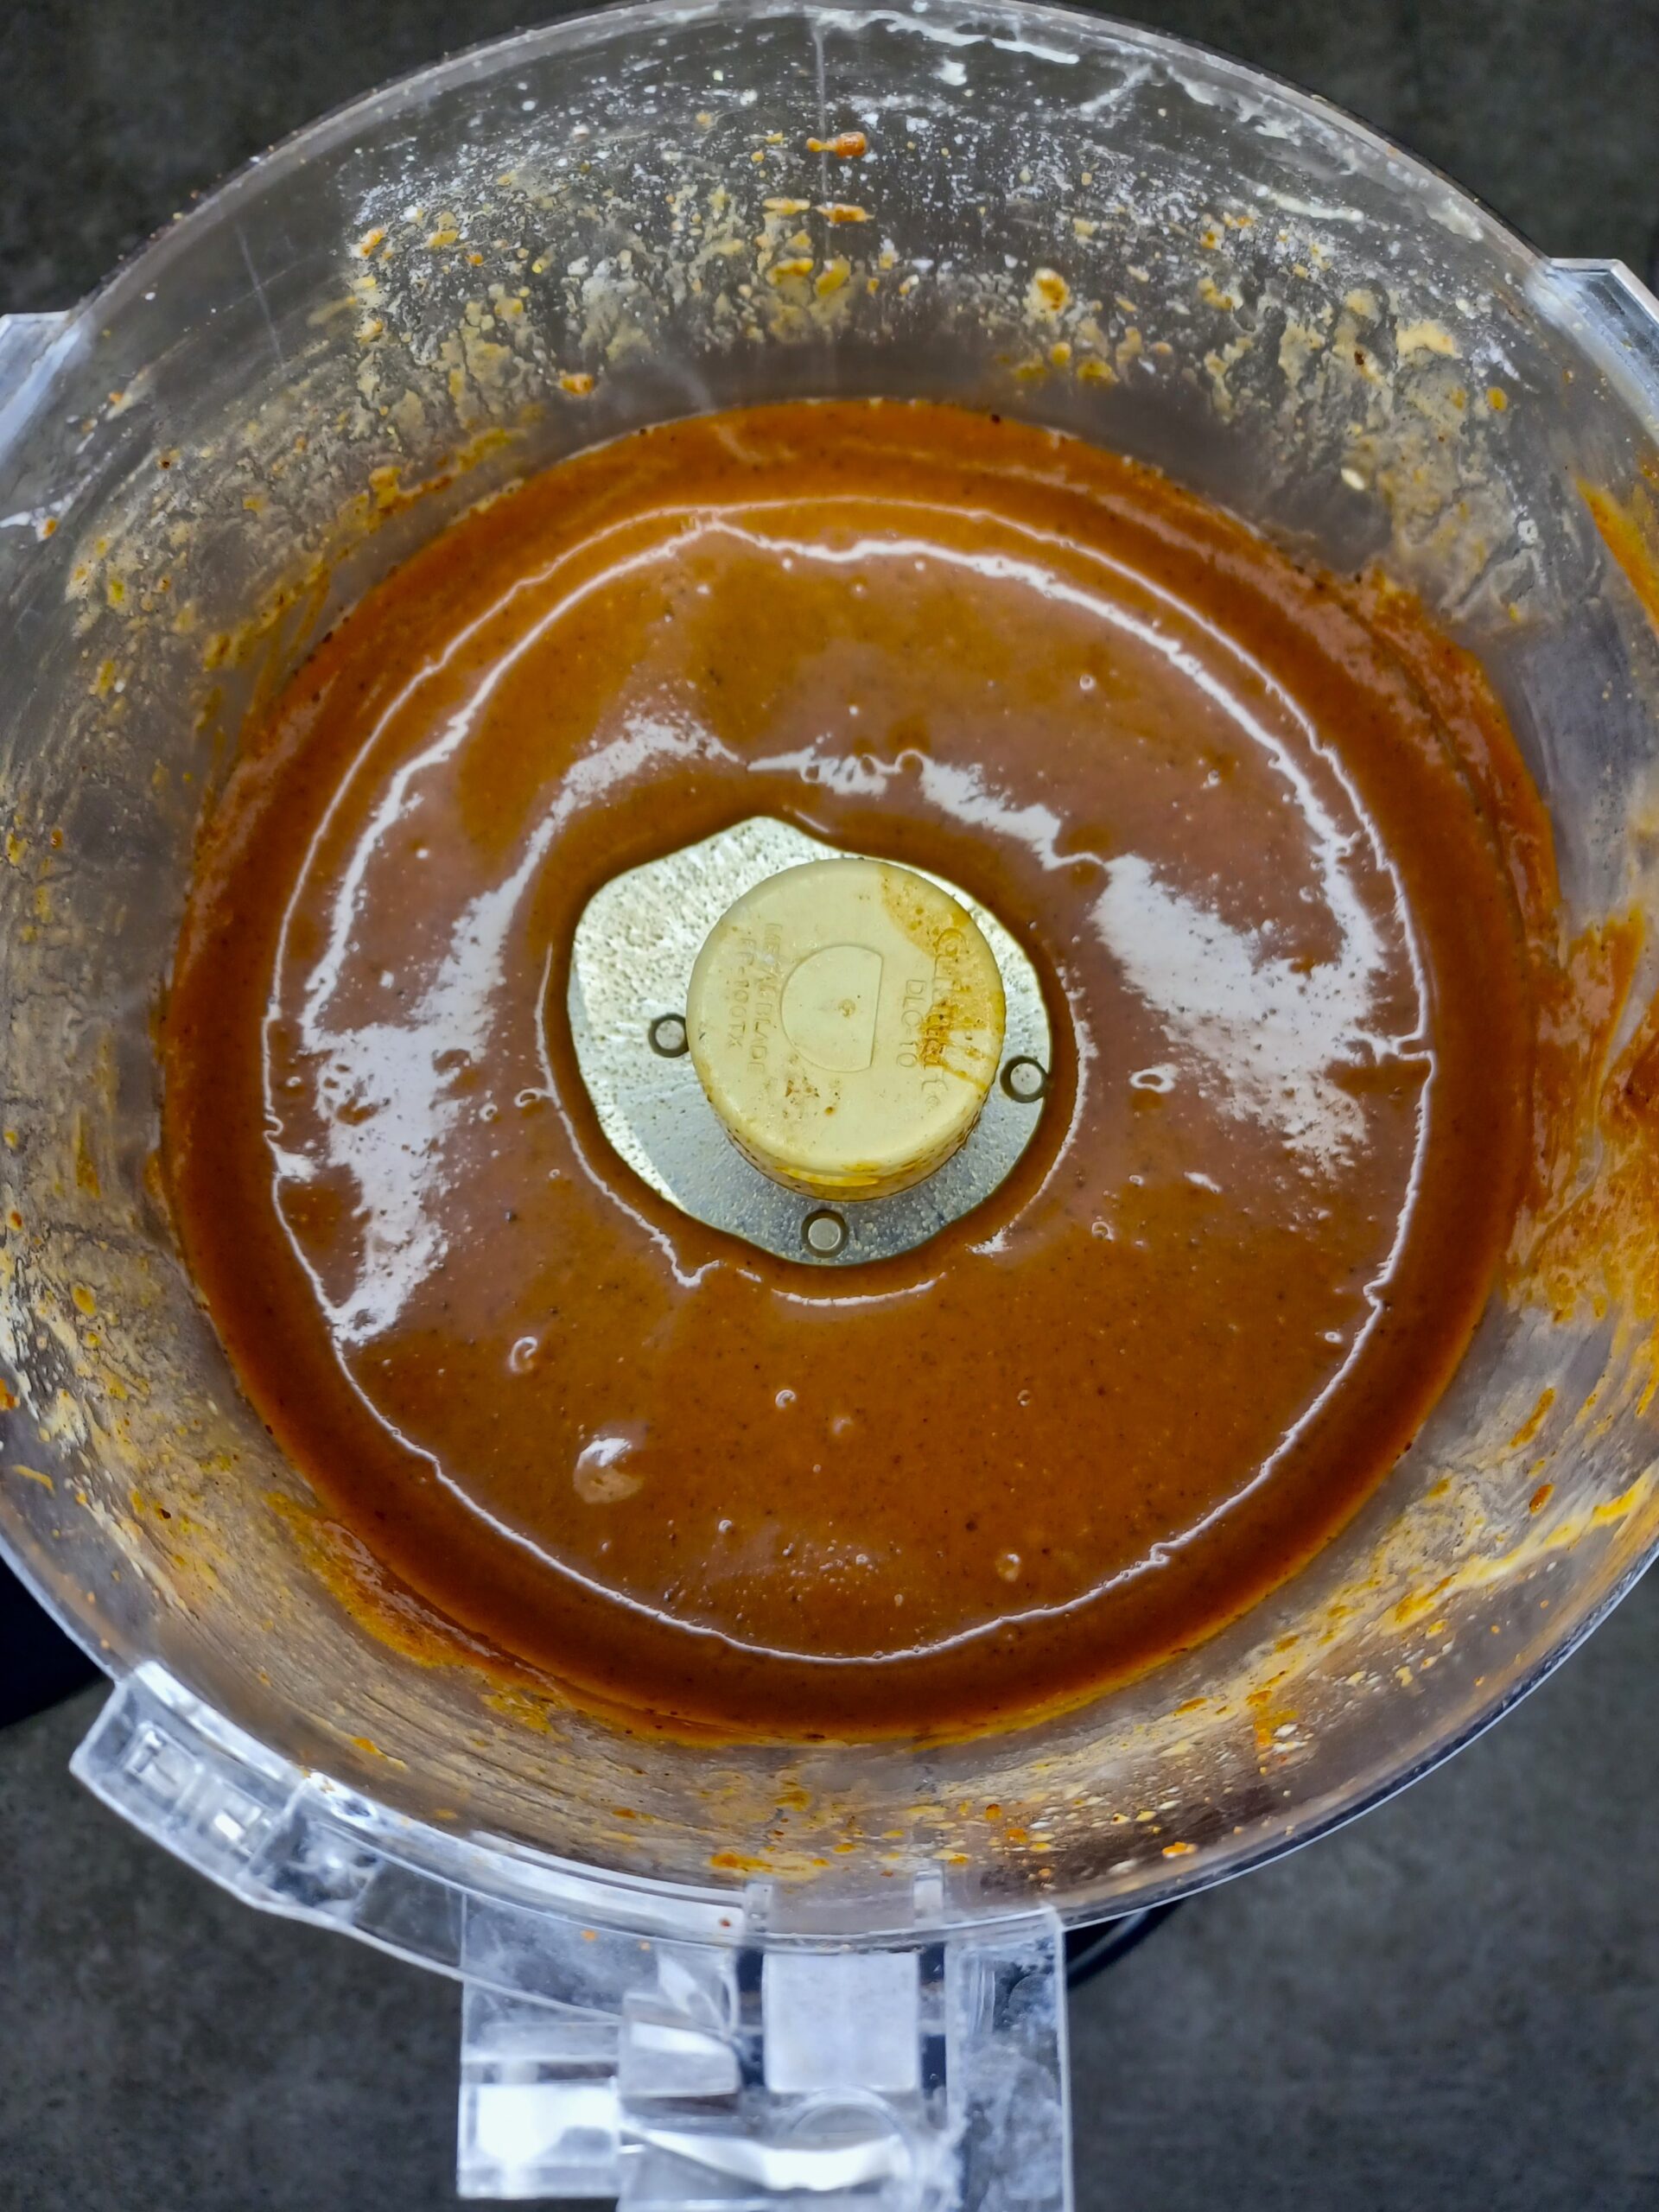
CHECK THE NUTS & ADD WET INGREDIENTS
At this stage you should have a sweet, spiced, smooth nut butter, and you are ready to add the liquid ingredients. First, drizzle in the melted chocolate and pulse to combine. Then add the agave syrup and rosewater. Then add the coconut milk slowly, a little at a time. (If your coconut milk has clumpy coconut cream on top, the food processor will help incorporate it smoothly.)
Depending on the size of your food processor, you may be reaching full capacity, or approaching your "max liquid" line. At this point it's easy to transfer to a large mixing bowl and whisk in the non-dairy milk by hand.
-
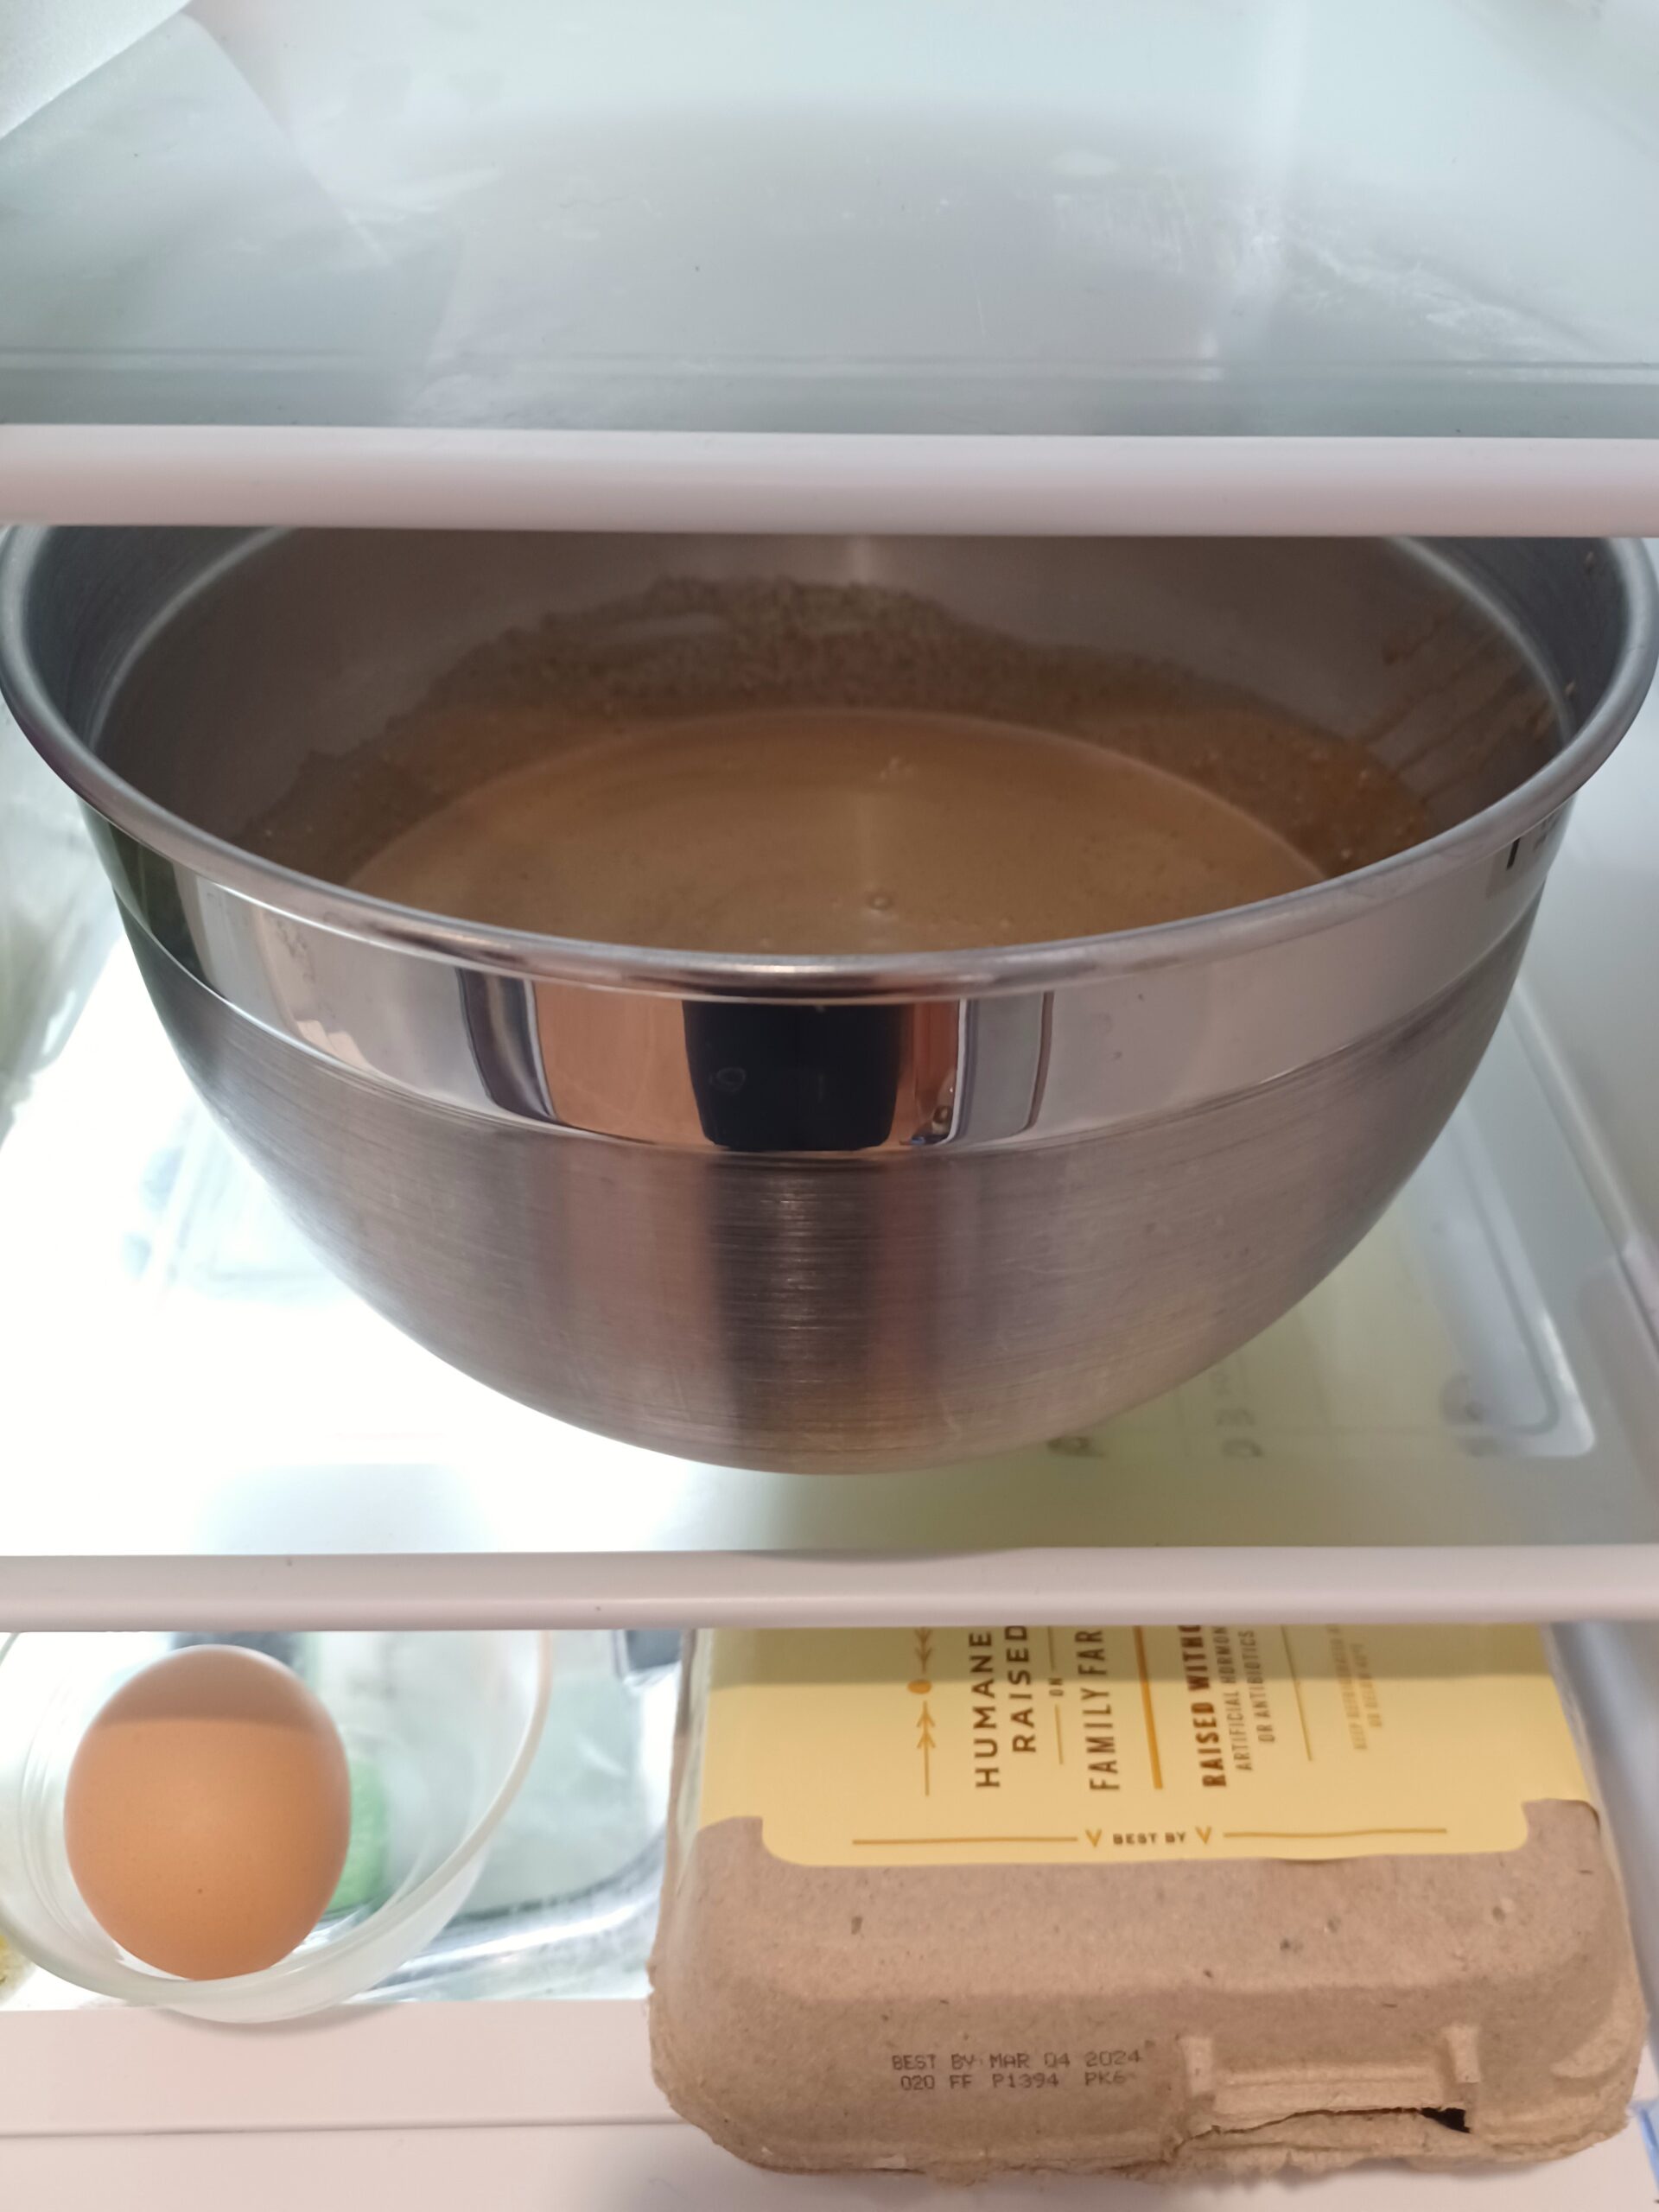
CHILL
Transfer to a container (or keep it in the mixing bowl if you were using one) and chill in the refrigerator for 8 hours or overnight.
For a quicker chilling time, place the bowl containing your mixture in an ice bath (a larger bowl containing ice water) for a few hours. Stir the mixture occasionally. As the water in the ice bath warms up, pour off some water and add ice to keep the mixture chilling as quickly as possible.
Ideally, the mixture will be about 40 degrees when you churn it.
-
CHURN
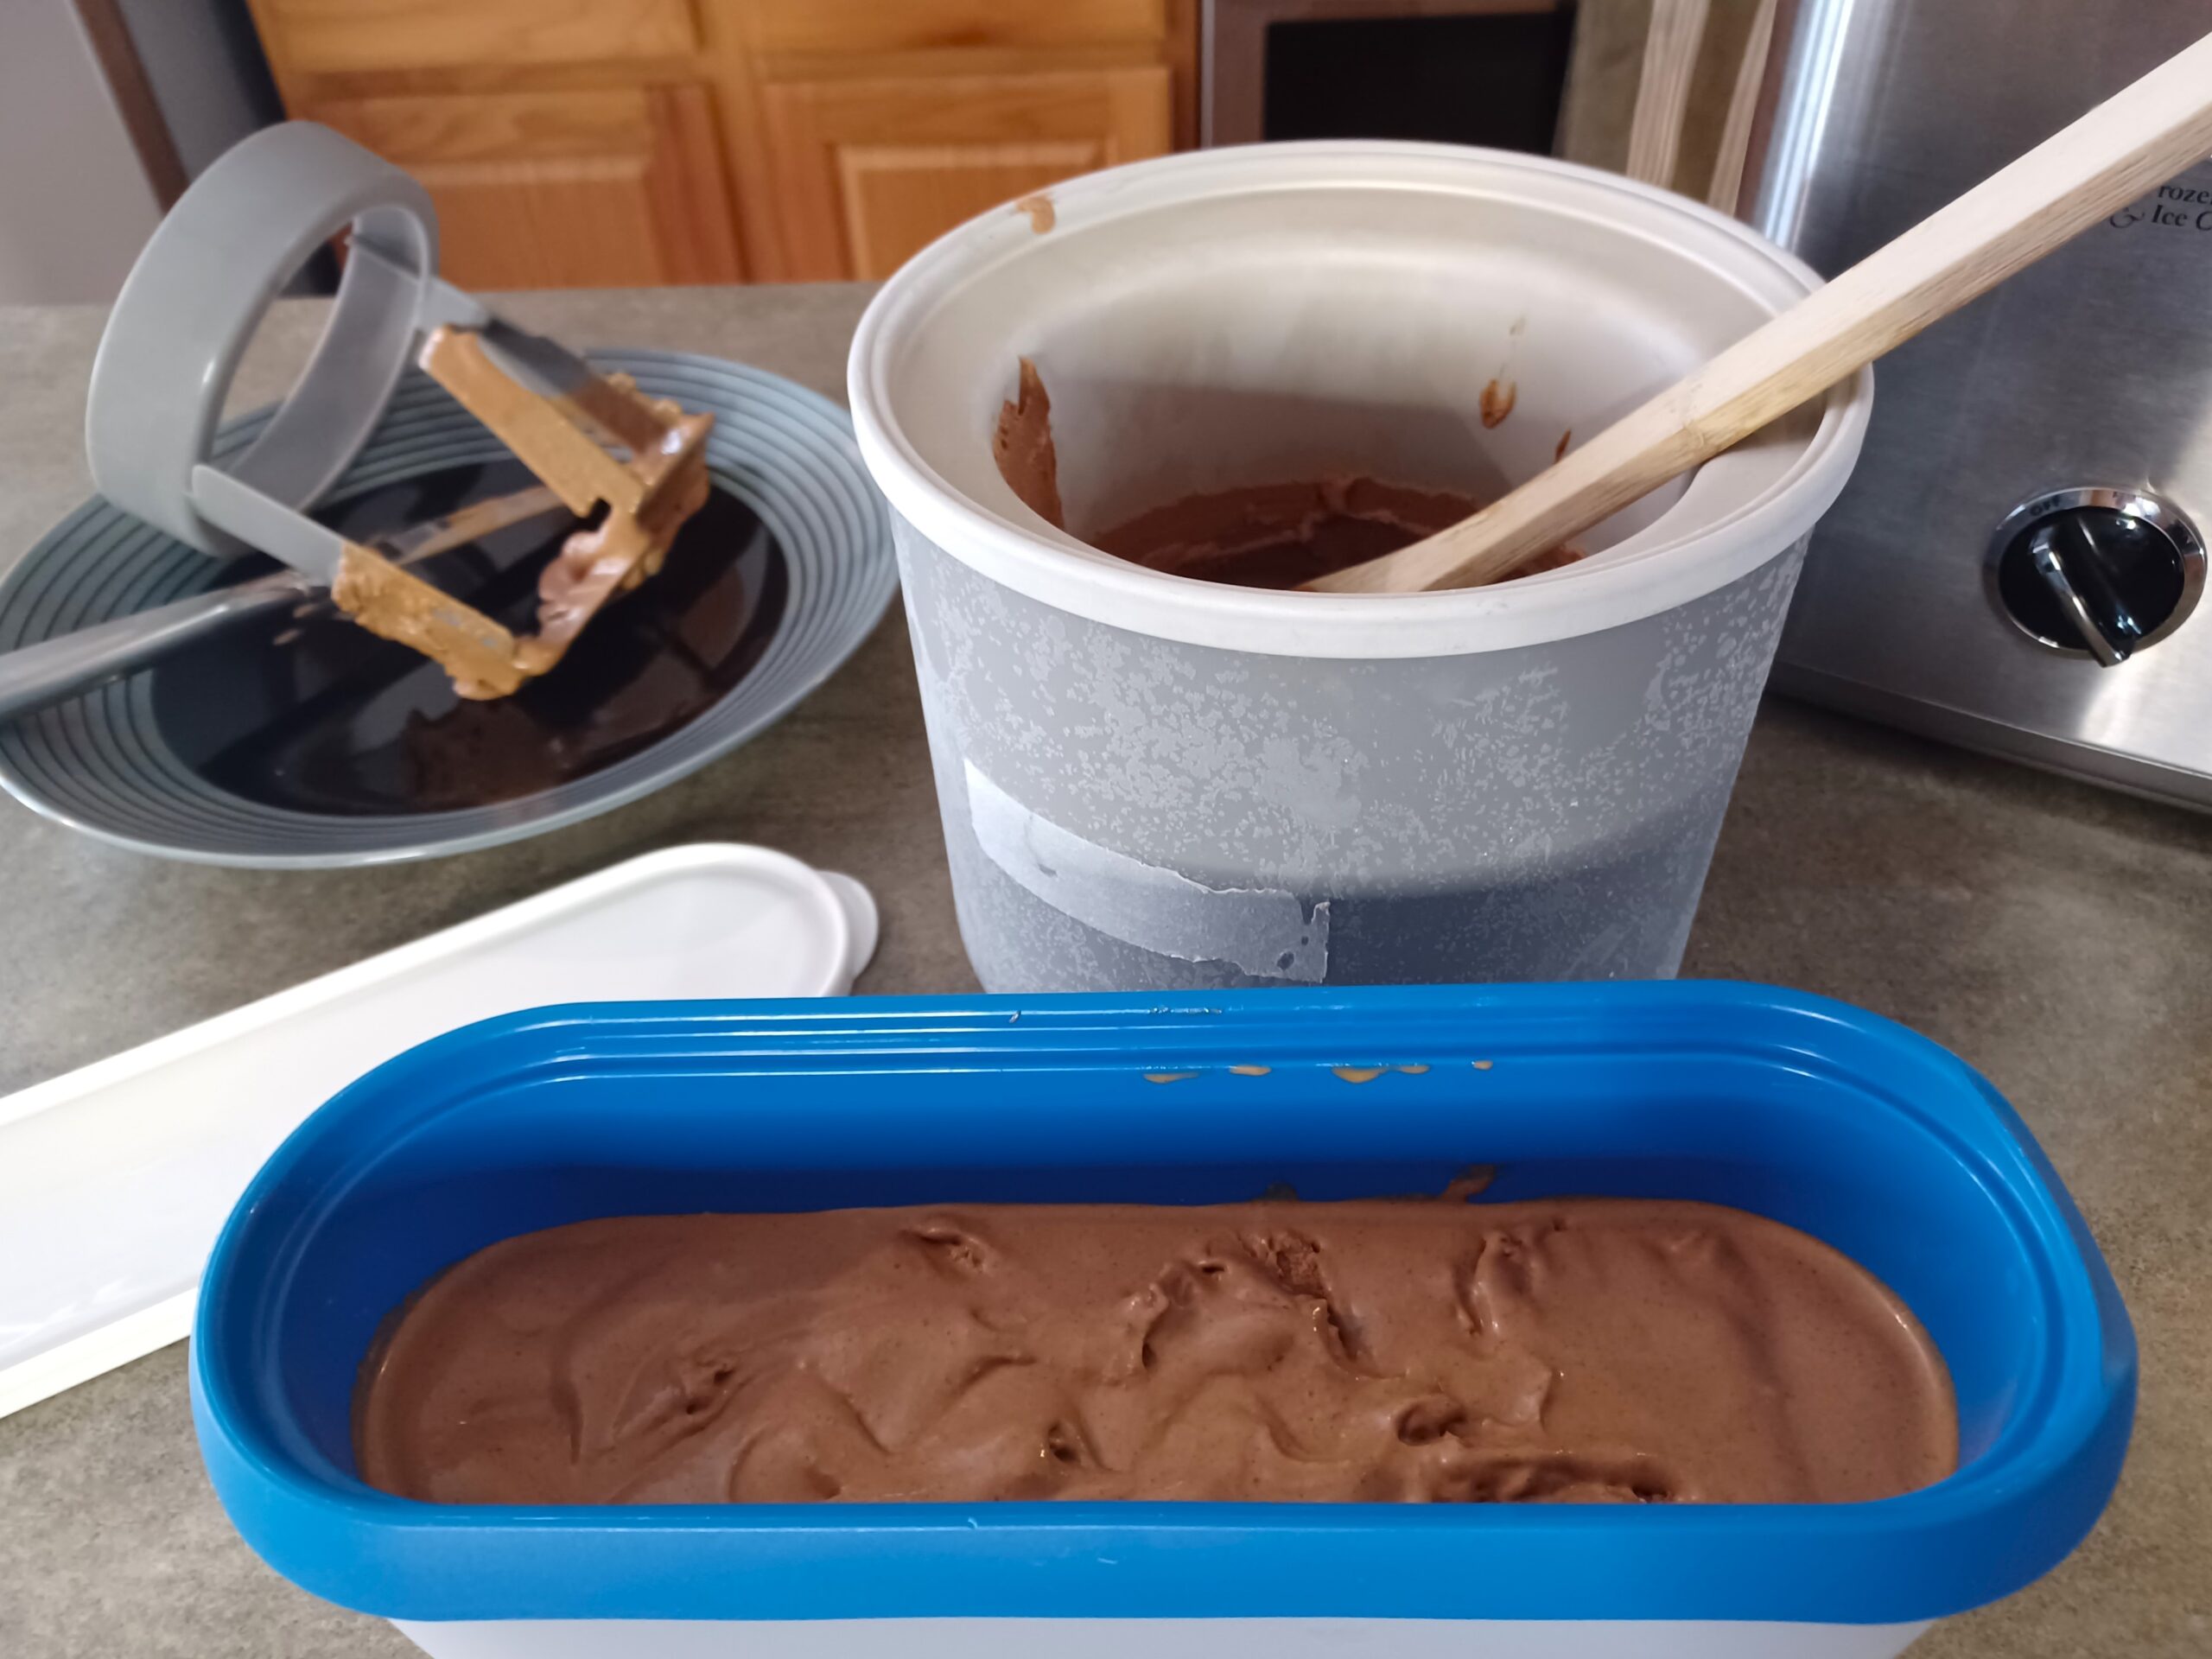
Before you start churning, set up everything you'll need to quickly transfer the ice cream from the machine into a container for freezing. I use a knife to scrape down the dasher (or paddle) and a wooden spoon to scoop out the ice cream.
Set up your ice cream maker according to the manufacturer's directions. Pour (or scoop) your mixture into the ice cream maker and churn. This mixture is thick when it's chilled, so it will churn fast. Mine was ready in 11 minutes.
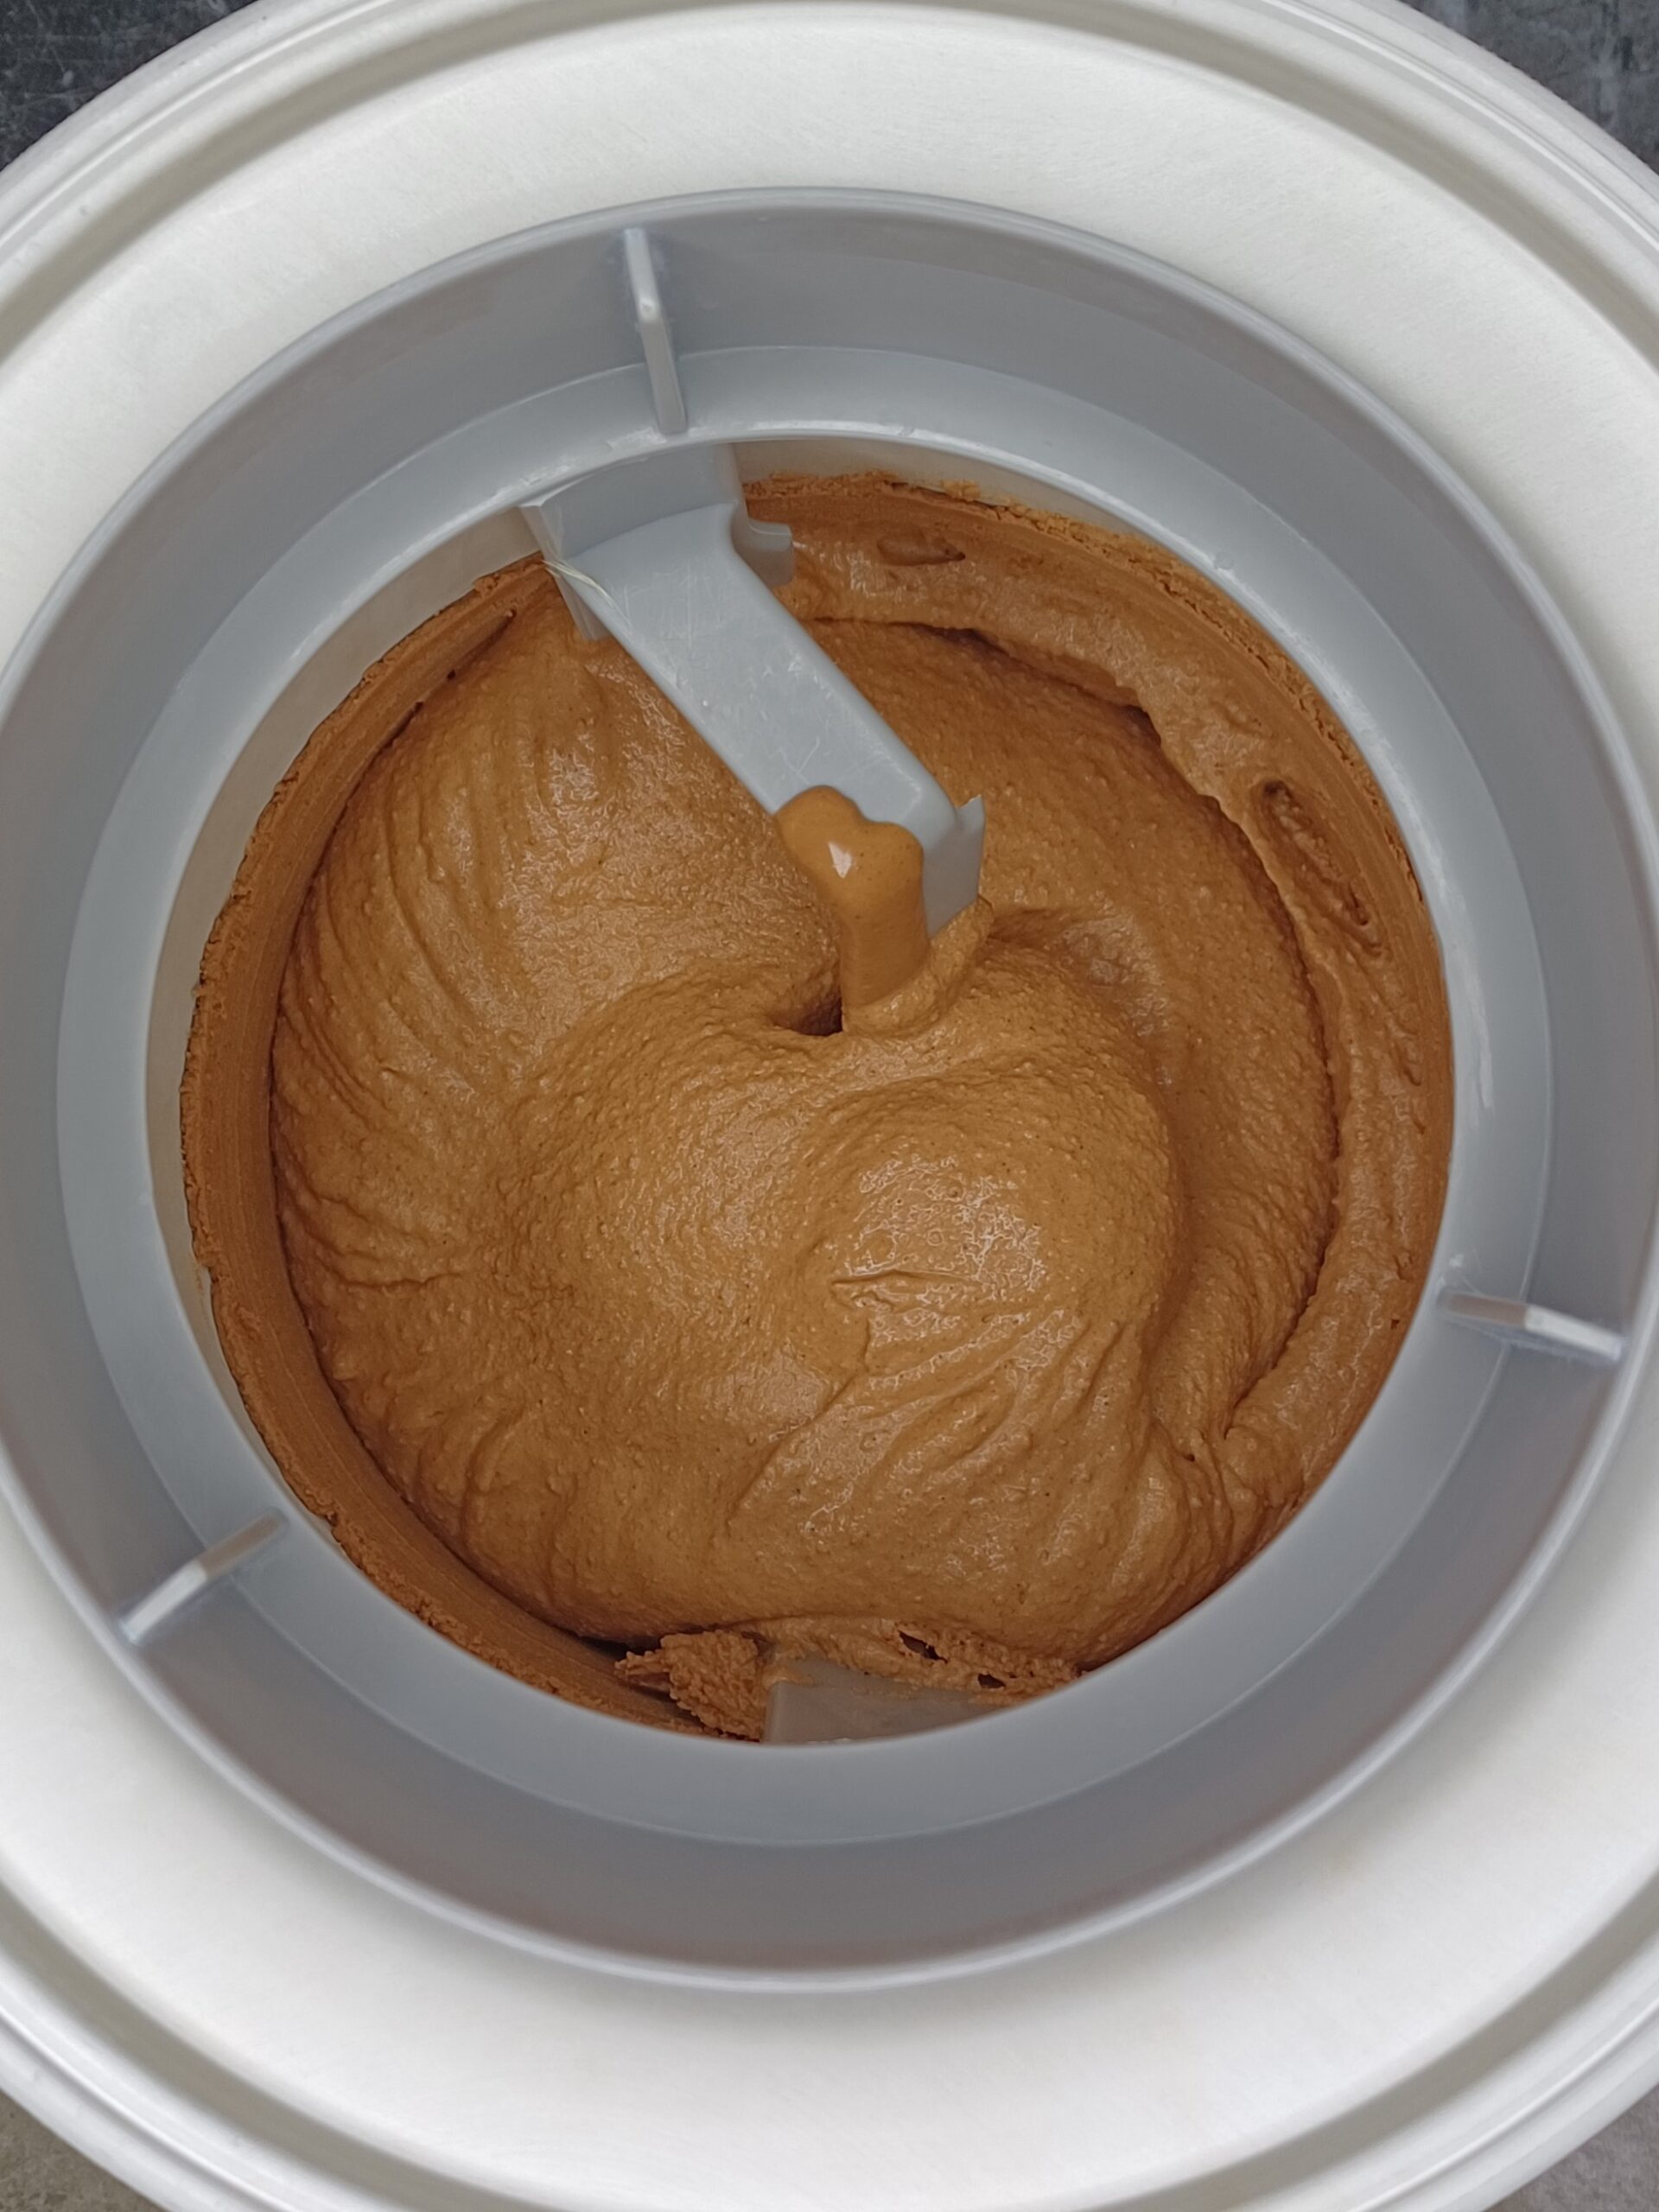
It's finished churning when it looks like soft-serve and is pulling away from the sides of the container.
-
STORE
When the ice cream has finished churning, scoop it as quickly as possible into your storage container. Cover it with plastic wrap or parchment paper, if using. (Placing a sheet of parchment paper between the container and lid will help prevent frost, or you can press plastic wrap directly onto the surface of the ice cream.) Put the container in the freezer. The ice cream will be fully firm in a few hours.
Note
Optional additions:
- 1-2 tablespoons of alcohol -- Alcohol lowers the freezing point of the mixture and makes the ice cream more scoopable straight out of the freezer. Rum would be a great choice and would suit the time period of the 1700s. Whiskey would work well also.
- Cocoa nibs -- I think adding cocoa nibs would taste great, but also be a fun nod to Hannah Glasse's original recipe that starts with cocoa beans.
Recommended equipment: (may include affiliate links)
- My ice cream maker (2 qt)
- Newer version of my ice cream maker (2 qt)
- Well-reviewed less expensive ice cream maker (1.5 qt)
- Insulated ice cream container
- Heat-proof spatula
- Immersion/hand blender
- Standard blender
- Ice cream scoop
- Measuring cups
Recommended ingredients: (may include affiliate links)