
I had never had Ben and Jerry’s Cherry Garcia ice cream before I started working on this recipe. I heard that a friend loved Cherry Garcia, I read a description of the flavor, and I created my first attempt. It was pretty good, but needed a few refinements. Along the way I tasted the real Cherry Garcia. Let’s see how close I got to replicating it (or improving it?) in Lazy “Cherry Garcia” Ice Cream.
How does this compare to the Ben and Jerry’s flavor?
Ben and Jerry describe this flavor as “cherry ice cream with cherries and fudge flakes.” My version fits that description, too. The base of the B&J flavor, to me, is more vanilla than cherry. It’s also very sweet and of course, dairy-based.
In my version the base tastes more like cherry, the sugar is lower, the fat content is lower, the protein is higher, and it’s lactose free (more on nutrition below). I think the cherry chunks and the melt-in-your-mouth fudge flakes are better in my version (more cherry chunks, meltier flakes), but I might be biased. I also add a little almond extract, because cherries love almonds, and it’s yummy.
Why is it “lazy”?
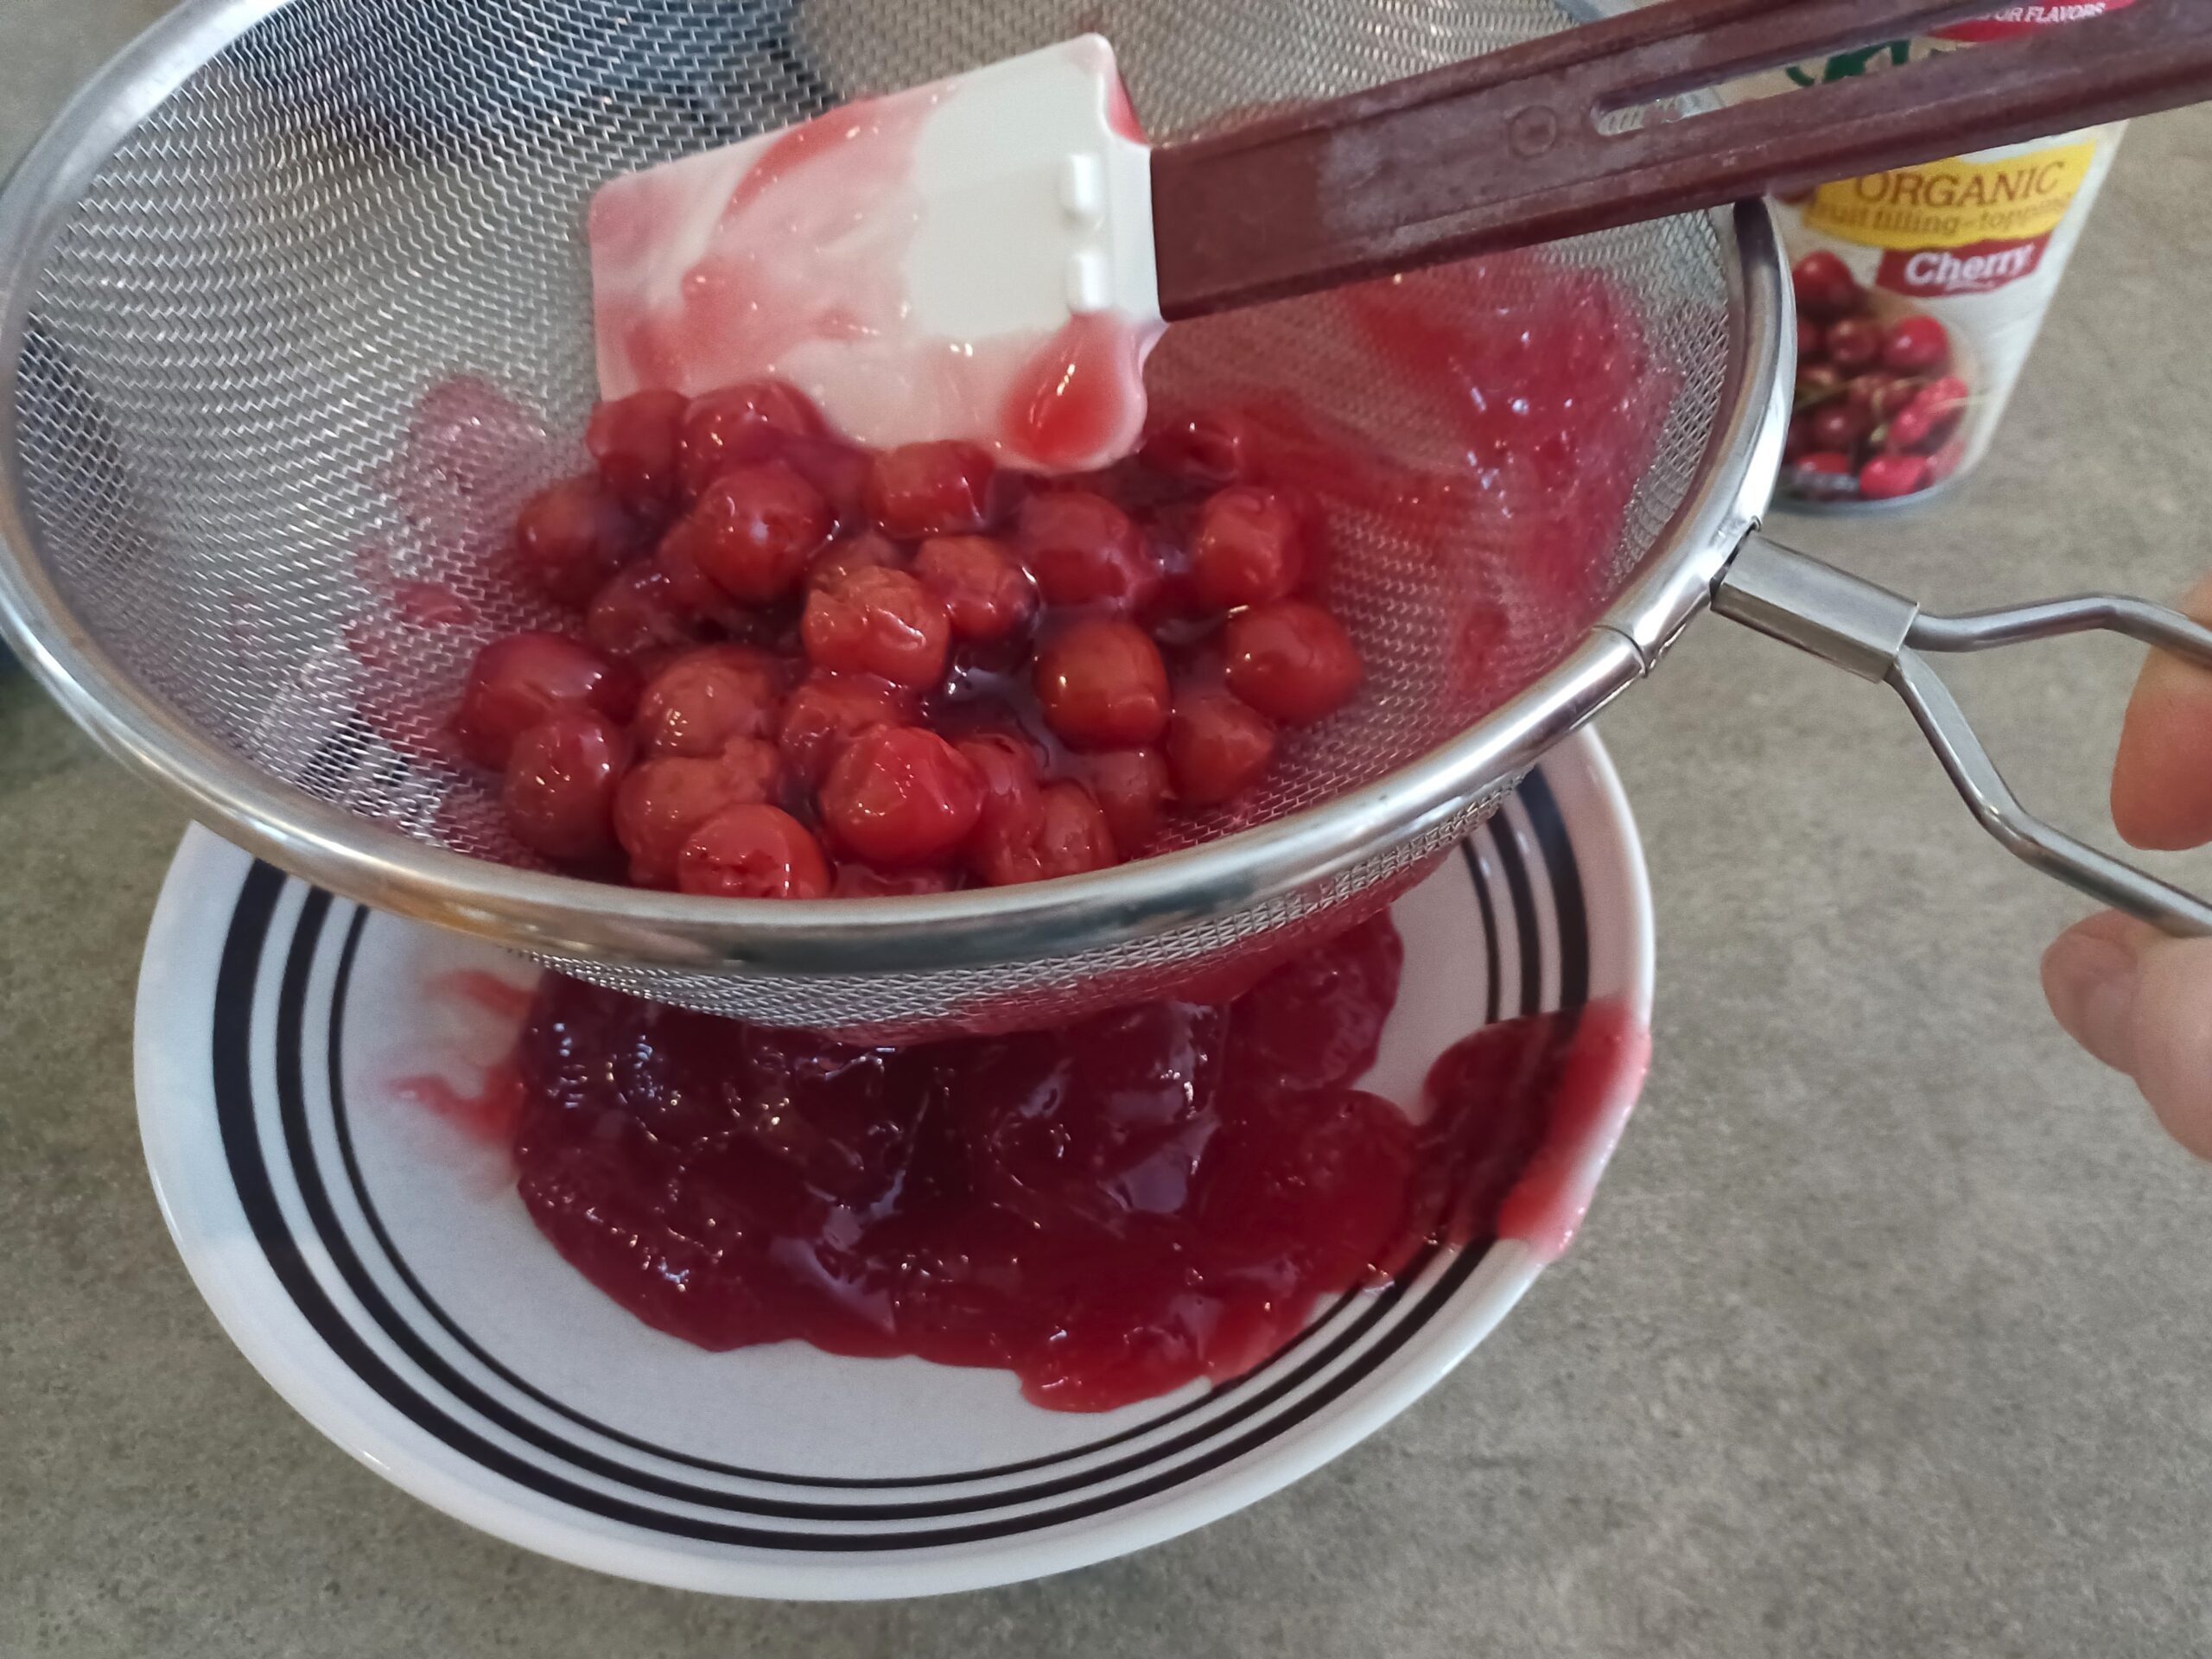
In short: it’s lazy because I’m using a can of cherry pie filling. I researched a few other Cherry Garcia imitation recipes, and most of them involved cooking cherries and/or creating a cherry syrup. Why do that when a can of cherry pie filling will get you to the same place faster? The quality of the pie filling will significantly affect the final ice cream, so try to buy the best one you can. I strain the cherries from the thickened juices, put the juices in the ice cream base, and use the cooked cherries as a mix-in. It makes this recipe very quick and easy. No cooking required!
Nutrition options and protein powder
My goal is always to create recipes with less sugar, more protein, little or no dairy, and that are vegan if possible. This recipe has a little more sugar than usual. It has a bit less fat because I’m using tofu in the base (which is high in protein, but low in fat), but I also have to add a little fat back in for creaminess. I like to use olive oil or avocado oil (for their healthier unsaturated fats), but coconut oil will also work. Lazy Cherry Garcia Ice Cream does contain some dairy in the form of whey protein.
I often include unflavored, unsweetened protein powder in my recipes, because it helps in reducing sugar while maintaining a good texture. (Read more about that here.) In this case I’m using whey protein, which is the only dairy in the recipe. Whey protein is already lactose free, but if you want to go completely non-dairy, check the options in the notes below for other protein powders to use instead.
If Lazy Cherry Garcia Ice Cream sounds good, you might also be interested in Peach Pie Ice Cream. It’s dairy free and uses egg white protein.
Lazy “Cherry Garcia” Ice Cream (lactose free)
Makes a little more than 1 quart
Ingredients
For the ice cream base
For the mix-ins
Instructions
-
STRAIN THE CHERRIES
Use a strainer to separate the cherries from the thickened liquid in the can. The liquid will go into the ice cream base, while the cherries will become a mix-in. You may need to use a spatula to stir or press the cherry liquid so it passes through the strainer.
-
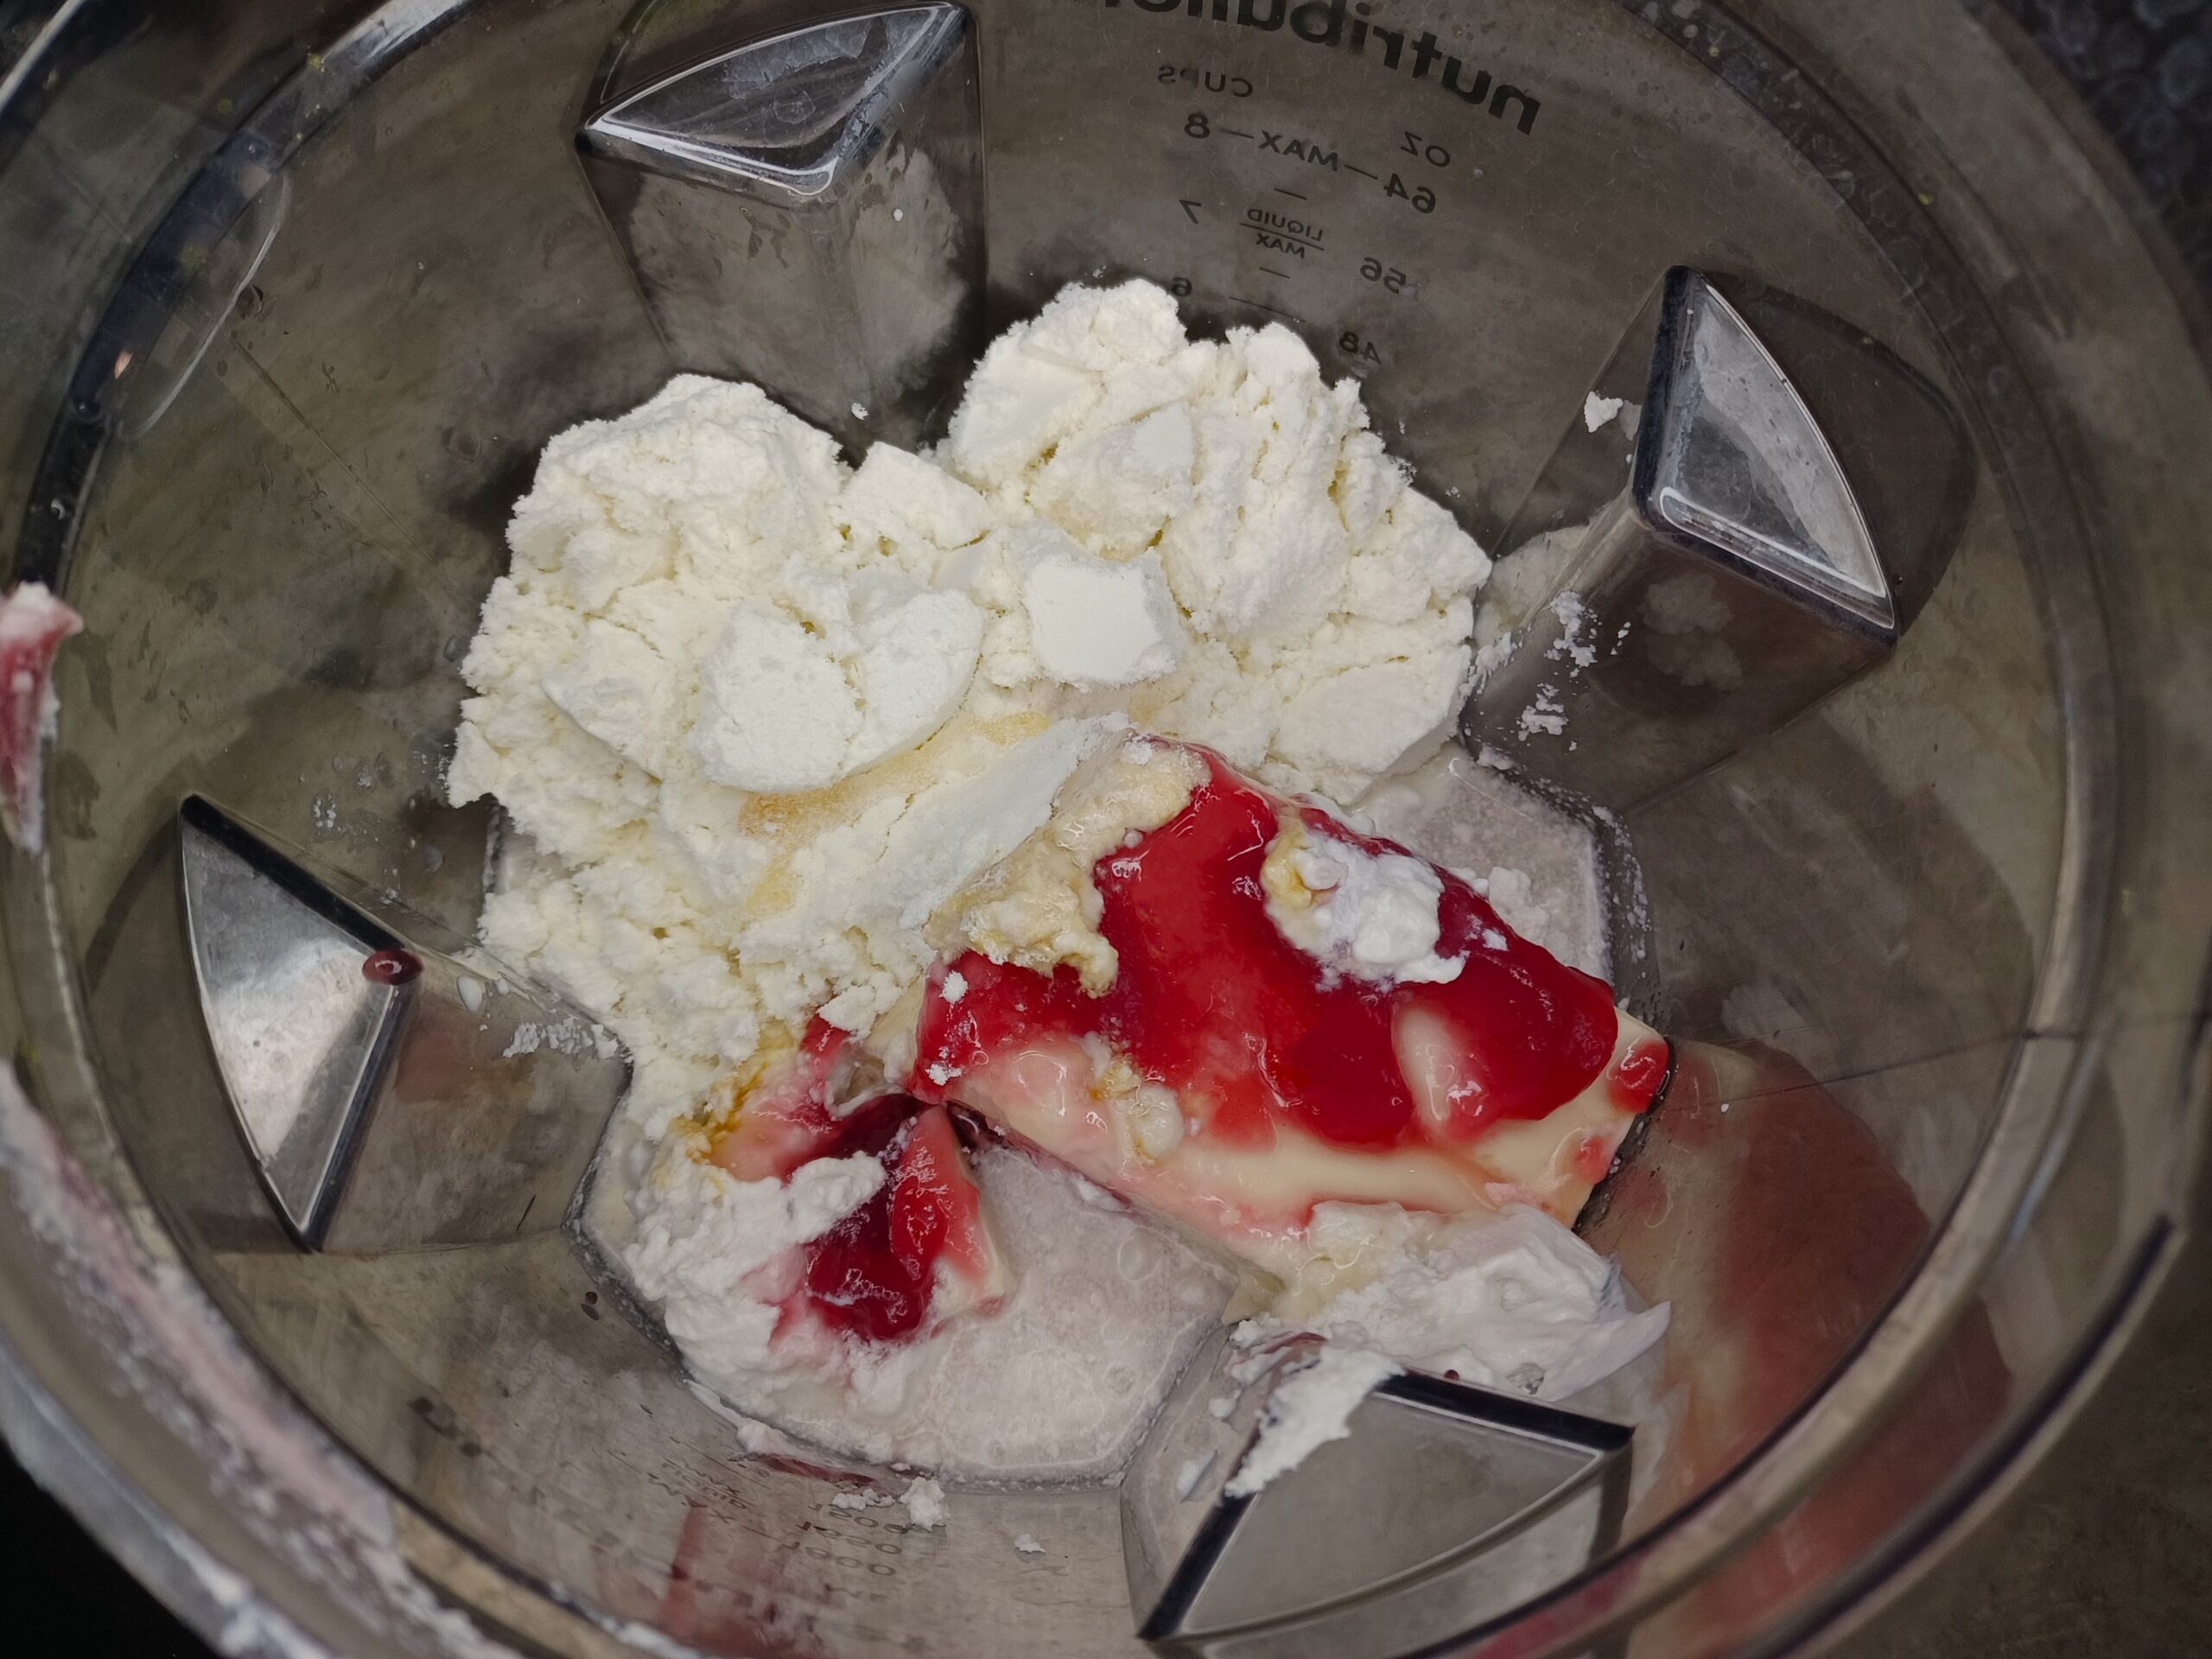
BLEND
Place all ingredients -- except the cherries and the chocolate for the mix-in -- in a blender and blend until smooth, scraping down the sides a few times to get everything incorporated.
-
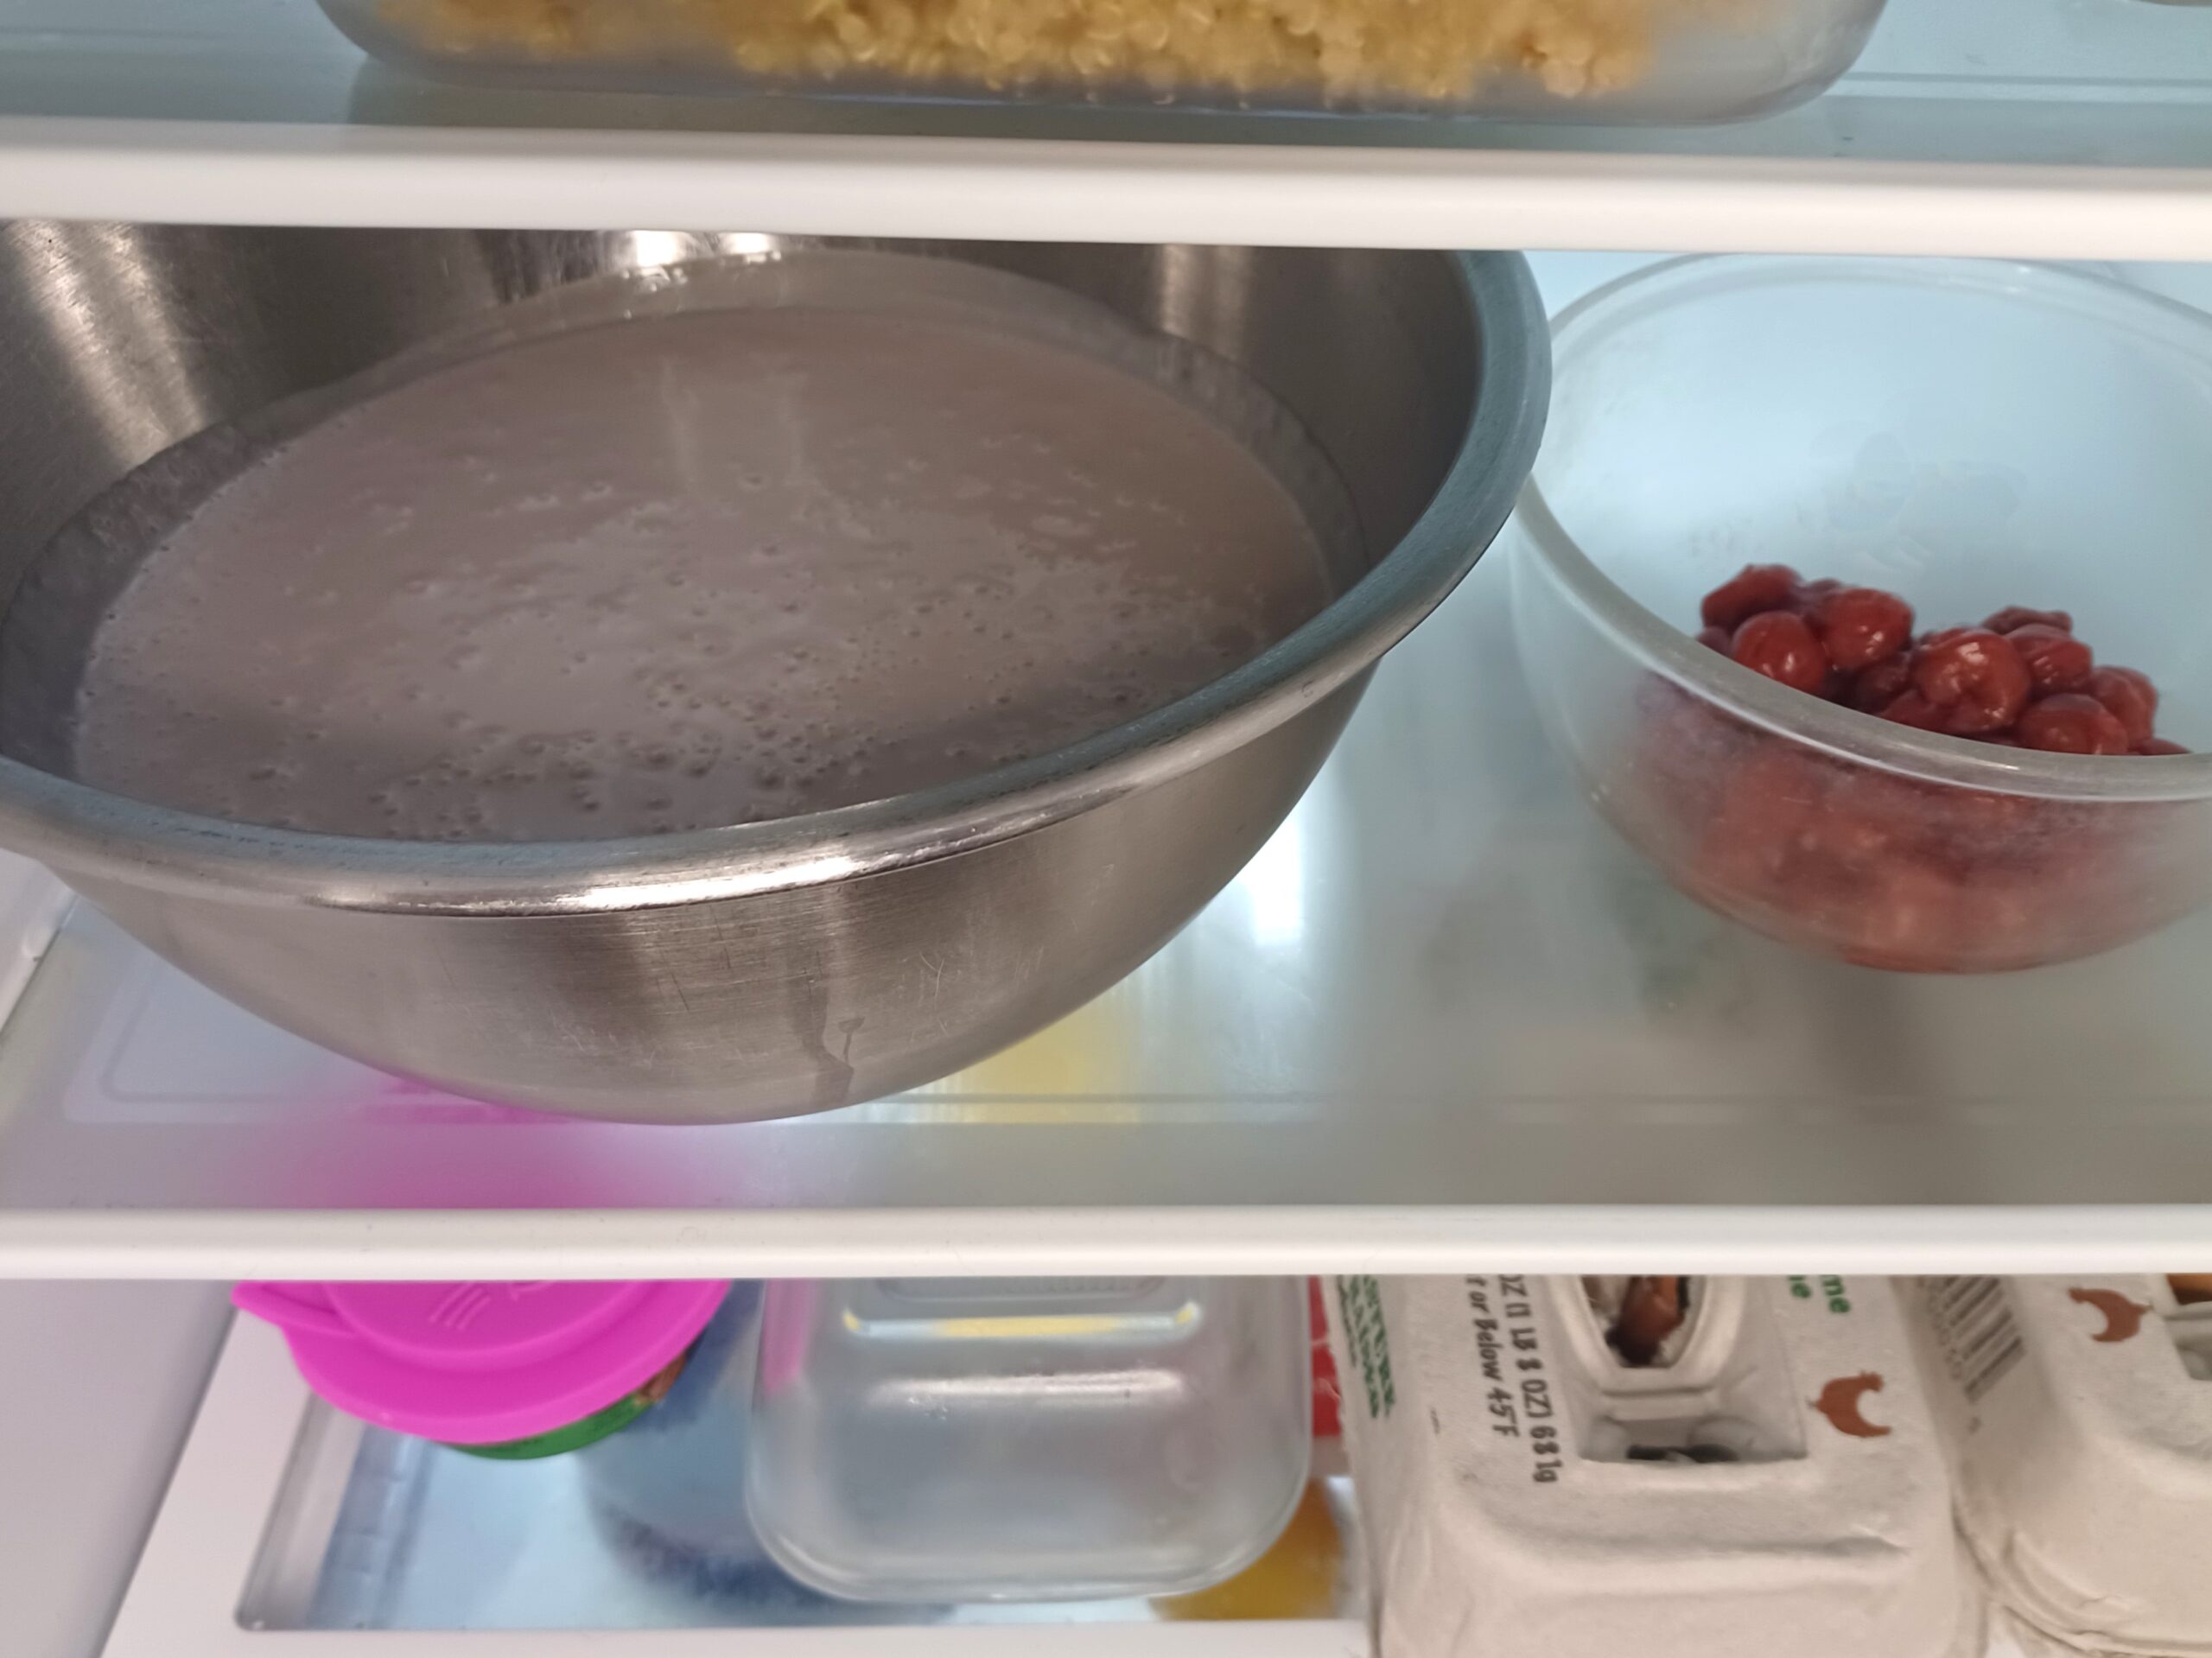
CHILL
Transfer to a container and chill in the fridge for 8 hours or overnight.
For a quicker chilling time, place the bowl containing your mixture in an ice bath (a larger bowl containing ice water) for a few hours. Stir the mixture occasionally. As the water in the ice bath warms up, pour off some water and add ice to keep the mixture chilling as quickly as possible. When fully chilled, this ice cream base is thick like pudding, because of the tofu.
Ideally, the mixture will be about 40 degrees when you churn it.
-
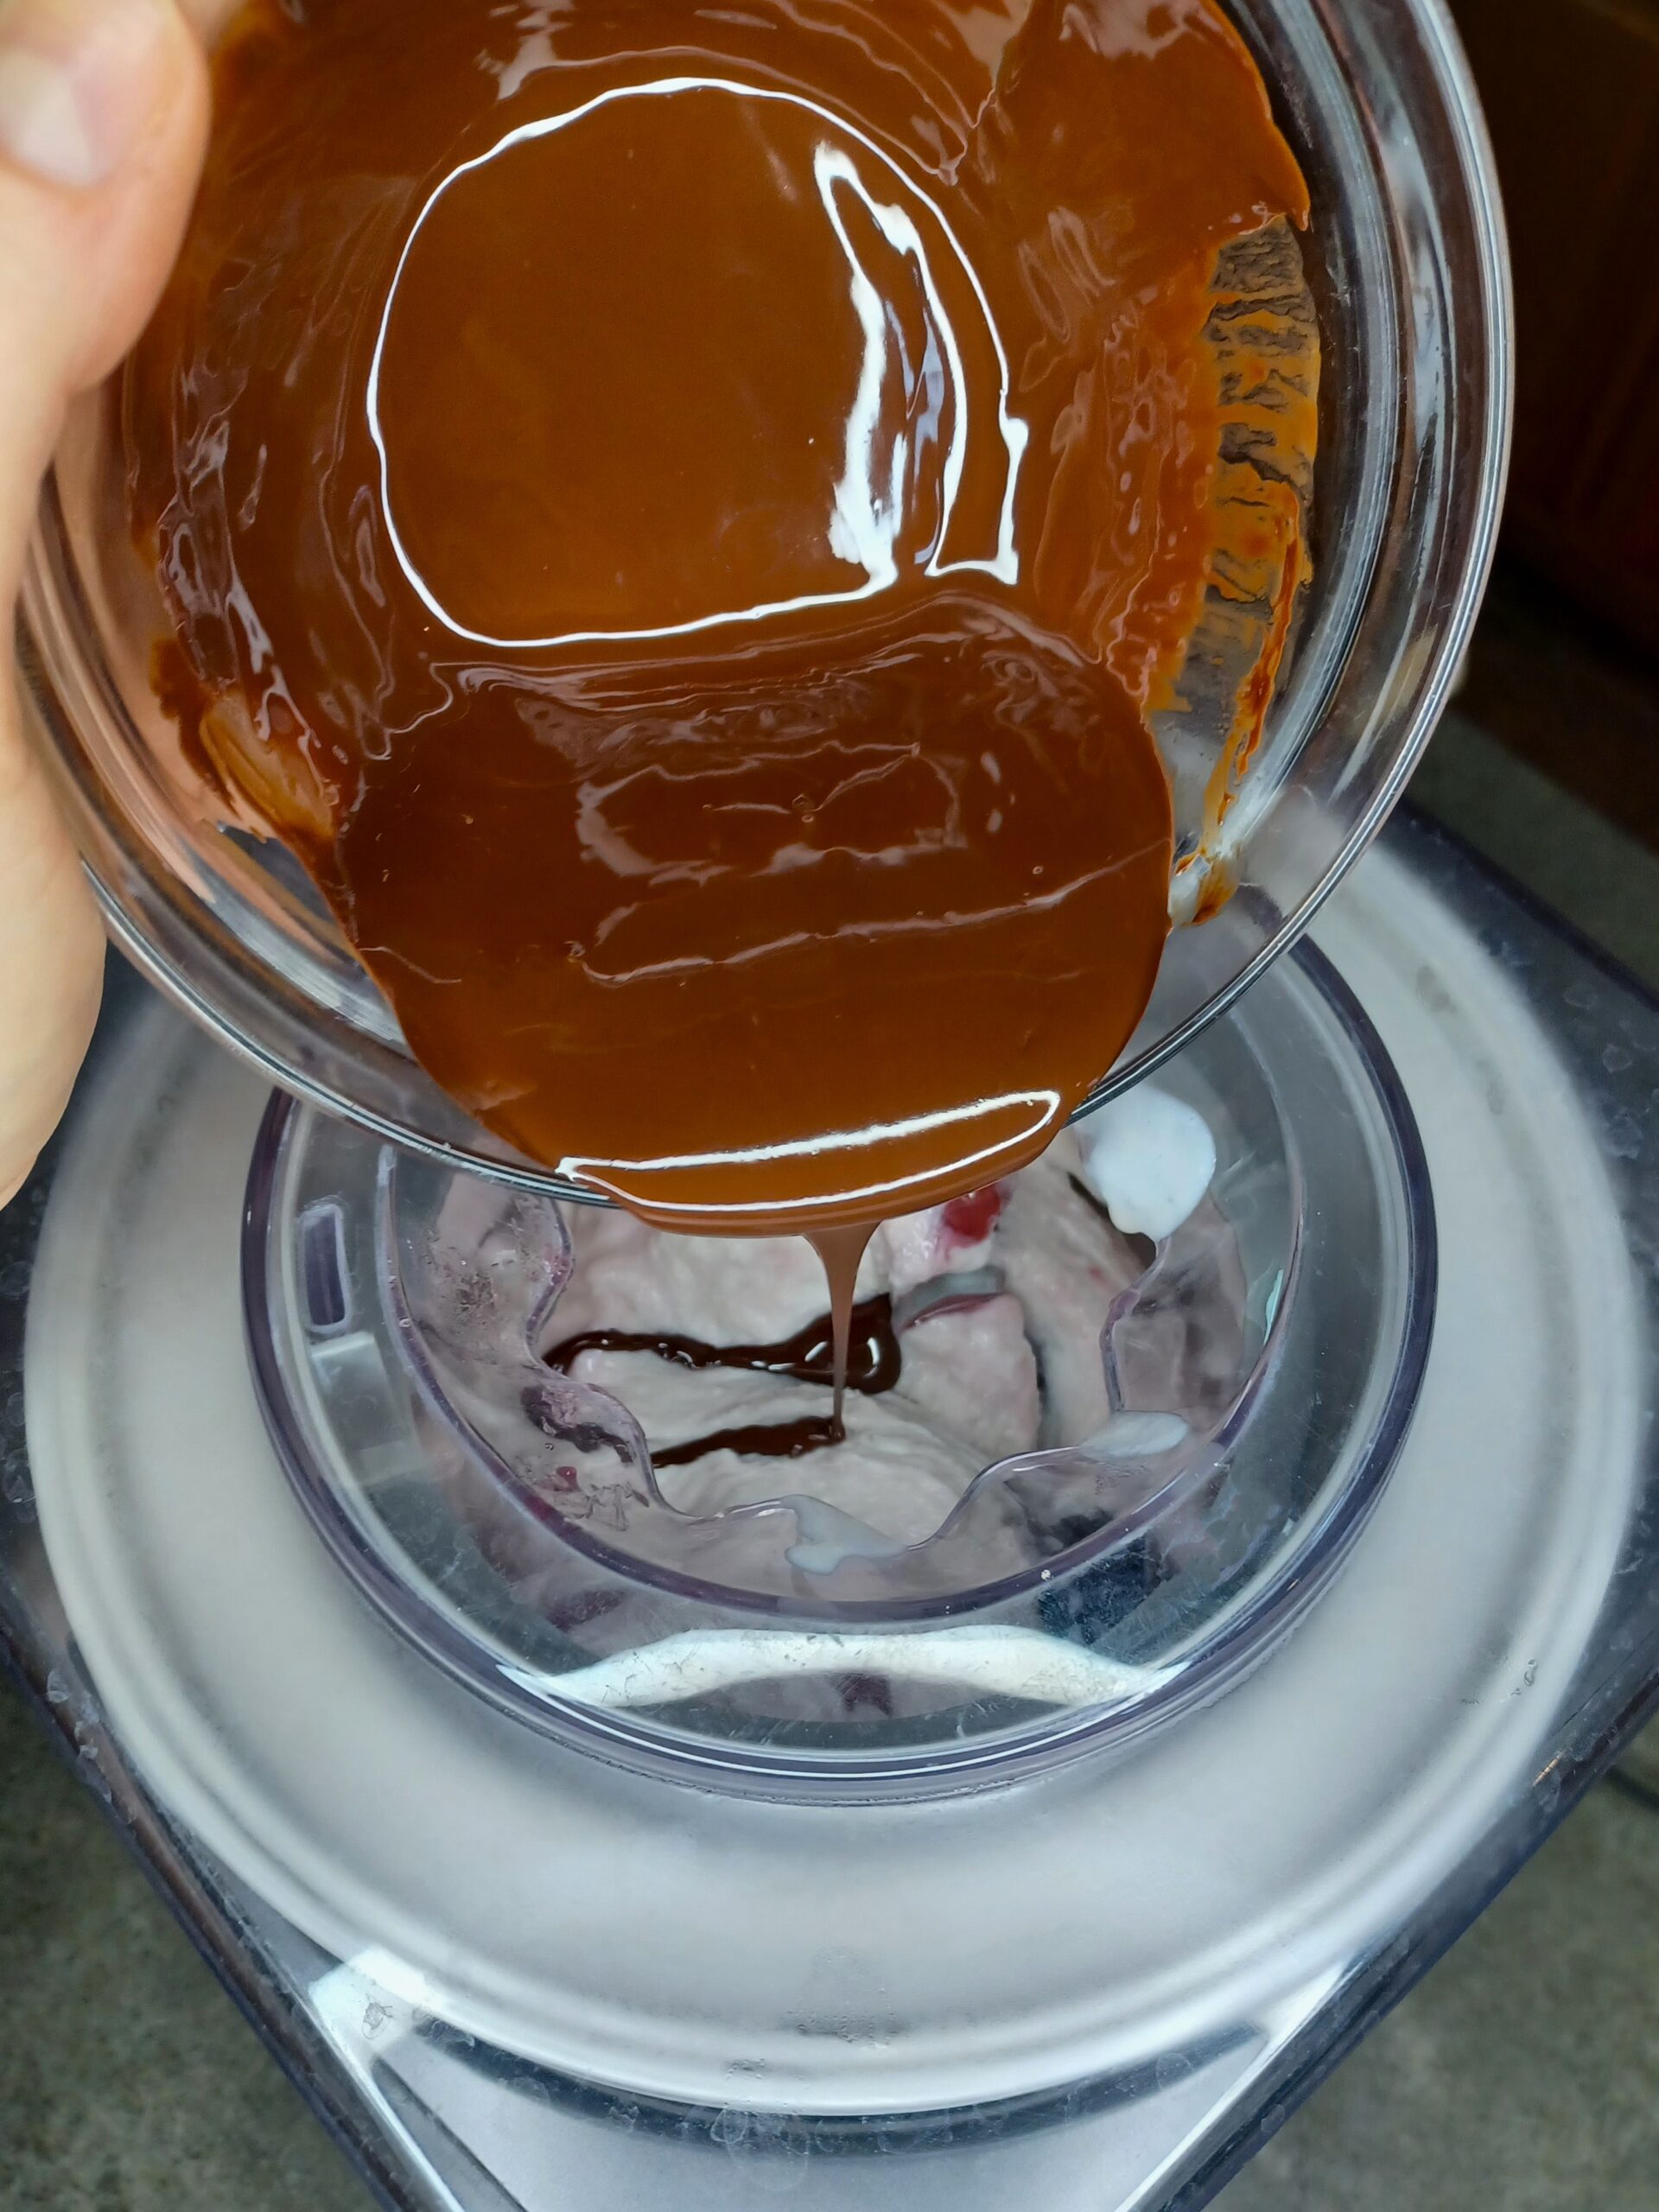
PREP THE CHOCOLATE
Mix the chocolate with the oil in a microwave-safe bowl. Melt the chocolate by microwaving it at half power for 30 seconds. Stir. Microwave again at half power for 30 seconds. Stir again. Let the remaining chocolate bits melt using the residual heat. (If the chocolate doesn't melt fully, microwave at half power for 15 seconds at a time until melted.)
-
CHURN
Before you start churning, set up everything you'll need to quickly transfer the ice cream from the machine into a container for freezing. I use a knife to scrape down the dasher (or paddle) and a wooden spoon to scoop out the ice cream. Grab your cherries and melted chocolate!
Set up your ice cream maker according to the manufacturer's directions. Pour your mixture into the ice cream maker and churn. In my machine the perfect churning time is 18 minutes before adding the mix-ins, but your experience may vary. The ice cream is ready when it has the consistency of soft-serve and has started pulling away from the edge of the canister.
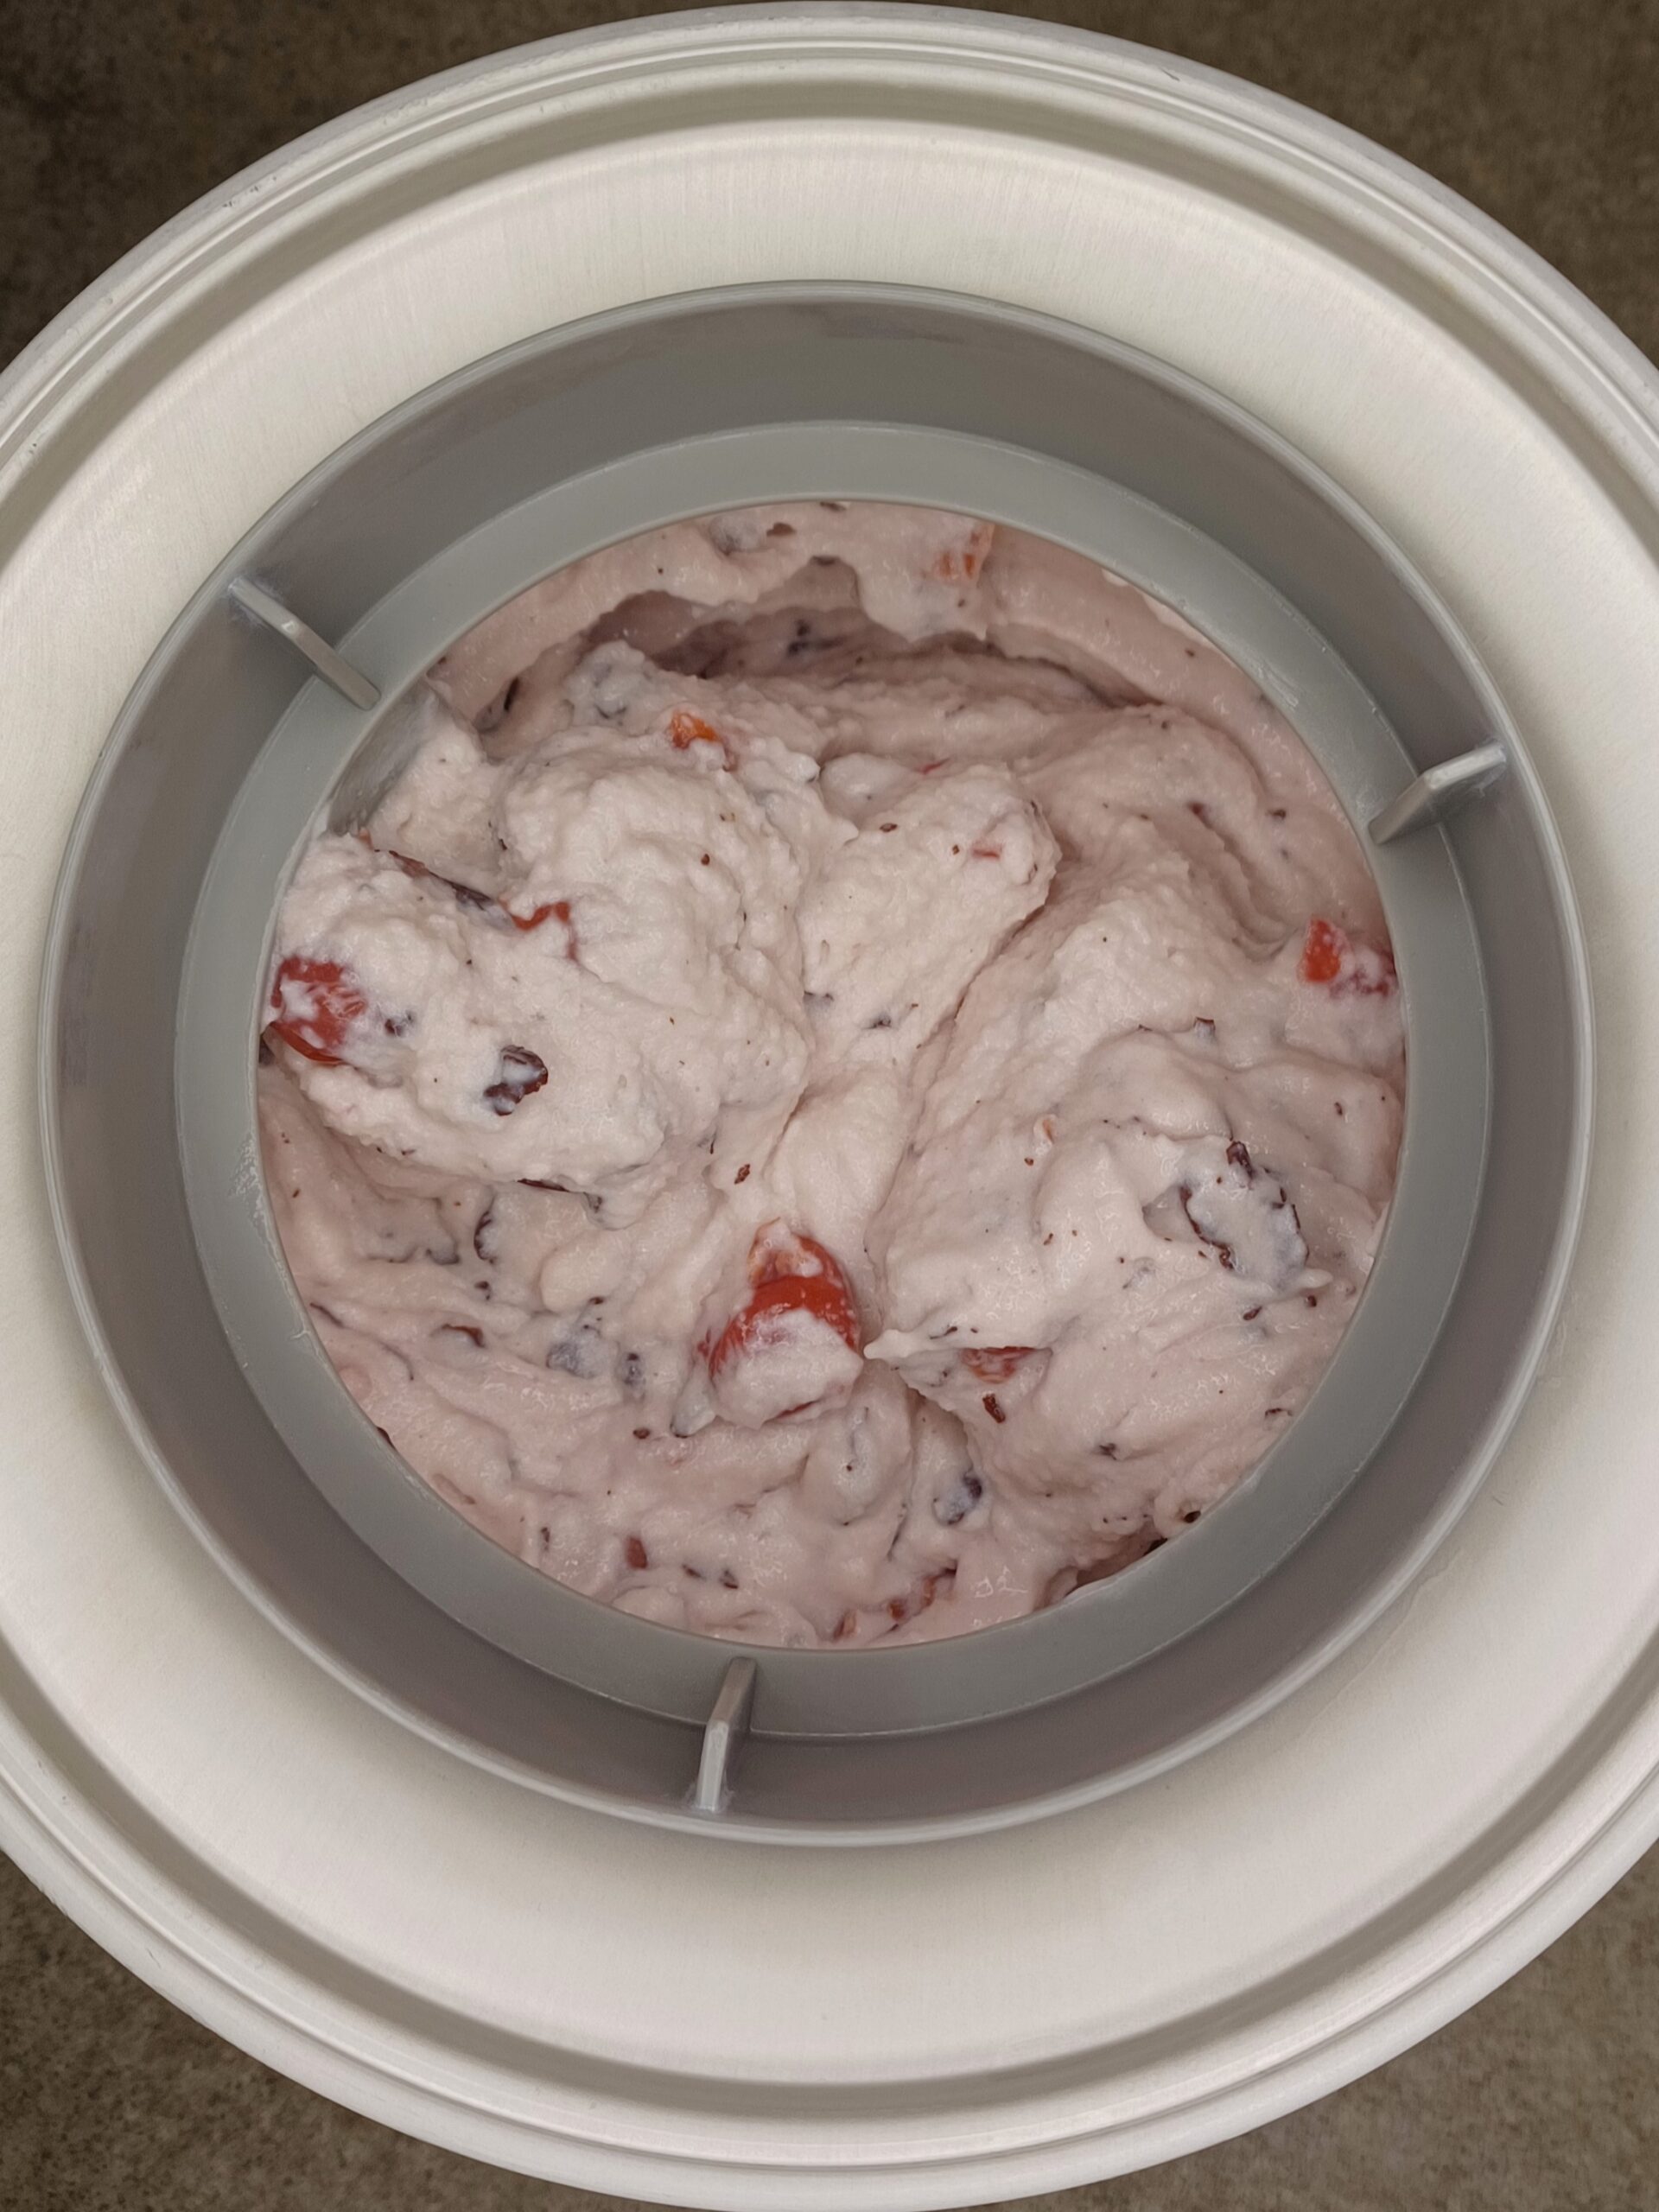
When the ice cream is nearly ready, add the cherries. Let them mix for about 20 seconds. Then drizzle in the chocolate.
 If it seems like your ice cream maker won't have space for the cherries, then just drizzle in the chocolate in the last minute of churning, then fold the cherries into the ice cream by hand, as you're scooping it out of the machine and into your storage container.
 -
STORE
Scoop the ice cream as quickly as possible into your storage container and place it in the freezer. If you want, you can cover the top with plastic wrap or parchment paper to help prevent ice from forming on the top of the ice cream.
Note
Protein powder substitutions:
You can use any unflavored, unsweetened protein powder you want. Whey, collagen, and egg white work the best. Vegan protein powders can work too, but sometimes create a chalky texture. Because different protein powders have different textures, the same volume of different powders may weigh different amounts. Weighing is the best method for ensuring you get the 65 grams the recipe calls for, but here are some estimates for using a cup measurement:
- 65 g collagen powder = 1/2 cup + 2 tablespoons
- 65 g whey protein = 1 cup (scant)
- 65 g egg white protein = 3/4 cup
- 65 g soy protein = 1 cup
Recommended equipment: (may include affiliate links)