Recently I posted a recipe for Vegan Caramel for ice cream swirls and toppings. (Check out that post for the whole story of my quest for better, easier vegan caramel.) The next obvious step — Salted Caramel Ice Cream!
The original vegan caramel recipe, based primarily on dates, uses nutritional yeast and olive oil to provide richness, complexity, and some of the “cooked dairy” flavors of caramel. This ice cream does the same. I’ve tweaked the caramel’s proportions to flavor the full batch of ice cream.
Because most of the sweetener in this Salted Caramel Ice Cream comes from dates (with a small amount of maple syrup and molasses for flavor), it’s a bit more friendly for people watching their sugar intake.
This Salted Caramel Ice Cream is dairy free. As with most of my recipes, I’ve used protein powder (collagen in this case) to increase the protein. This allows me to use less sugar in the recipe, while maintaining a creamy texture. (For more on how that works, click here.) Feel free to swap out another protein powder for collagen. The notes below have detailed suggestions.
For a vegan option, just leave out the protein powder. Without it, the texture will be a little icier, but you’ll still have a nice ice cream. Don’t skip the xanthan gum — it will really help with creaminess!
Salted Caramel Ice Cream (dairy free with a vegan option)
Makes ~1 quart
Ingredients
Instructions
-
START BLENDING EVERYTHING BUT THE 2 MILKS
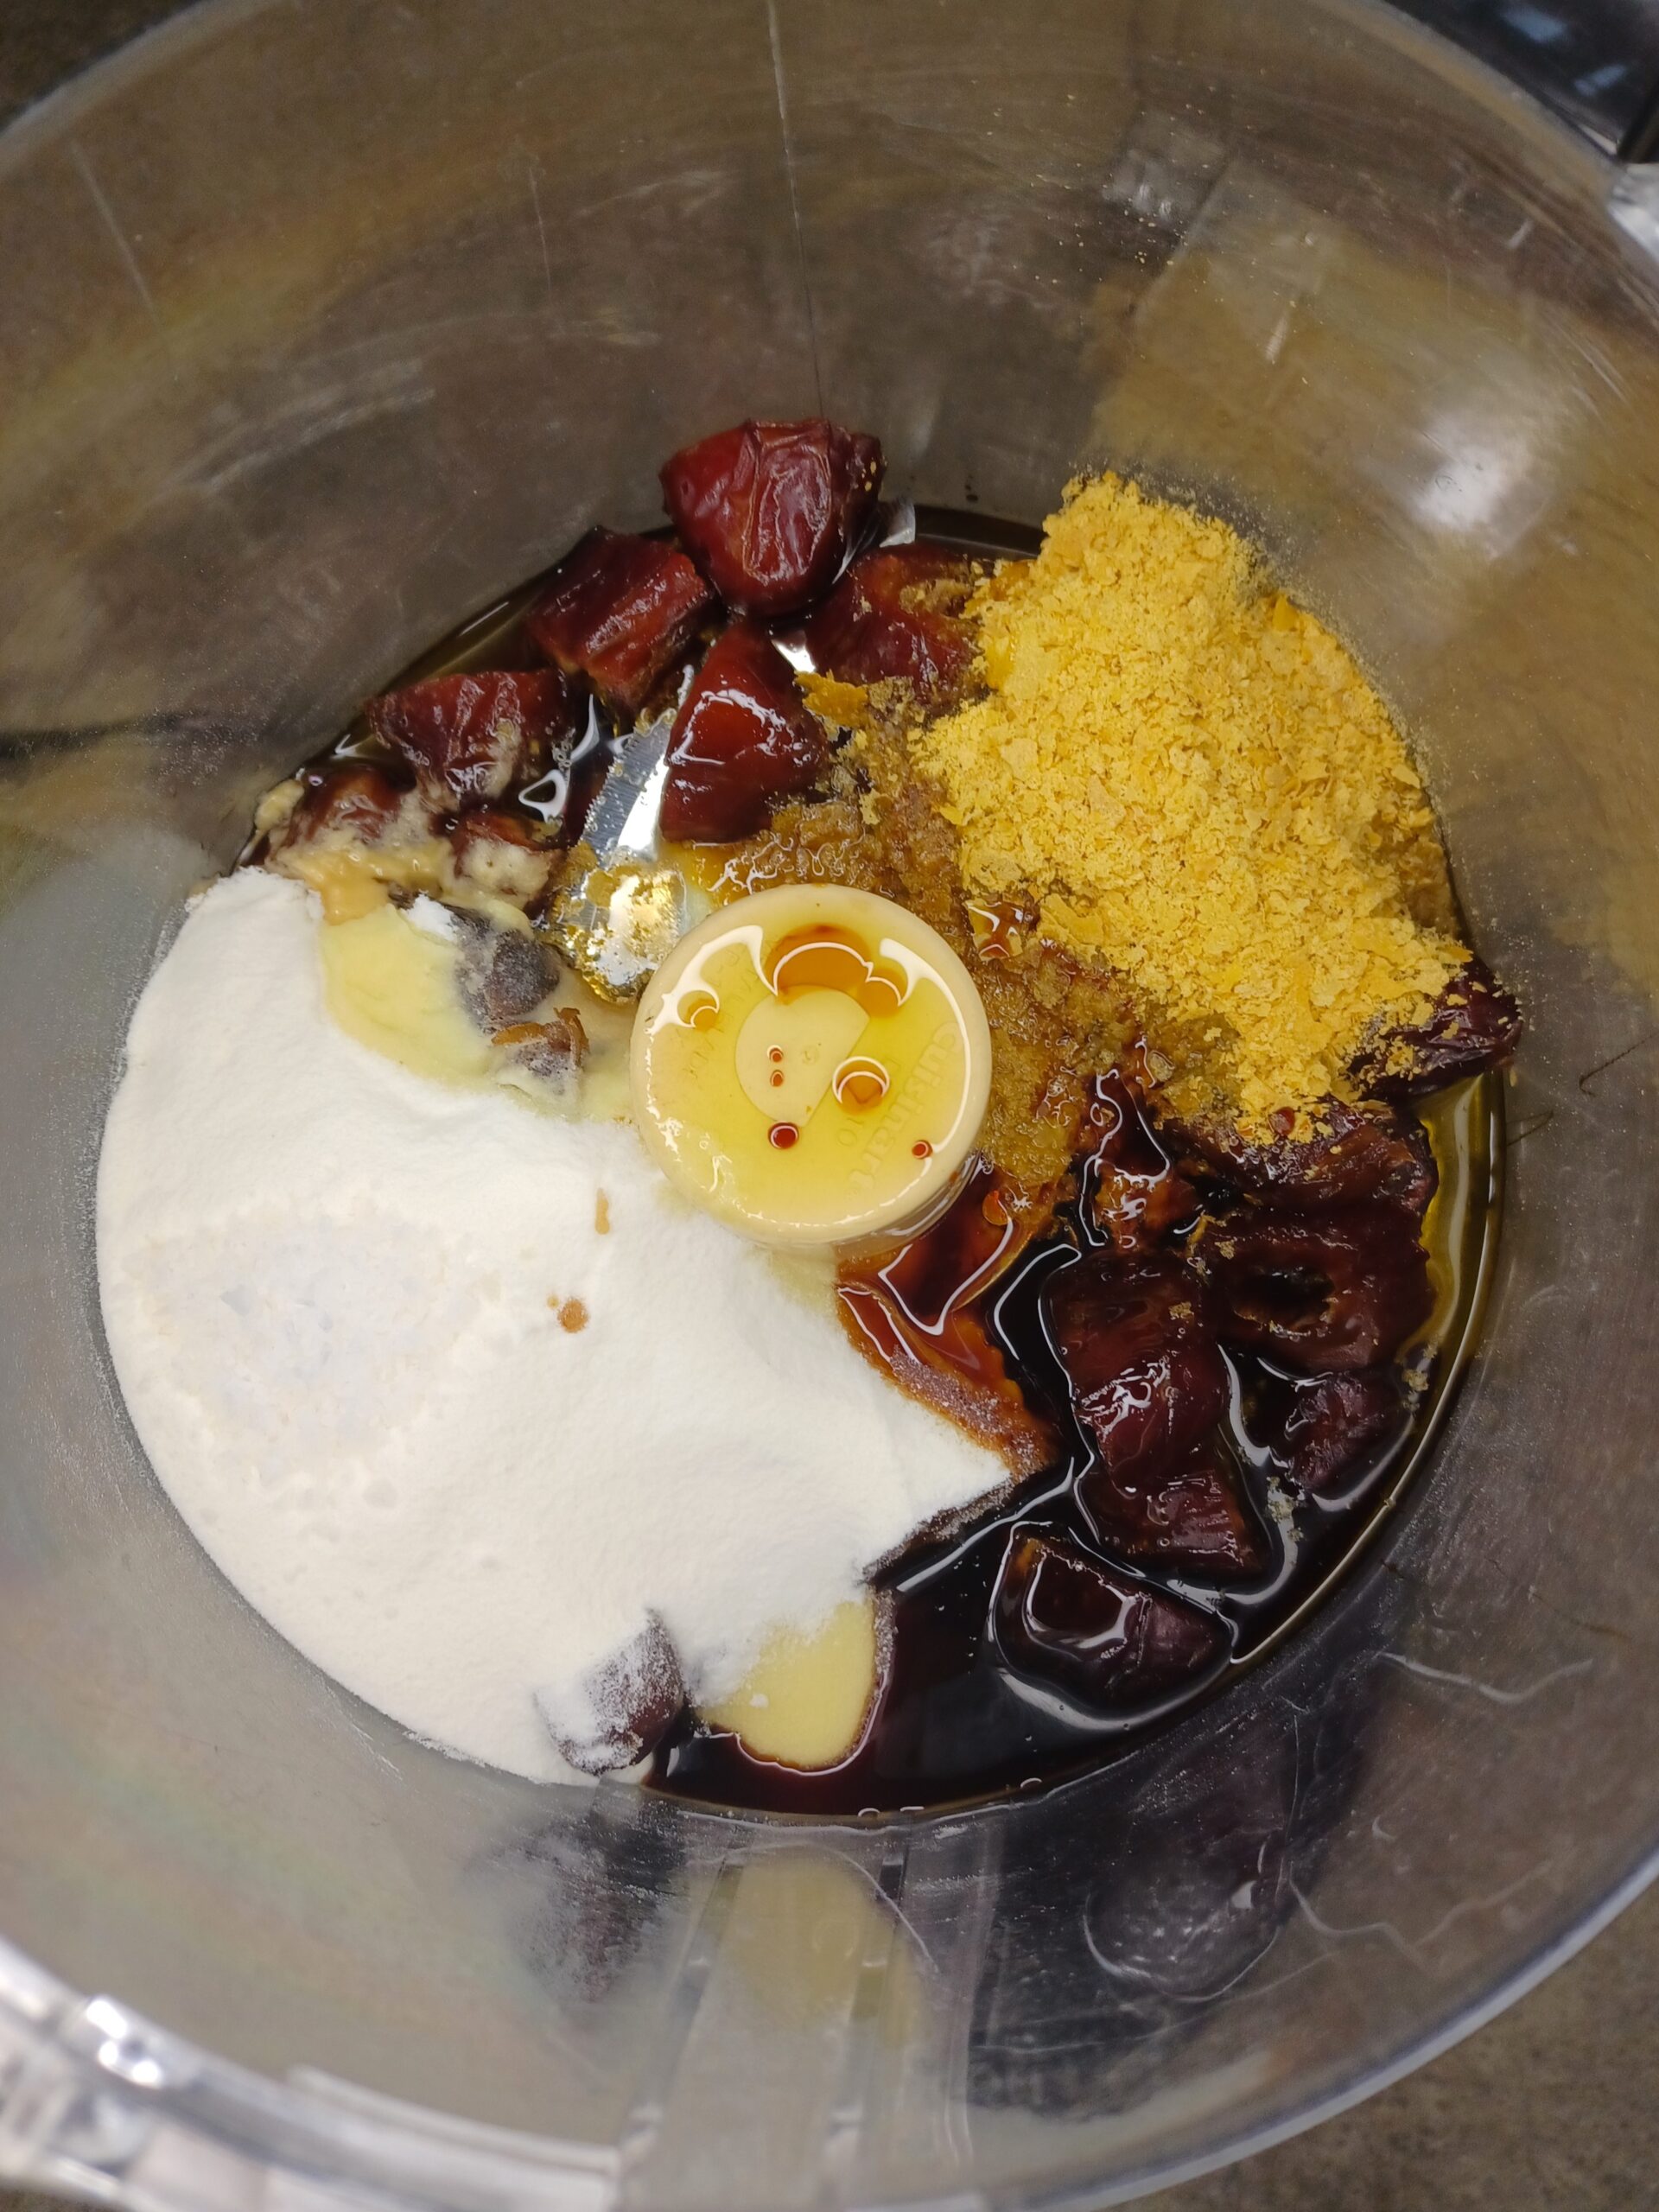
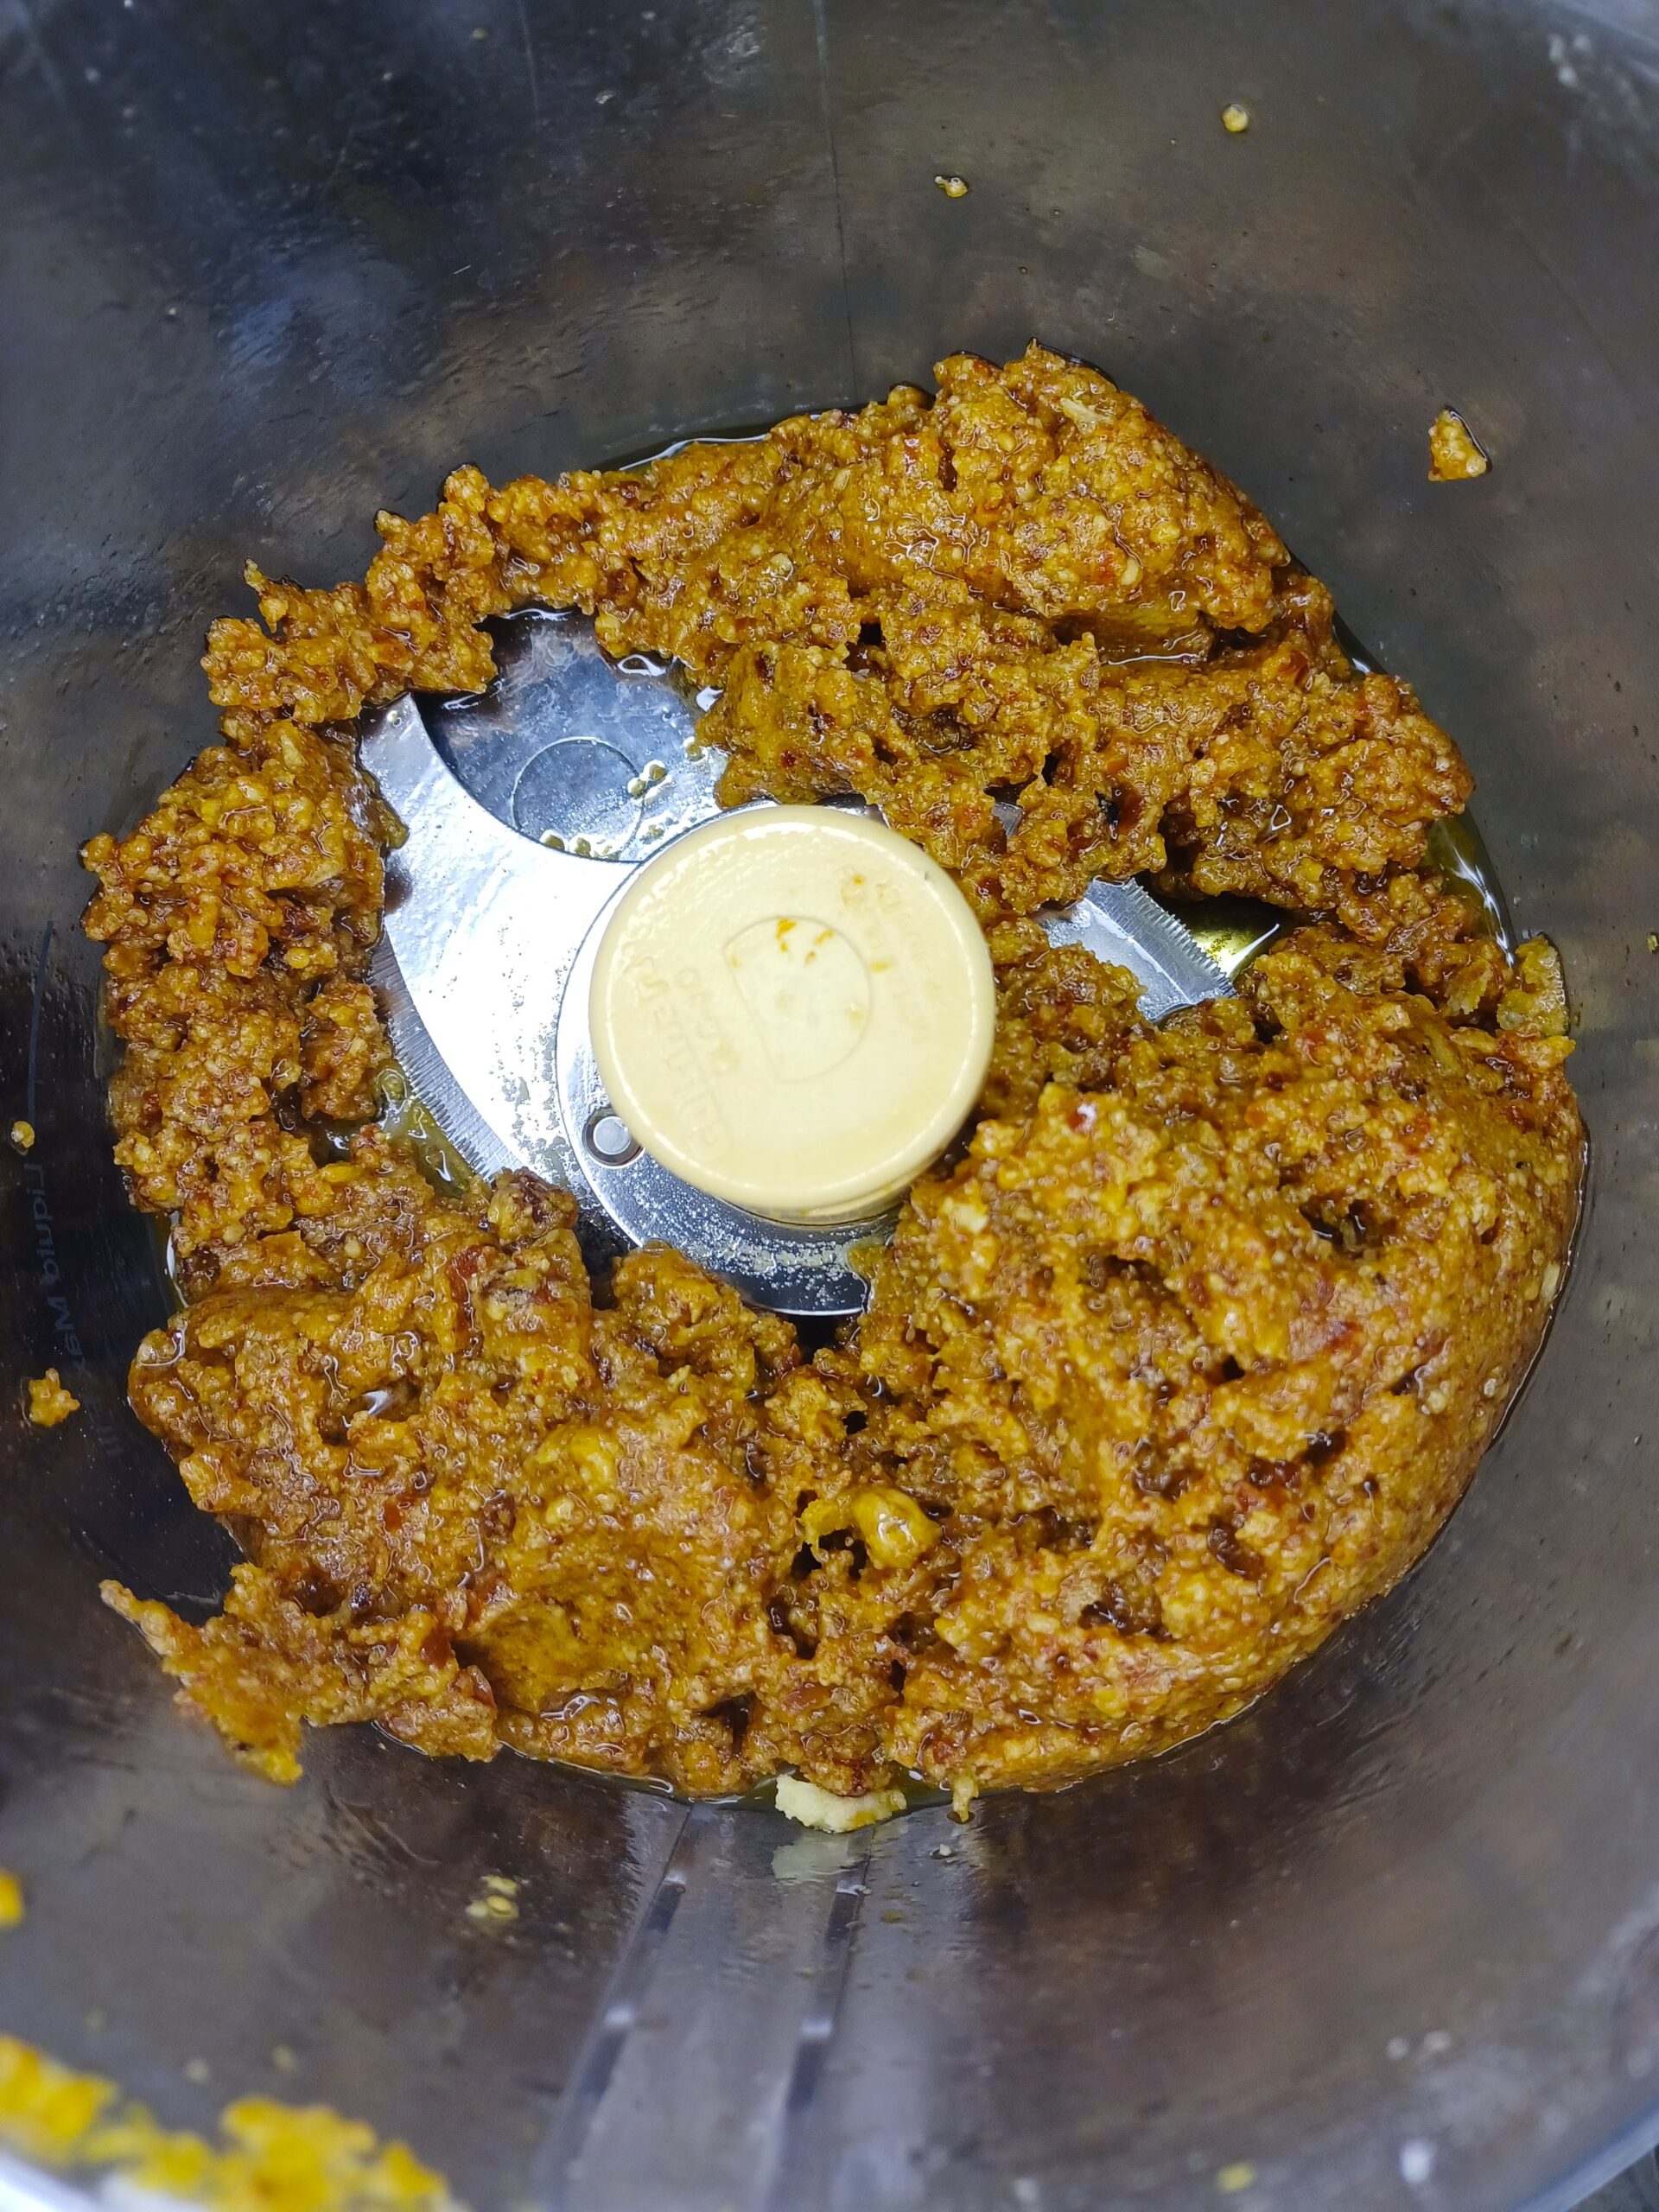
In a food processor, blend the dates, olive oil, collagen, maple syrup, molasses, nutritional yeast, vanilla, and salt (everything except the 2 milks) until it starts to make a paste.
-
ADD COCONUT MILK SLOWLY
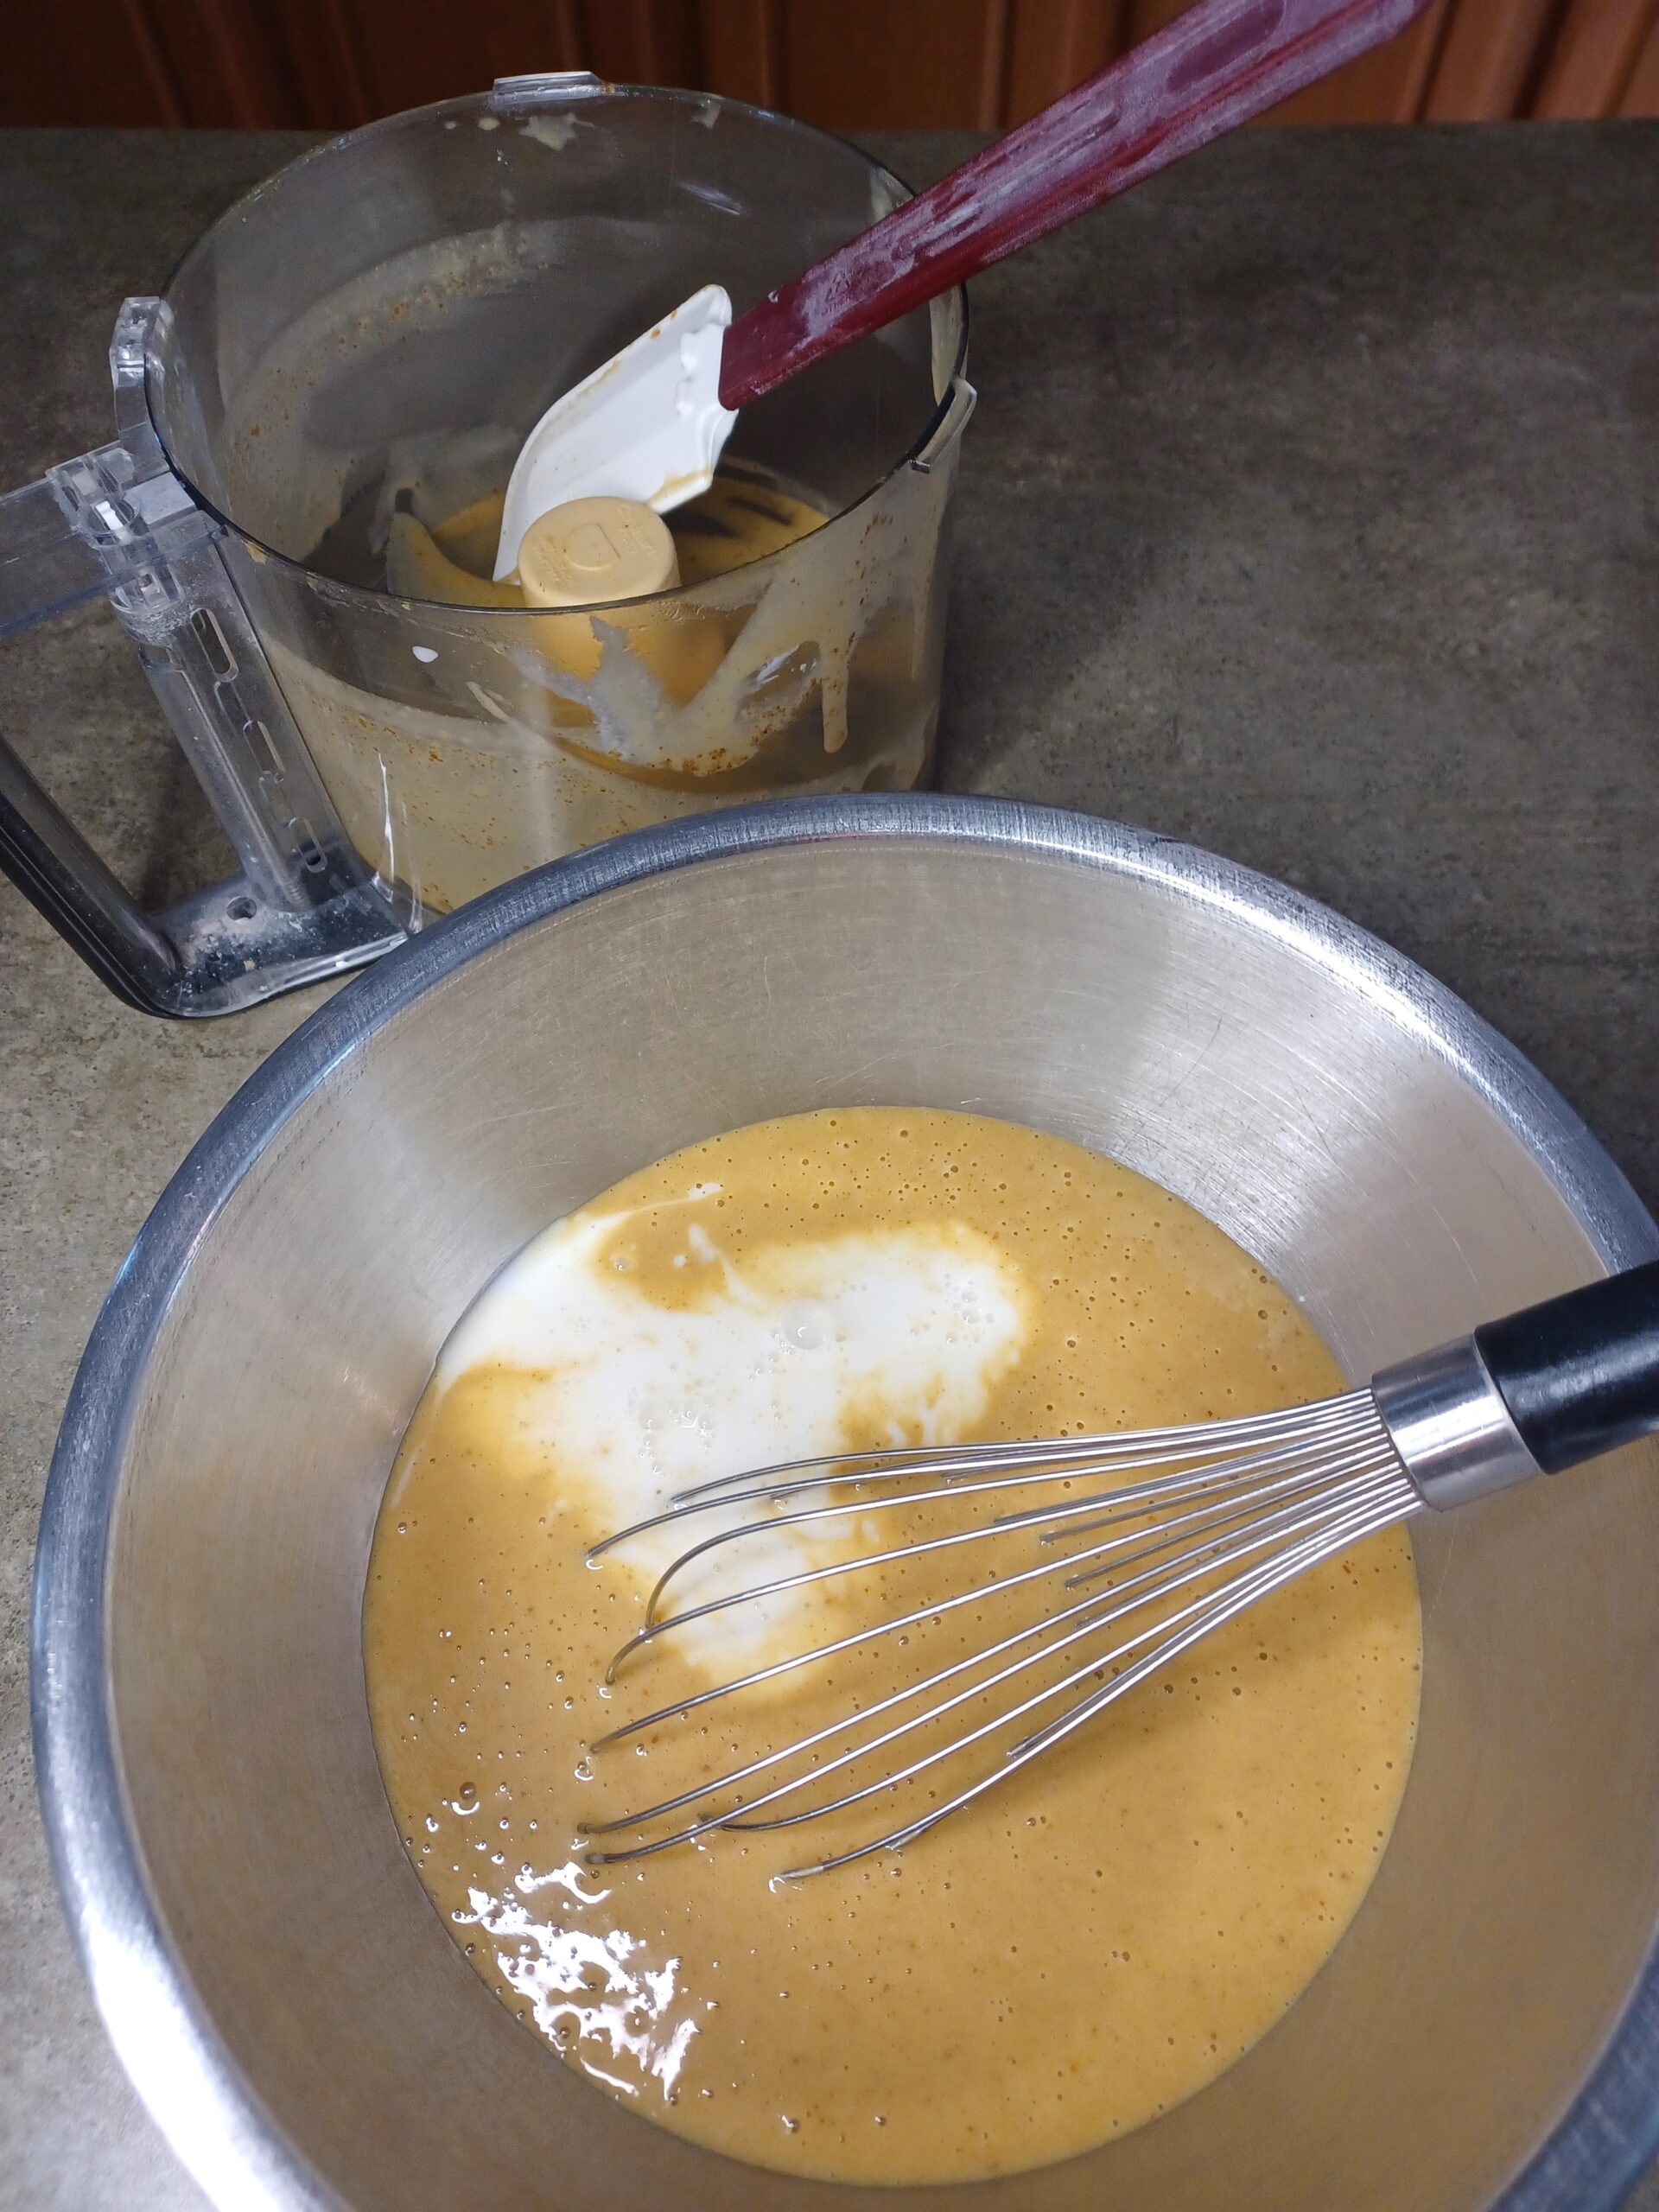
Add the coconut milk a little at a time, scraping down the sides of the bowl as needed. Alternate between blending and adding coconut milk. Blend until the whole mixture is very smooth and all the coconut milk has been incorporated.
-
ADD NON-DAIRY MILK OF YOUR CHOICE
If your food processor can handle the liquid, add the non-dairy milk and blend everything a final time. In my food processor, it's too much liquid, so I transfer the mixture to a large bowl and blend in the final 4 oz of milk by hand with a whisk.
-
CHILL
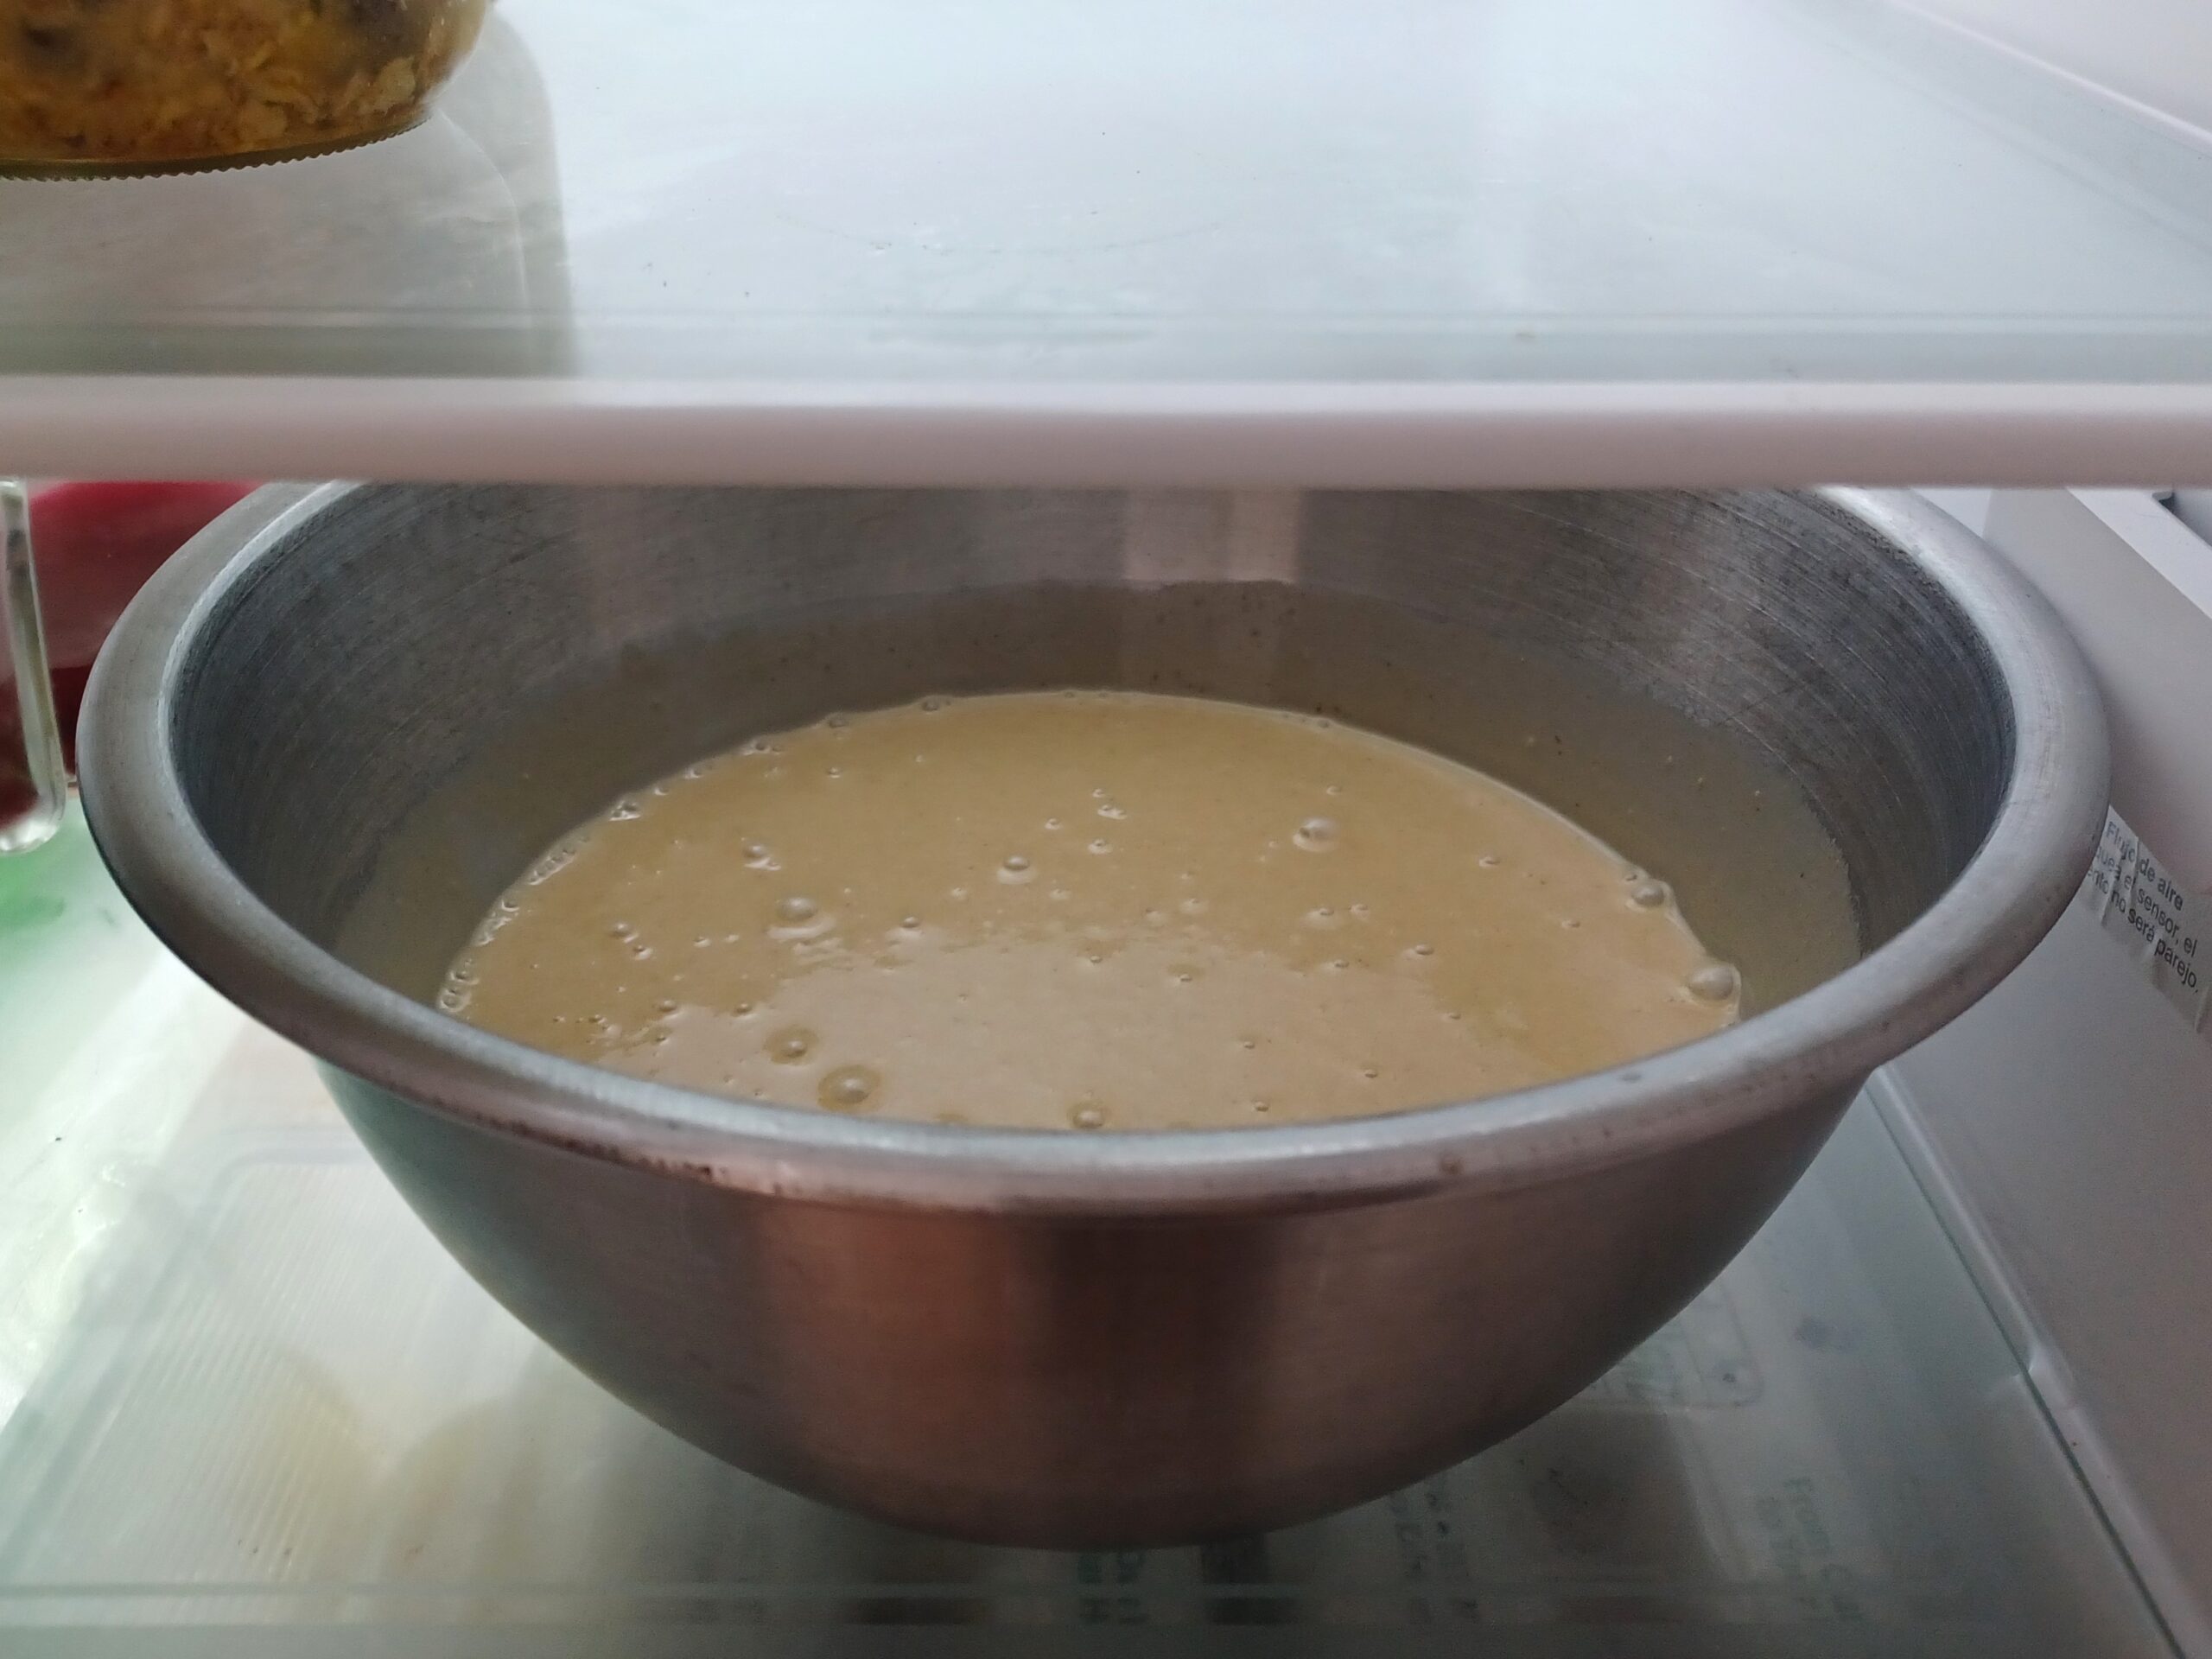
Transfer to a container and chill in the fridge for 8 hours or overnight.
For a quicker chilling time, place the bowl containing your mixture in an ice bath (a larger bowl containing ice water) for a few hours. Stir the mixture occasionally. As the water in the ice bath warms up, pour off some water and add ice to keep the mixture chilling as quickly as possible.
Ideally, the mixture will be about 40 degrees when you churn it.
-
CHURN
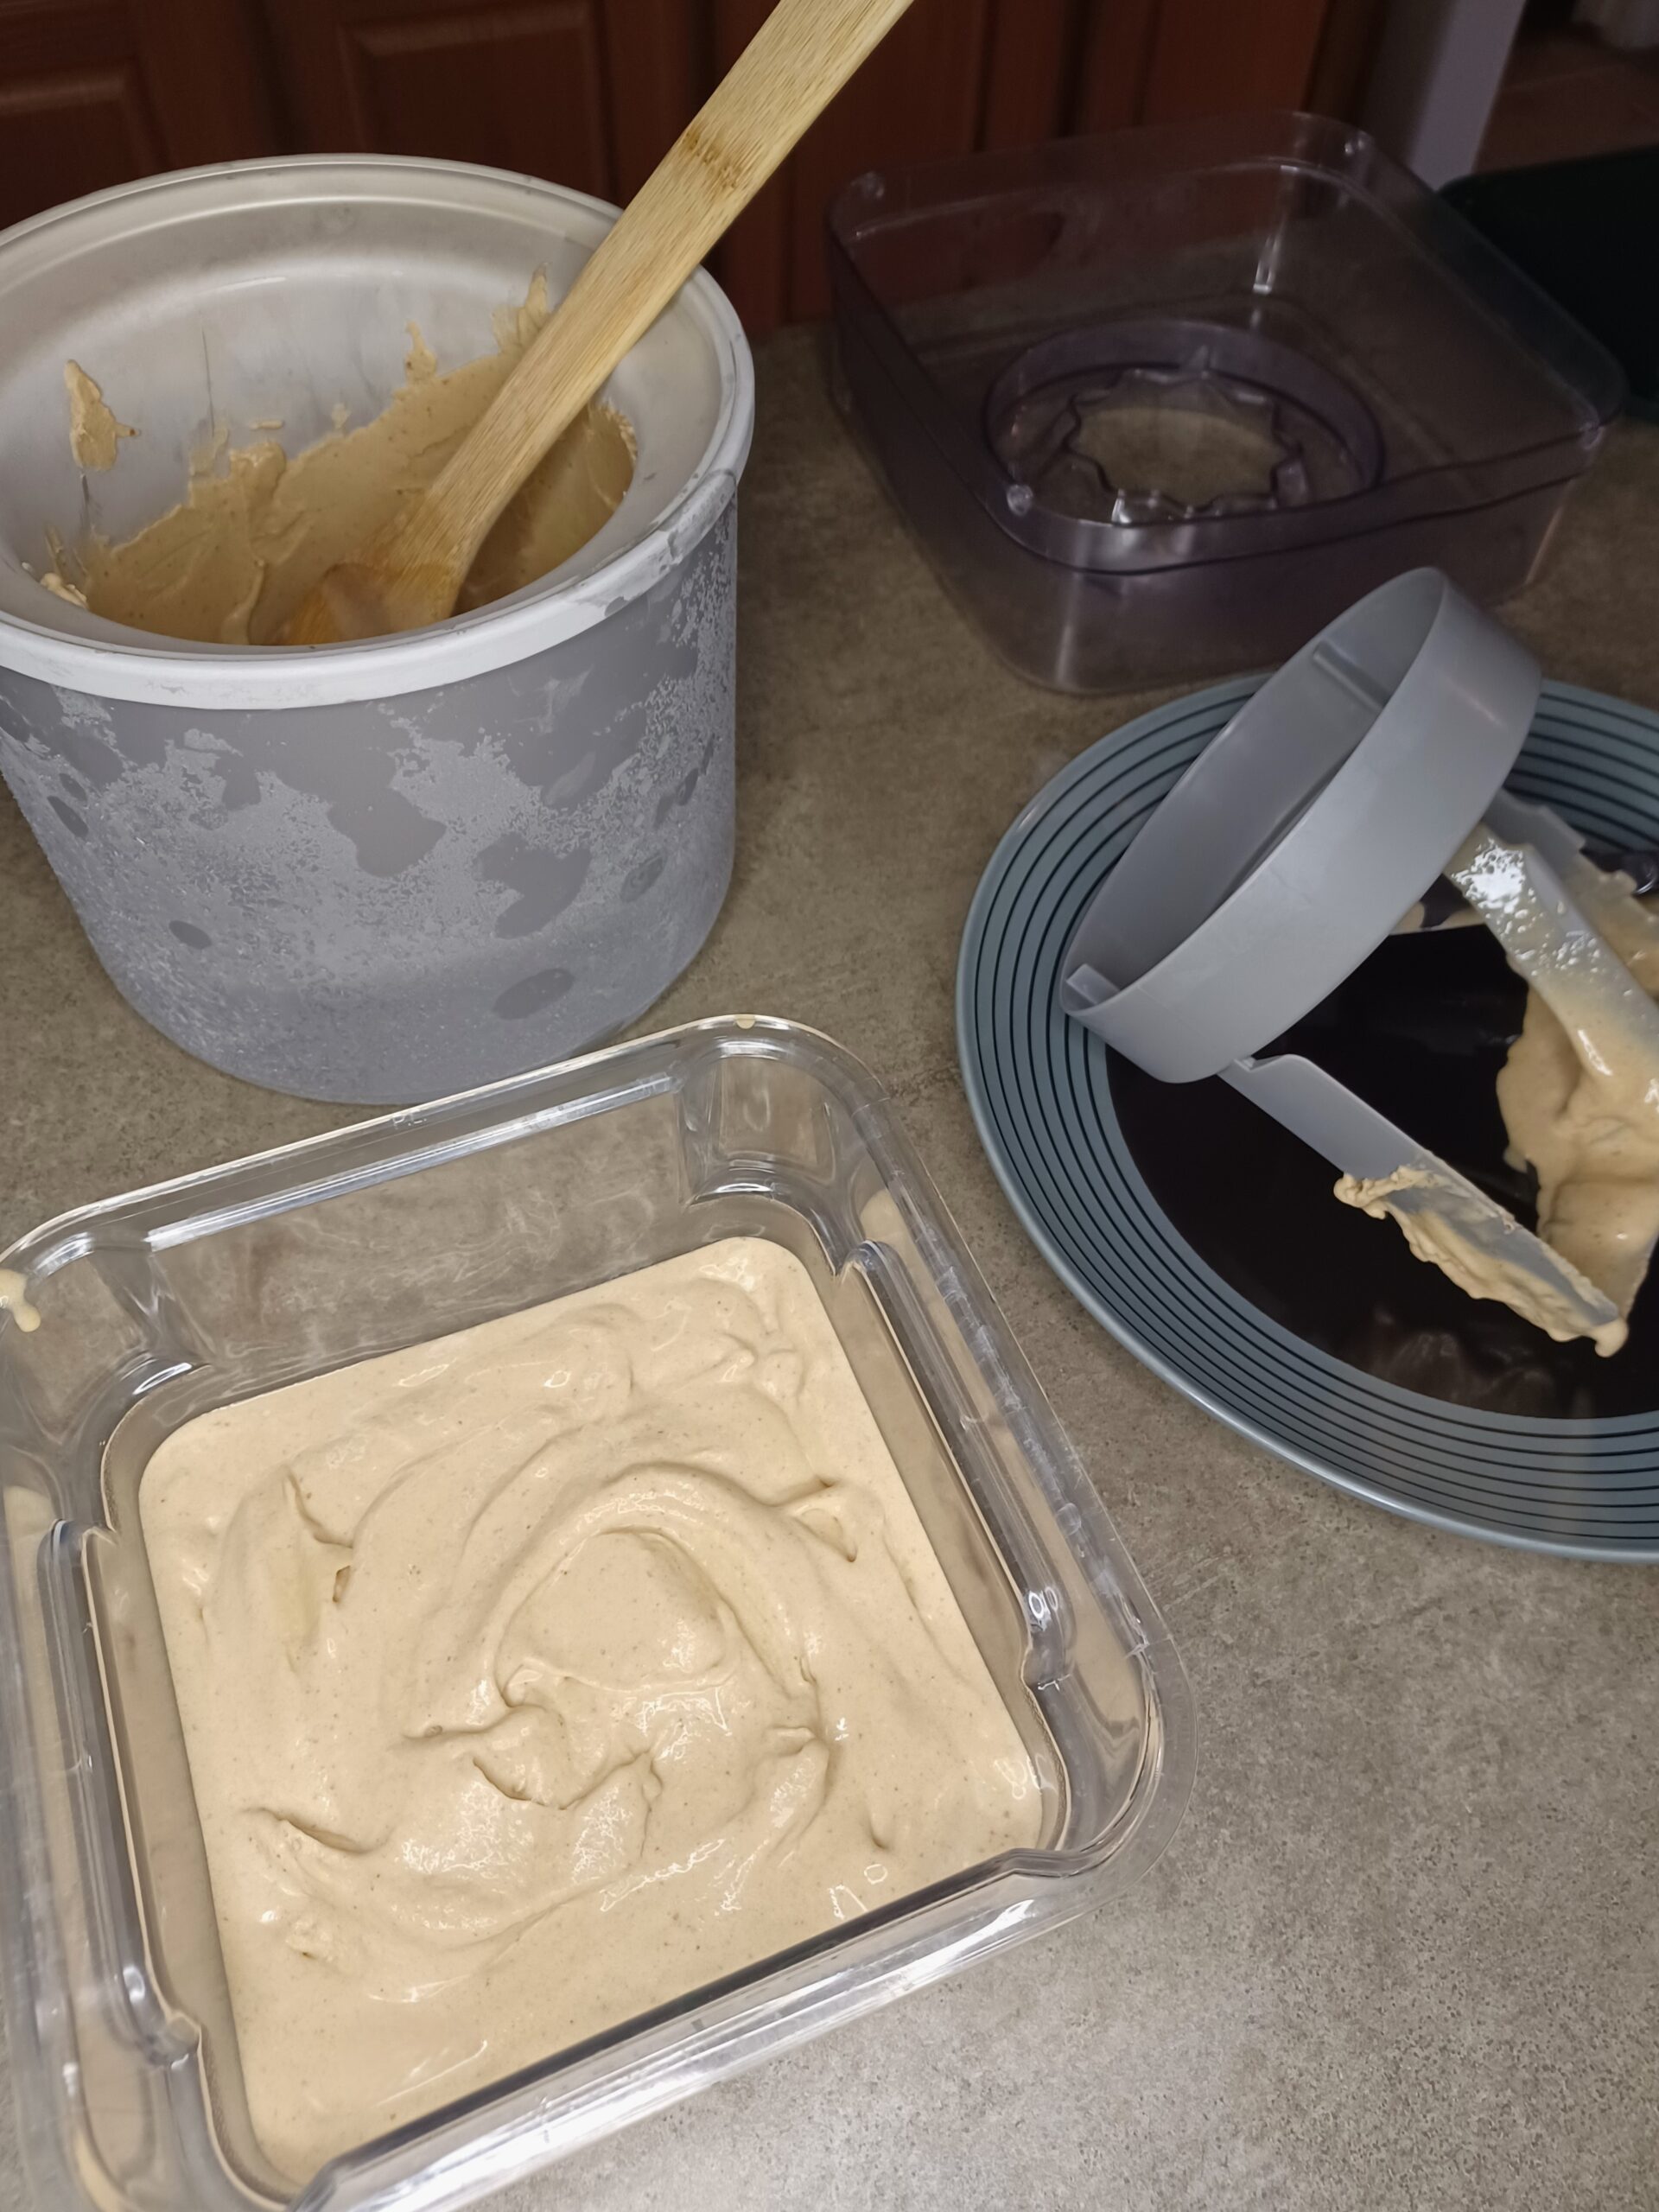
Before you start churning, set up everything you'll need to quickly transfer the ice cream from the machine into a container for freezing. I use a knife to scrape down the dasher (or paddle) and a wooden spoon to scoop out the ice cream.
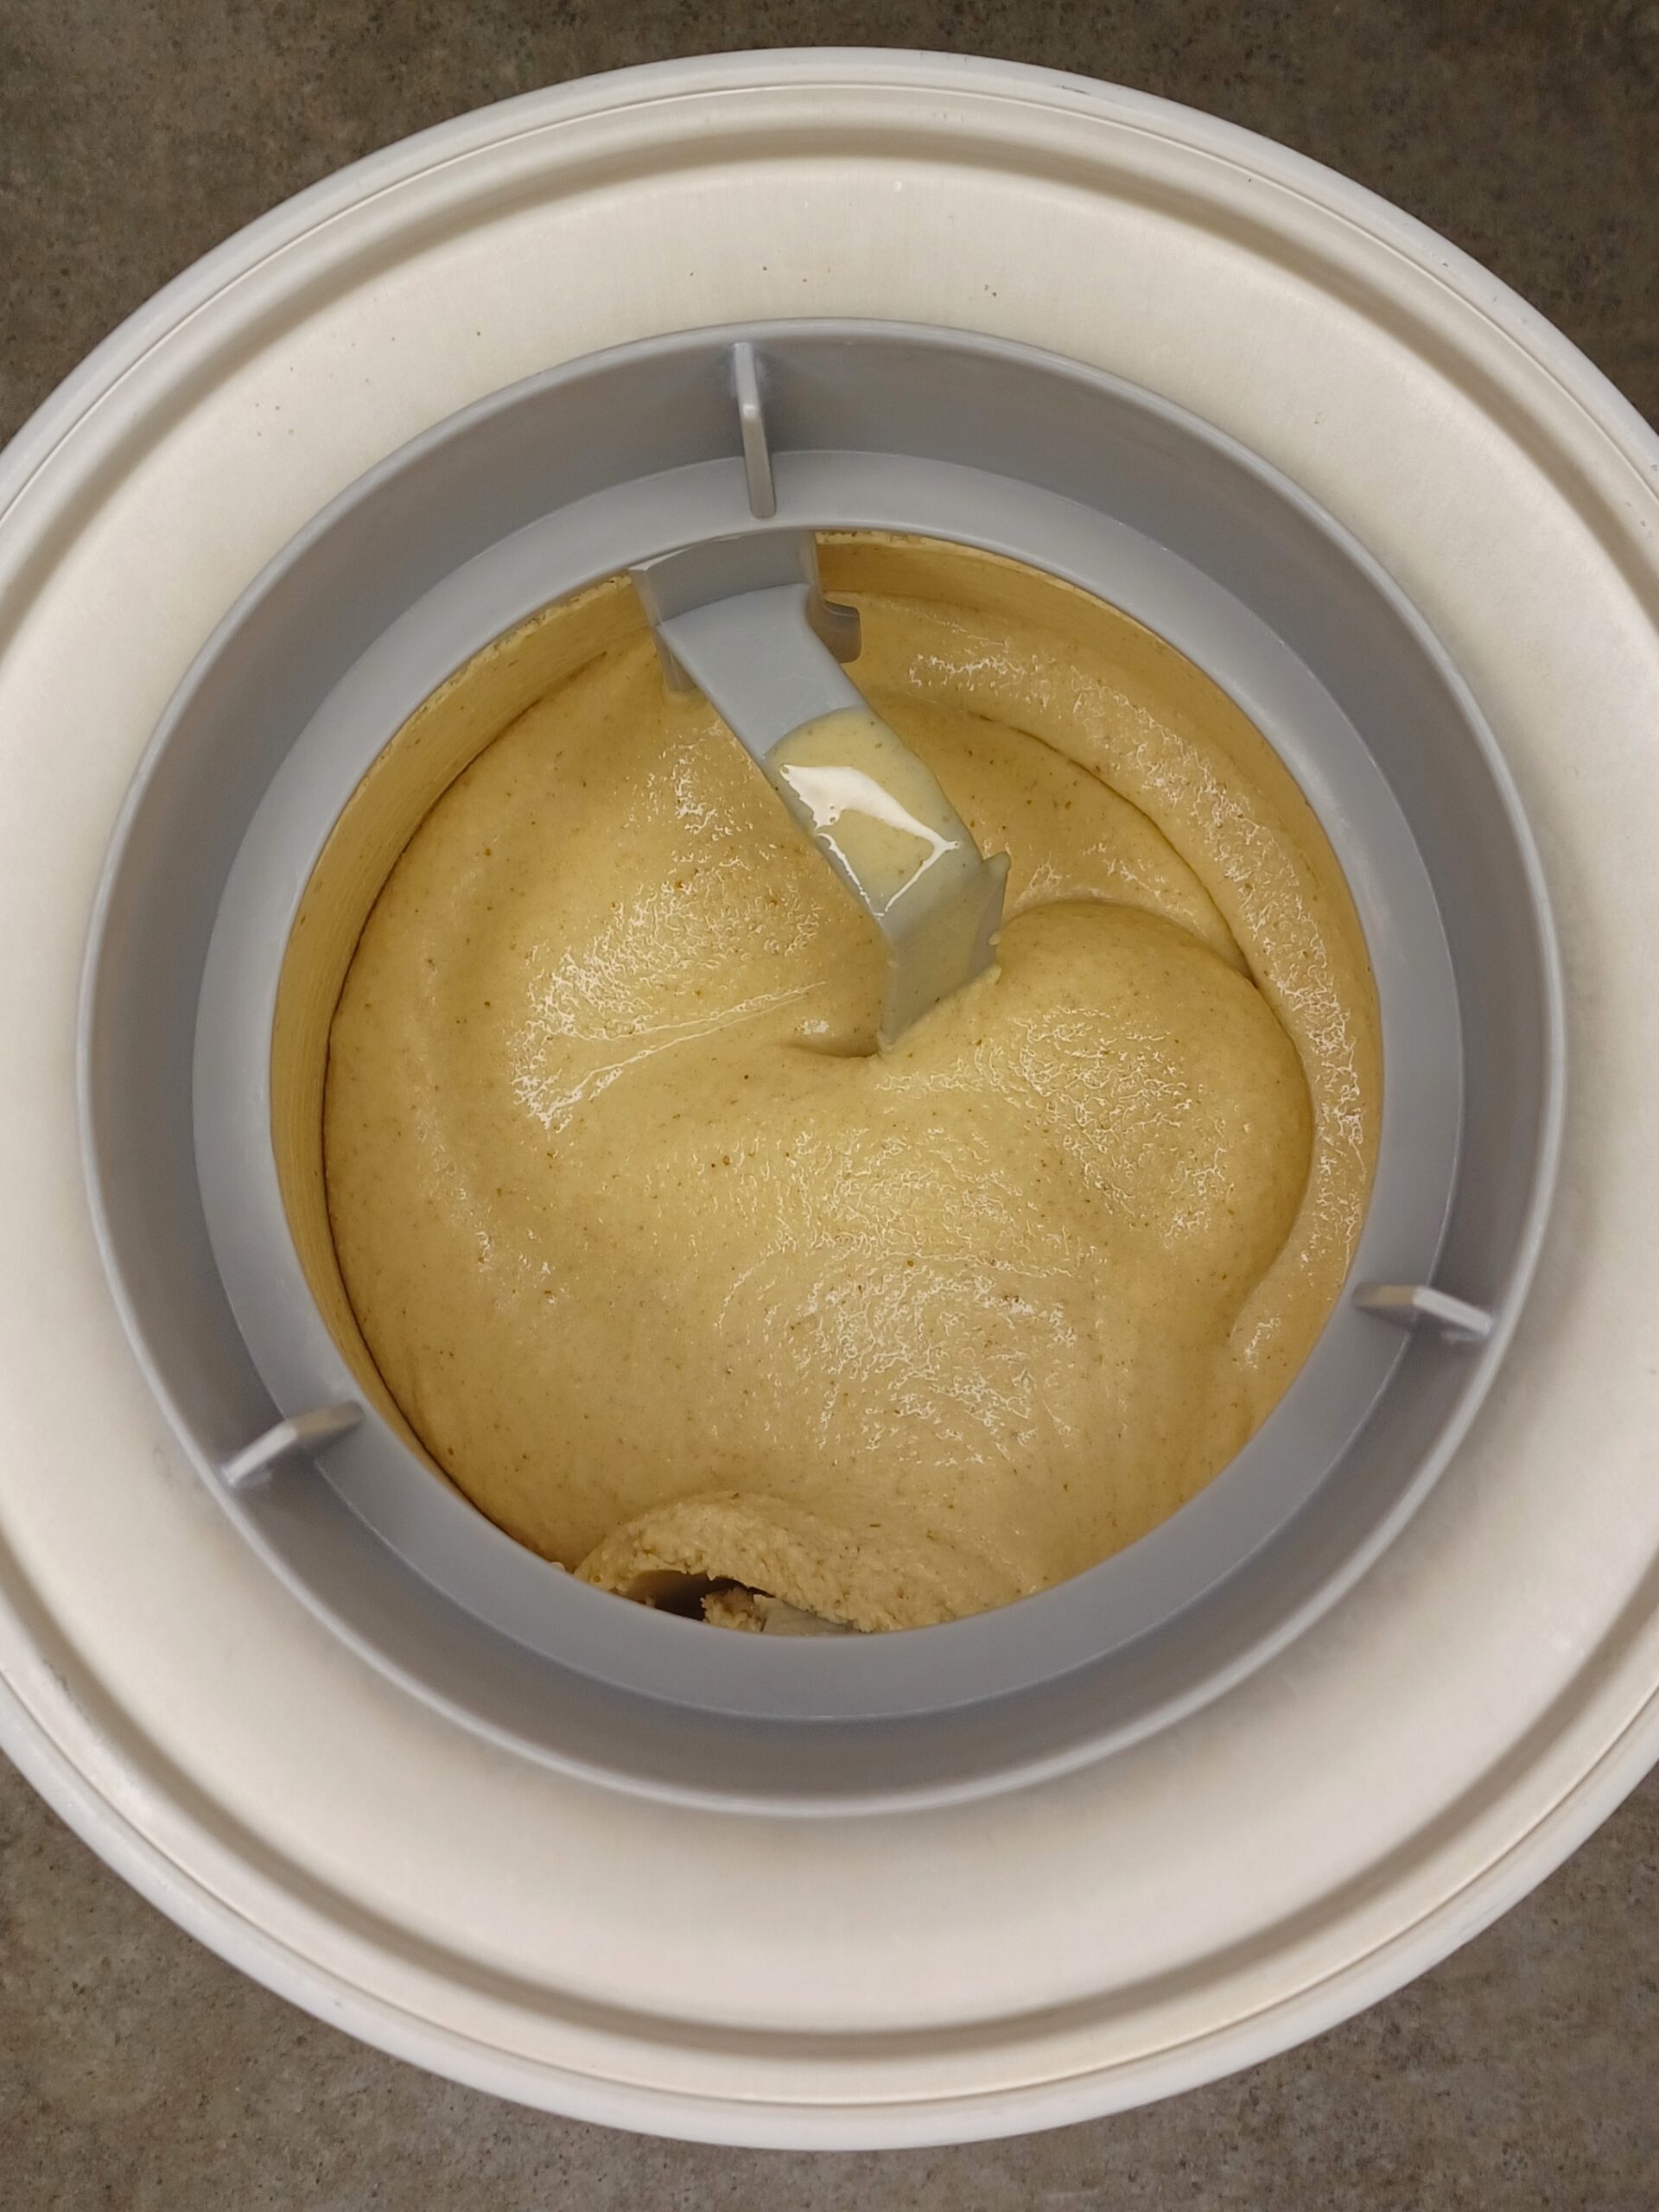
Set up your ice cream maker according to the manufacturer's directions. Pour your mixture into the ice cream maker and churn. In my machine the perfect churning time is 14 minutes, but your experience may vary.
The ice cream is ready when it has the consistency of soft serve and has started pulling away from the edge of the canister. You'll notice it also gets lighter in color as air is mixed in.
-
STORE
When the ice cream has finished churning, scoop it as quickly as possible into your storage container. Cover it with plastic wrap or parchment paper, if using. (Placing a sheet of parchment paper between the container and lid will help prevent frost, or you can press plastic wrap directly onto the surface of the ice cream.) Put the container in the freezer. The ice cream will be fully firm in a few hours.
Note
Protein powder substitutions:
You can use any unflavored, unsweetened protein powder you want. Whey, collagen, and egg white work the best. Vegan protein powders can work too, but sometimes create a chalky texture. Because different protein powders have different textures, the same volume of different powders may weigh different amounts. Weighing is the best method for ensuring you get the 65 grams the recipe calls for, but here are some estimates for using a cup measurement:
- 65 g collagen powder = 1/2 cup + 1 tablespoons
- 65 g whey protein = 1 cup (scant)
- 65 g egg white protein = 3/4 cup
- 65 g soy protein = 1 cup
Optional additions:
- 1-2 tablespoons of alcohol -- Adding alcohol improves the texture and scoopability of the final product and gives a little kick of extra flavor. Whiskey, rum, or vodka would be good choices here.
Recommended equipment (may contain affiliate links):
- My ice cream maker (2 qt)
- Newer version of my ice cream maker (2 qt)
- Well-reviewed less expensive ice cream maker (1.5 qt)
- Insulated ice cream container
- Heat-proof spatula
- Immersion/hand blender
- Ice cream scoop
Recommended ingredients (may contain affiliate links):

