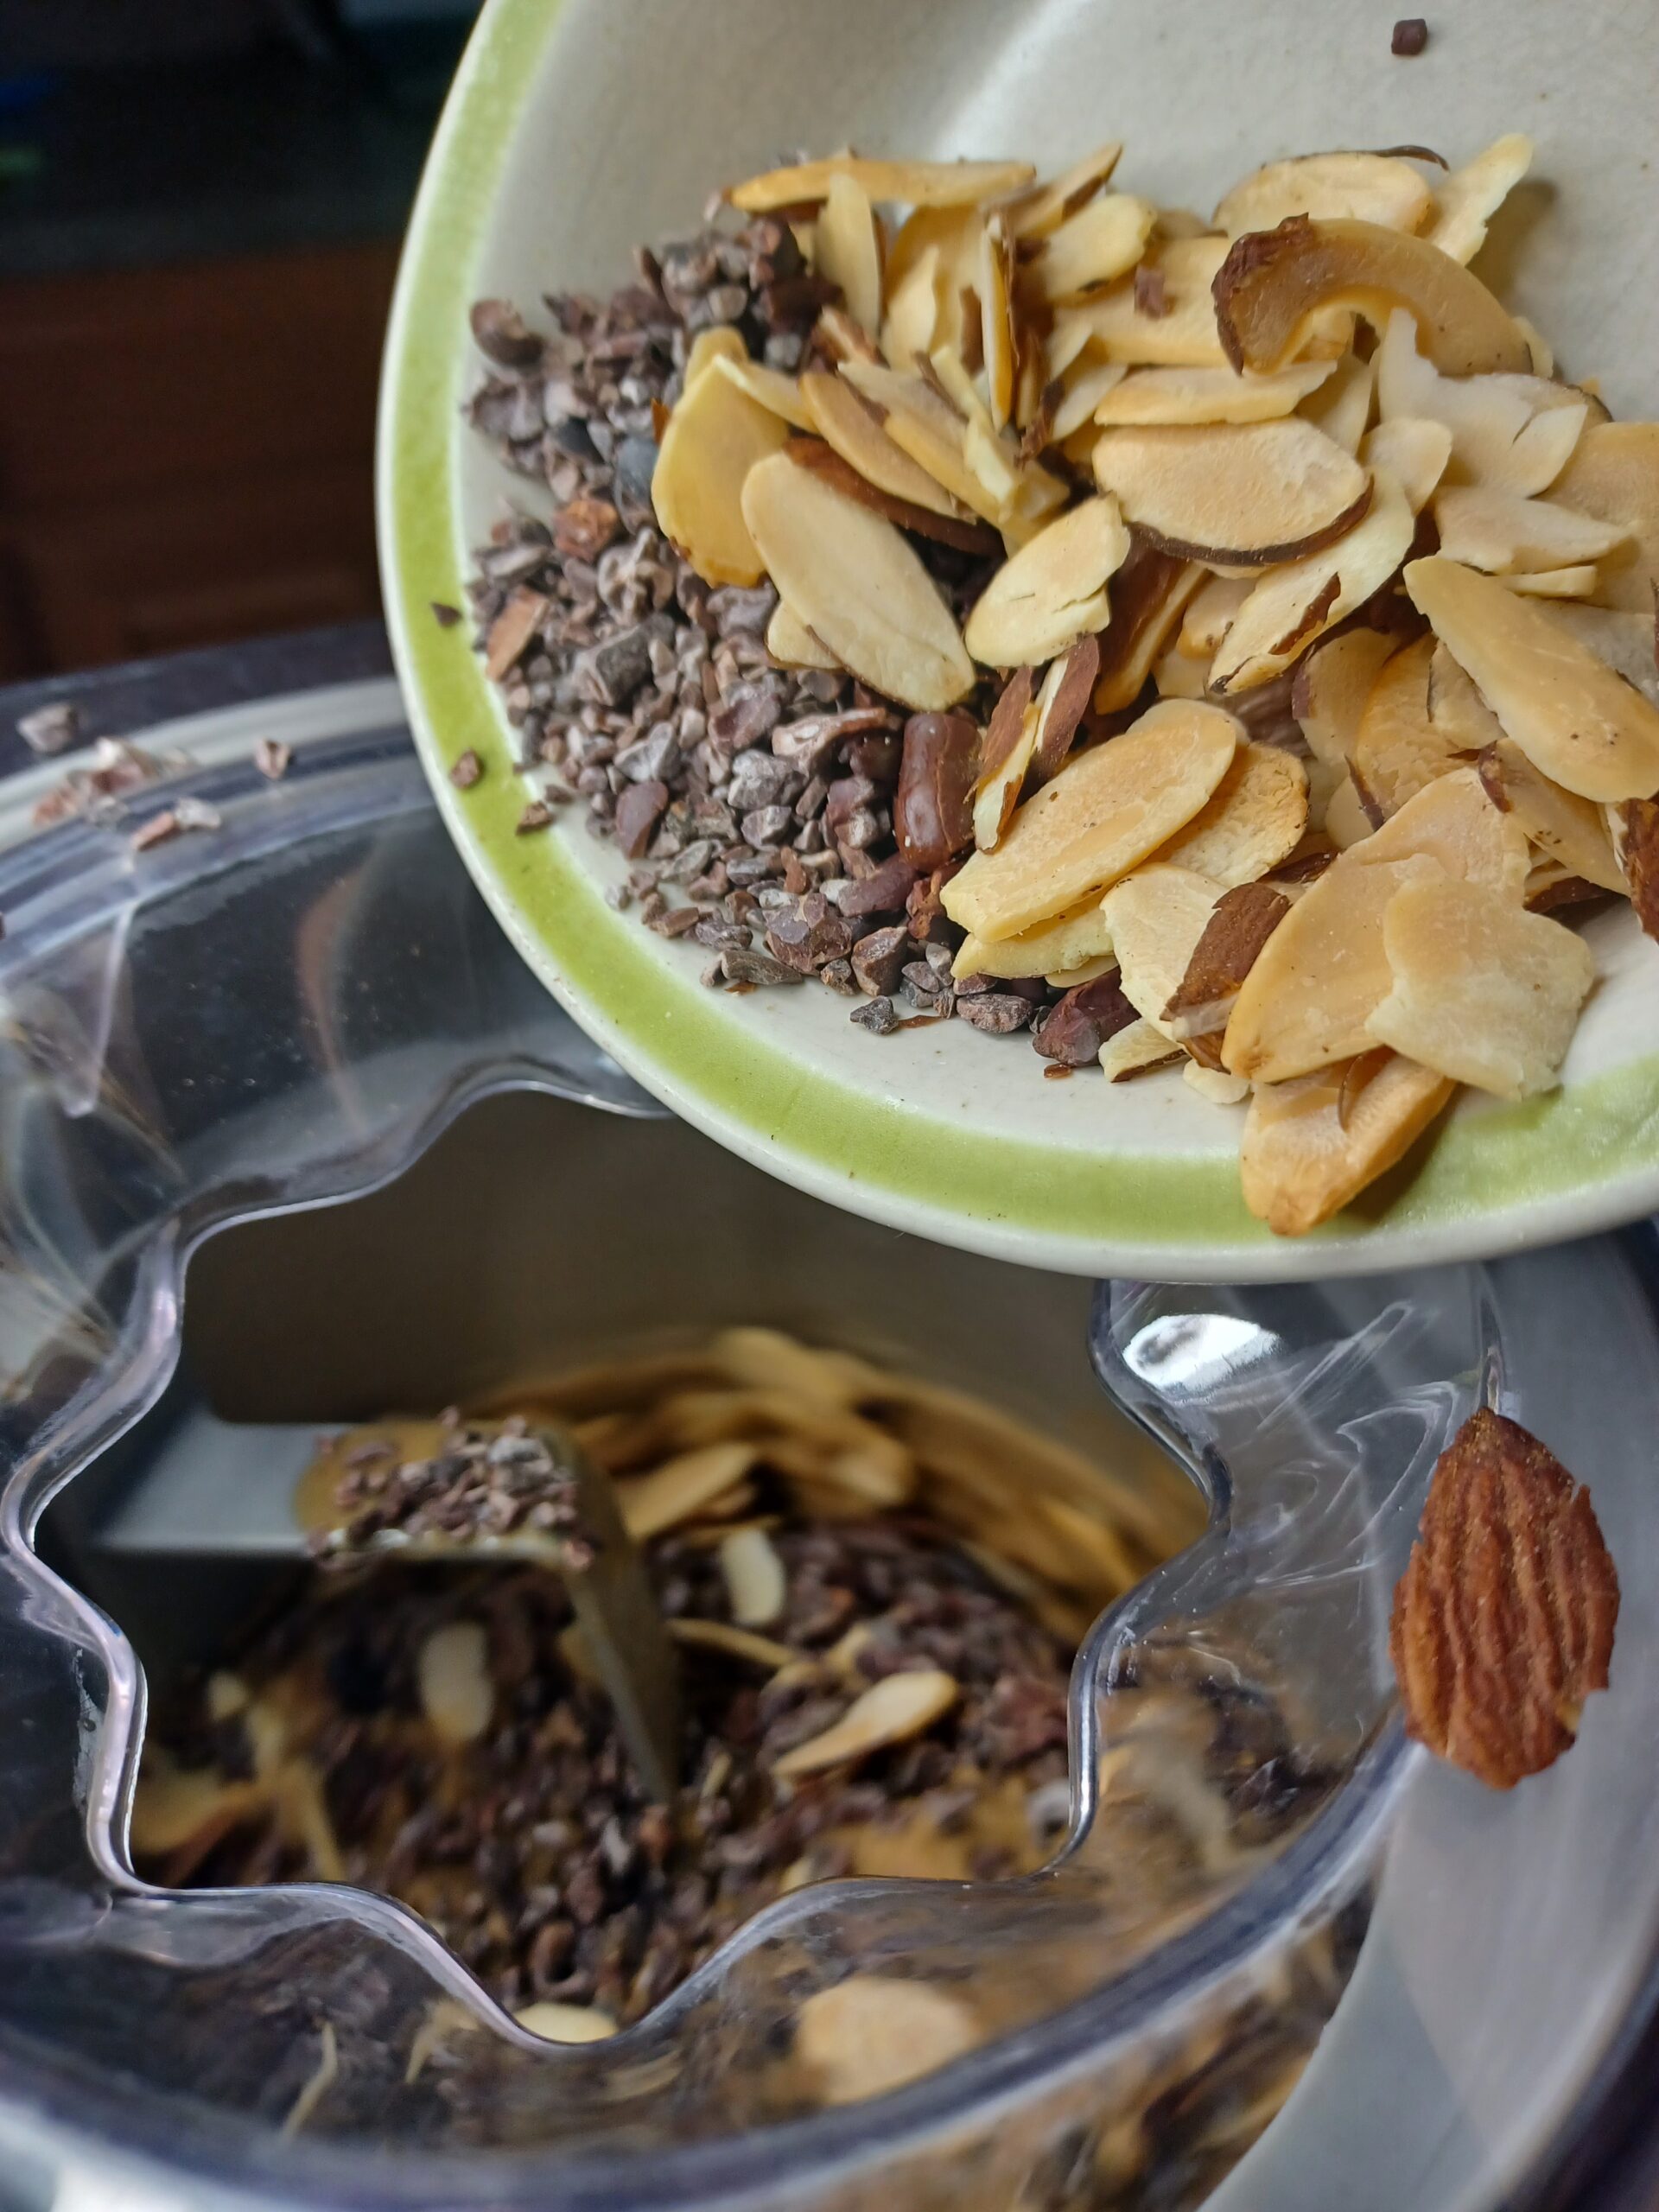
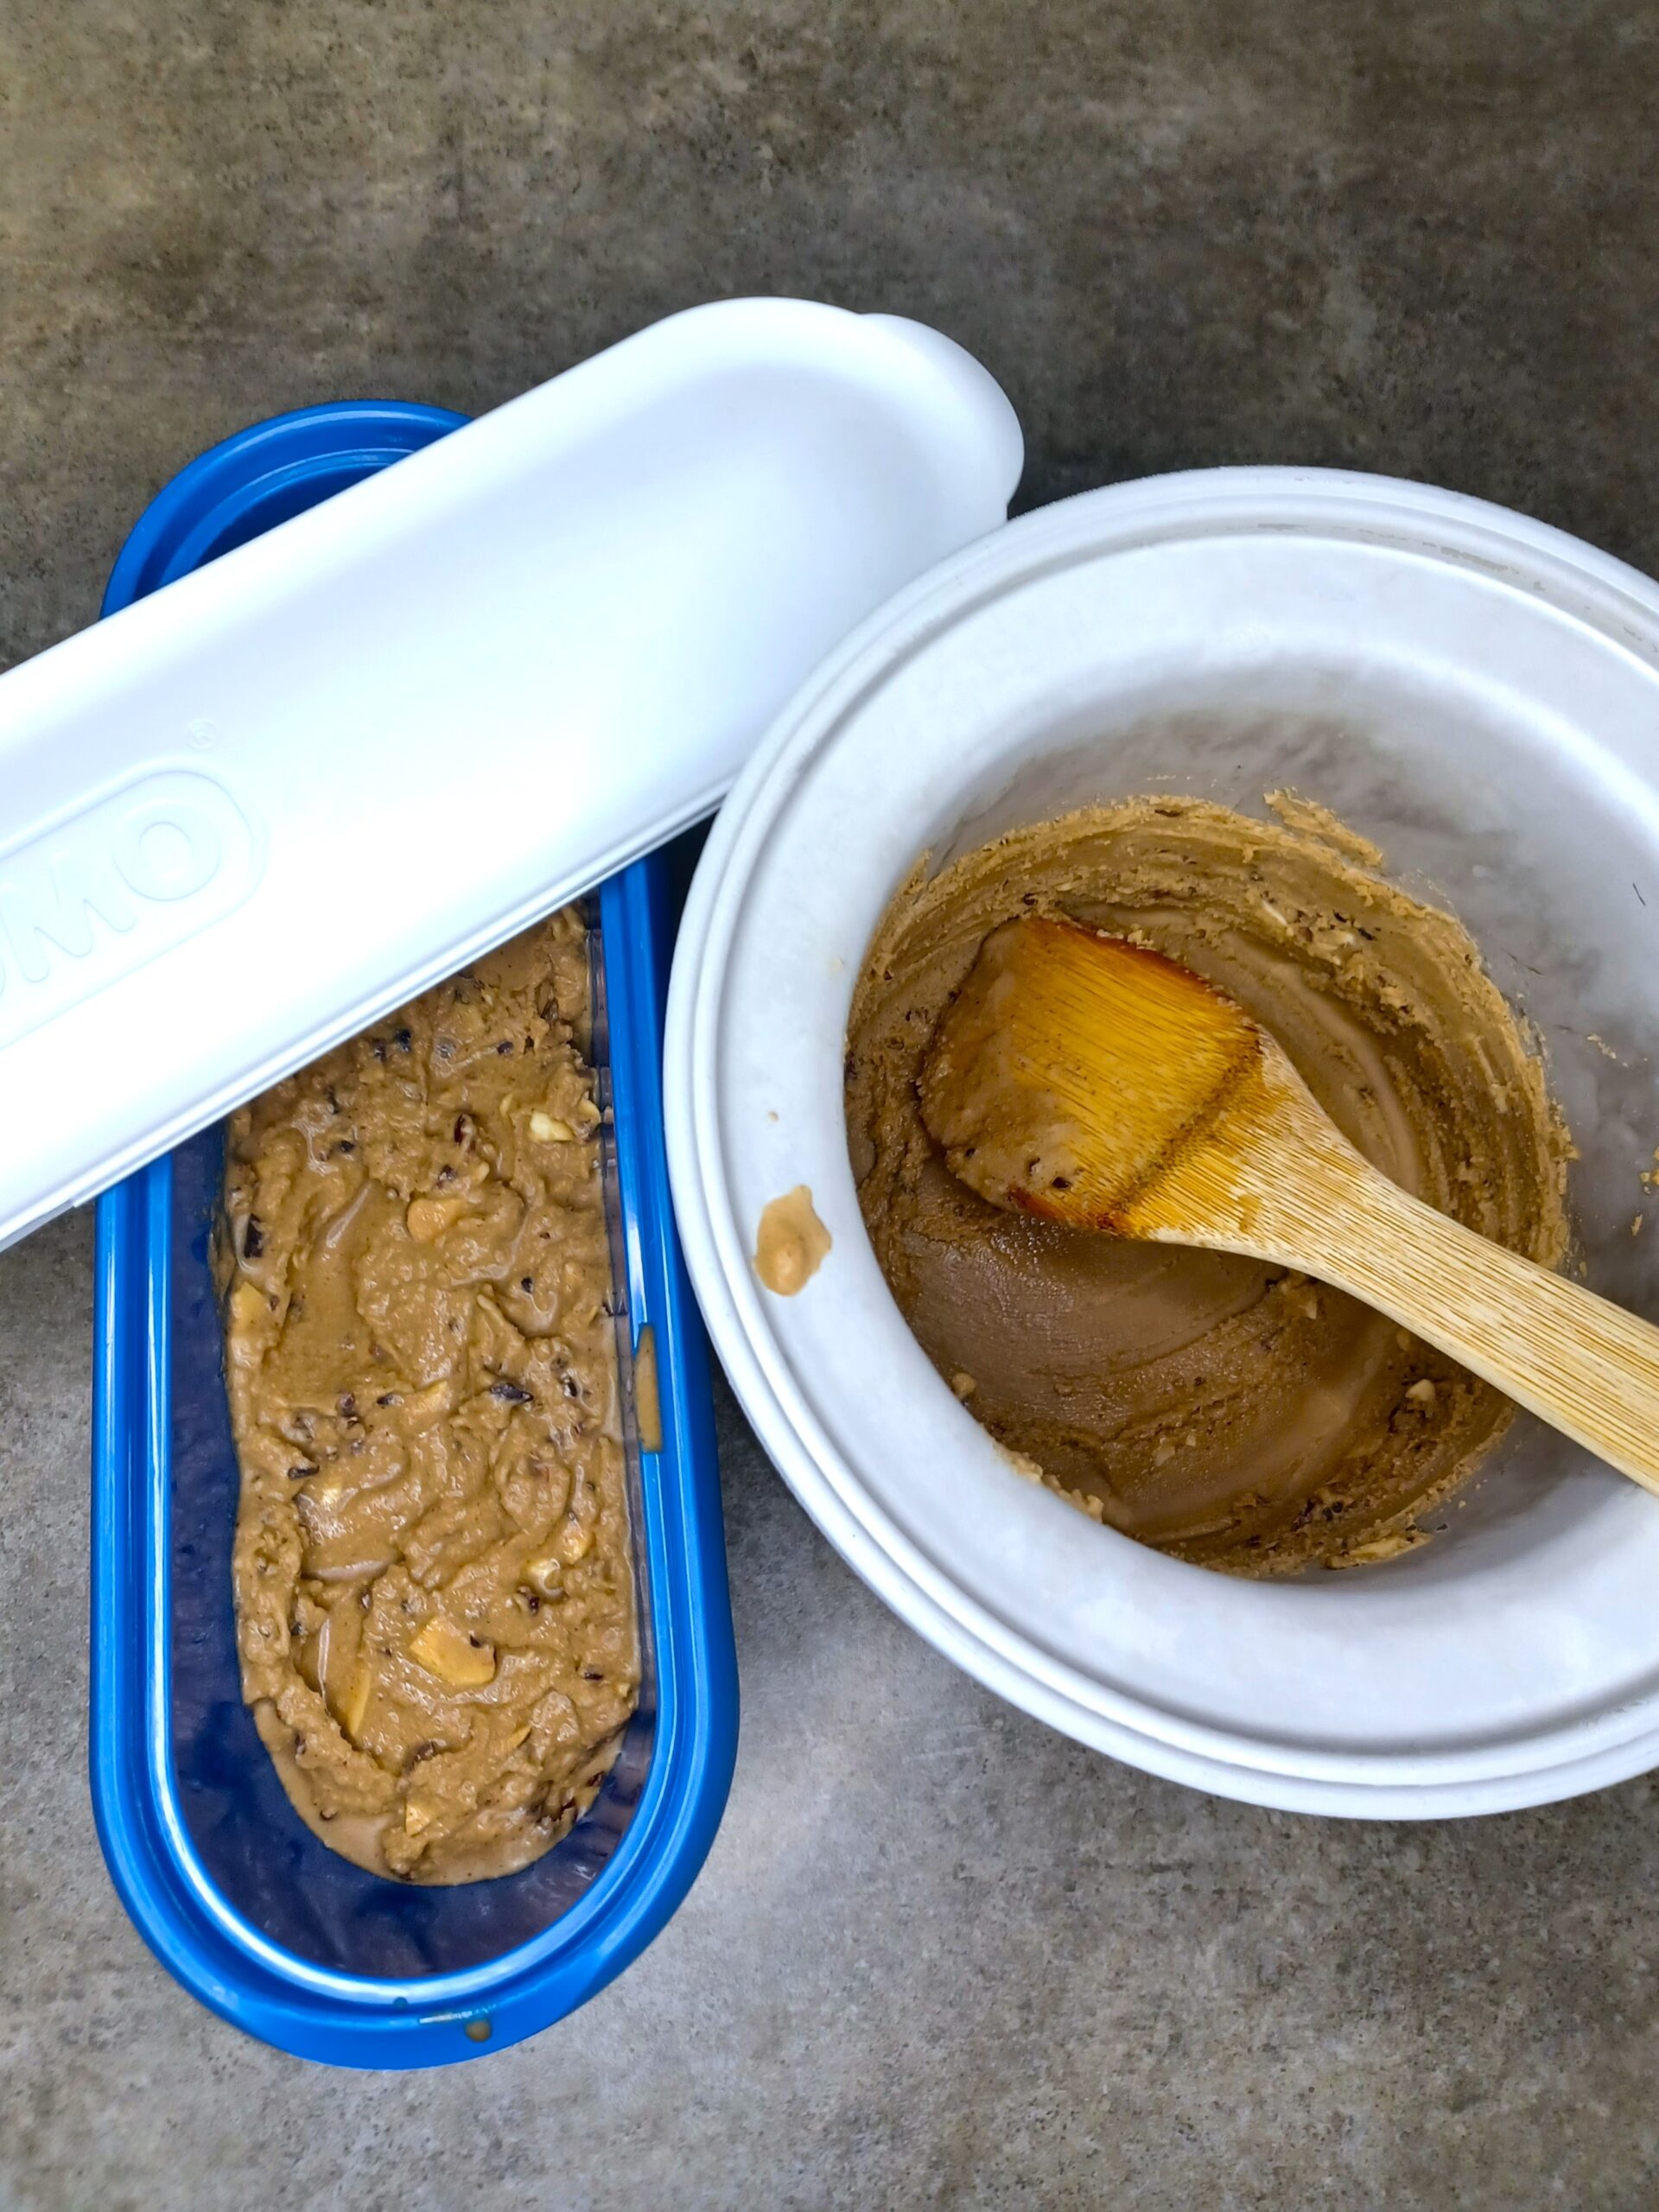
If you like Mocha Almond Fudge ice cream, here’s a crunchier variation. My Mocha Almond Crunch Ice Cream combines coffee-almond ice cream with bits of toasted almonds, cacao nibs, and melty chocolate flakes. As always, you have options if you’d like to customize the recipe.
Ingredient notes and options:
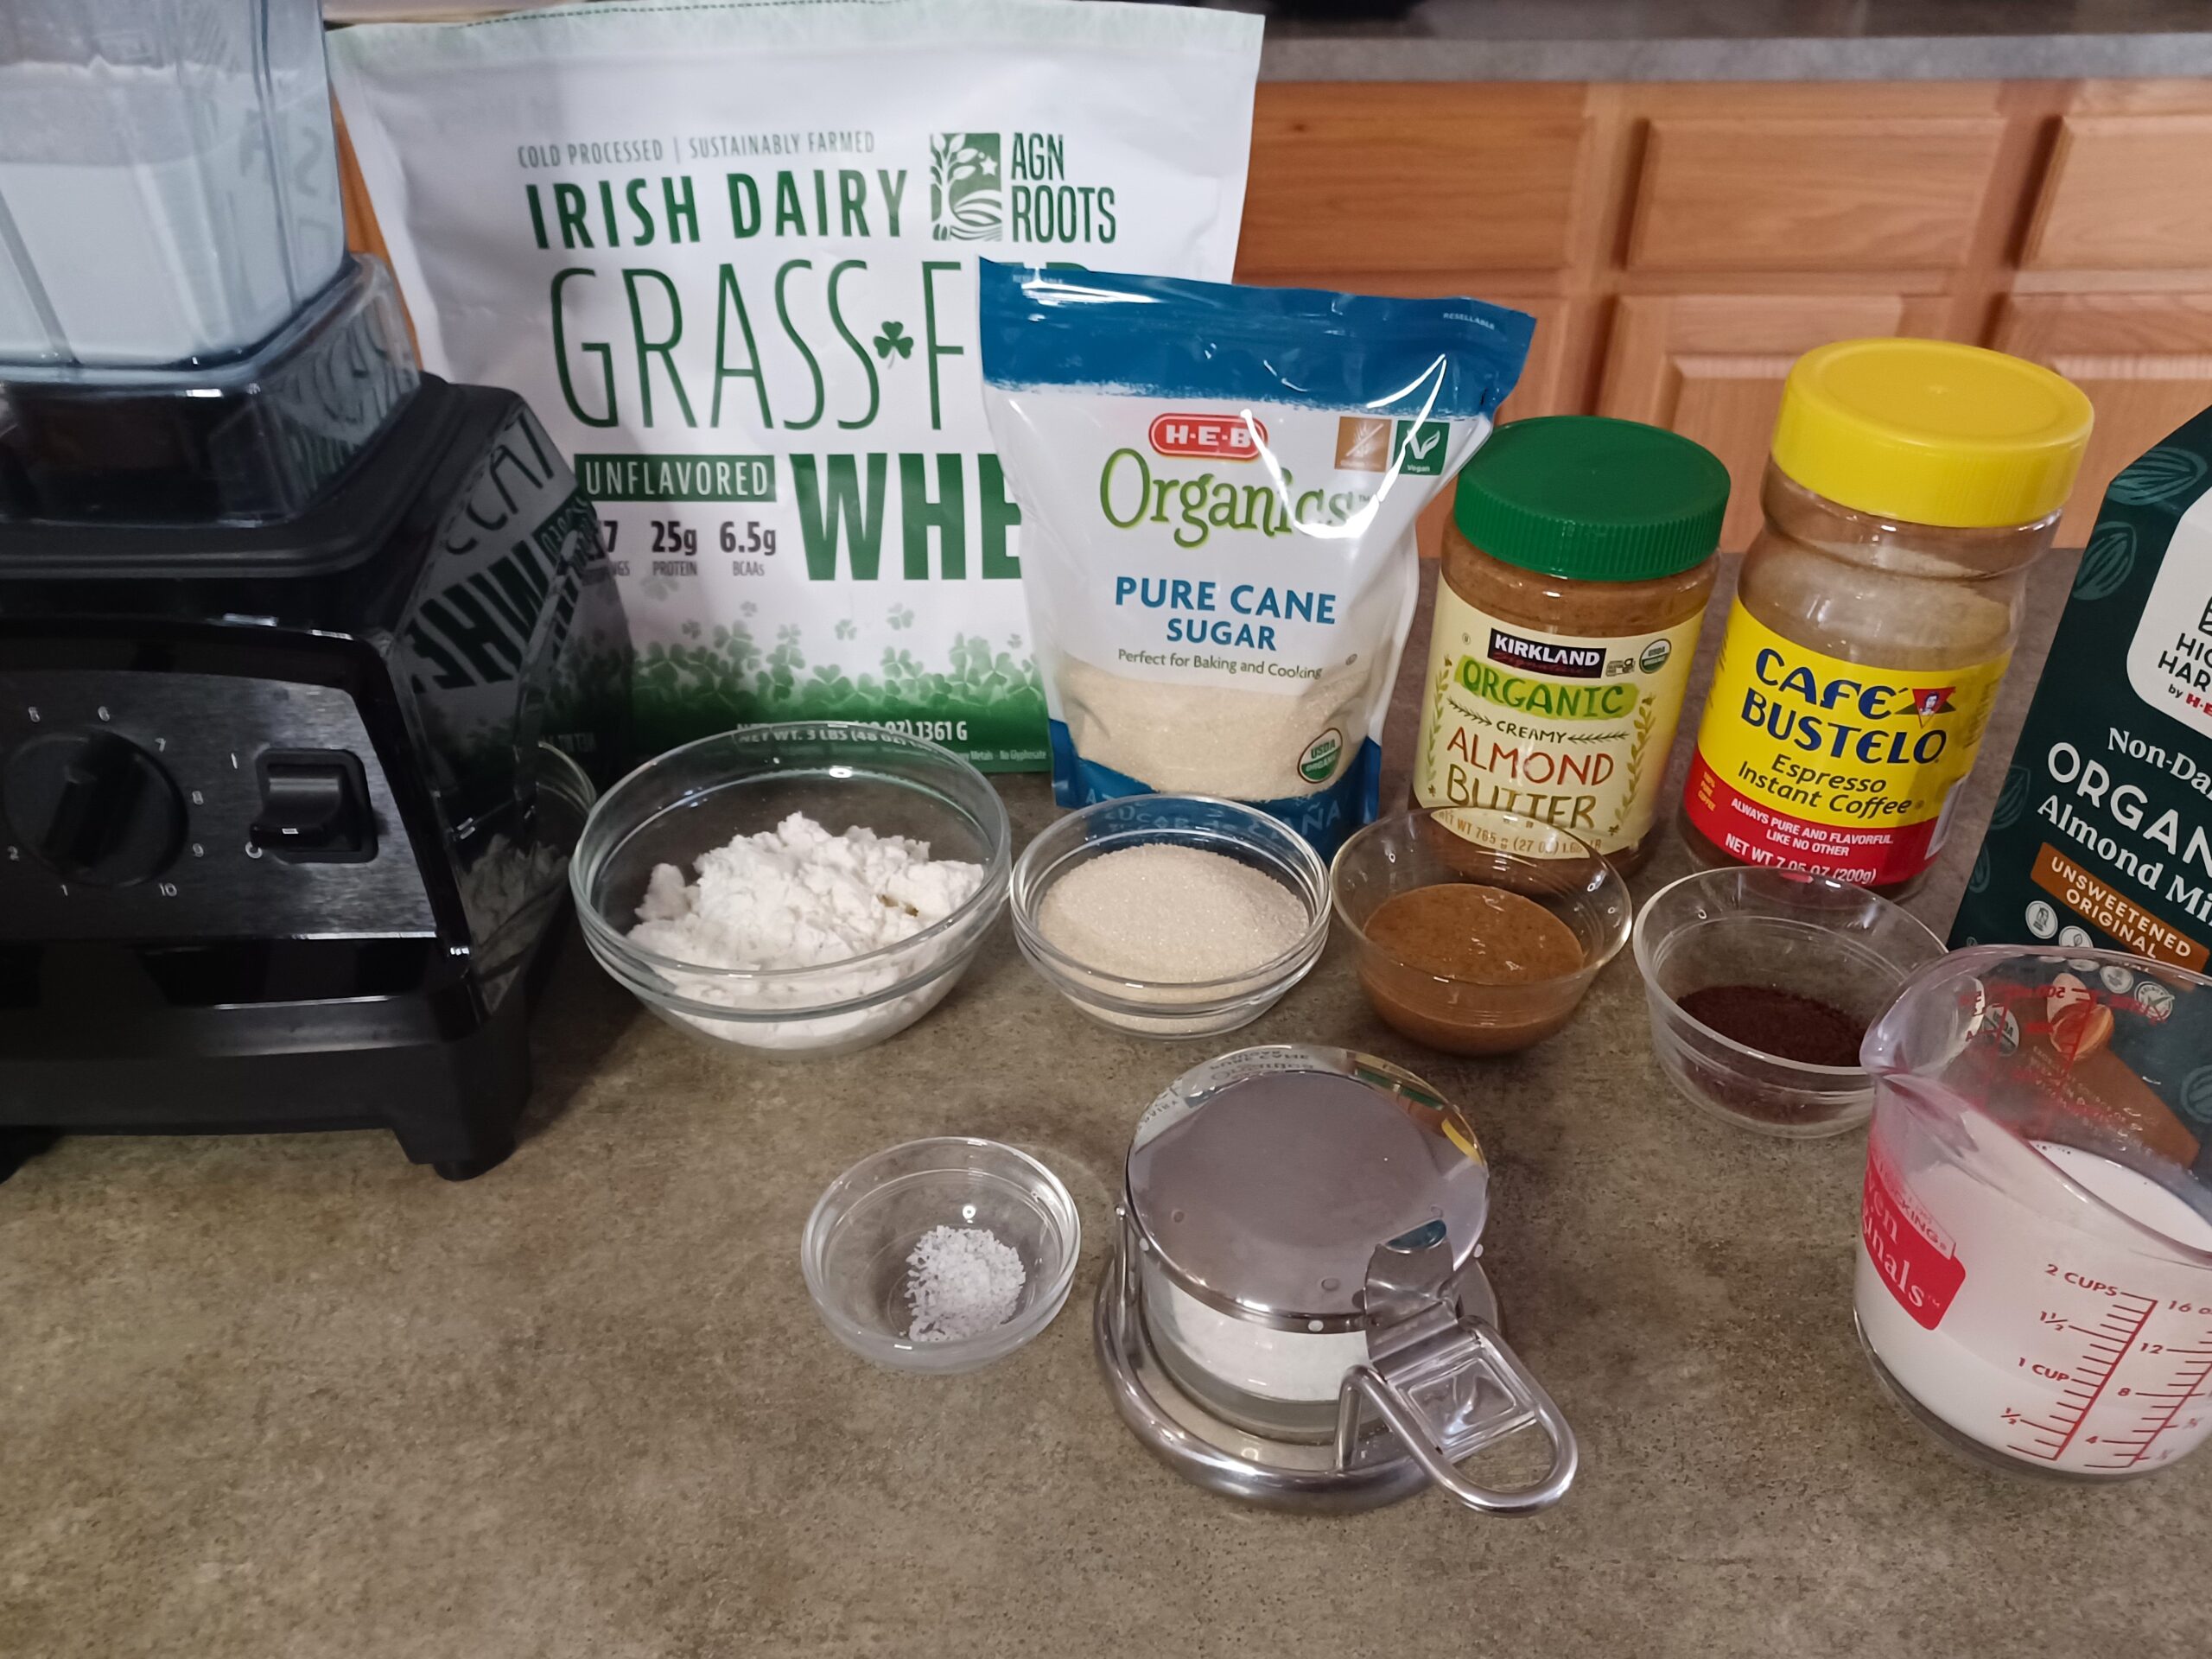
- Almond butter — I’m using the type with only toasted almonds. Use any kind you like, but extra salt or sugar might change the taste of the ice cream a little.
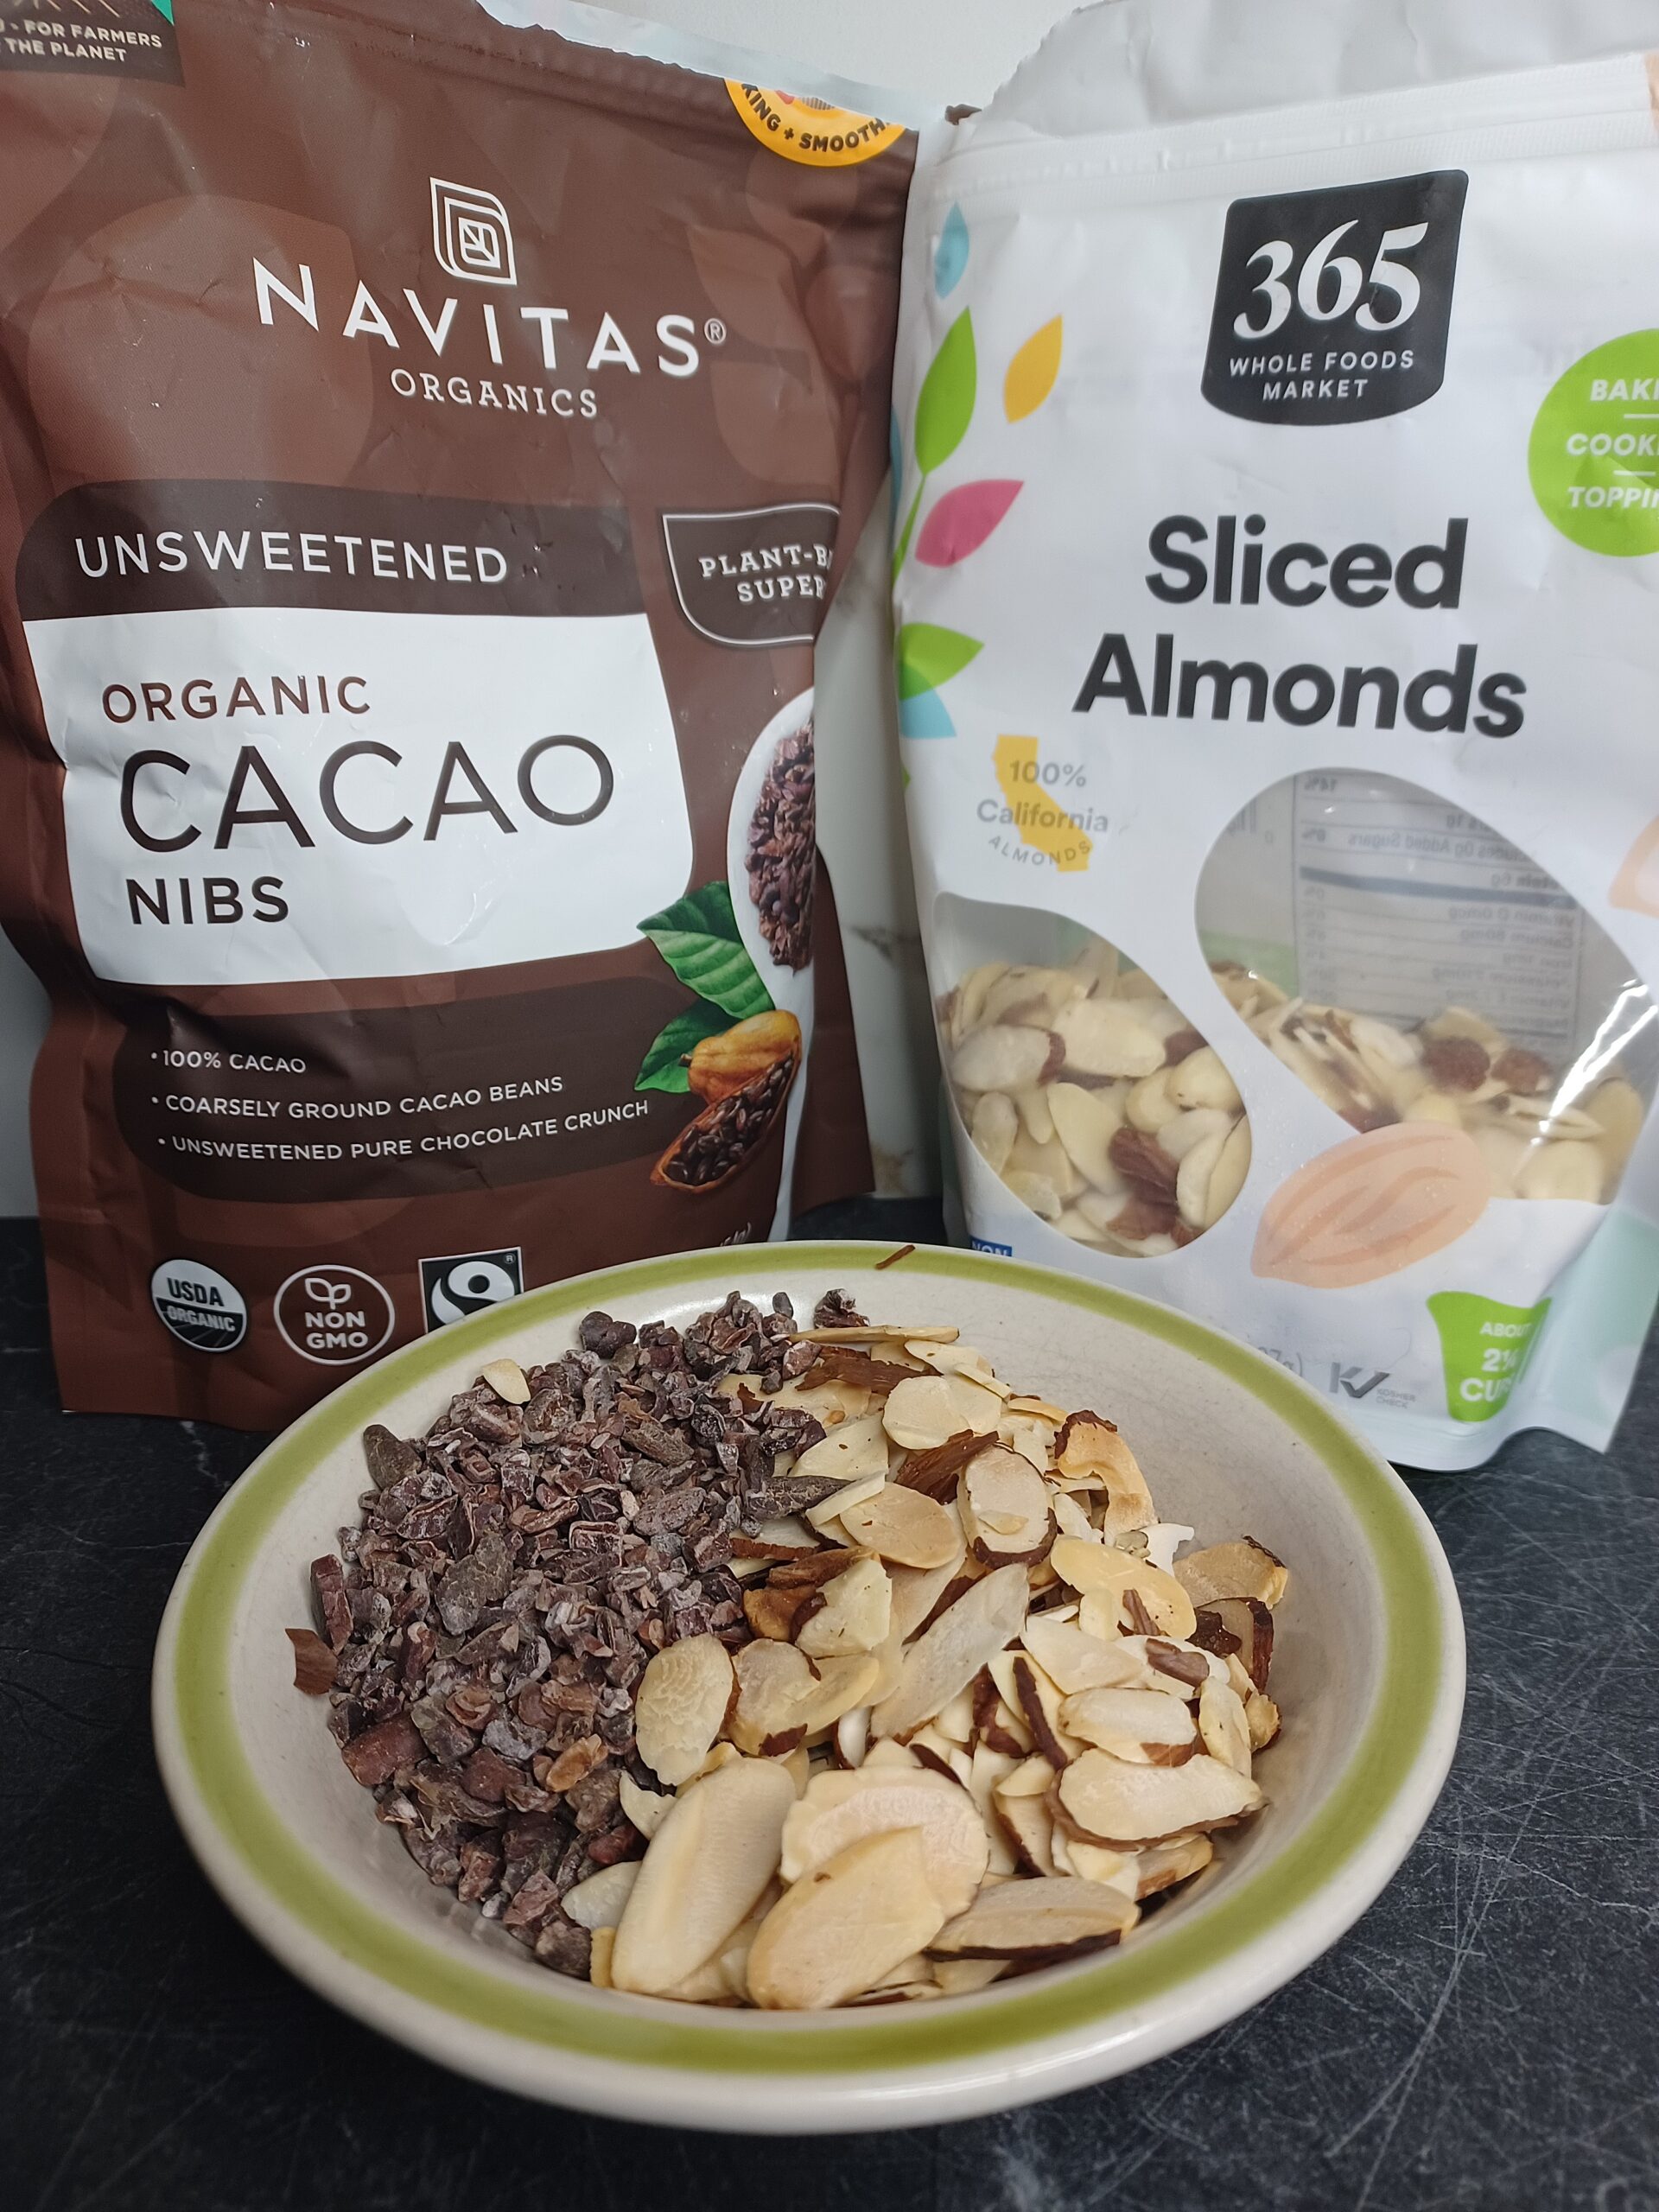
- Cacao nibs — I’m using the unsweetened type. You could use the sweetened variety if you find straight cacao nibs too bitter. (If your grocery store doesn’t stock these, you can find them on Amazon [affiliate link])
- Whey protein — I’m using unsweetened, unflavored whey, which is lactose free. If you’d like to totally eliminate the dairy, you could substitute collagen power or a plant-based protein, or leave the protein powder out. The ice cream will be slightly icier, but still very yummy. (Specifics are in the notes below the recipe.)
- Espresso powder — My favorite from my grocery store is Cafe Bustelo instant espresso. When I order from Amazon, I buy Medaglia D’Oro [affiliate link].
- Almonds — I recommend buying sliced almonds and toasting them. Whole almonds are way too big. Also, toasting adds great flavor!
- Melty chocolate flakes — I use 70% to 80% chocolate mixed with olive oil. Feel free to use any chocolate you like, from milk to dark, and any type of oil. Canola and avocado also work well.
For the base, we’ll use the standard method of blending, chilling, and churning. Then we’ll add the mix-ins when the ice cream is nearly frozen.

If Mocha Almond Crunch Ice Cream sounds good, you might also like to try:
Mocha Almond Crunch Ice Cream (lactose free with a dairy-free option)
Makes ~1 quart.
Ingredients
For the base
For the mix-ins
Instructions
-
BLEND
Add all ingredients except almond milk to a blender and blend thoroughly, scraping down the sides with a spatula, until fully combined and smooth. Then add almond milk and blend again. I like to add the almond milk last, because I think the other ingredients blend better when the mixture is thicker.
-
CHILL
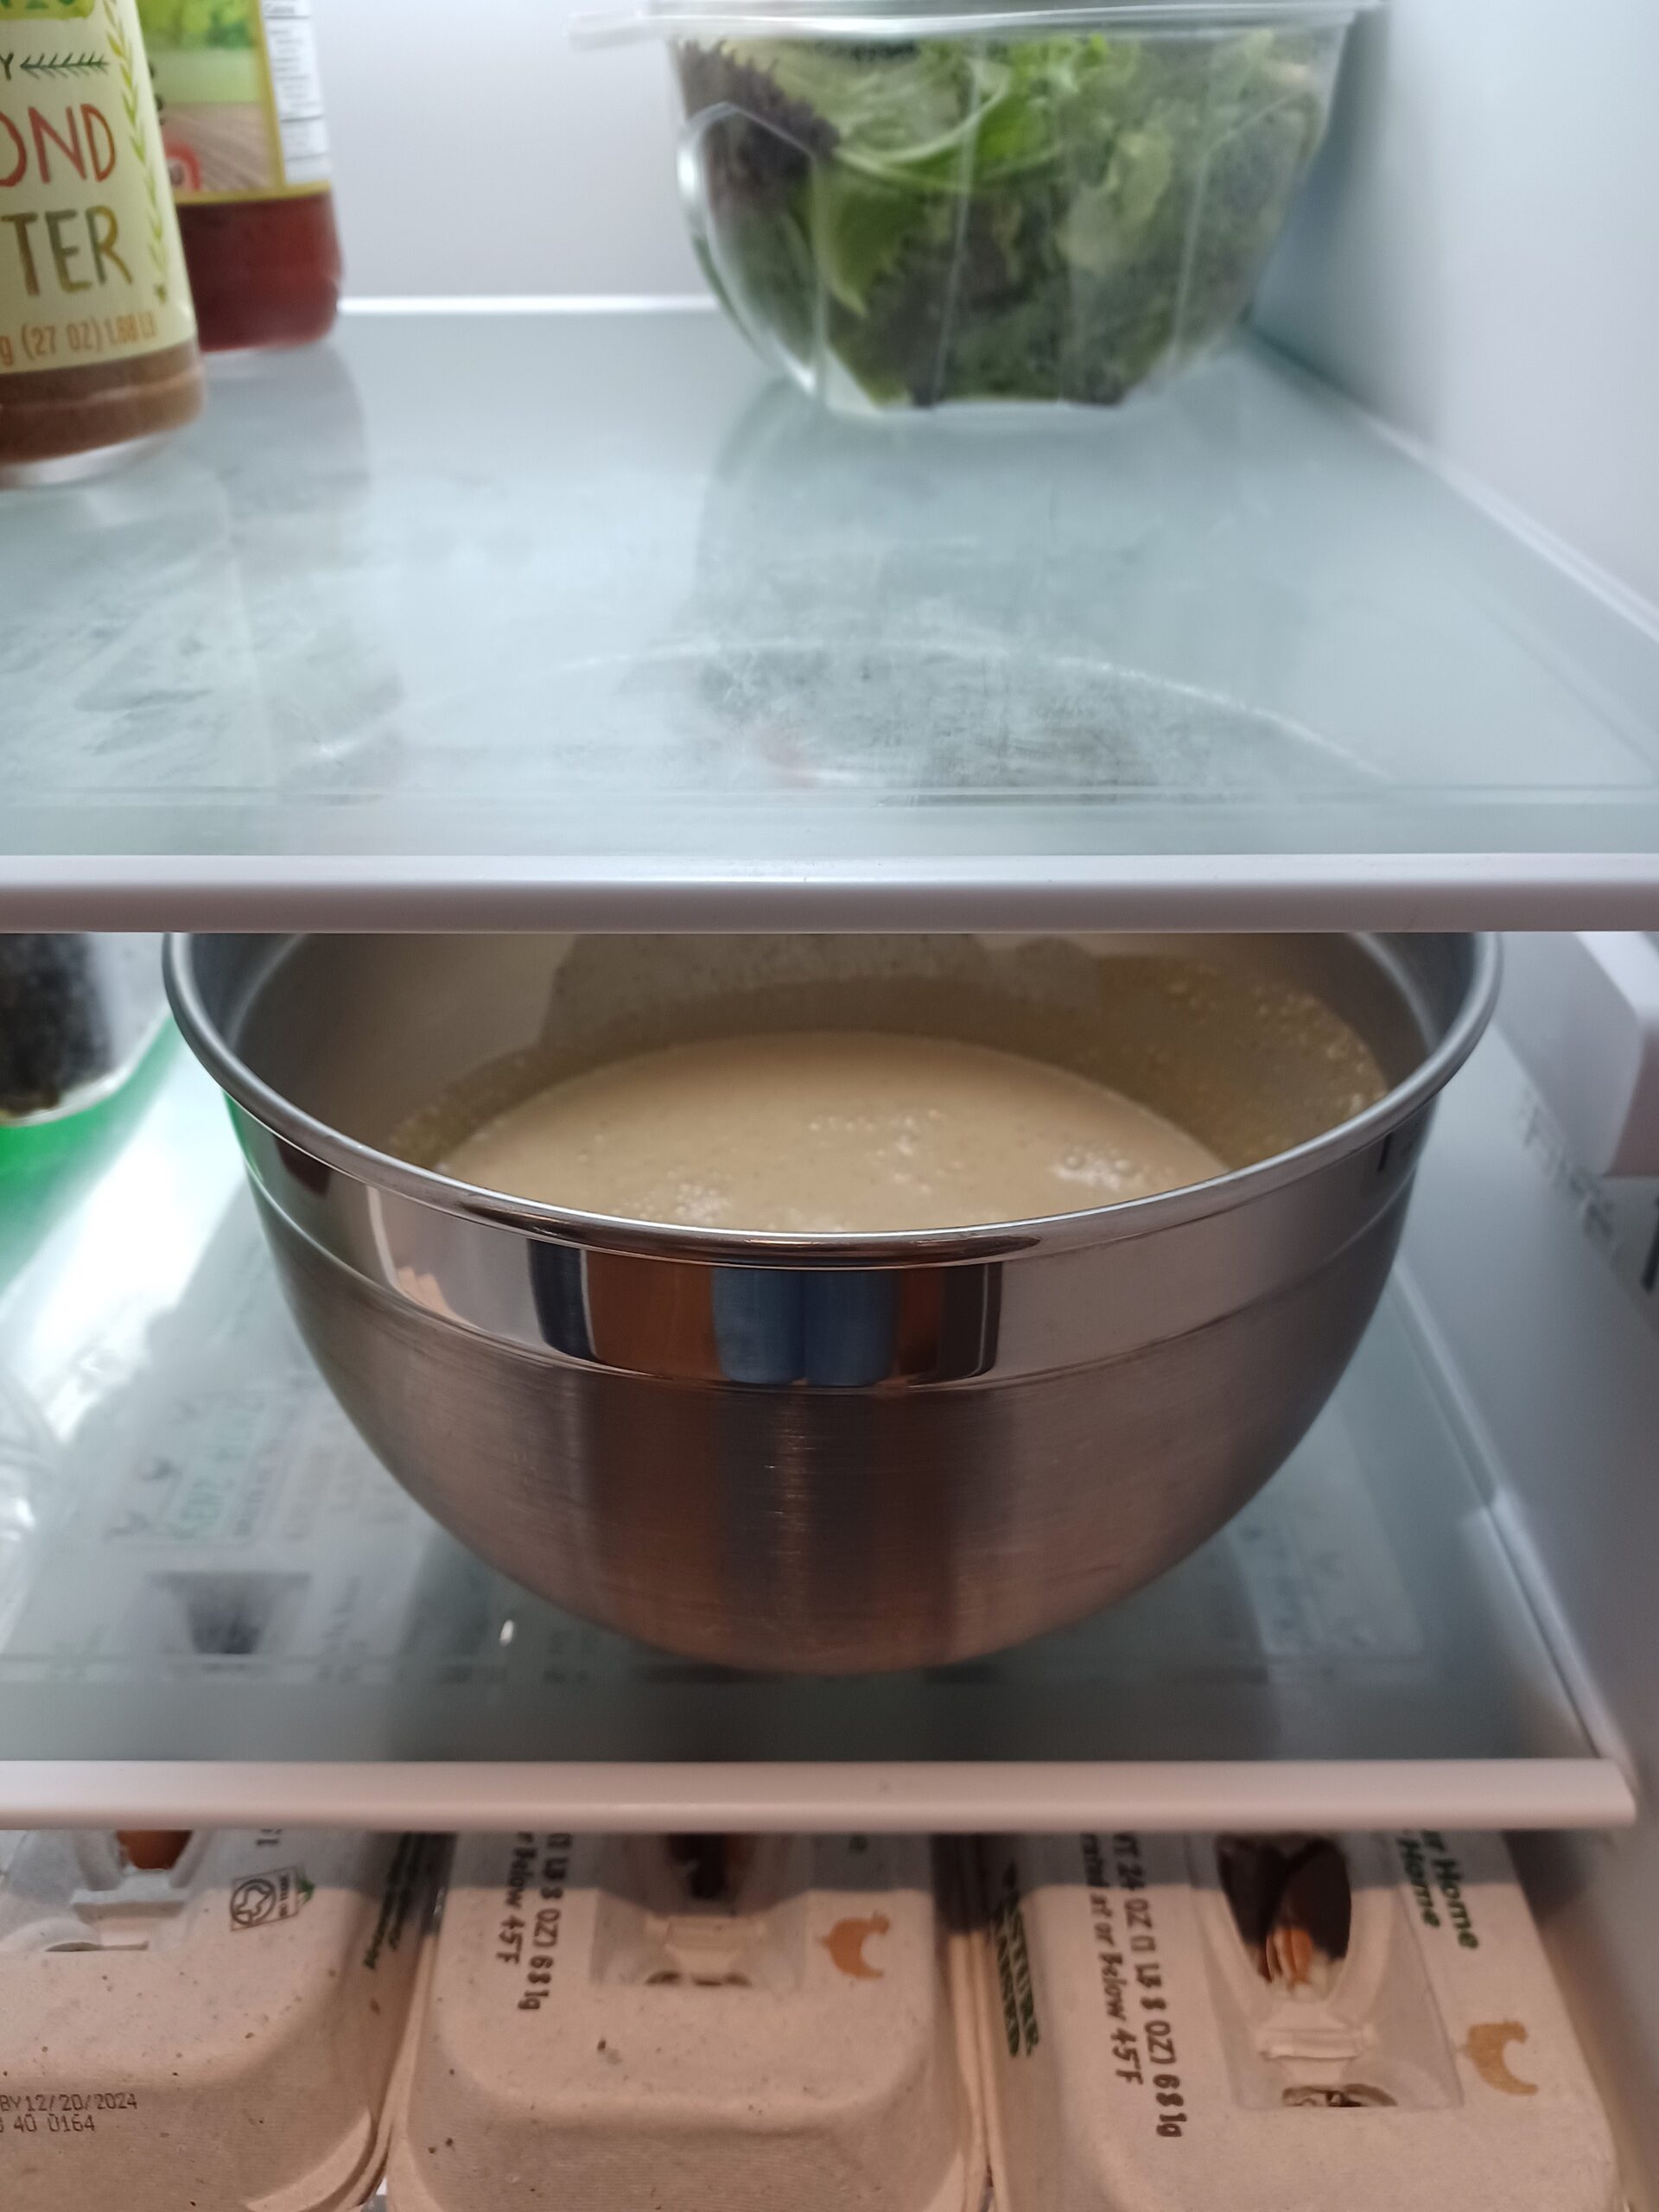
Transfer to a container and chill in the refrigerator for 8 hours or overnight.
For a quicker chilling time, place the bowl containing your mixture in an ice bath (a larger bowl containing ice water) for a few hours. Stir the mixture occasionally. As the water in the ice bath warms up, pour off some water and add ice to keep the mixture chilling as quickly as possible.
Ideally, the mixture will be about 40 degrees when you churn it.
-
PREP YOUR MIX-INS
Measure out the cacao nibs.
Toast your sliced almonds. I like to do this in an air fryer for about 4-5 minutes at 370 degrees.
Combine the chocolate pieces and oil in a microwave-safe bowl and microwave for 20 seconds. Stir, then microwave for another 15 seconds. Be careful not to get the mixture too hot. Let the chocolate finish melting using residual heat.
Chilling the cacao nibs and almonds in the fridge or freezer until you're ready to churn will prevent them from warming up the ice cream as they're incorporated at the end of churning. (Don't do this with your melted chocolate!)
-
CHURN
Grab your mix-ins! Make sure your almonds are toasted, your cacao nibs are measured, and your melted chocolate is ready.
Before you start churning, set up everything you'll need to quickly transfer the ice cream from the machine into a container for freezing. I use a knife to scrape down the dasher (or paddle) and a wooden spoon to scoop out the ice cream.
Set up your ice cream maker according to the manufacturer's directions. Pour your mixture into the ice cream maker and churn. In my machine the perfect churning time is 16 minutes, but your experience may vary.
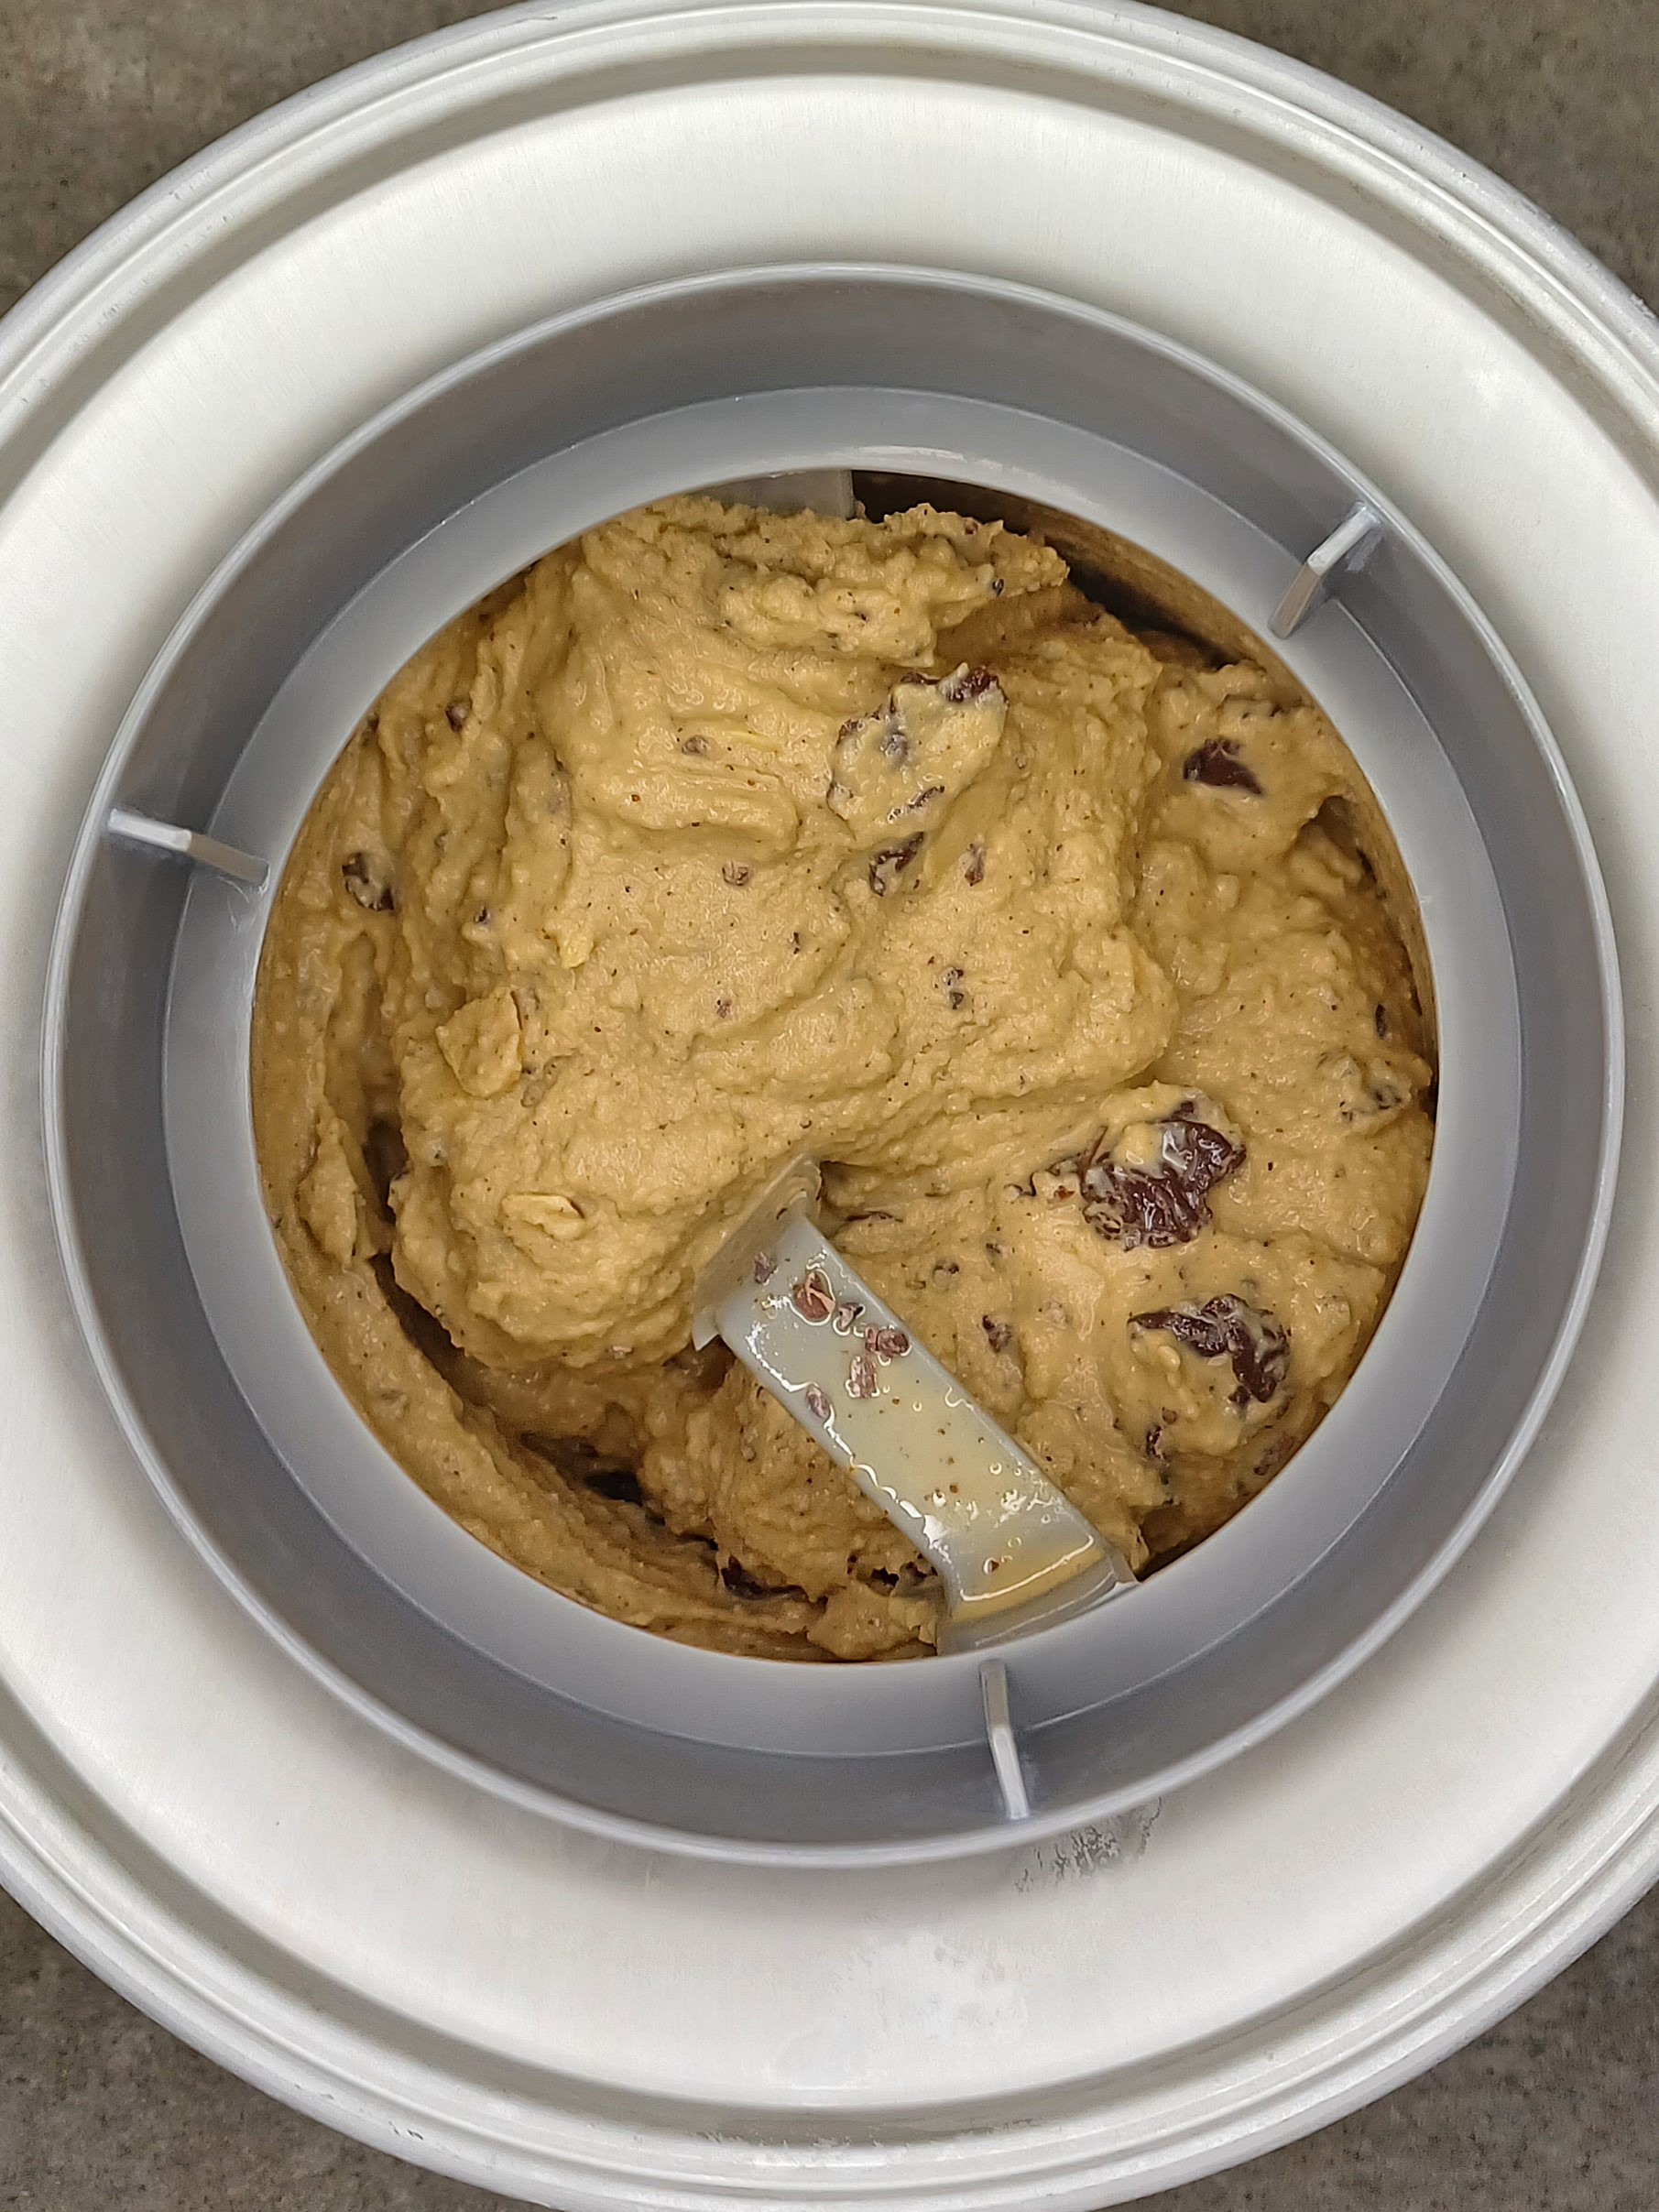
The ice cream is finished churning when it looks like soft-serve and is pulling away from the sides of the canister.
-
ADD MIX-INS
In the last minute of churning, sprinkle in the almonds and cacao nibs. Give the machine a few seconds to start incorporating them, then drizzle in the melted chocolate.
If your machine can't handle the mix-ins, drizzle in the melted chocolate first, then stir in the almonds and cacao nibs after you've transferred the churned ice cream to the storage container.
-
STORE
When the ice cream has finished churning, scoop it as quickly as possible into your storage container. Cover it with plastic wrap or parchment paper, if using. (Placing a sheet of parchment paper between the container and lid will help prevent frost, or you can press plastic wrap directly onto the surface of the ice cream.) Put the container in the freezer. The ice cream will be fully firm in a few hours.
Note
You can use any unflavored, unsweetened protein powder you want. Whey, collagen, and egg white work the best. Vegan protein powders can work too, but sometimes create a chalky texture. Because different protein powders have different textures, the same volume of different powders may weigh different amounts. Weighing is the best method for ensuring you get the 65 grams the recipe calls for, but here are some estimates for using a cup measurement:
- 65 g collagen powder = 1/2 cup + 2 tablespoons
- 65 g whey protein = 1 scant cup
- 65 g egg white protein = 3/4 cup
- 65 g soy protein = 1 cup
- 65 g pea protein = 3/4 cup
Recommended equipment: (may include affiliate links)
- My ice cream maker (2 qt)
- Newer version of my ice cream maker (2 qt)
- Well-reviewed less expensive ice cream maker (1.5 qt)
- Insulated ice cream container
- Heat-proof spatula
- Immersion/hand blender
- Standard blender
- Ice cream scoop
- Measuring cups
Recommended ingredients: (may include affiliate links)

