A few years ago, my sister bought me some cookies for my birthday with espresso and tahini. I had never tasted this flavor combination before, and I loved it! I knew I would eventually make Espresso-Tahini Ice Cream, and it’s taken me way too long to get around to it.
I’m excited about this recipe not only because it’s seriously delicious, but because it’s vegan and very low in added sugars. Most of the sweetness comes from whole dates, with a small amount of maple syrup added. While coffee and tahini can both be somewhat bitter, the rich caramelly sweetness of the dates balances them perfectly. For the espresso powder, I’ve had success with both this and this (from Amazon — affiliate link). I’ve also recently discovered that my local grocery store carries this brand, which is good too.
Although Espresso-Tahini Ice Cream is strongly flavored, it would be great with one of these variations/additions:
- add 1/2 teaspoon of cardamom
- top with chocolate sauce or homemade Magic Shell
- mix in a swirl or top with homemade vegan caramel
- add 3 tablespoons of cacao nibs as a mix-in (instructions in the post for Mocha Almond Crunch Ice Cream)
- add chocolate flakes as a mix-in (instructions in the post for Mint Chocolate Chip Ice Cream)


Espresso-Tahini Ice Cream (vegan)
Makes ~1 quart
Ingredients
Instructions
-
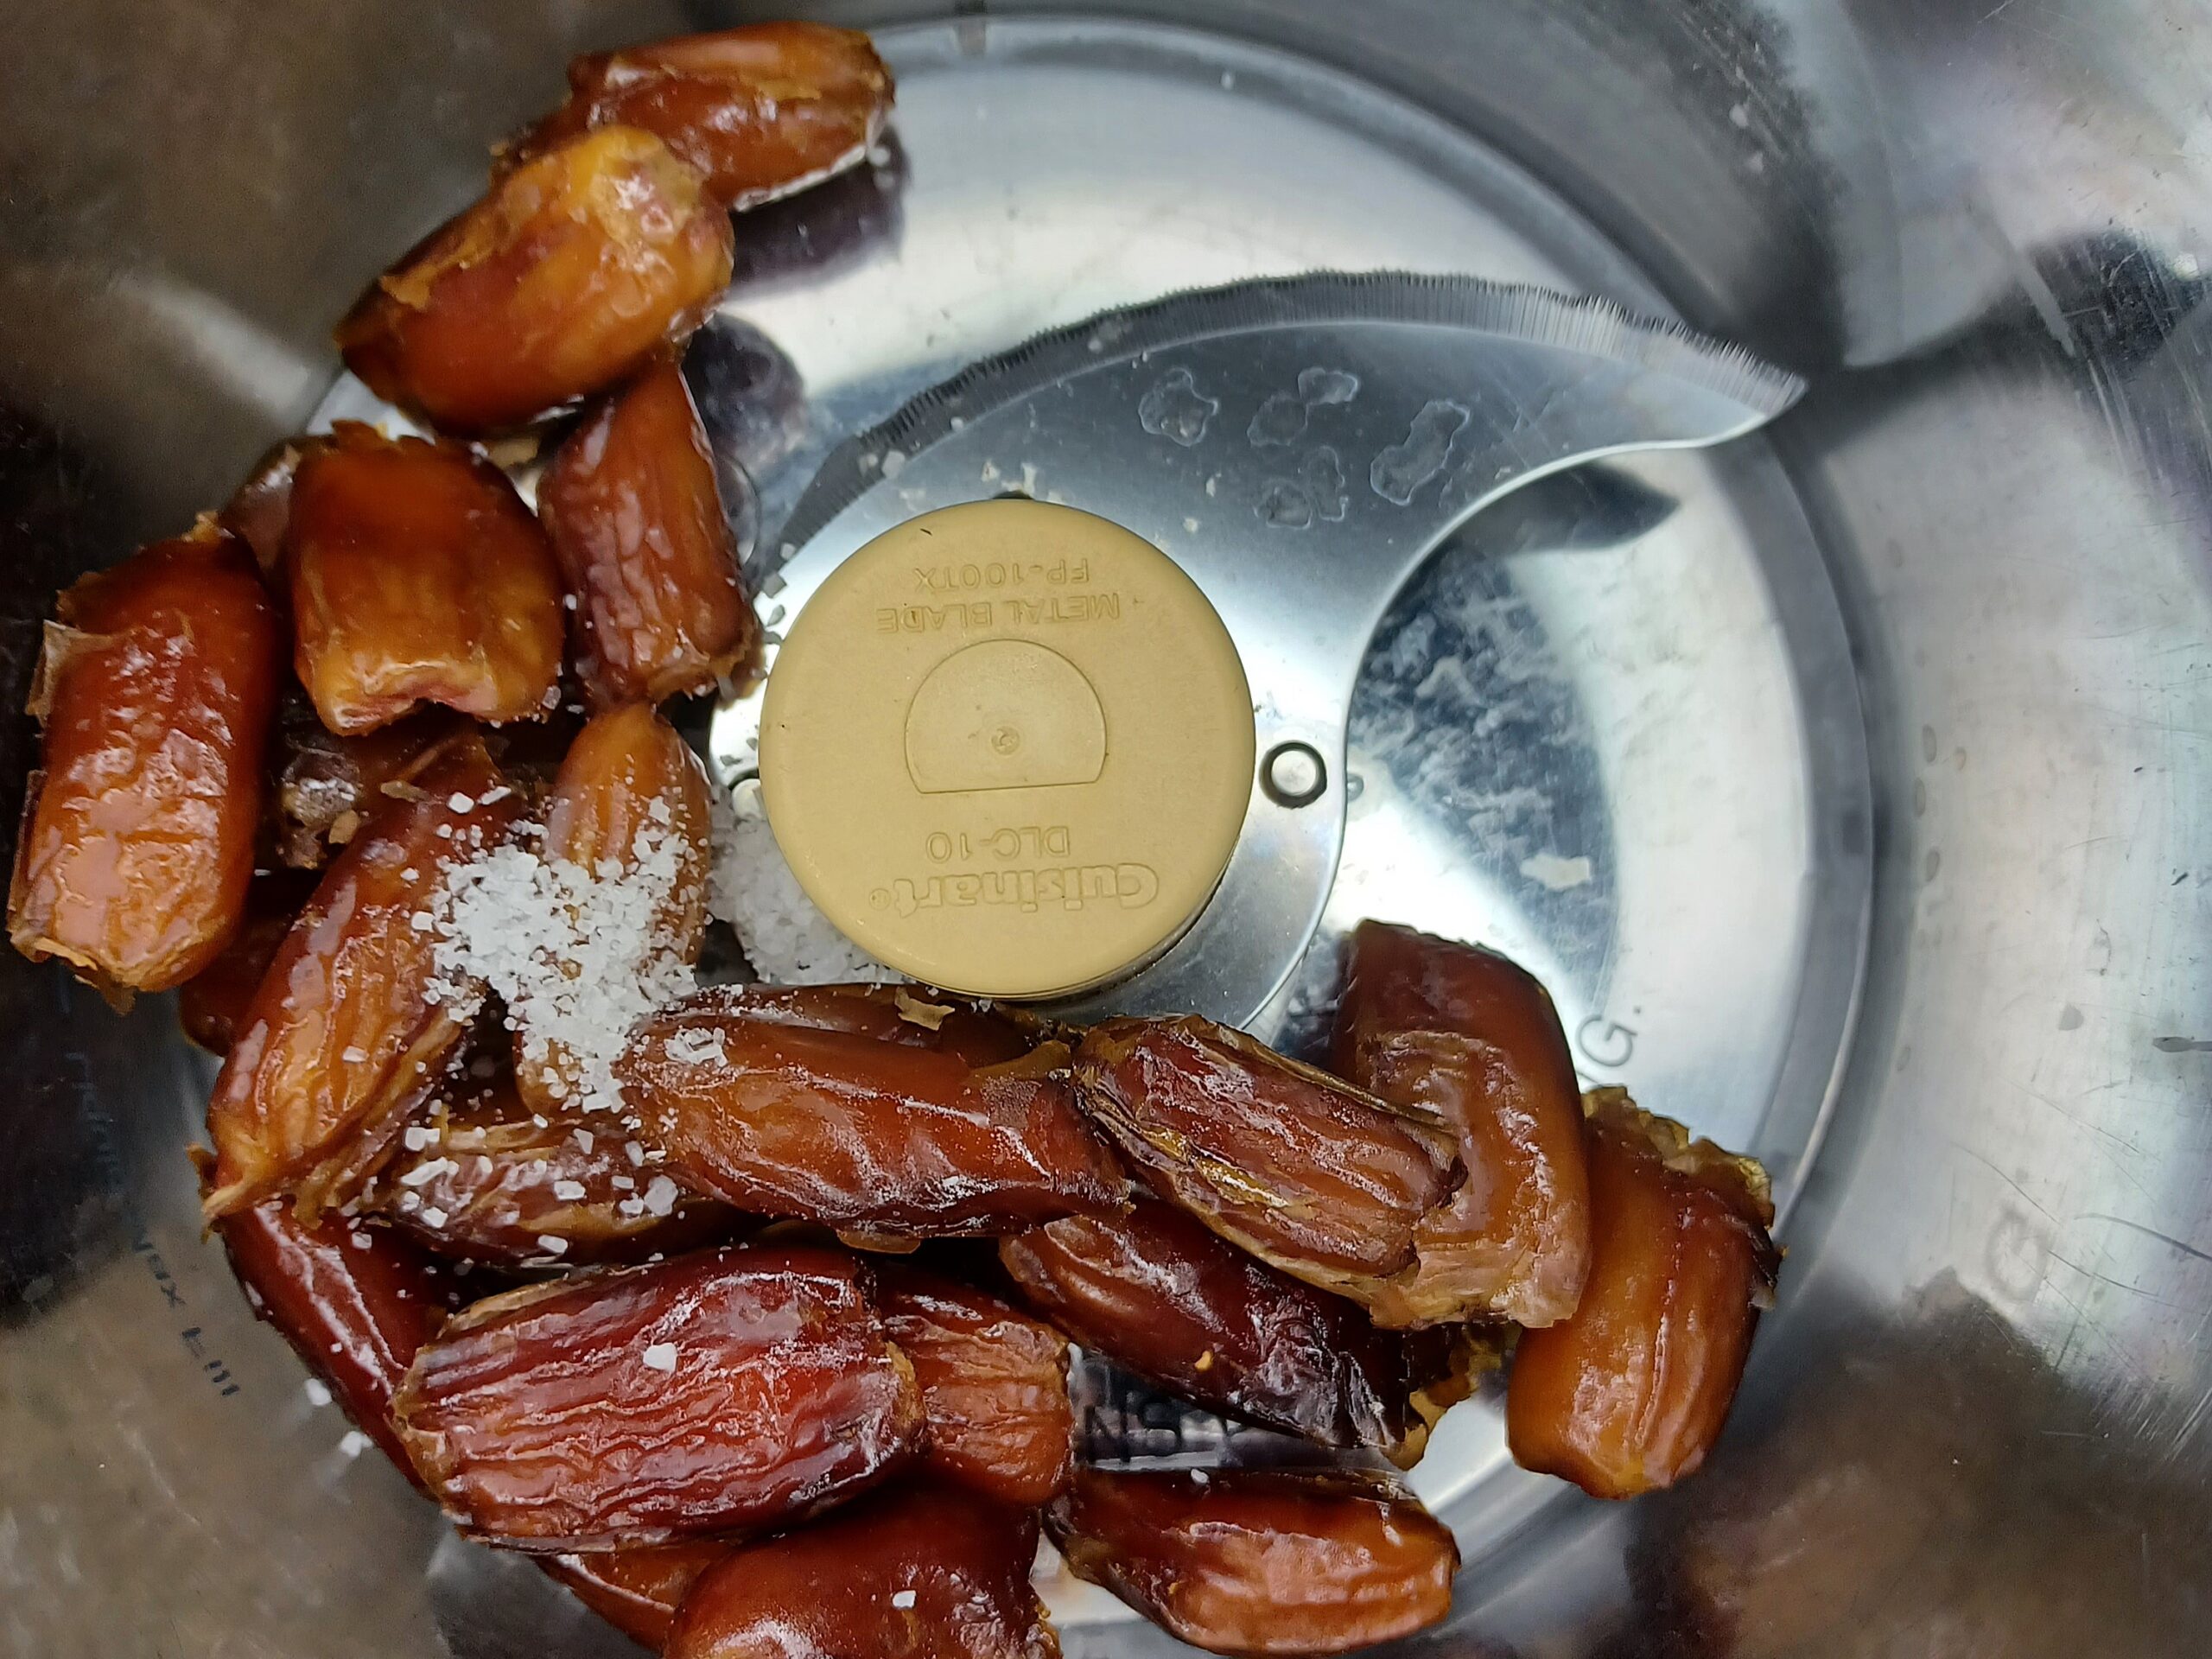
CHOP THE DATES
I'm lazy and do this in the blender or food processor that I'm using to make the ice cream. You can go ahead and throw in the salt if you want.
-
BLEND
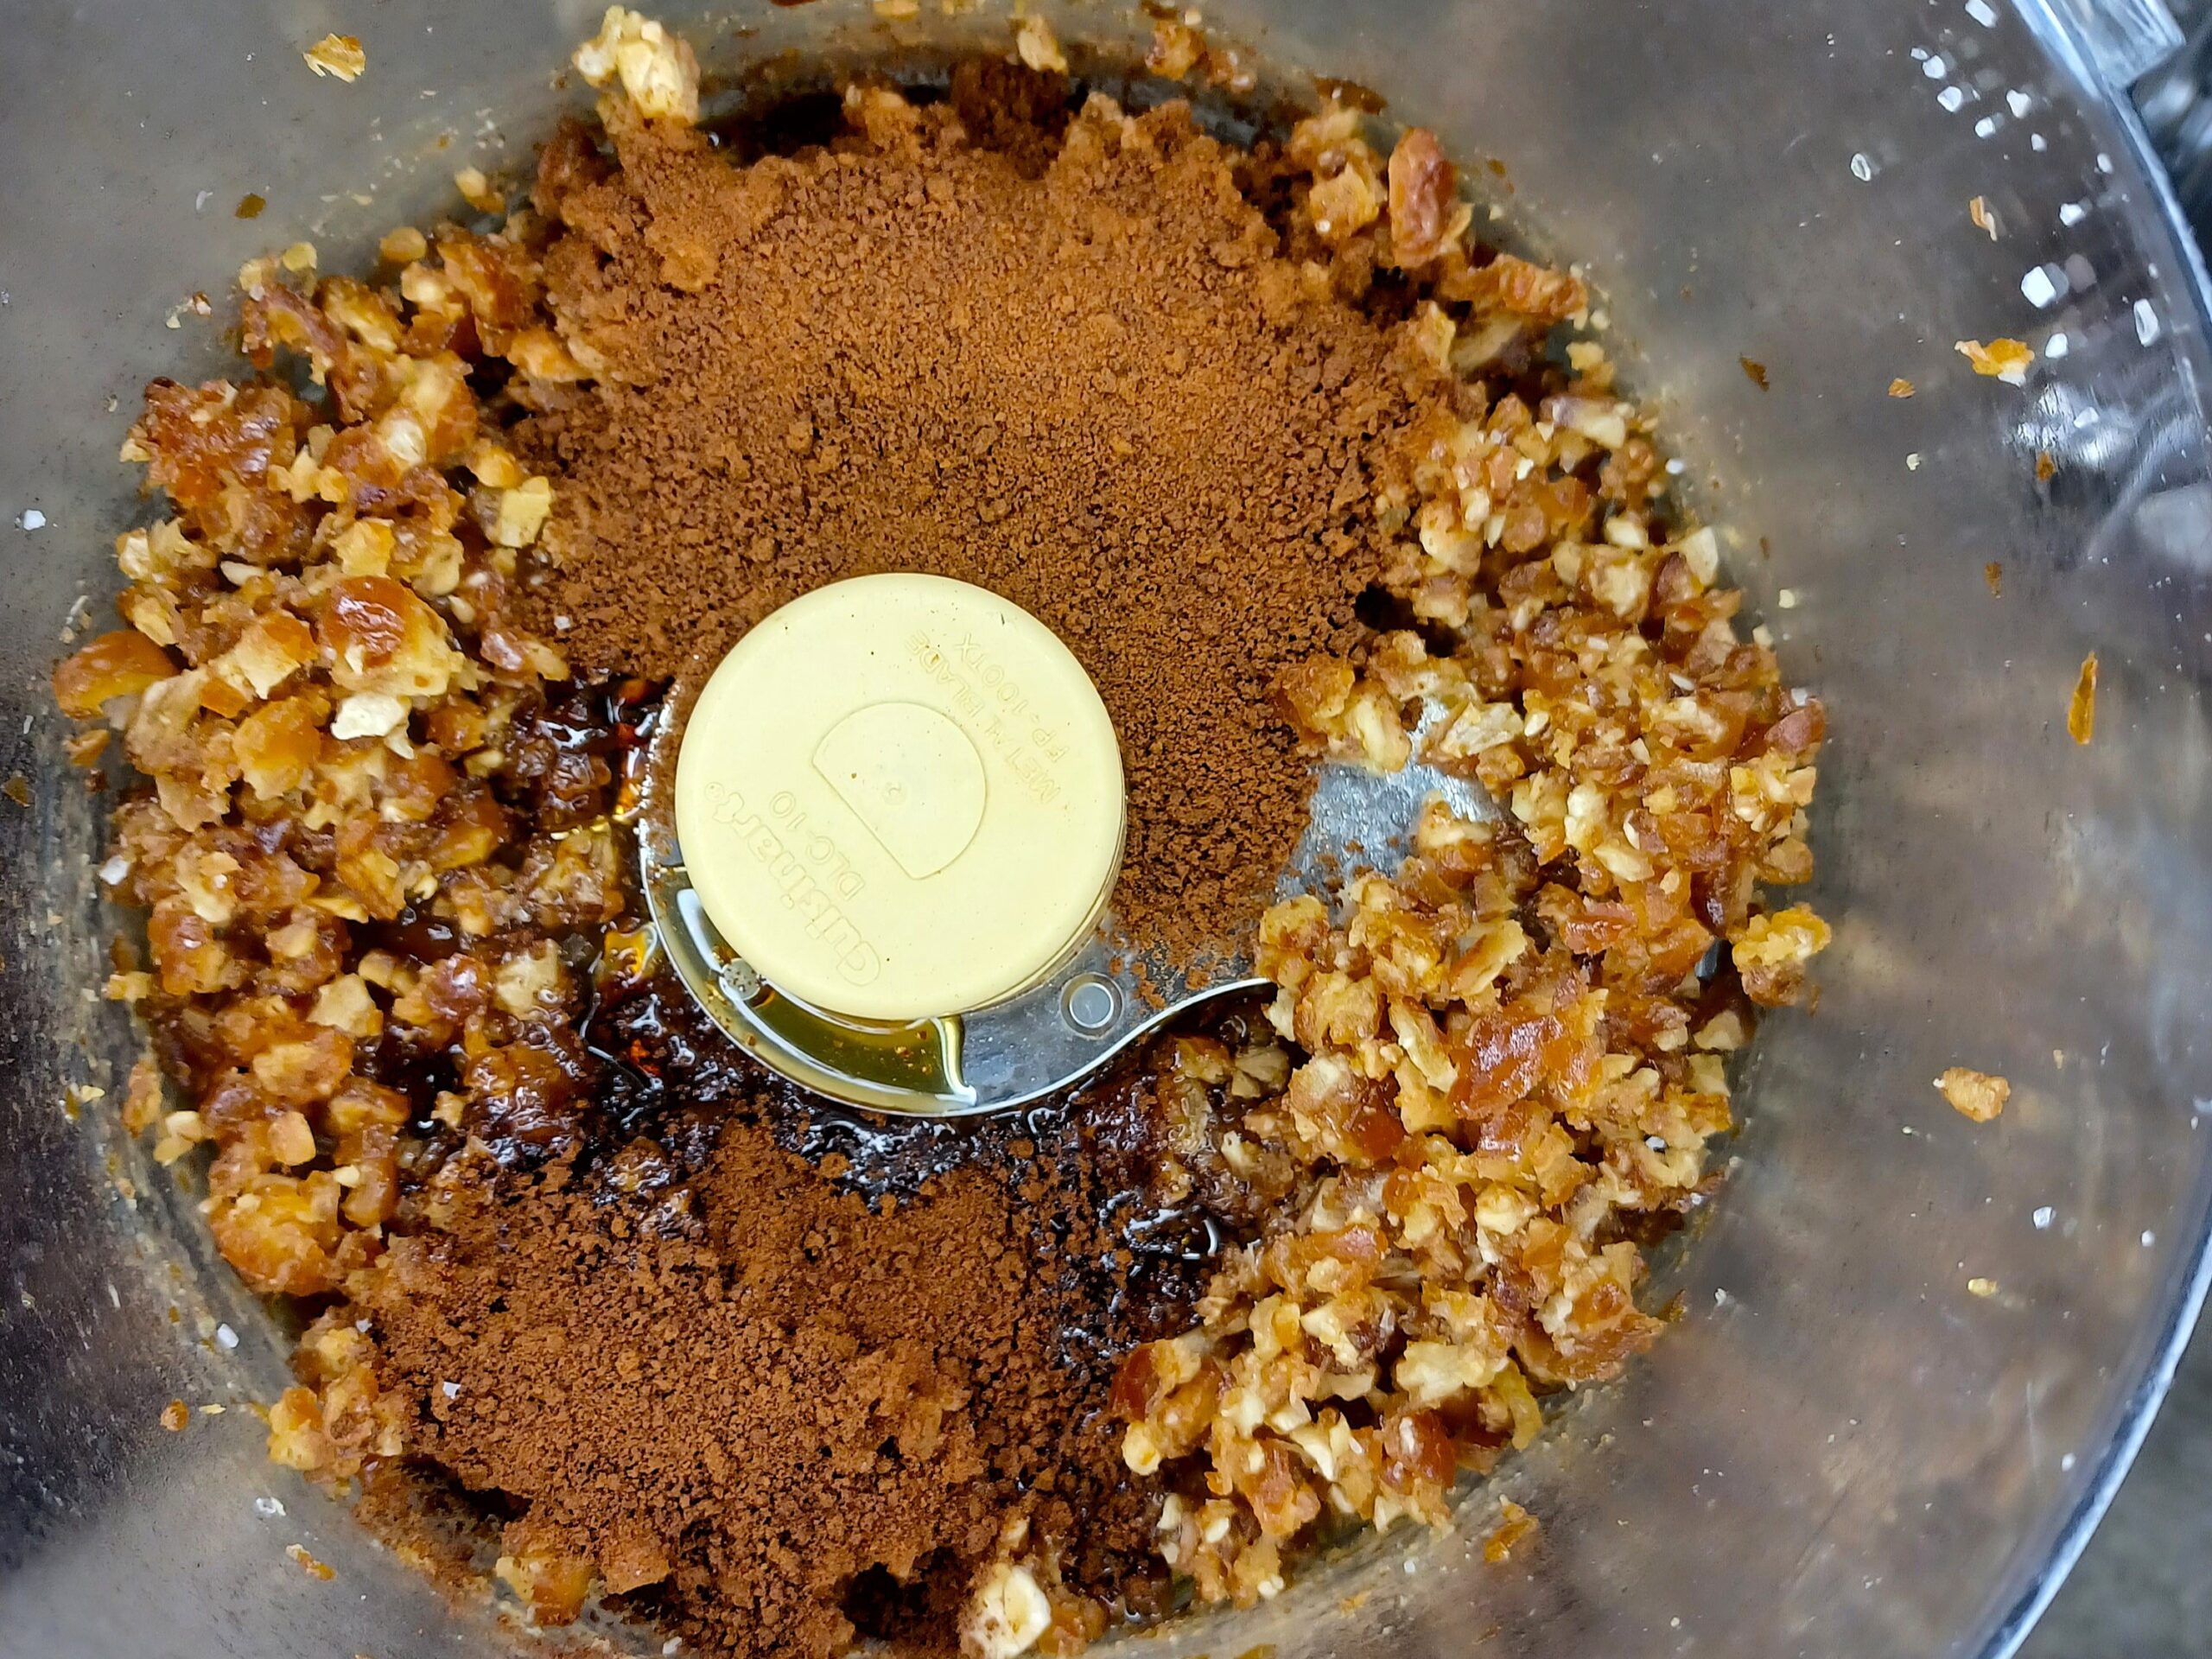
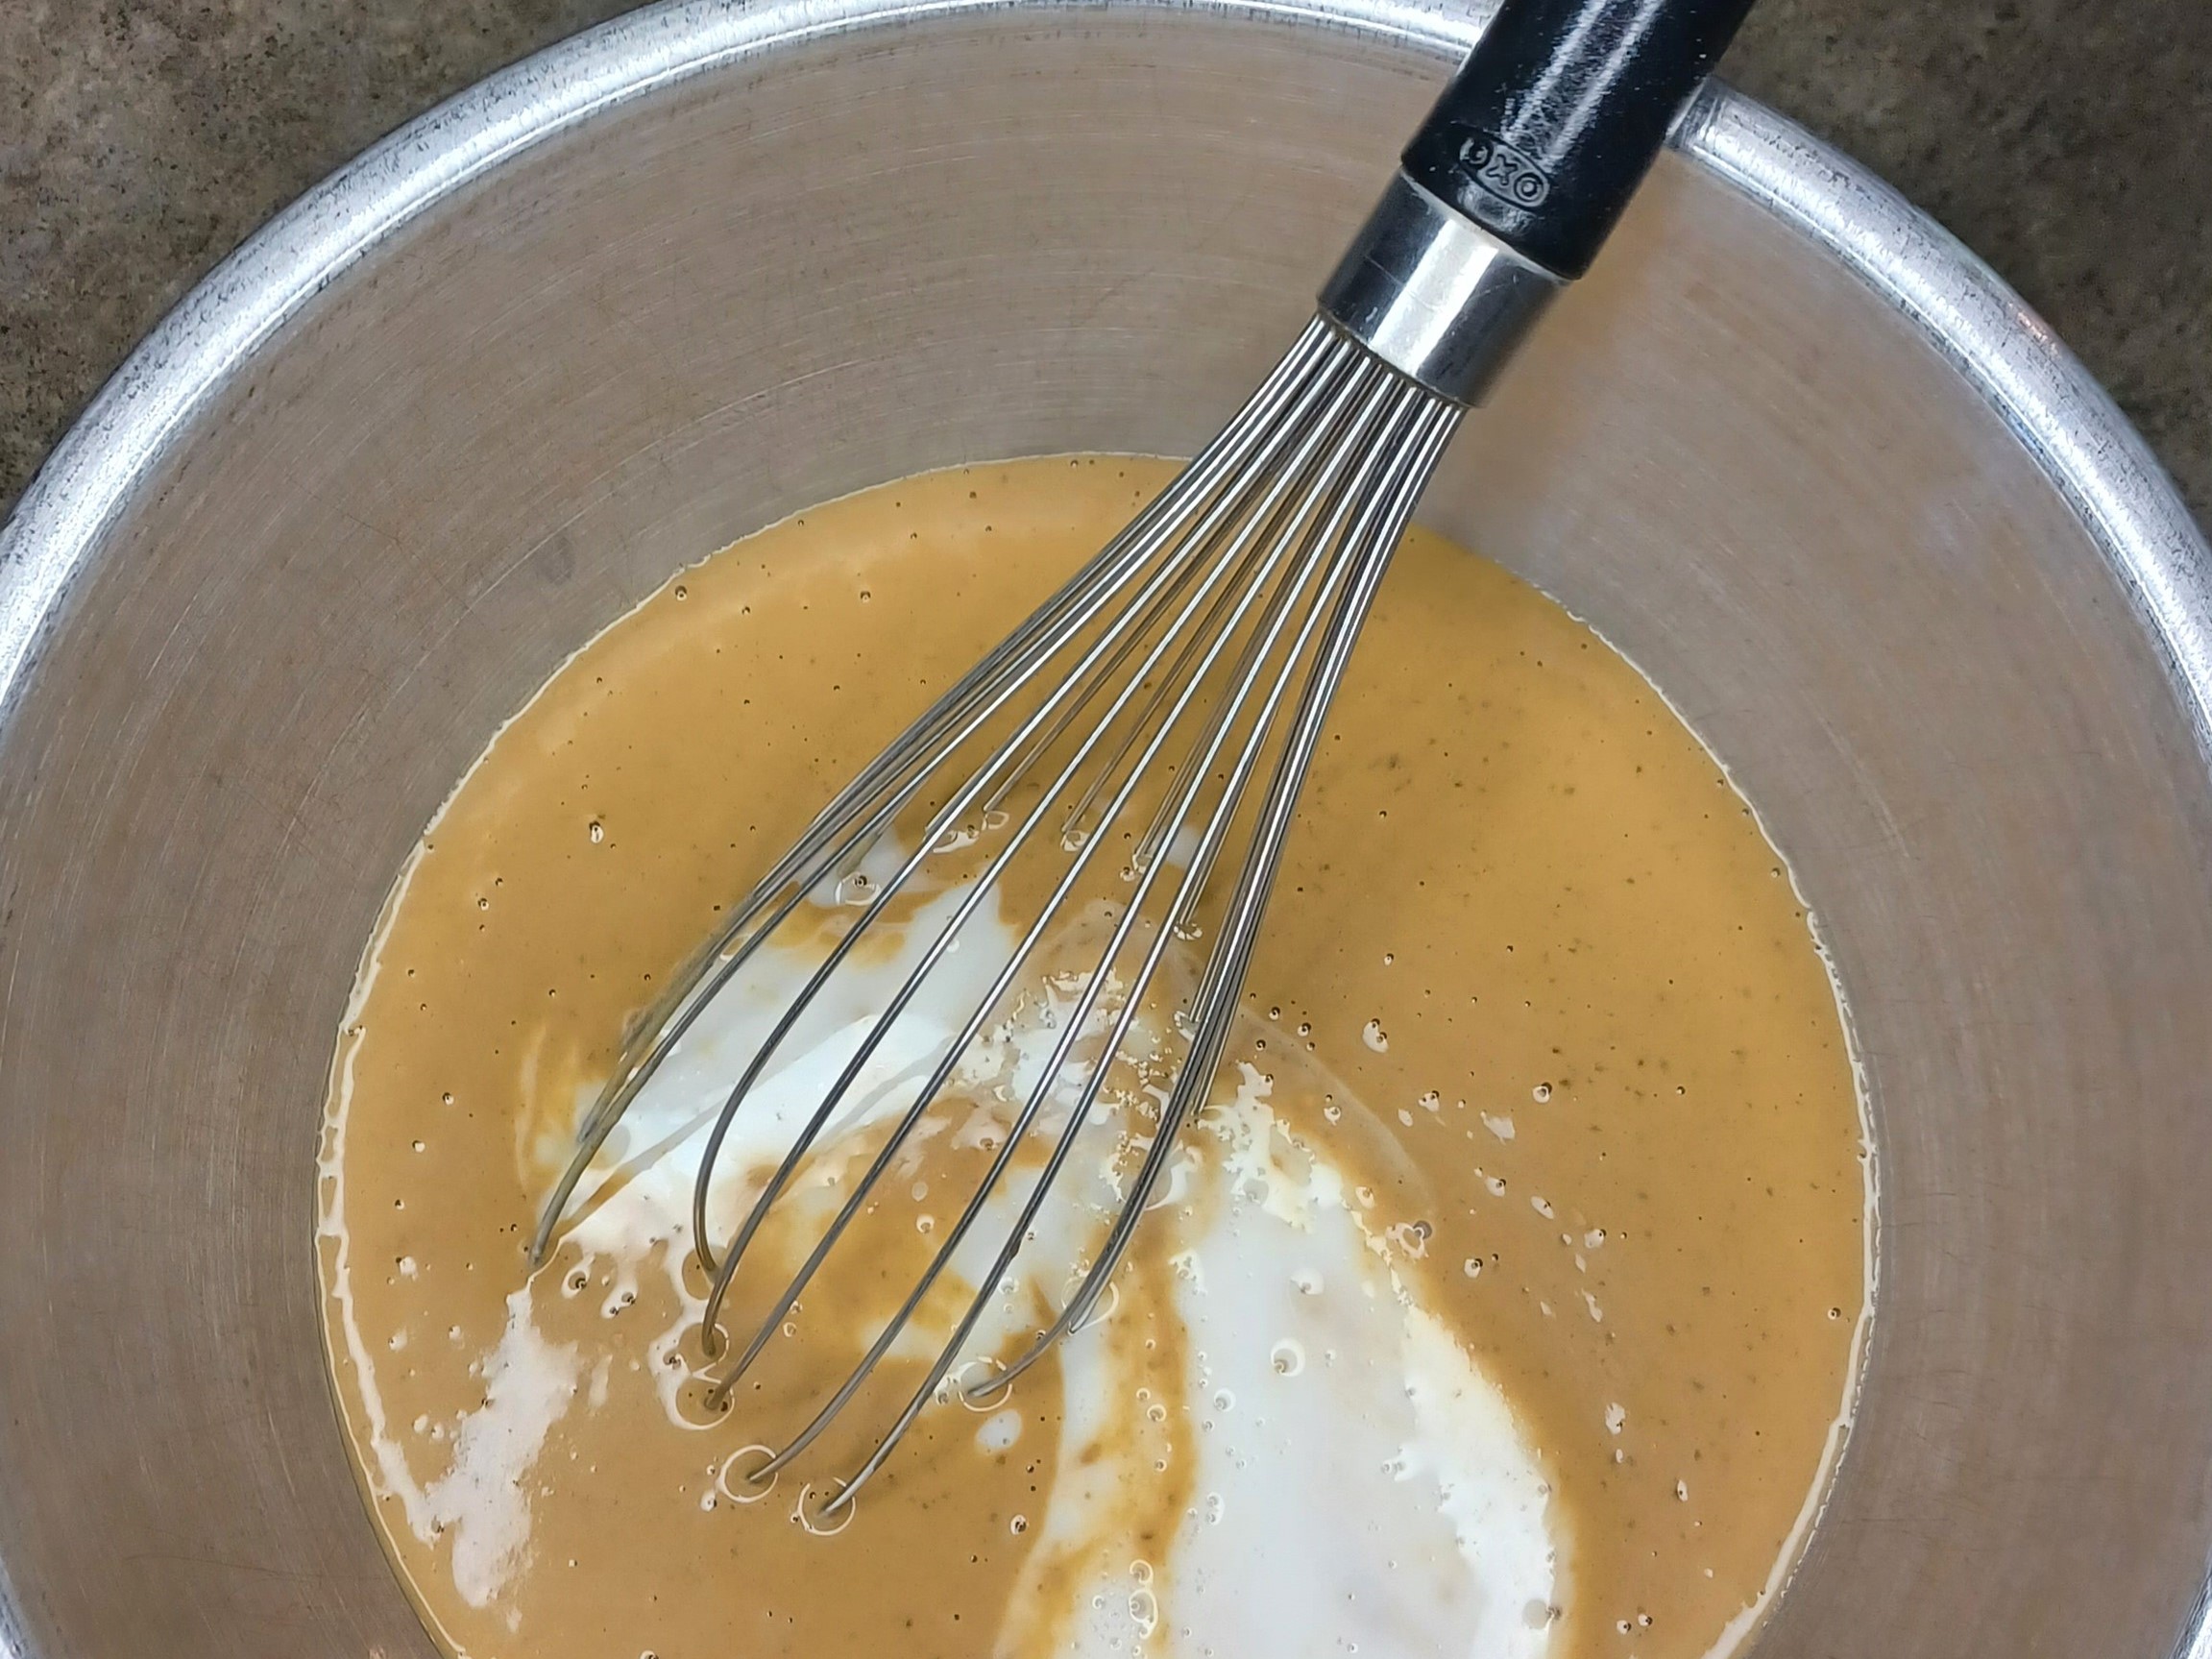
First, add everything to the blender or food processor except the coconut milk and other non-dairy milk. Then add the coconut milk and blend until it makes a thick, almost fluffy paste. If you're using a blender, add the non-dairy milk and blend again until smooth. If you're using a food processor, it probably can't handle the full amount of liquid, so transfer the mixture into a bowl and use a whisk to blend in the final milk. (I use the food-processor method.)
-
If your mixture is not already in a bowl, transfer to a container and chill in the fridge for 8 hours or overnight.
For a quicker chilling time, place the bowl containing your mixture in an ice bath (a larger bowl containing ice water) for a few hours. Stir the mixture occasionally. As the water in the ice bath warms up, pour off some water and add ice to keep the mixture chilling as quickly as possible.
Ideally, the mixture will be about 40 degrees when you churn it.
-
CHURN
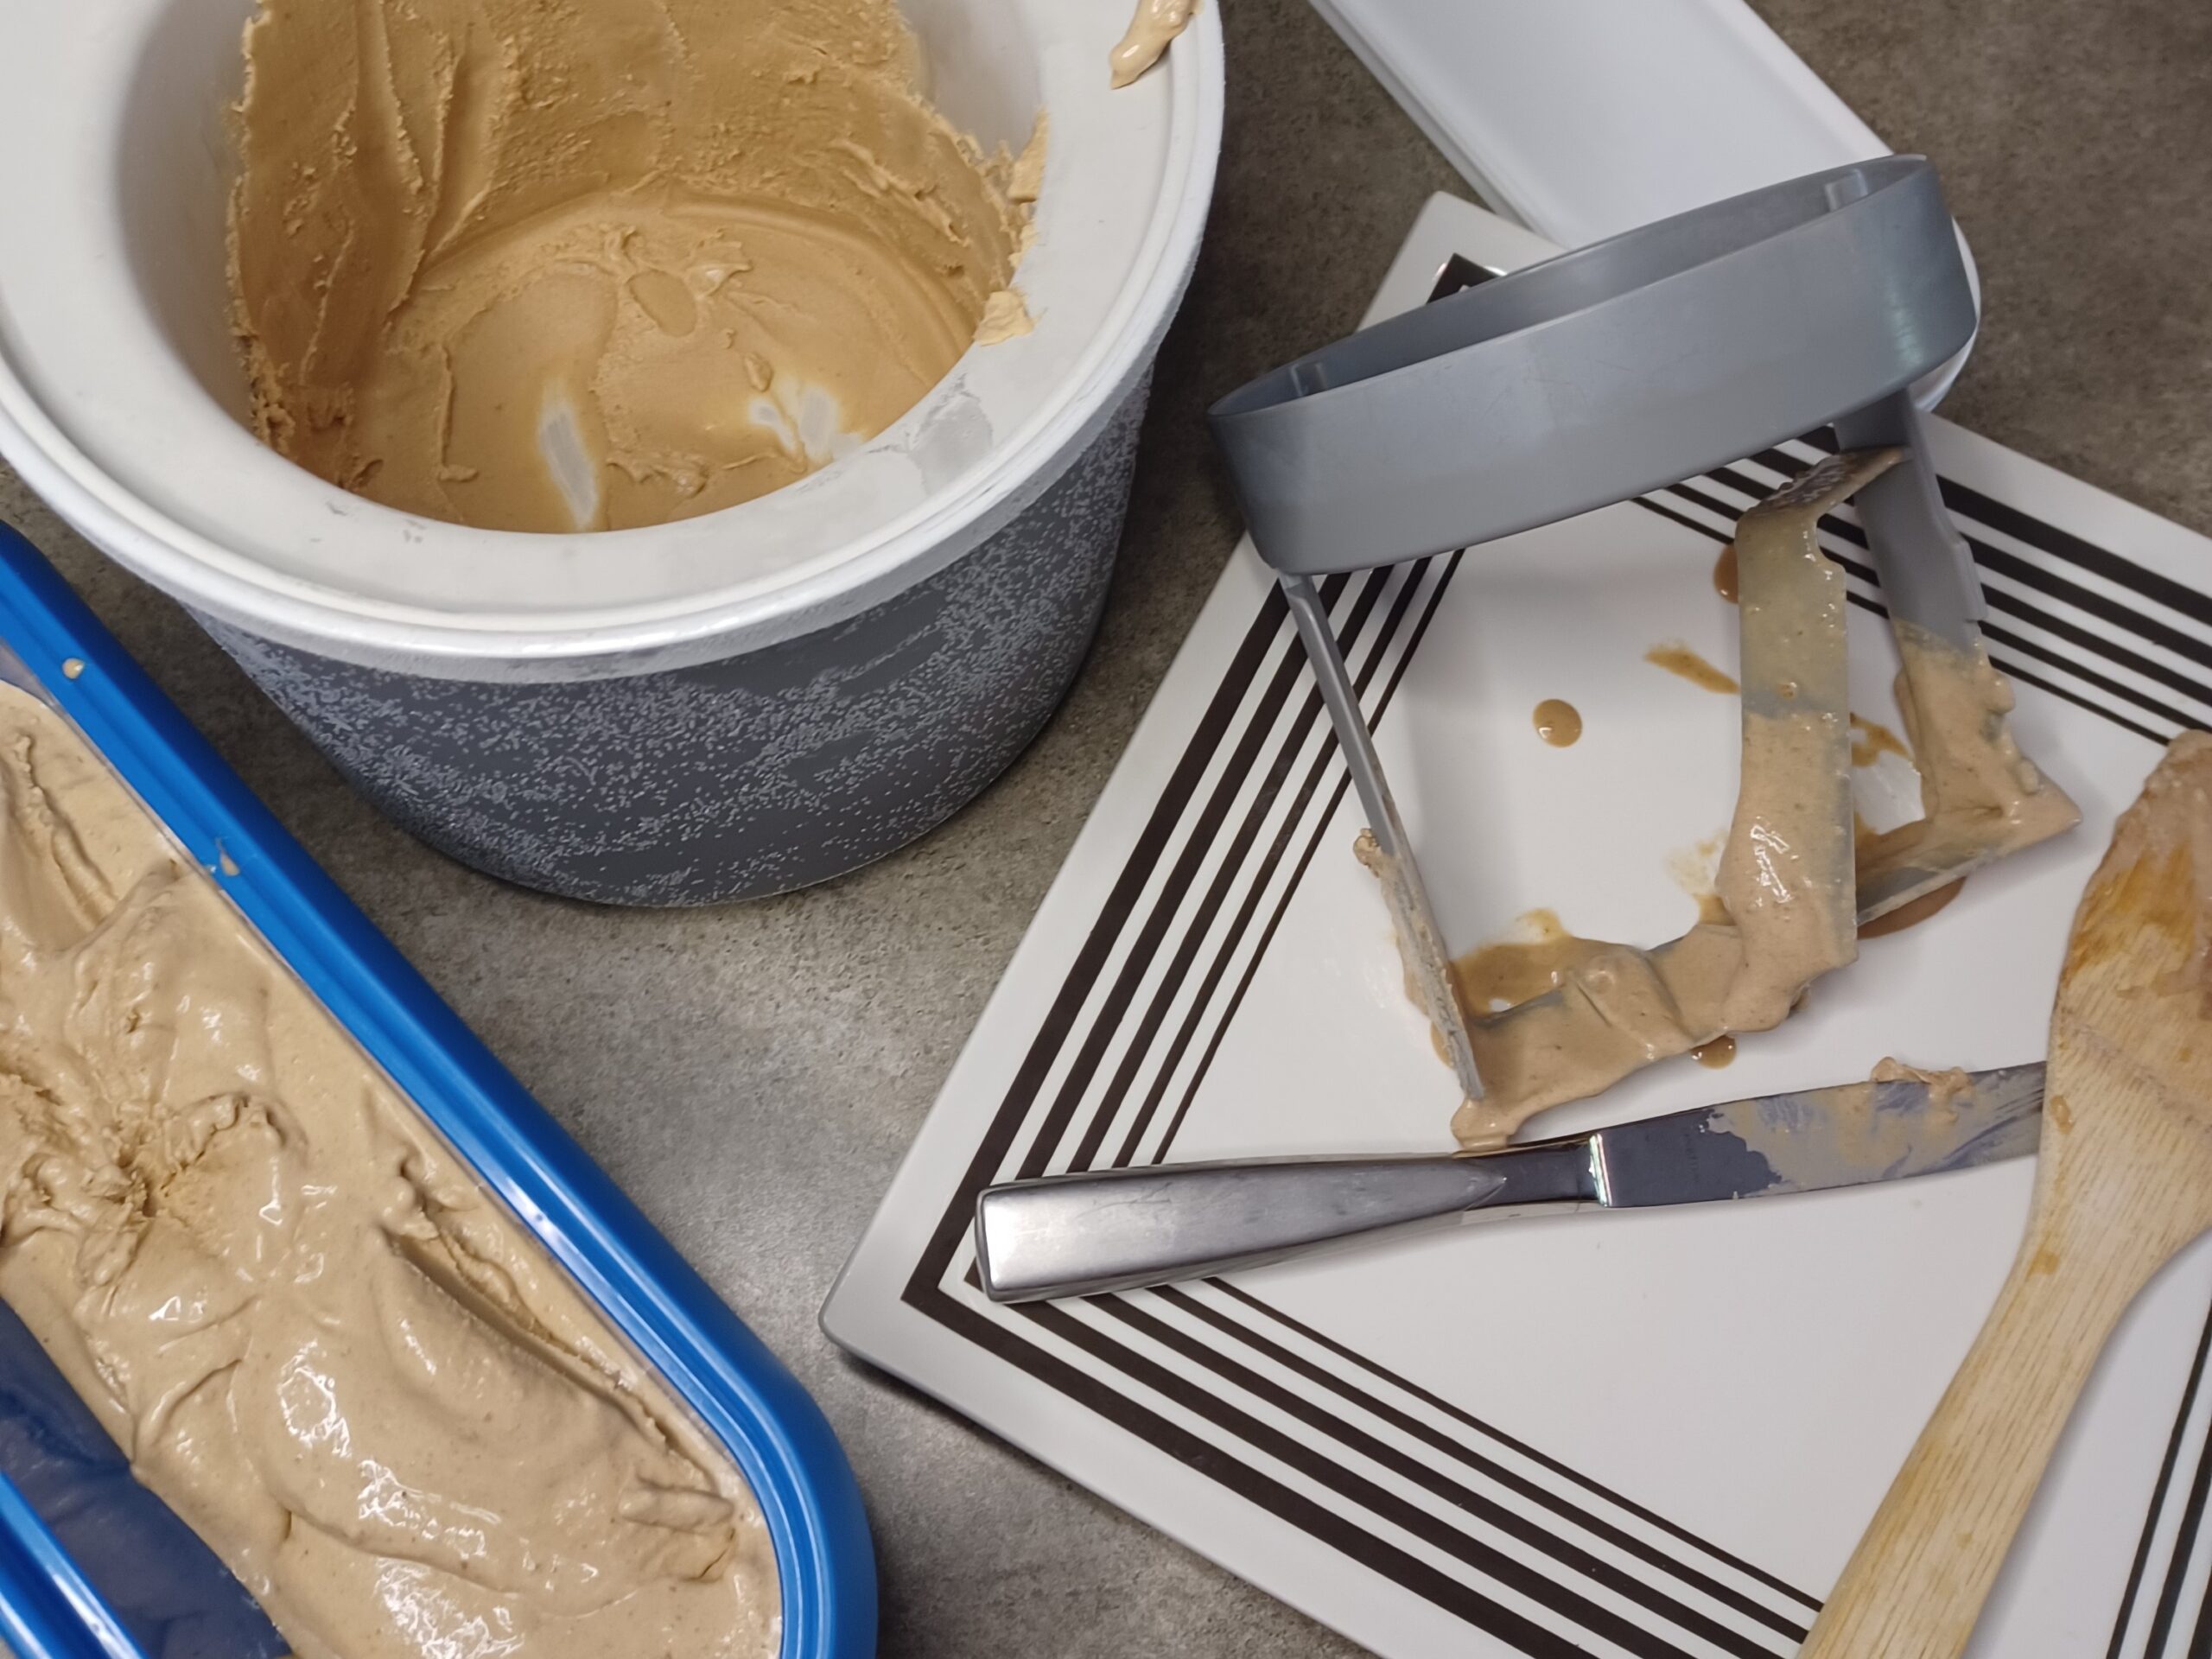
Before you start churning, set up everything you'll need to quickly transfer the ice cream from the machine into a container for freezing. I use a knife to scrape down the dasher (or paddle) and a wooden spoon to scoop out the ice cream.
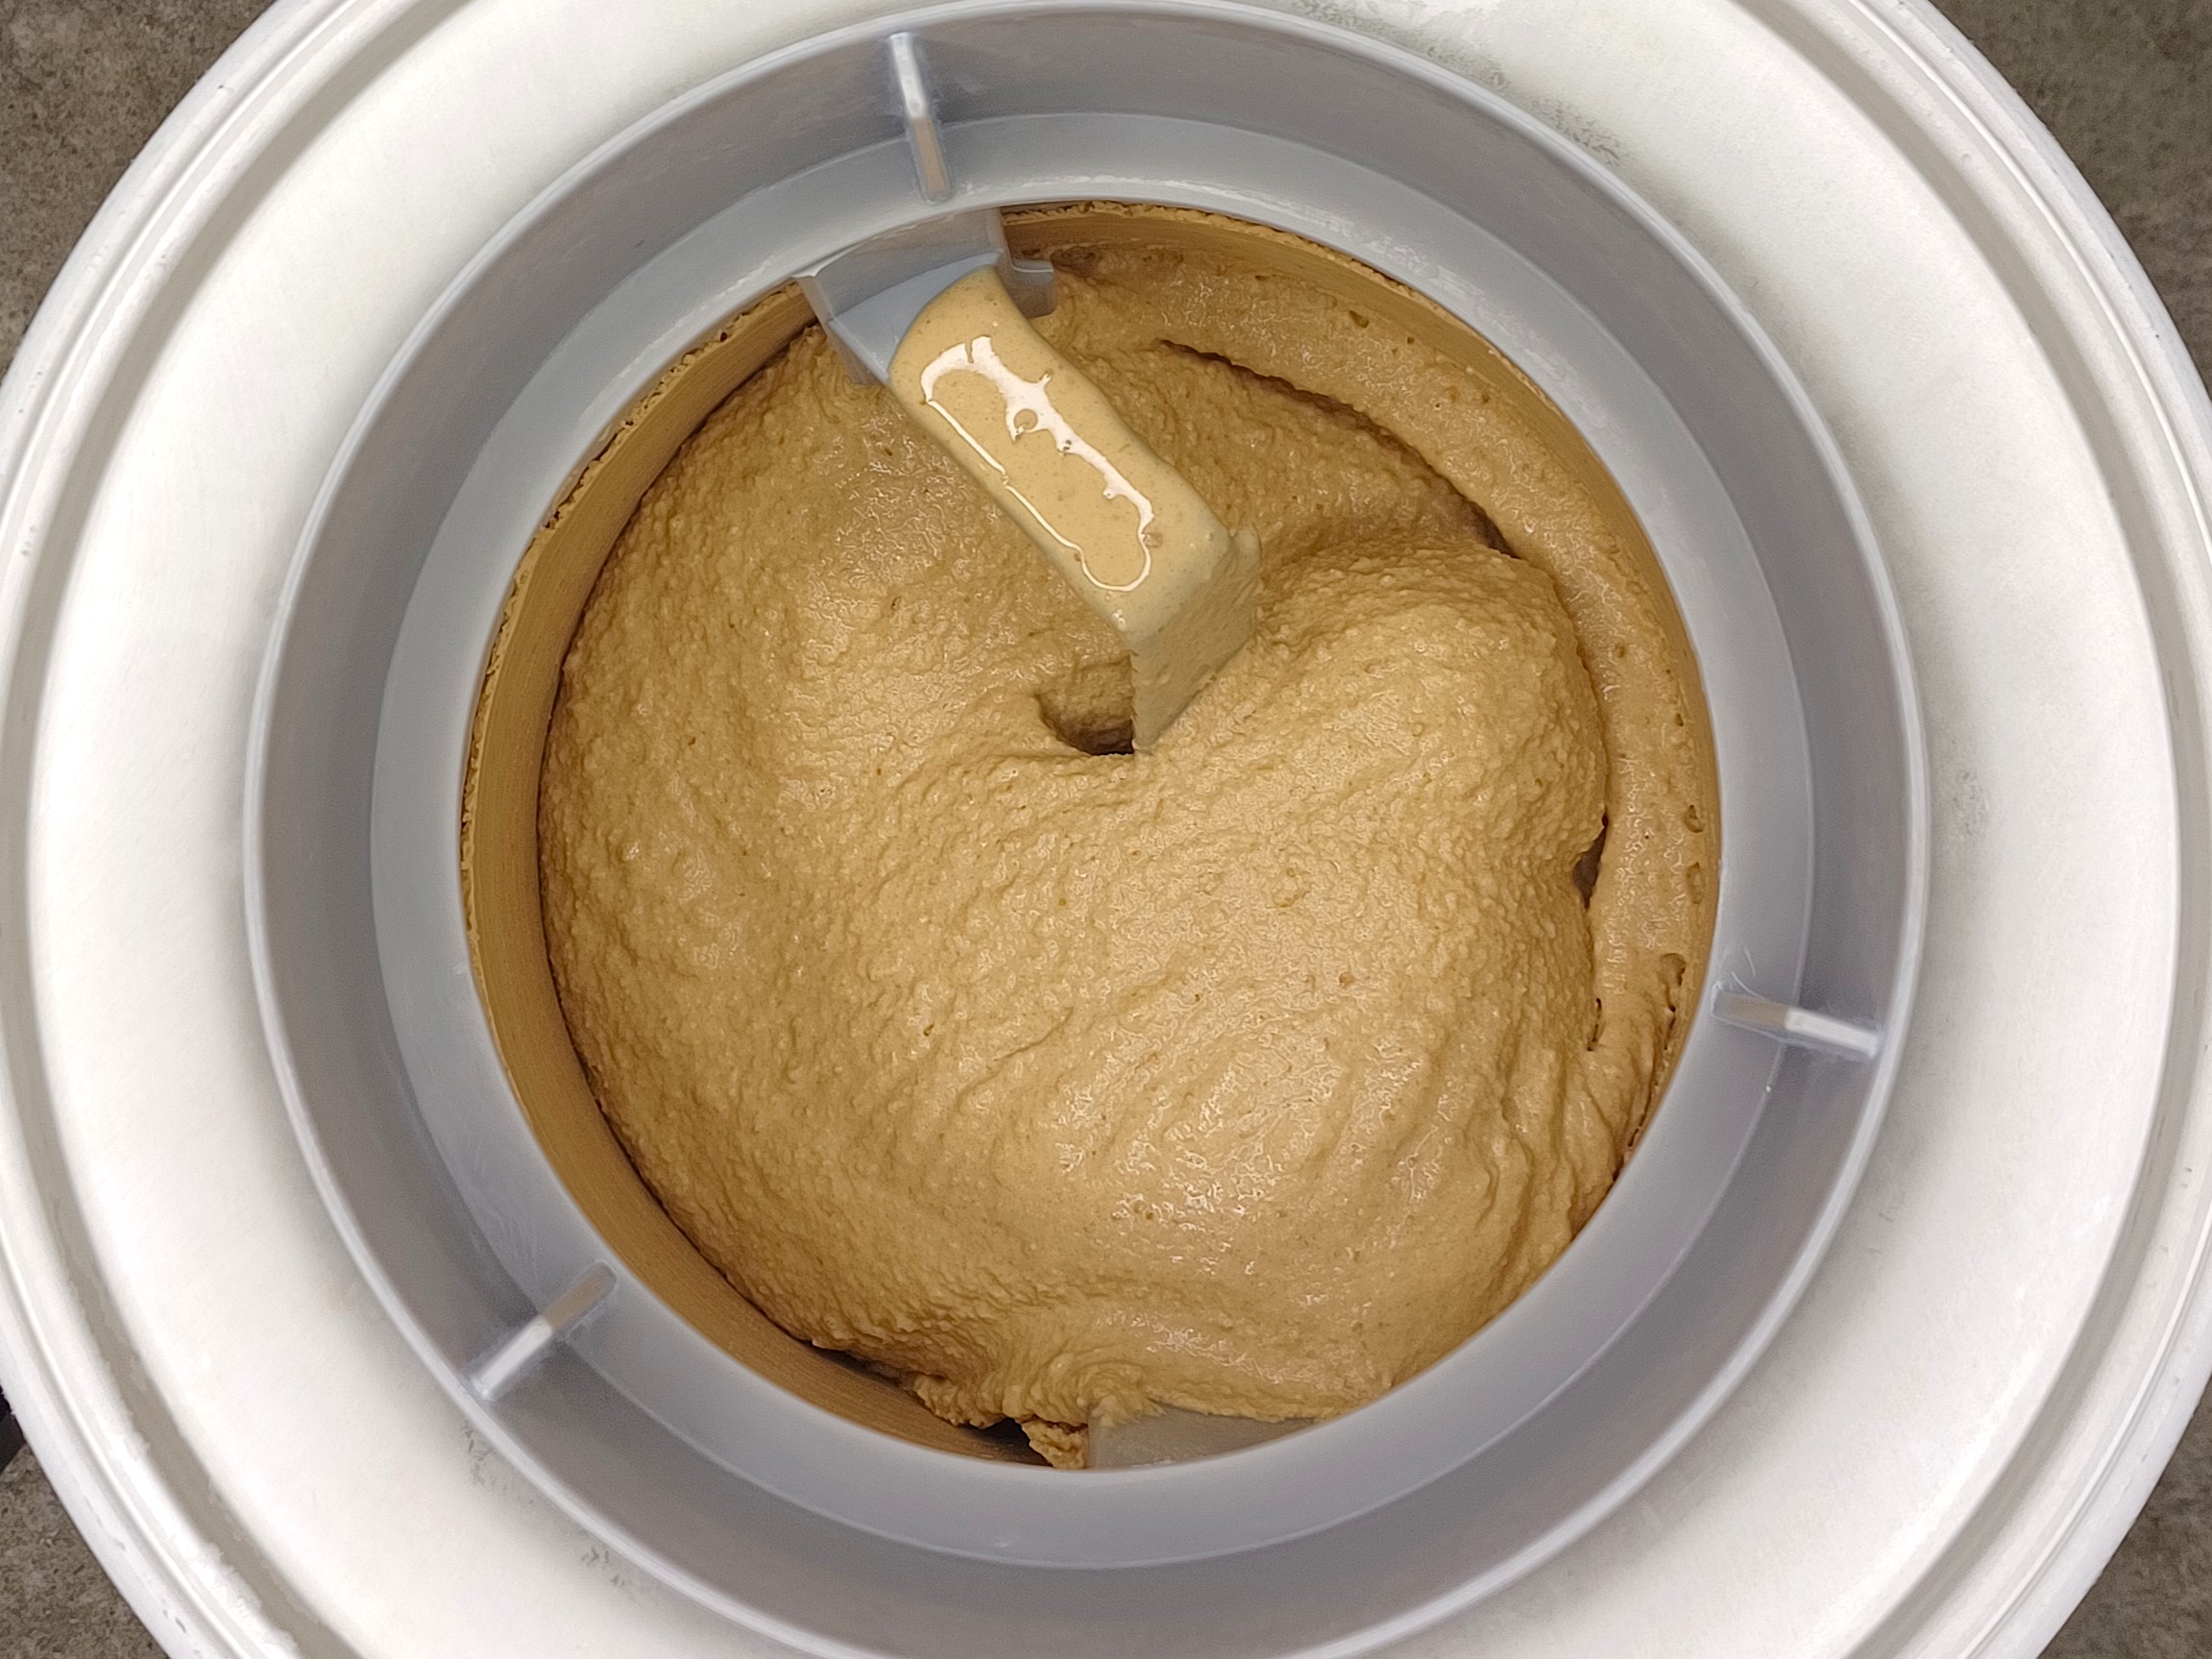
Set up your ice cream maker according to the manufacturer's directions. Pour your mixture into the ice cream maker and churn. Because this mixture is thicker than many ice cream bases, it churns more quickly than most. In my machine the perfect churning time is 8 minutes, but your experience may vary.
The ice cream is ready when it has the consistency of soft serve and has started pulling away from the edge of the canister. You'll notice it also gets lighter in color as air is mixed in.
-
STORE
When the ice cream has finished churning, scoop it as quickly as possible into your storage container. Cover it with plastic wrap or parchment paper, if using. (Placing a sheet of parchment paper between the container and lid will help prevent frost, or you can press plastic wrap directly onto the surface of the ice cream.) Put the container in the freezer. The ice cream will be fully firm in a few hours.