
I’m going to quote something I said about my Oreo Ice Cream recipe: “Sometimes here at GPIC HQ, we focus on unique tastes or gourmet ingredients. But sometimes, we need a nostalgic flavor that we can throw together fast.” Butterscotch Cheesecake Ice Cream satisfies that nostalgic candy craving, while acting a little more grown up with the cream cheese base. Everything melts together in just a few minutes on the stove. The only difficult part is waiting while the ice cream chills and churns.
My favorite non-dairy cream cheese is the Miyoko’s brand, because it’s based on cashew nuts and doesn’t have extra fillers and starches. The ingredients are: “Organic Cashew Milk (Organic Cashews, Filtered Water), Organic Coconut Cream, Sea Salt, Cultures.”
This recipe is very simple, but does require heating the ingredients to melt and incorporate the butterscotch chips. Just heat the coconut milk and cream cheese over medium-low heat, before adding the butterscotch chips to melt. Make sure to buy non-dairy or vegan butterscotch, if you want to avoid the dairy, since butterscotch chips often have powdered milk added. Here’s one option for vegan butterscotch chips from Amazon [affiliate link].
Most of my recipes contain protein powder in some form, because it helps to maintain a good texture while allowing me to use less sugar. (More details on that here.) Butterscotch Cheesecake Ice Cream doesn’t need the extra protein for textural purposes, but if you’d like to add protein powder, feel free. About a half cup should work well and not affect the recipe significantly.
Butterscotch Cheesecake Ice Cream (vegan)
Makes ~1 quart
Ingredients
Instructions
-
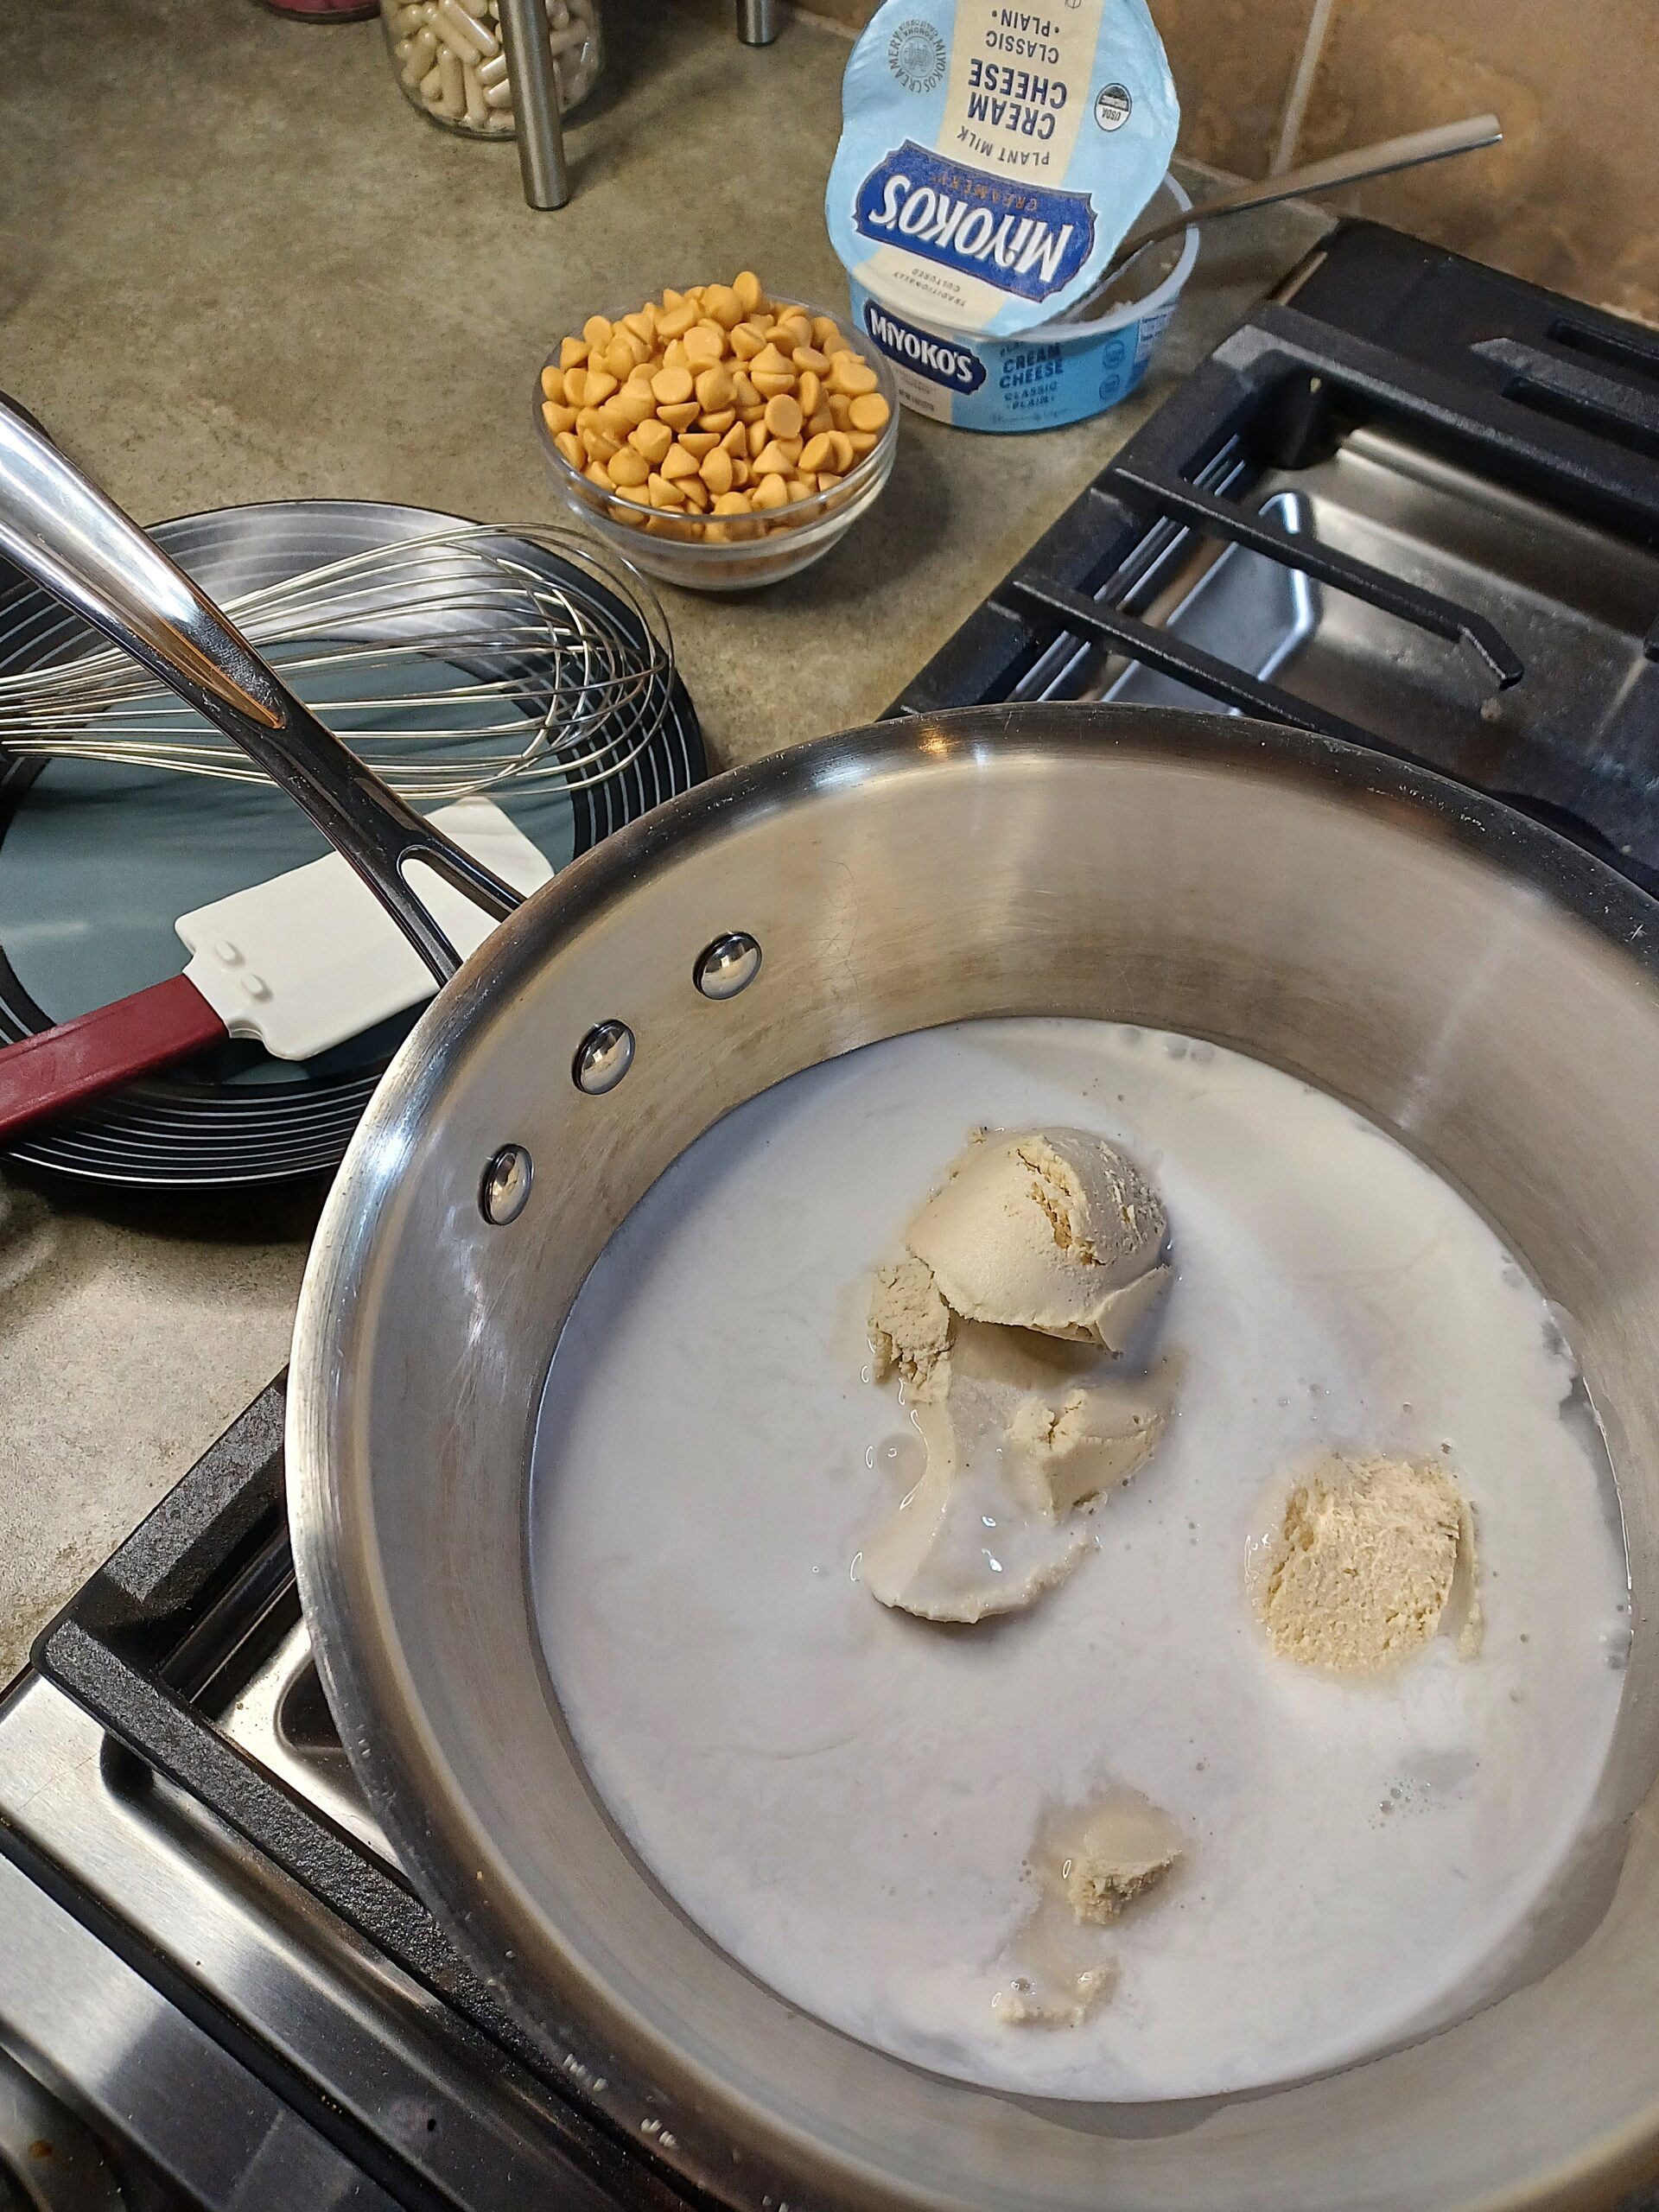
HEAT THE COCONUT MILK AND CREAM CHEESE
Place the coconut milk, cream cheese, and salt in a pan on the stove set to medium-low heat. Whisk to combine.
-
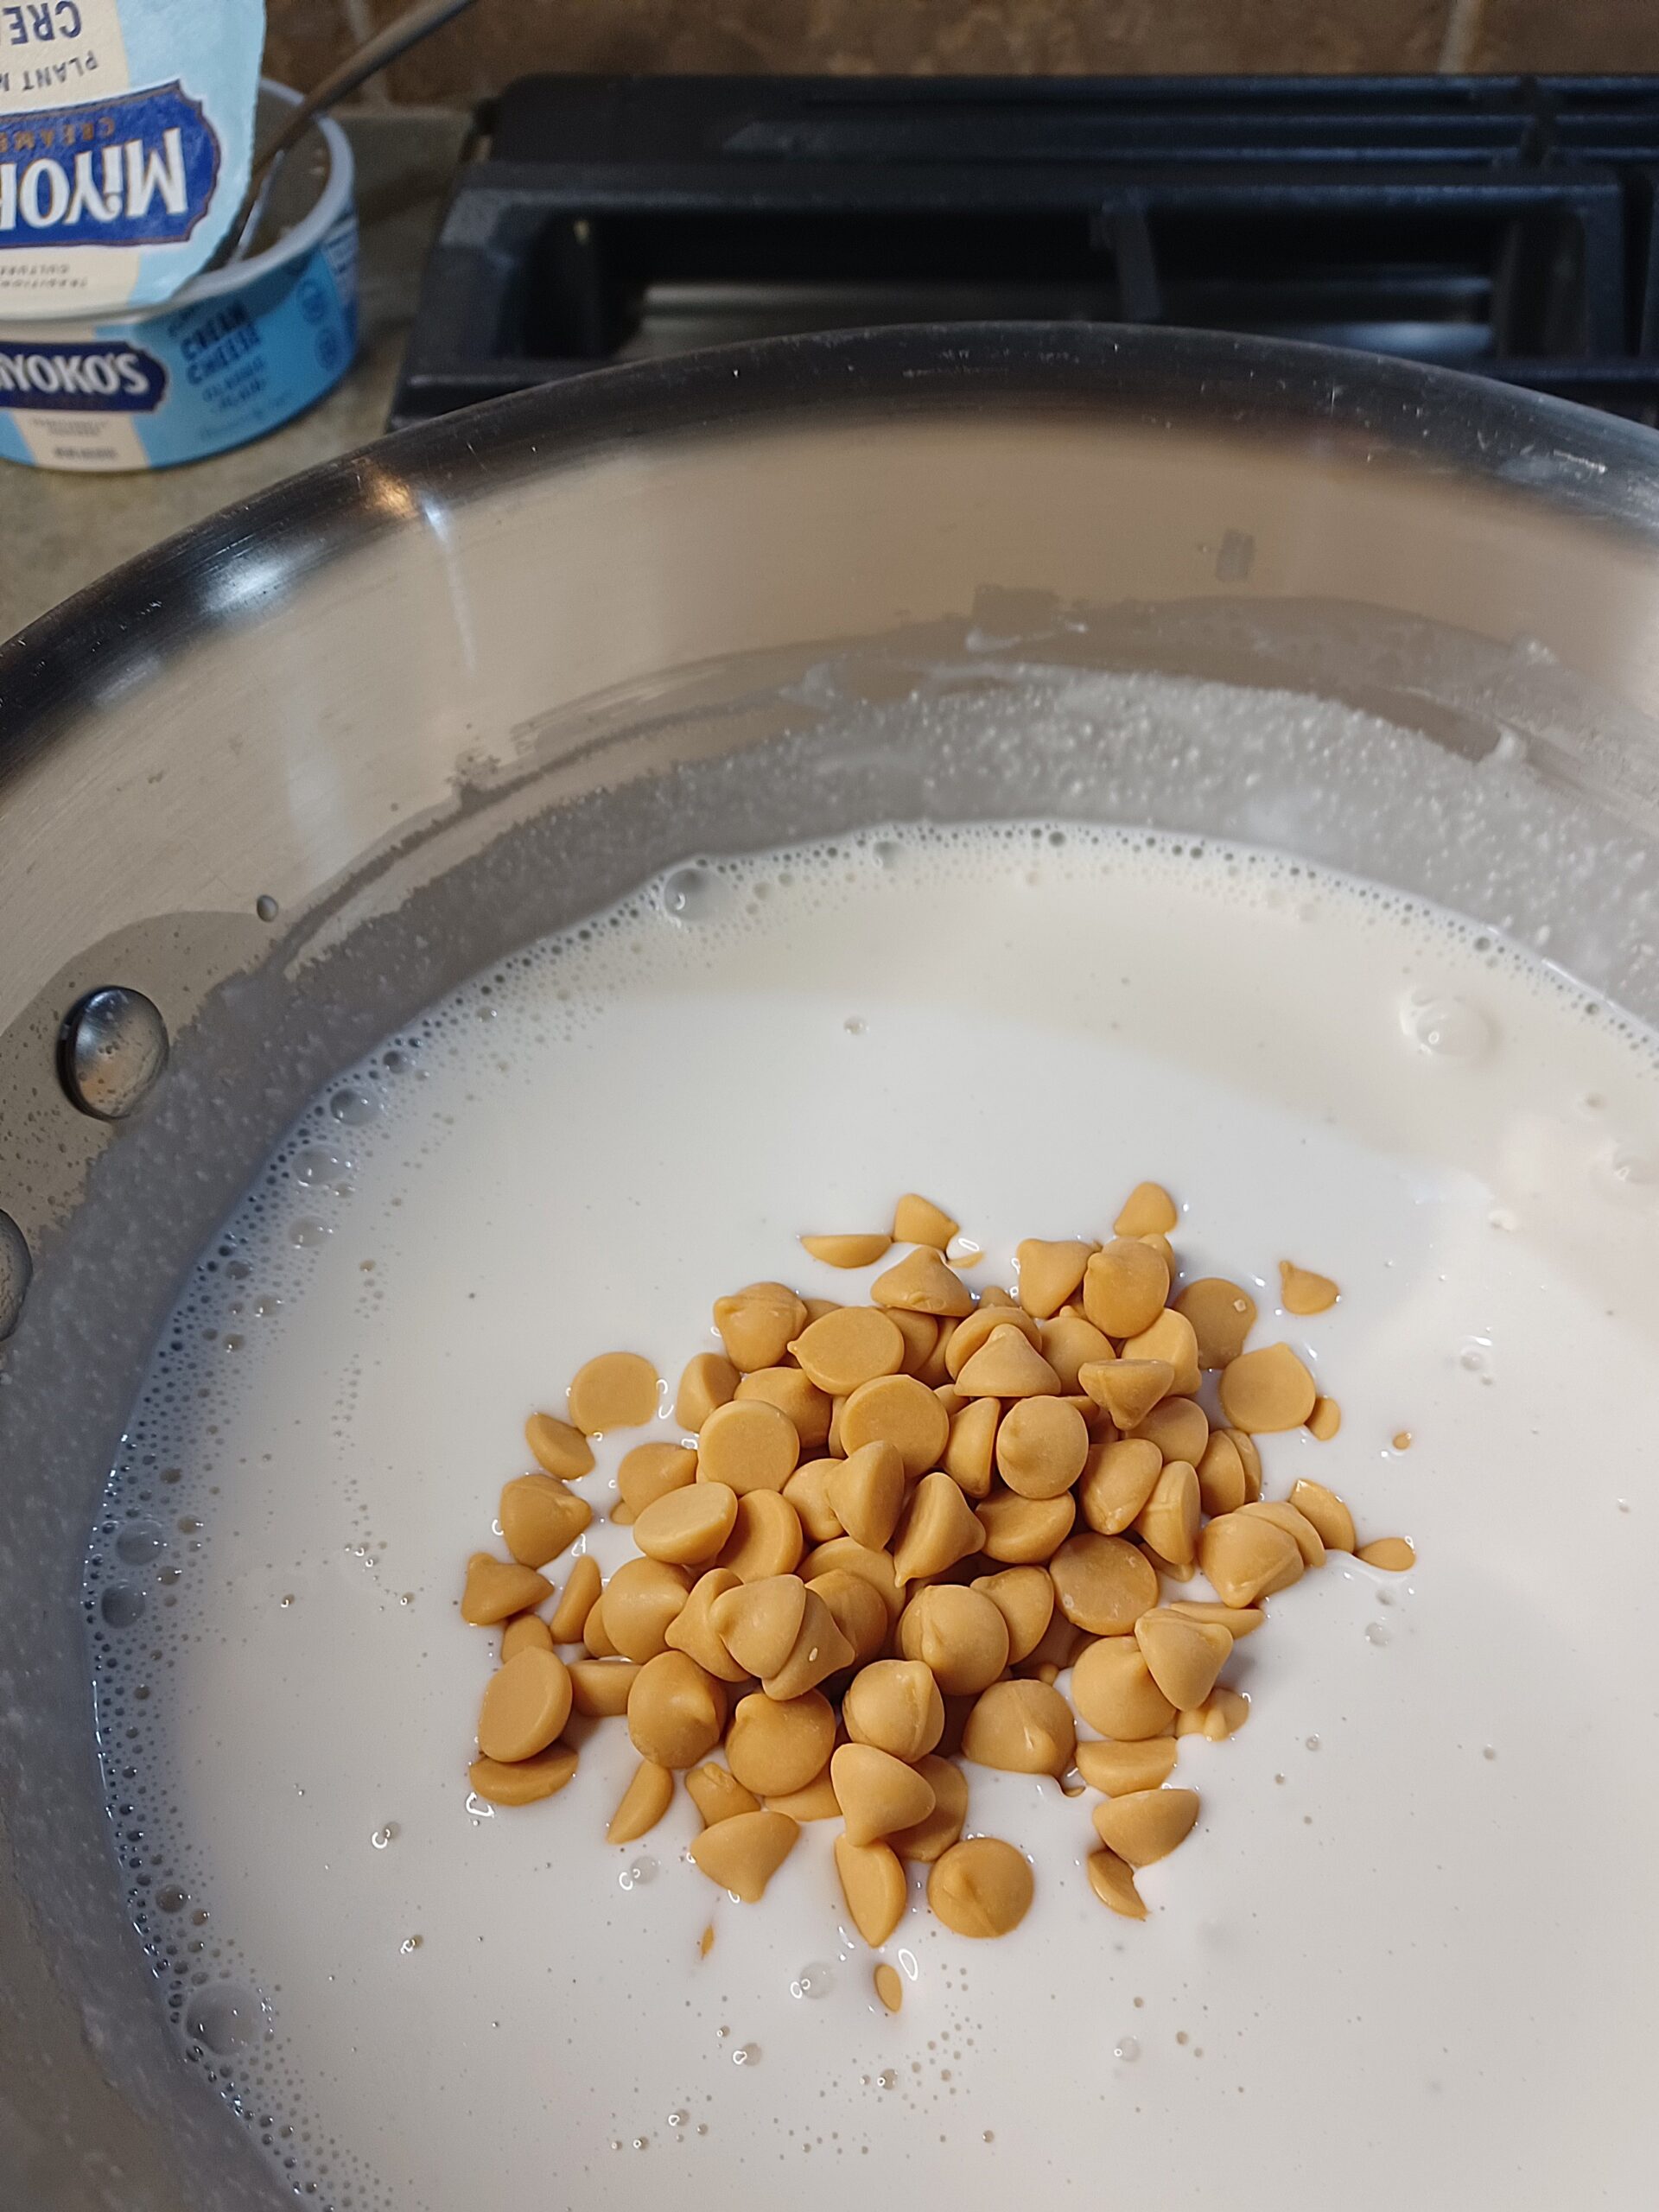
ADD BUTTERSCOTCH CHIPS TO HEATED COCONUT MILK MIXTURE
When the cream cheese has melted and been incorporated, add the butterscotch chips to the heated coconut milk mixture and stir almost constantly until they melt.
-
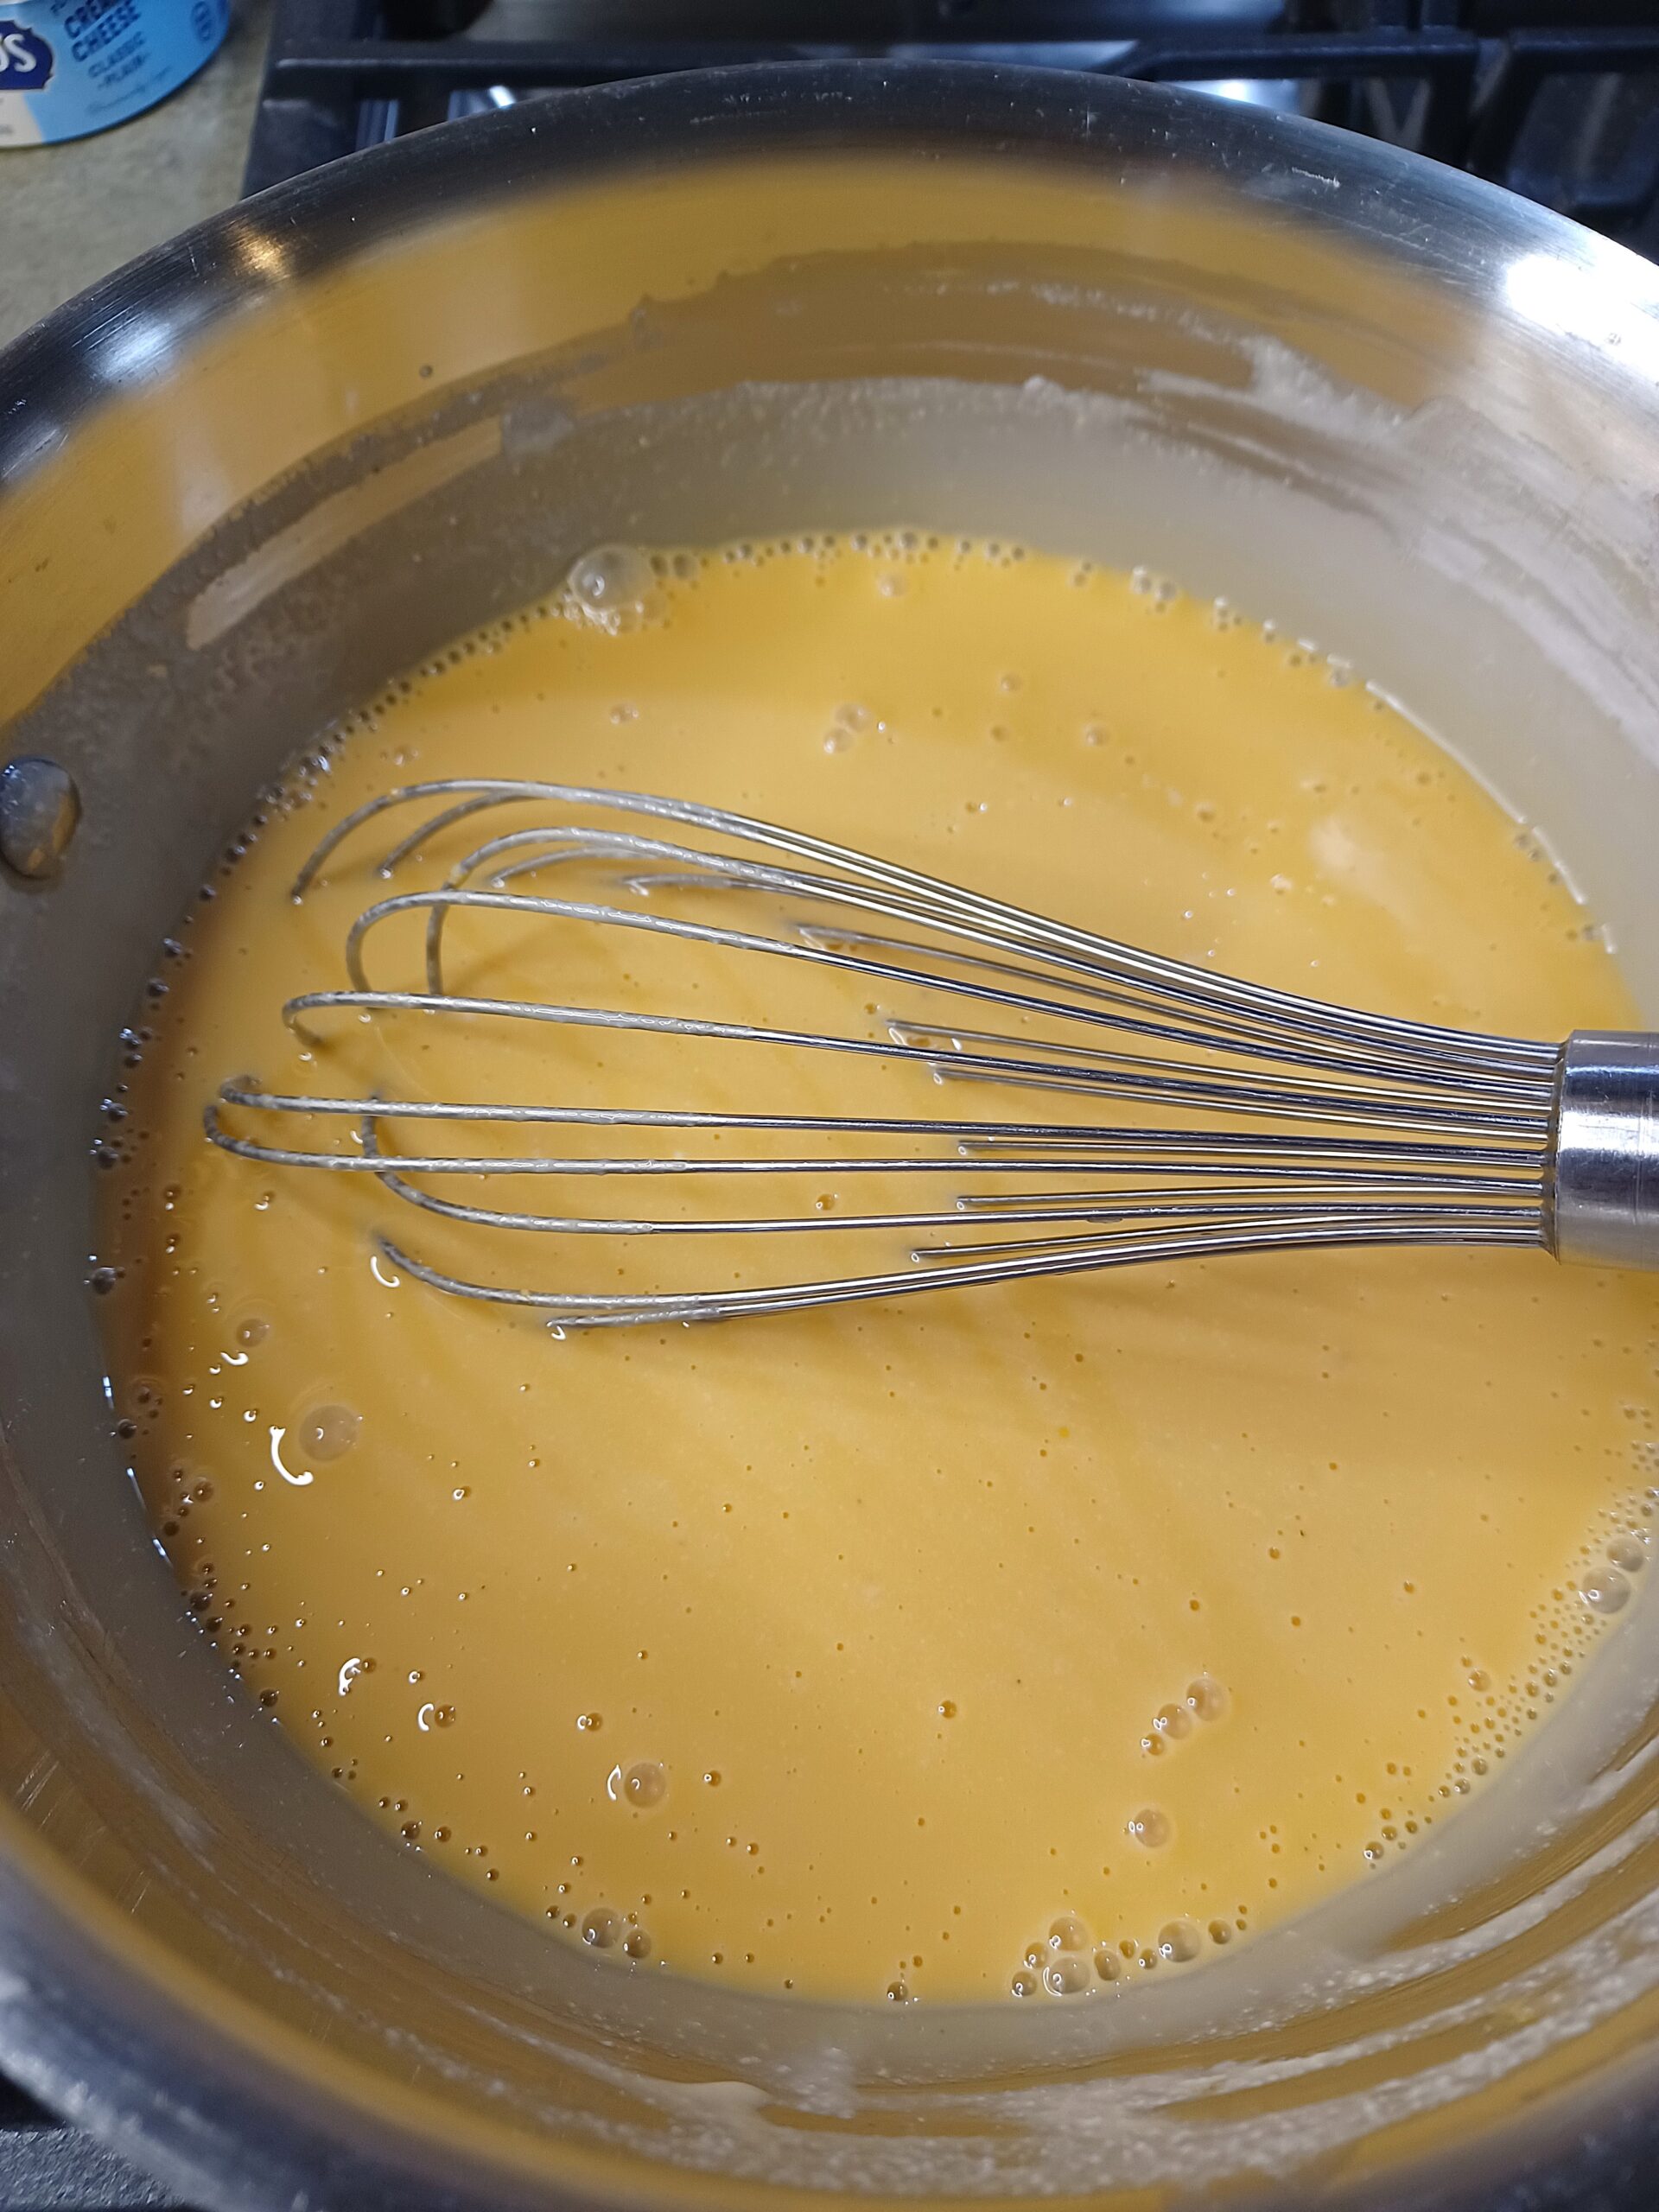
ADD REMAINING INGREDIENTS
When everything is combined, turn off the heat and add in the remaining ingredients -- maple syrup and xanthan gum (if using). Whisk again to combine. Allow the mixture to cool.
-
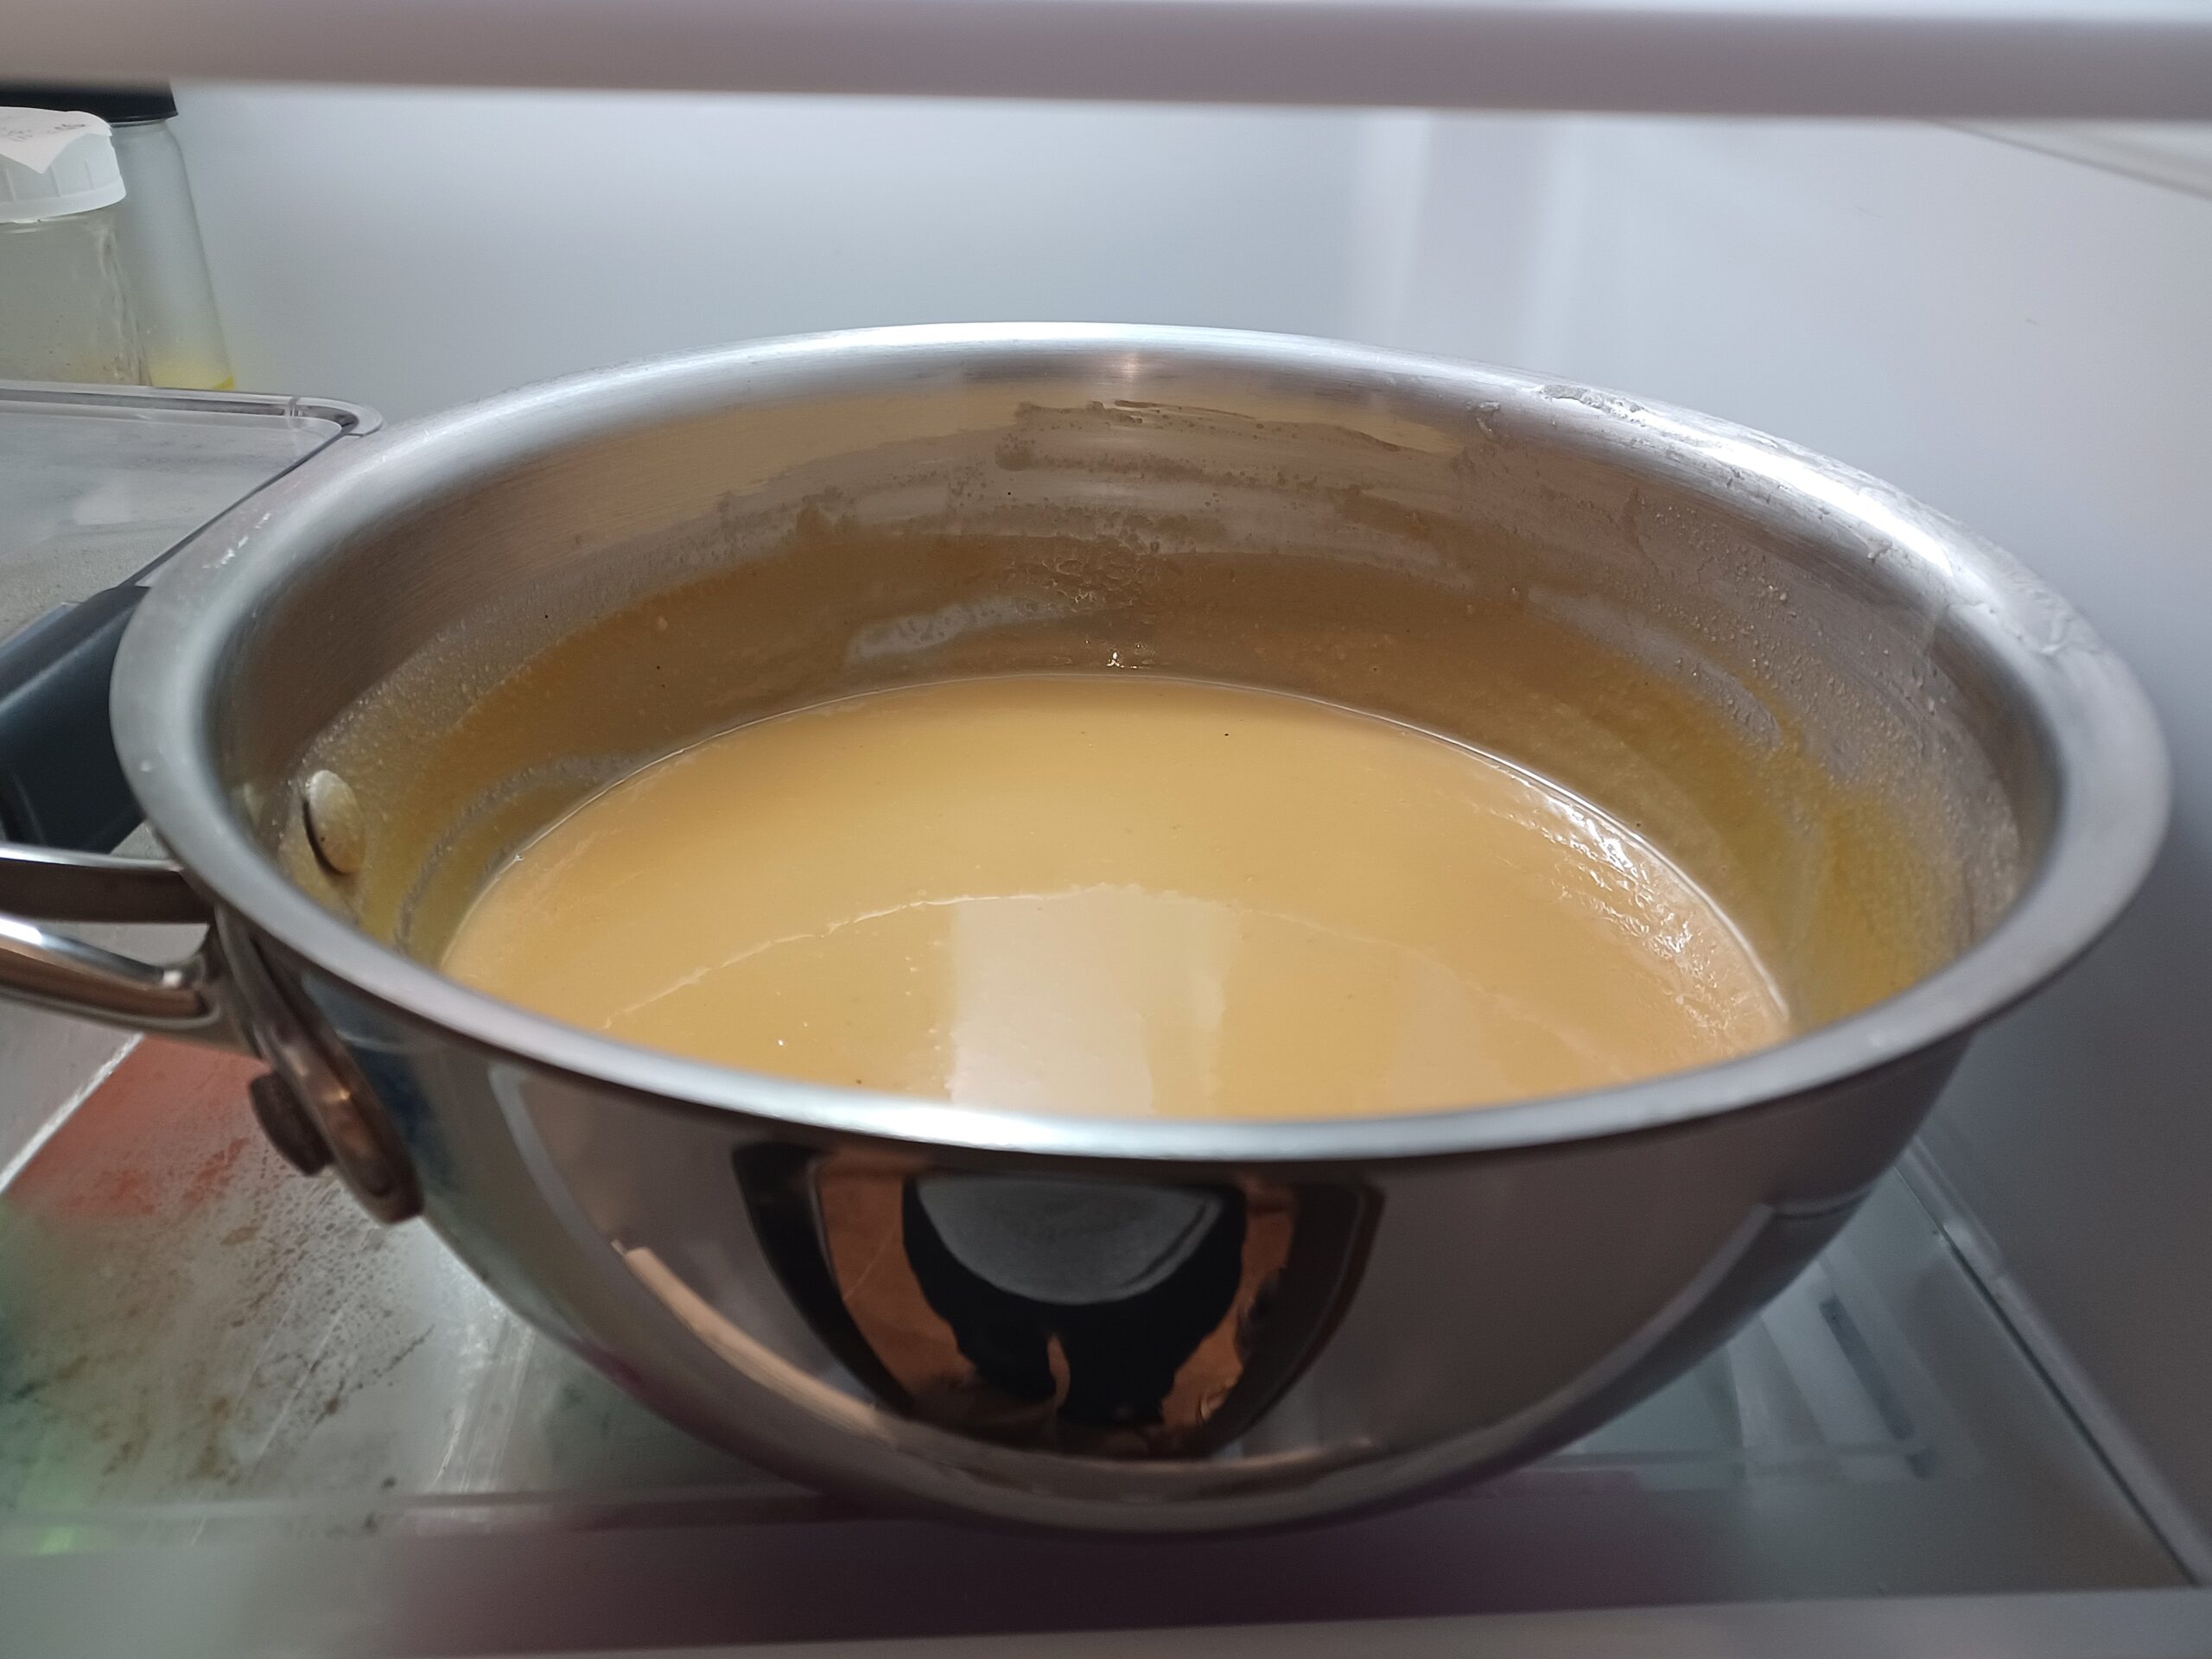
CHILL
Transfer to a container (or leave in the pan) and chill in the fridge for 8 hours or overnight.
For a quicker chilling time, place the bowl containing your mixture in an ice bath (a larger bowl containing ice water) for a few hours. Stir the mixture occasionally. As the water in the ice bath warms up, pour off some water and add ice to keep the mixture chilling as quickly as possible.
Ideally, the mixture will be about 40 degrees when you churn it.
When fully chilled, the mixture will be quite thick, because of the white chocolate and cream cheese.
-
CHURN
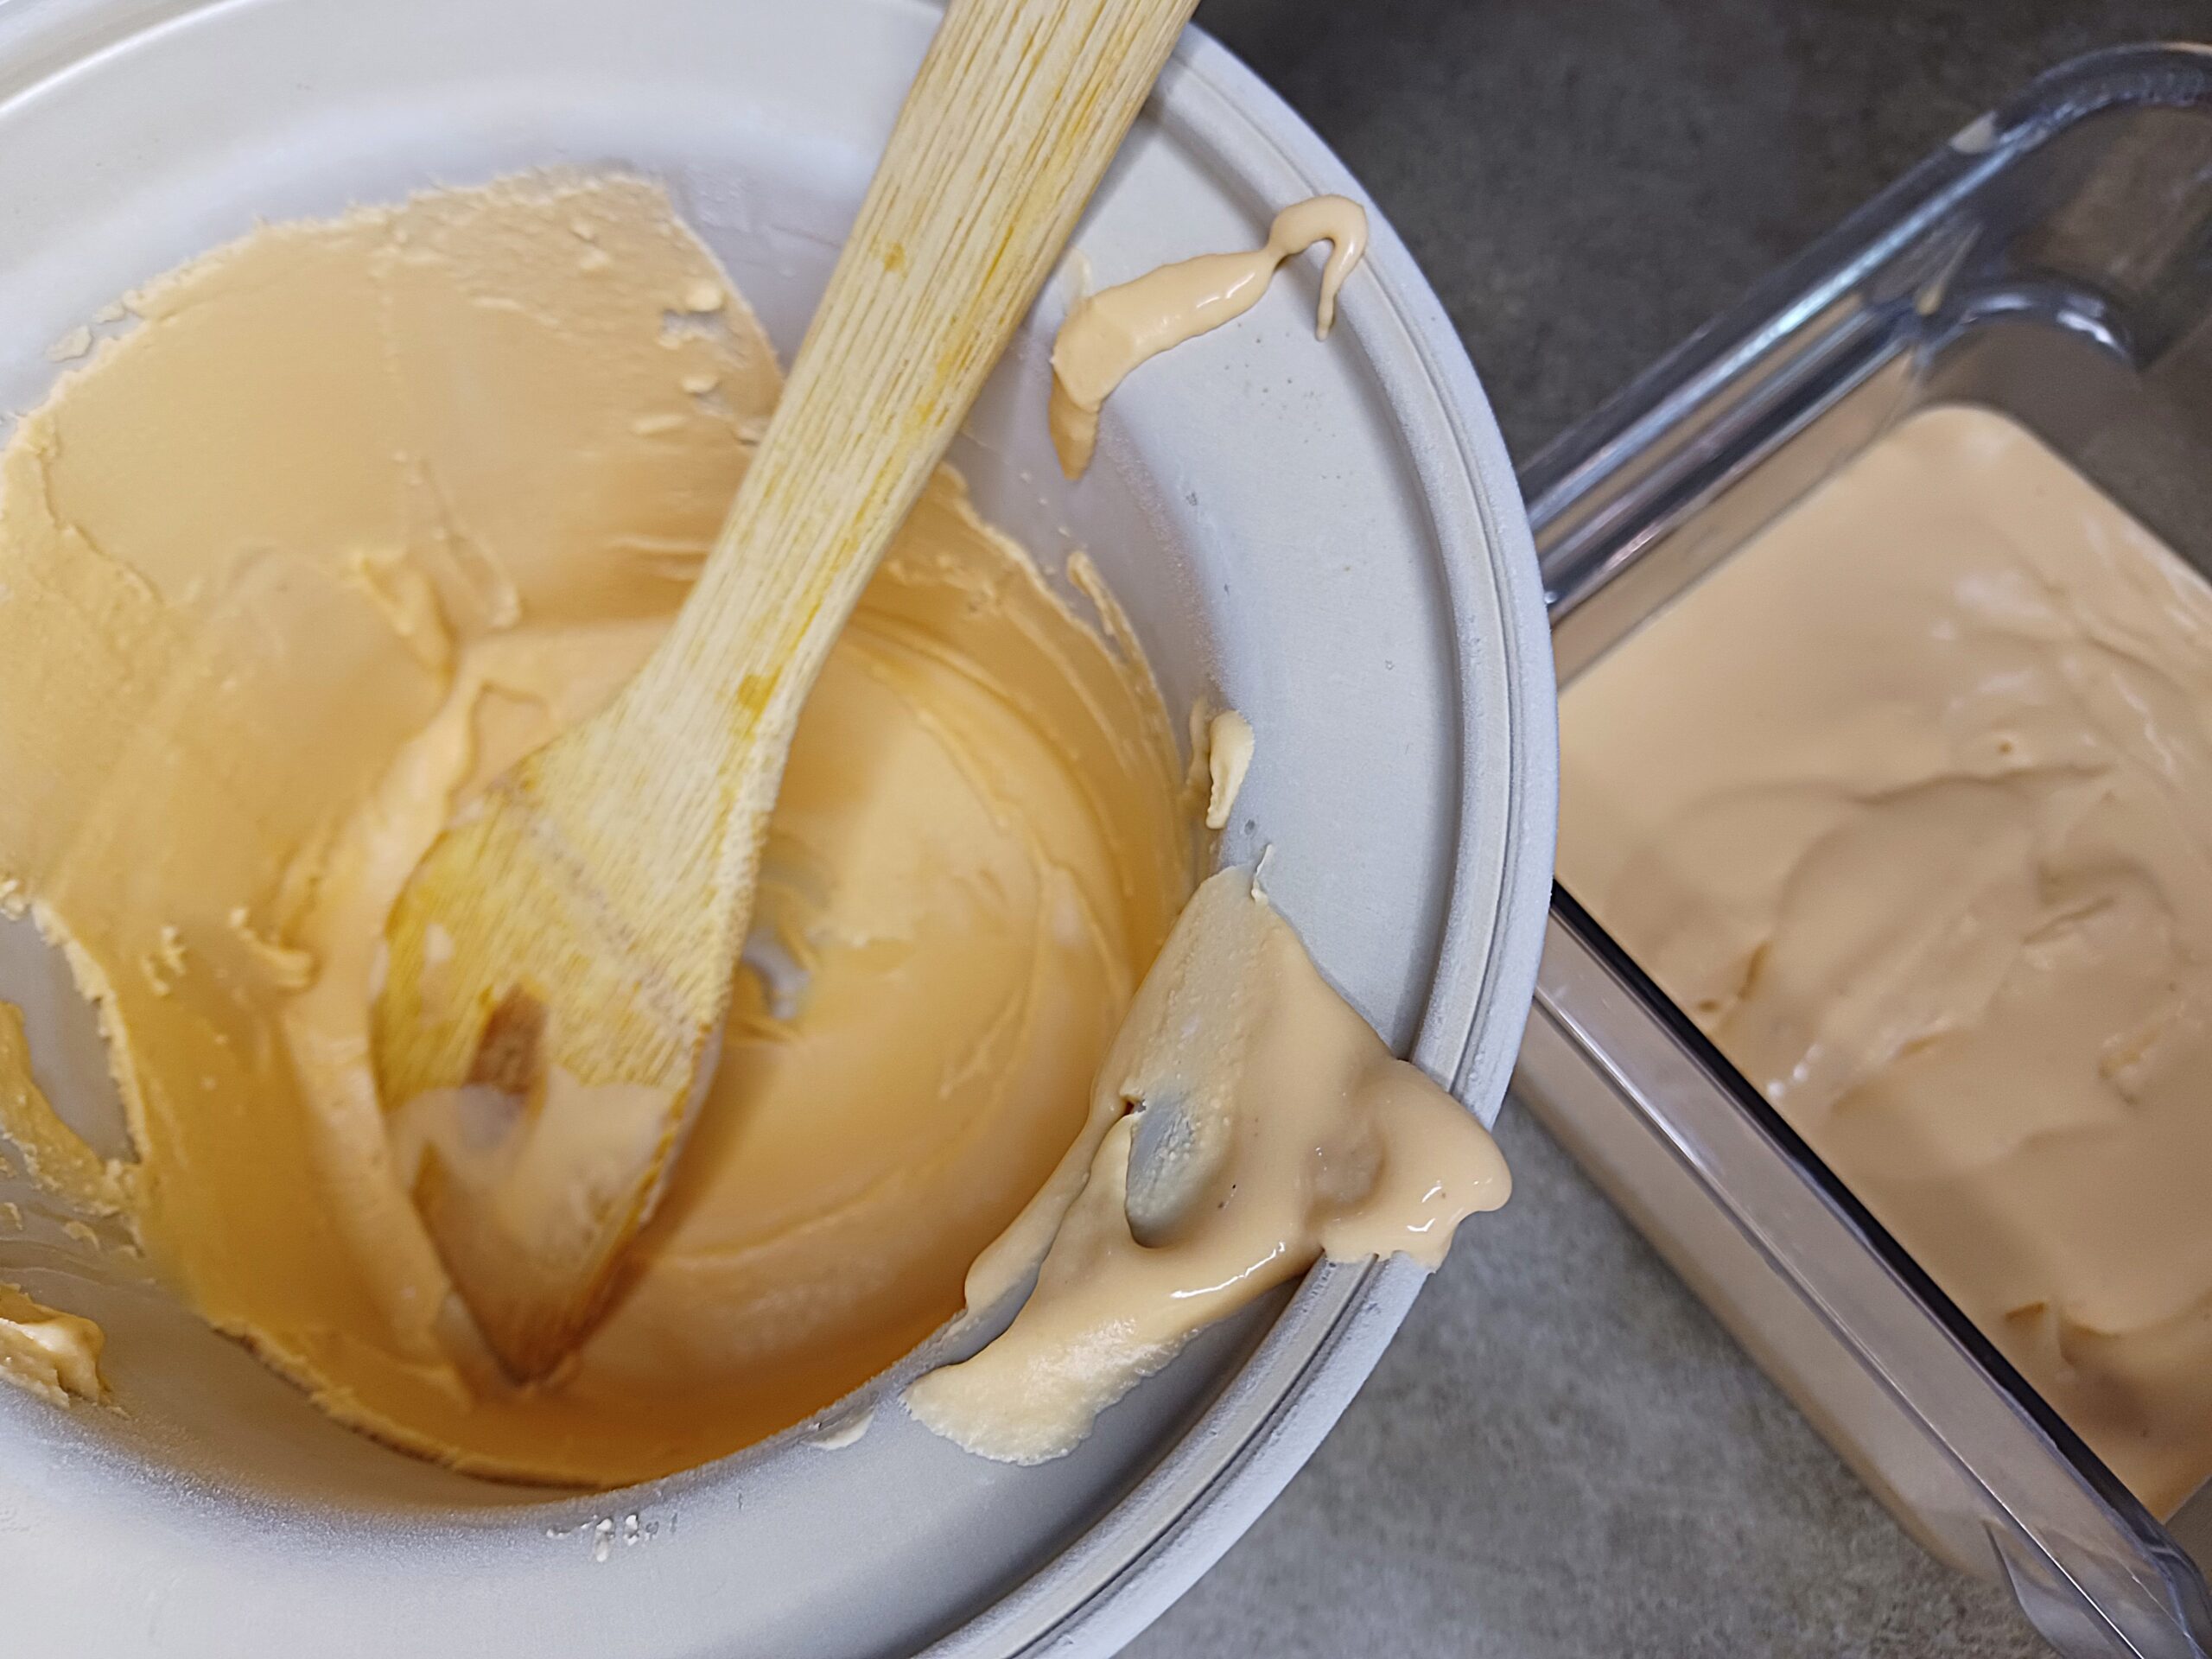
Before you start churning, set up everything you'll need to quickly transfer the ice cream from the machine into a container for freezing. I use a knife to scrape down the dasher (or paddle) and a wooden spoon to scoop out the ice cream.
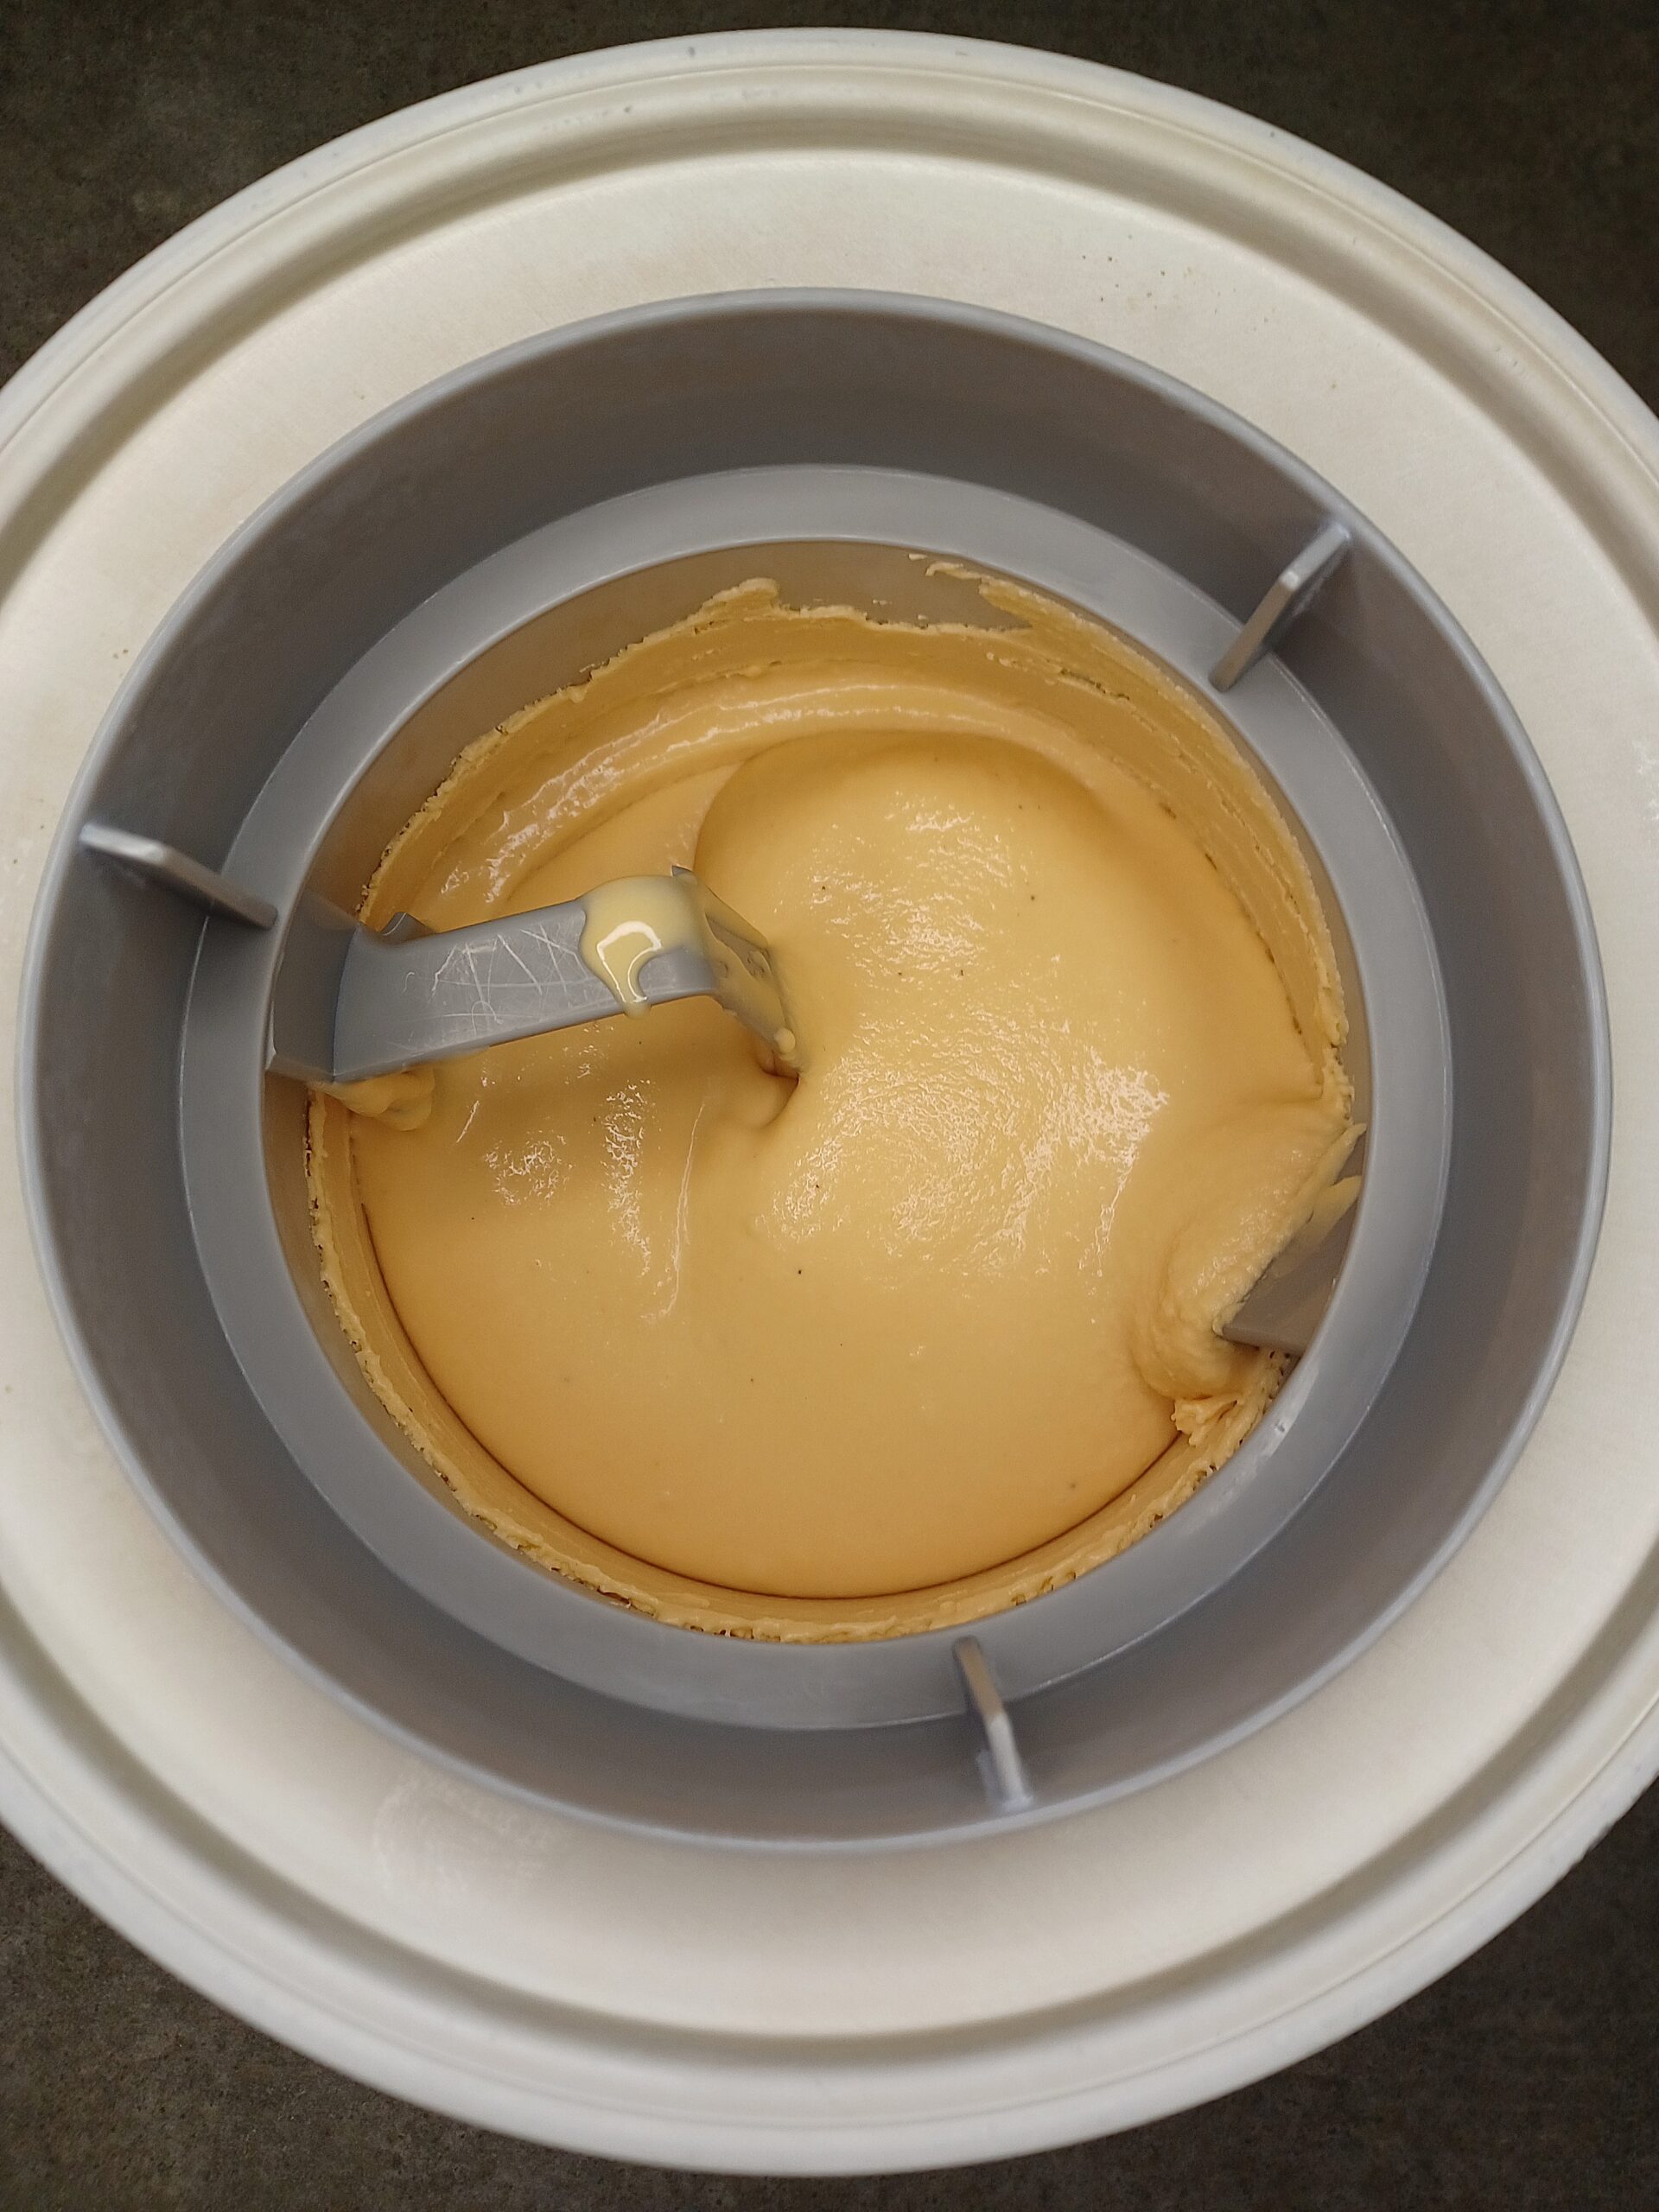
Set up your ice cream maker according to the manufacturer's directions. Pour your mixture into the ice cream maker and churn. Because this mixture is very thick, it churns more quickly than most. In my machine the perfect churning time is 10 minutes, but your experience may vary.
The ice cream is ready when it has the consistency of soft serve and has started pulling away from the edge of the canister.
-
STORE
When the ice cream has finished churning, scoop it as quickly as possible into your storage container. Cover it with plastic wrap or parchment paper, if using. (Placing a sheet of parchment paper between the container and lid will help prevent frost, or you can press plastic wrap directly onto the surface of the ice cream.) Put the container in the freezer. The ice cream will be fully firm in a few hours.
Note
Recommended equipment: (may include affiliate links)
- My ice cream maker (2 qt)
- Newer version of my ice cream maker (2 qt)
- Well-reviewed less expensive ice cream maker (1.5 qt)
- Insulated ice cream container
- Heat-proof spatula
- Immersion/hand blender
- Standard blender
- Ice cream scoop
- Measuring cups
Recommended ingredients (may contain affiliate links):