
With just 5 ingredients, you can make a delicious Dr Pepper Sherbet that’s dairy free with extra protein, or vegan if you prefer. The result tastes like the sweet, complex taste of Dr Pepper that you know and love, plus creaminess from coconut milk, and a toasty/malty/toffee note that comes from reducing some of the soda into a thick syrup. The combination is pretty magical.
What flavor is Dr Pepper?
Dr Pepper famously has 23 flavors, but what they are is a company secret. The internet has come up with a list, although some of the flavors seem far-fetched…like tomato?? The ones on that list that seem most right to me are cherry, cola, amaretto, and caramel. But as I learned in testing this recipe, the flavor of Dr Pepper changes when you cook it down and reduce it.
It takes a LOT of Dr Pepper to get enough Dr Pepper flavor into a sherbet or ice cream. However, using it straight means we’d have way too much water in the recipe. So we need to reduce a lot of it down to a small quantity to get good flavor. On the other hand, cooked Dr Pepper tastes different from regular Dr Pepper. Once the liquid is reduced, the malty/caramel notes come out much more, almost tasting like toffee. It tastes good, but not quite like Dr Pepper. The solution is a combination of reduced Dr Pepper and straight Dr Pepper.
The recipe calls for reducing all but 1 cup of a 2-liter bottle down to a cup of syrupy, concentrated Dr Pepper, then mixing both versions together in the sherbet base. Reducing this much liquid to such a small quantity takes QUITE A WHILE — maybe an hour or more. It’s worth it, though!
Sorbet or sherbet?
I tested Dr Pepper ice cream first, then considered switching to a sorbet, which is typically based on fruit juice (or in our case, soda). A sorbet made a lot of sense, because we have so much liquid to incorporate to get our Dr Pepper flavor. In the end, I preferred a hybrid approach — a sherbet. Technically, sorbets have no fat, while sherbets have a little, so the addition of coconut milk puts us solidly in the sherbet category. This gives us a mixture that’s mostly Dr Pepper, but still nicely creamy, almost like a Dr Pepper float.
Now that I have a good formula for turning Dr Pepper into sherbet, I expect it would work just as well for any soda. I’m excited about trying it with Coke, Root Beer, and Dr Pepper Strawberries and Cream. (Just don’t try it with diet!)

Protein powders and vegan options
This recipe is dairy free. I’ve used collagen powder, which doesn’t affect the flavor, to add protein. In most of my recipes you can swap out one protein powder for another if you like, but I don’t recommend doing that here. Collagen behaves differently from other protein powders, because it dissolves in a liquid. This makes it ideal for sorbets and sherbets. If you want to take the recipe from dairy free to vegan, just leave out the collagen. You’ll still have a great Dr Pepper sherbet.
For more about the history of Dr Pepper, check out Max Miller’s episode of Tasting History about Hot Dr Pepper from the 1960s.
For more sherbets and sorbets, try Grapefruit Tarragon Sorbet (dairy free with vegan option) or Carrot-Ginger-Coconut Sorbet (vegan).

Dr Pepper Sherbet (dairy free with a vegan option)
Makes ~1 quart
Ingredients
Instructions
-
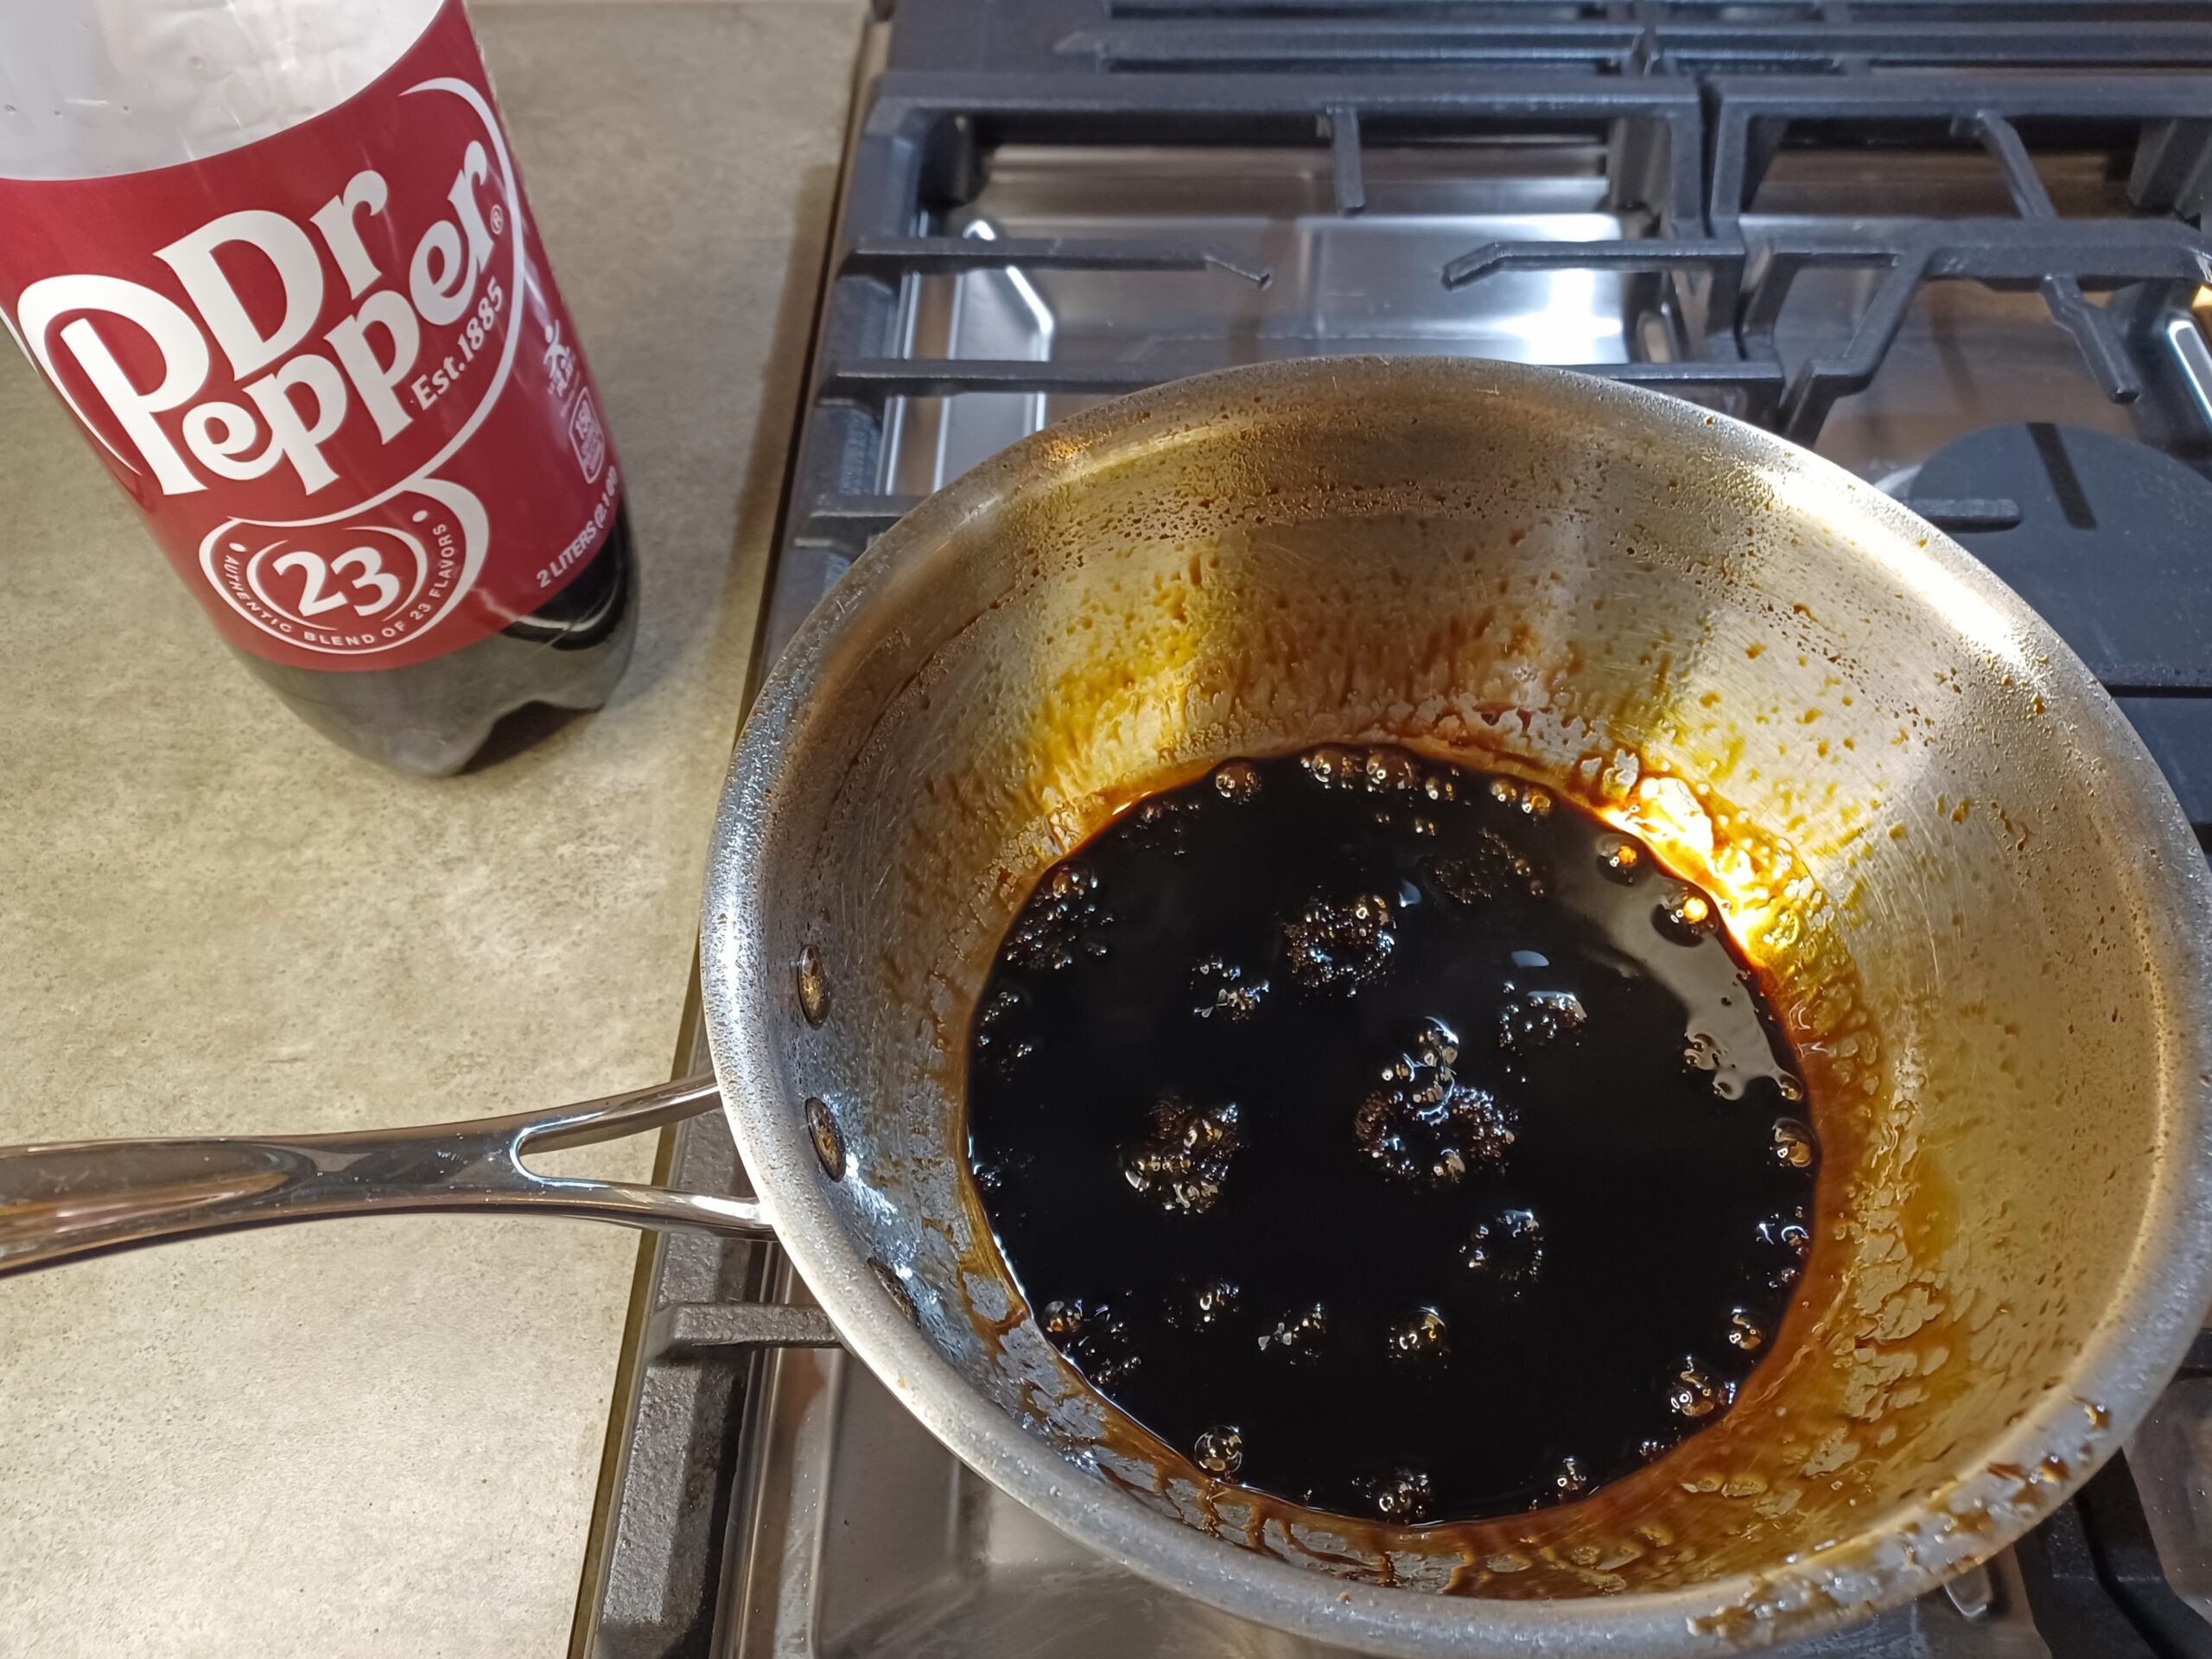
REDUCE THE DR PEPPER
Measure out 1 cup of Dr Pepper and set it aside. Pour the rest of the 2-liter bottle of Dr Pepper into the sauce pan and bring it to a boil over medium-high heat. Let the Dr Pepper simmer on the stove until it's reduced to 1 cup of thick, syrupy liquid. This might take an hour or more! Then remove from the heat.
-
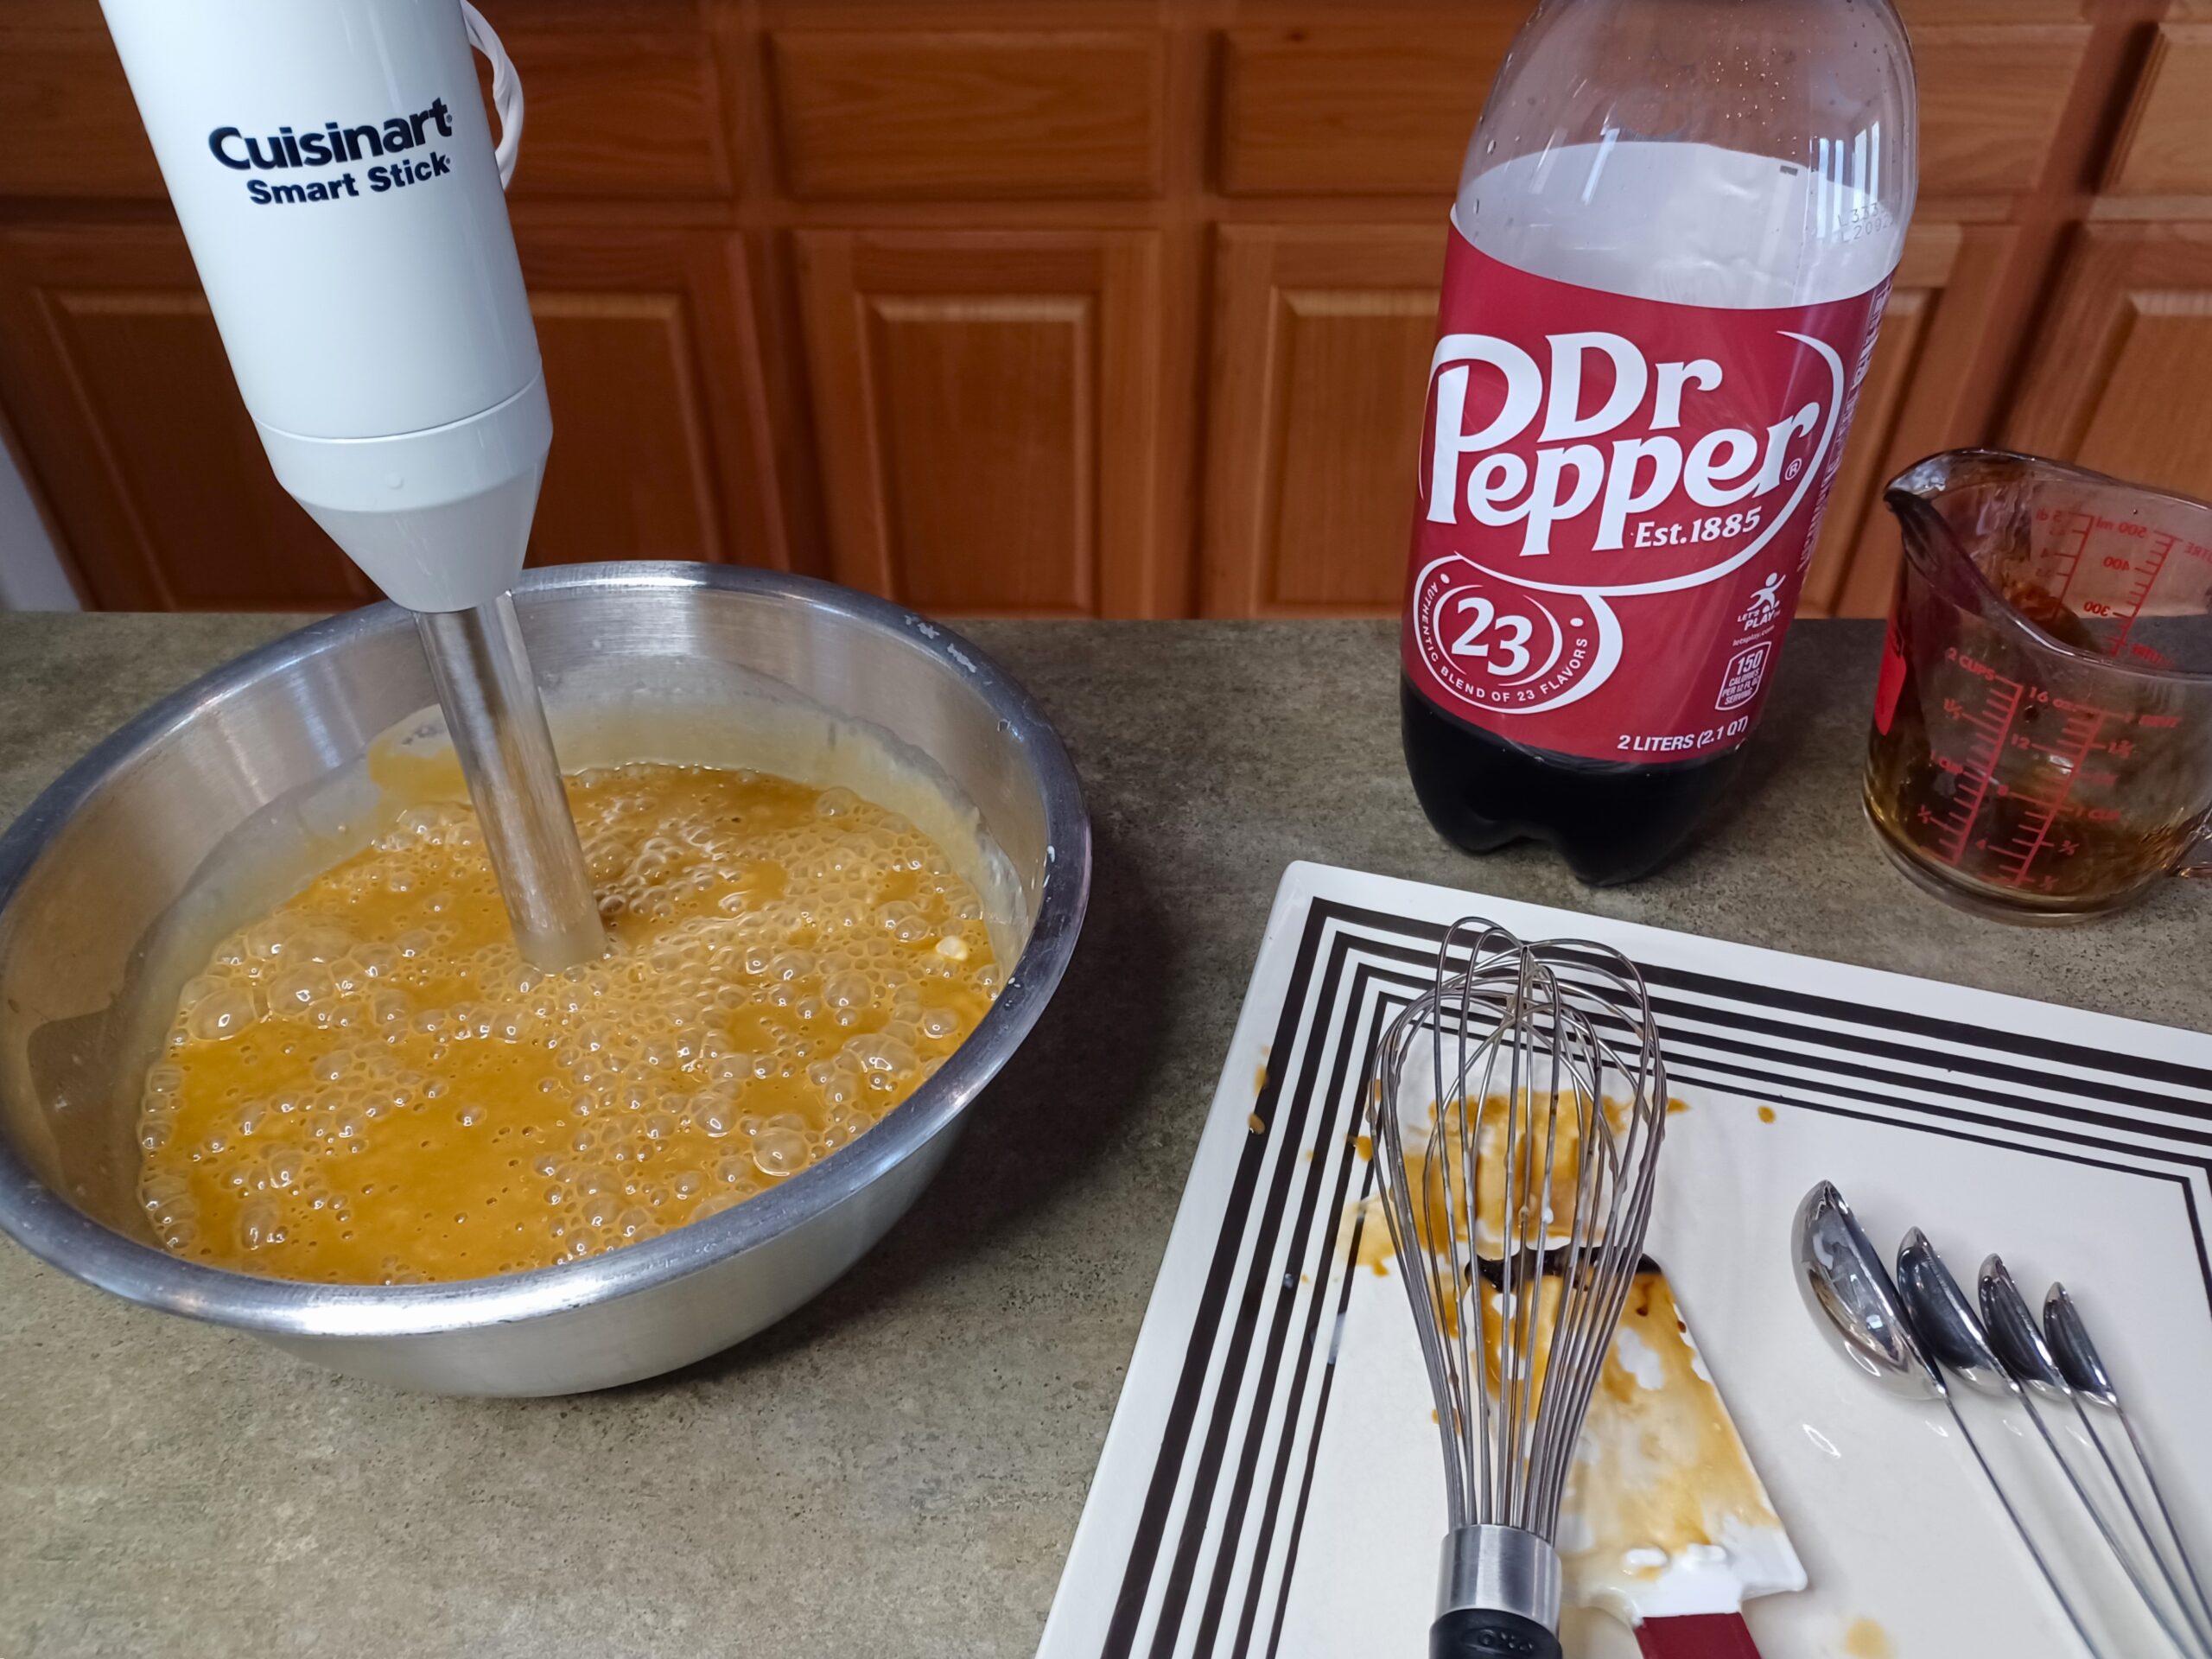
ADD REMAINING INGREDIENTS
Add all of the remaining ingredients (reserved 1 cup of Dr Pepper, coconut milk, collagen, salt, and xanthan gum). Whisk everything together, but don't worry if you see a few lumps, because we're about to...
-
BLEND
Blend with an immersion blender or transfer to a standard blender and blend thoroughly. We need to make sure the mixture is well emulsified.
-
CHILL
Transfer to a container and chill in the refrigerator for 8 hours or overnight. I have no objection to putting the sauce pan straight into the fridge.
For a quicker chilling time, place the bowl containing your mixture in an ice bath (a larger bowl containing ice water) for a few hours. Stir the mixture occasionally. As the water in the ice bath warms up, pour off some water and add ice to keep the mixture chilling as quickly as possible.
Ideally, the mixture will be about 40 degrees when you churn it.

-
CHURN
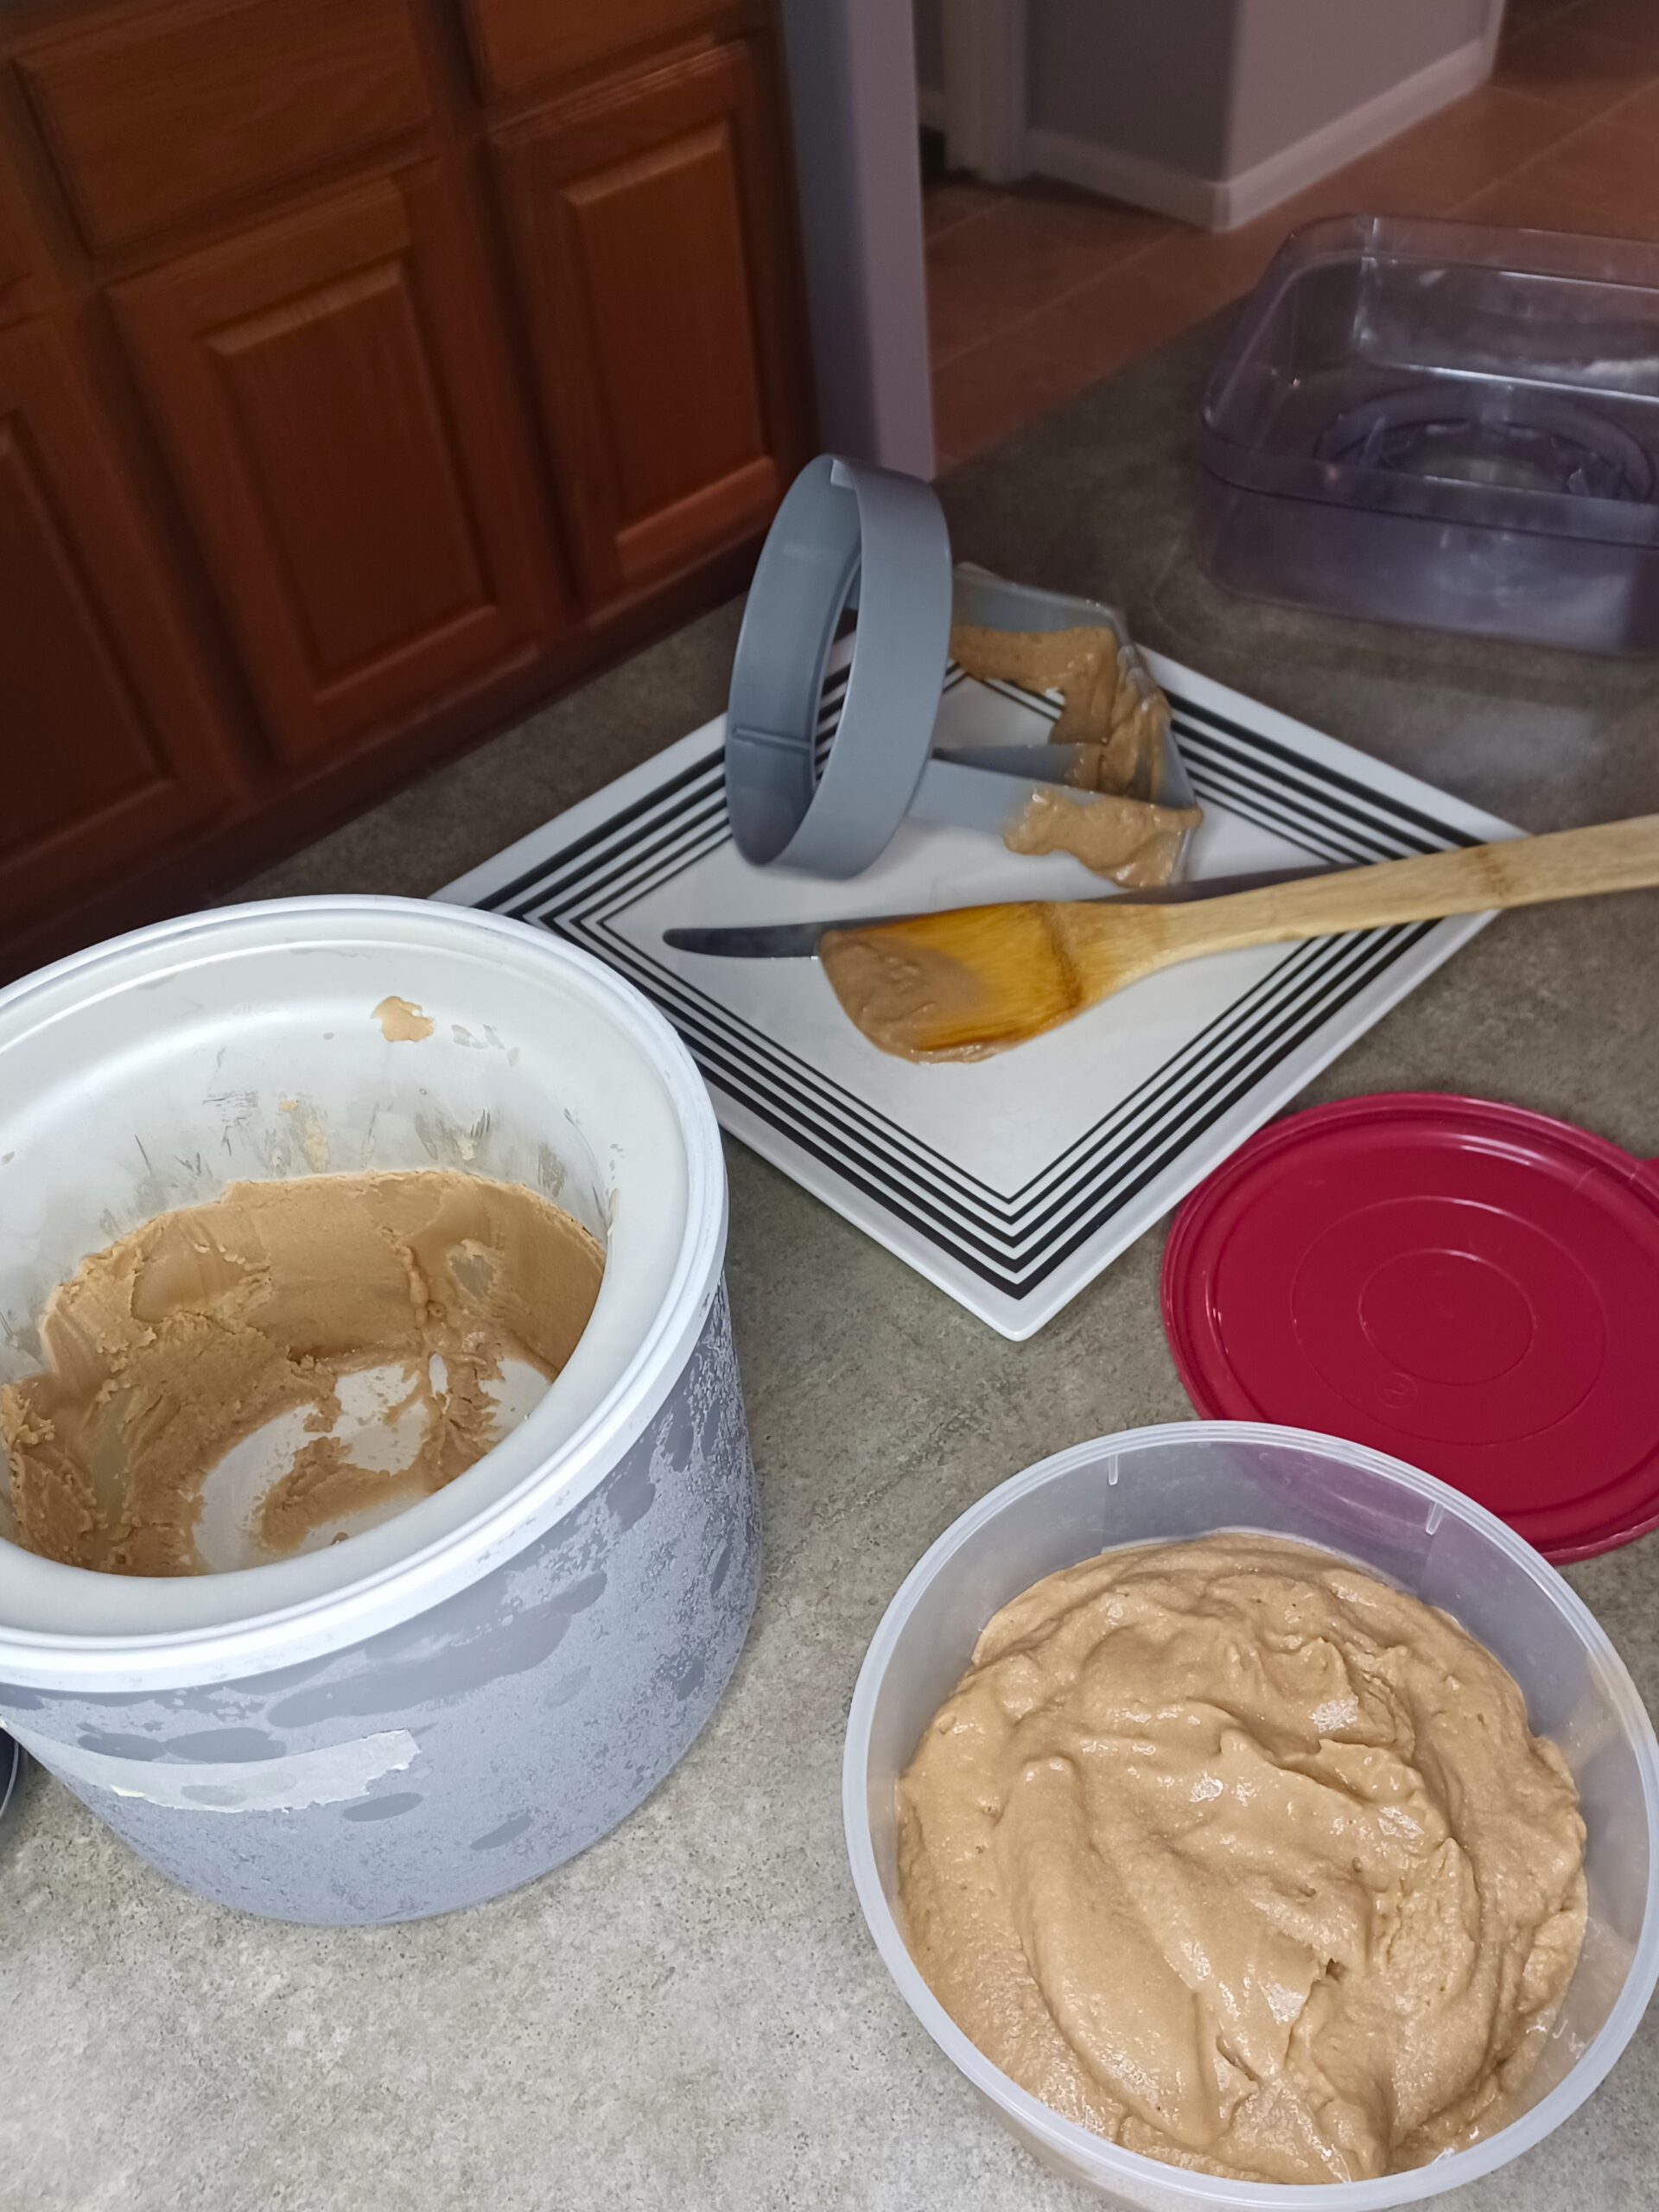
Before you start churning, set up everything you'll need to quickly transfer the sherbet from the machine into a container for freezing. I use a knife to scrape down the dasher (or paddle) and a wooden spoon to scoop out the ice cream.
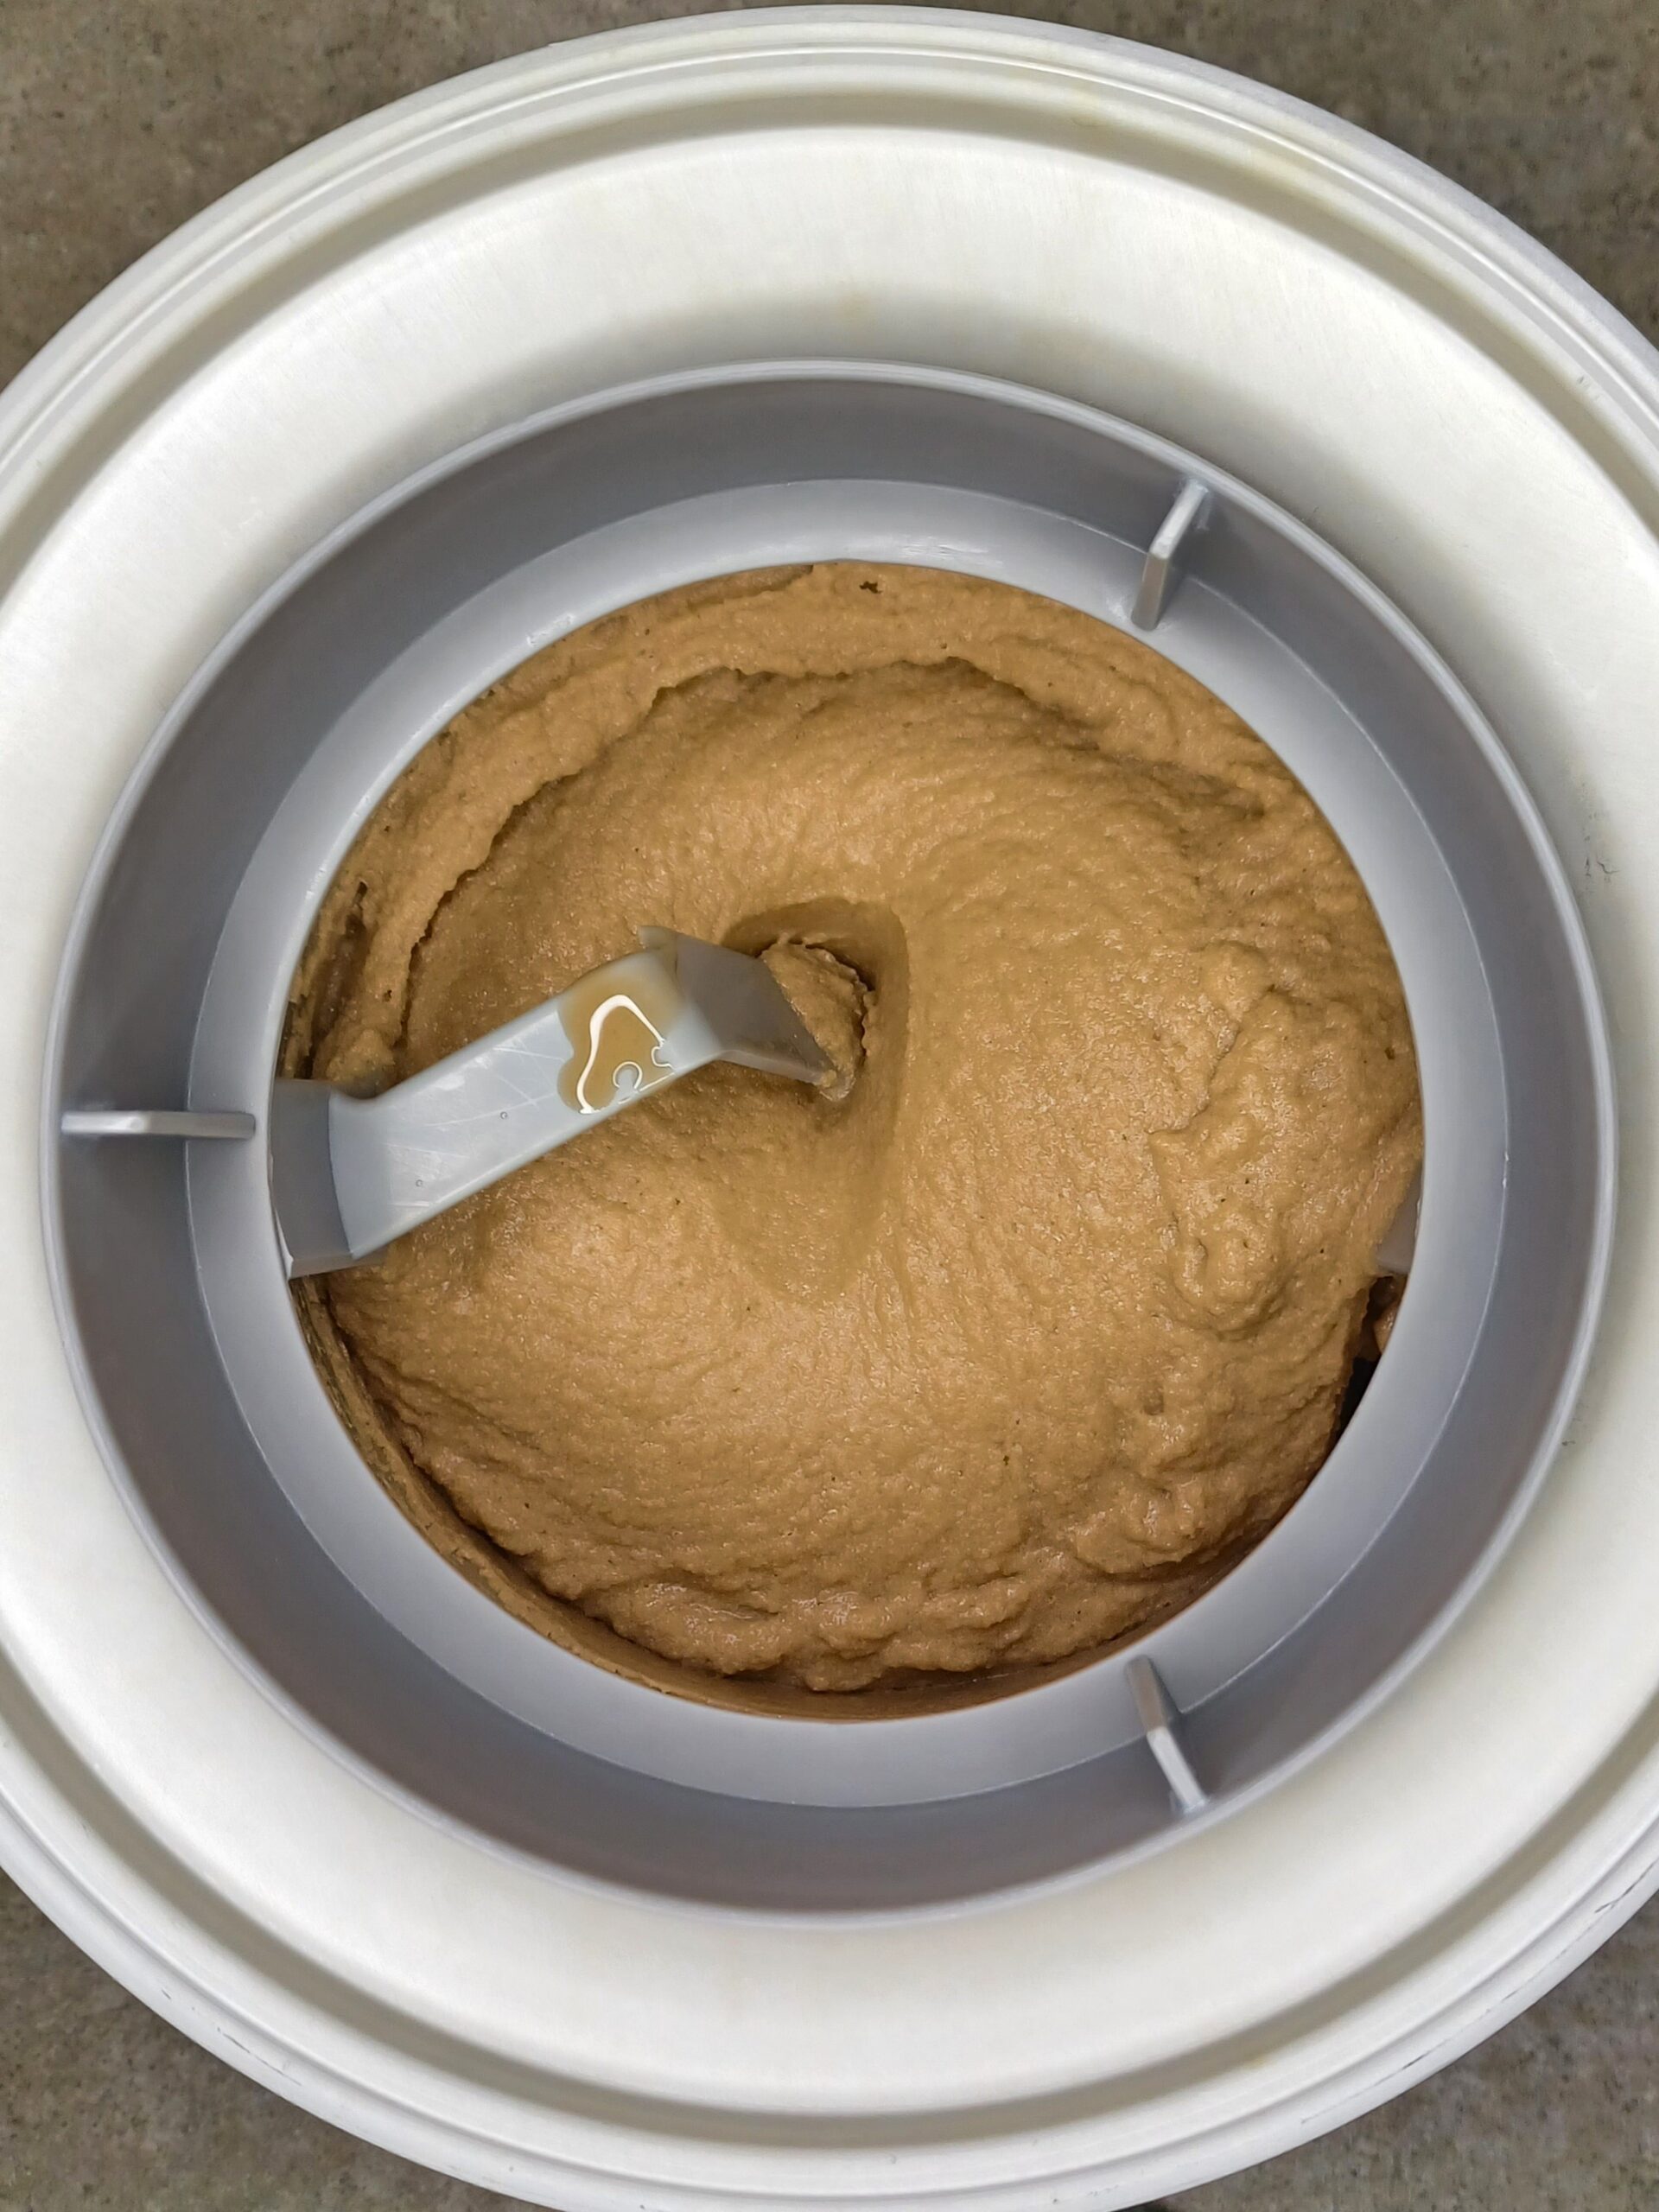
Set up your ice cream maker according to the manufacturer's directions. Scoop your mixture into the ice cream maker and churn. In my machine the perfect churning time is 23 minutes, but your experience may vary.
It's finished churning when it looks like soft-serve and is pulling away from the sides of the canister.
-
STORE
When the sherbet has finished churning, scoop it as quickly as possible into your storage container. Cover it with plastic wrap or parchment paper, if using. (Placing a sheet of parchment paper between the container and lid will help prevent frost, or you can press plastic wrap directly onto the surface of the ice cream.) Put the container in the freezer. The ice cream will be fully firm in a few hours.
Note
Recommended equipment (may contain affiliate links):
- My ice cream maker (2 qt)
- Newer version of my ice cream maker (2 qt)
- Well-reviewed less expensive ice cream maker (1.5 qt)
- Insulated ice cream container
- Heat-proof spatula
- Immersion/hand blender
- Ice cream scoop
Recommended ingredients (may contain affiliate links):