
A few months ago my book club read The Island of Missing Trees. In the novel, one of the characters talks about a special family recipe: Fig and Anise Ice Cream. I had no idea how it would taste or if it would be good, but obviously I had to try making it!
What does it taste like?
The dried figs have a rich, dark, sweet, earthy flavor. The anise, with a sweet licorice flavor, contrasts wonderfully with the figs. I would never have put these two ingredients together, but they make a great combination. The character in the book whose family made Fig and Anise Ice Cream was Greek, so maybe this is a more typical ice cream flavor in Greece? If you know, please share in the comments!
How do you make it?
This recipe is simple, although it requires a little cooking. The dried figs and anise seeds need to be softened and to infuse the coconut milk with their flavor. So we start by simmering them with part of the coconut milk. Then we transfer the mixture to a blender and blend in the remaining ingredients in stages. The whey protein goes last, because the mixture needs to be cooled as much as possible when the whey is added. If the mixture is too hot, the whey can start to cook and create clumps in the ice cream.
The basic process is: simmer, blend, chill, churn.
Nutrition options…
I’ve used protein powder (whey in this case) to increase the protein and reduce the sugar, without sacrificing texture. For more details on how that works, click here. As written, the recipe is lactose free (because whey protein powder has the lactose removed). The recipe notes below provide suggestions for using other types of protein powder, if you’d like. For instance, if you swapped the whey protein for collagen, it would be completely dairy free.
If you like the sound of Fig and Anise Ice Cream, you might also enjoy these herbal-inspired flavors:
Ingredients
Instructions
-
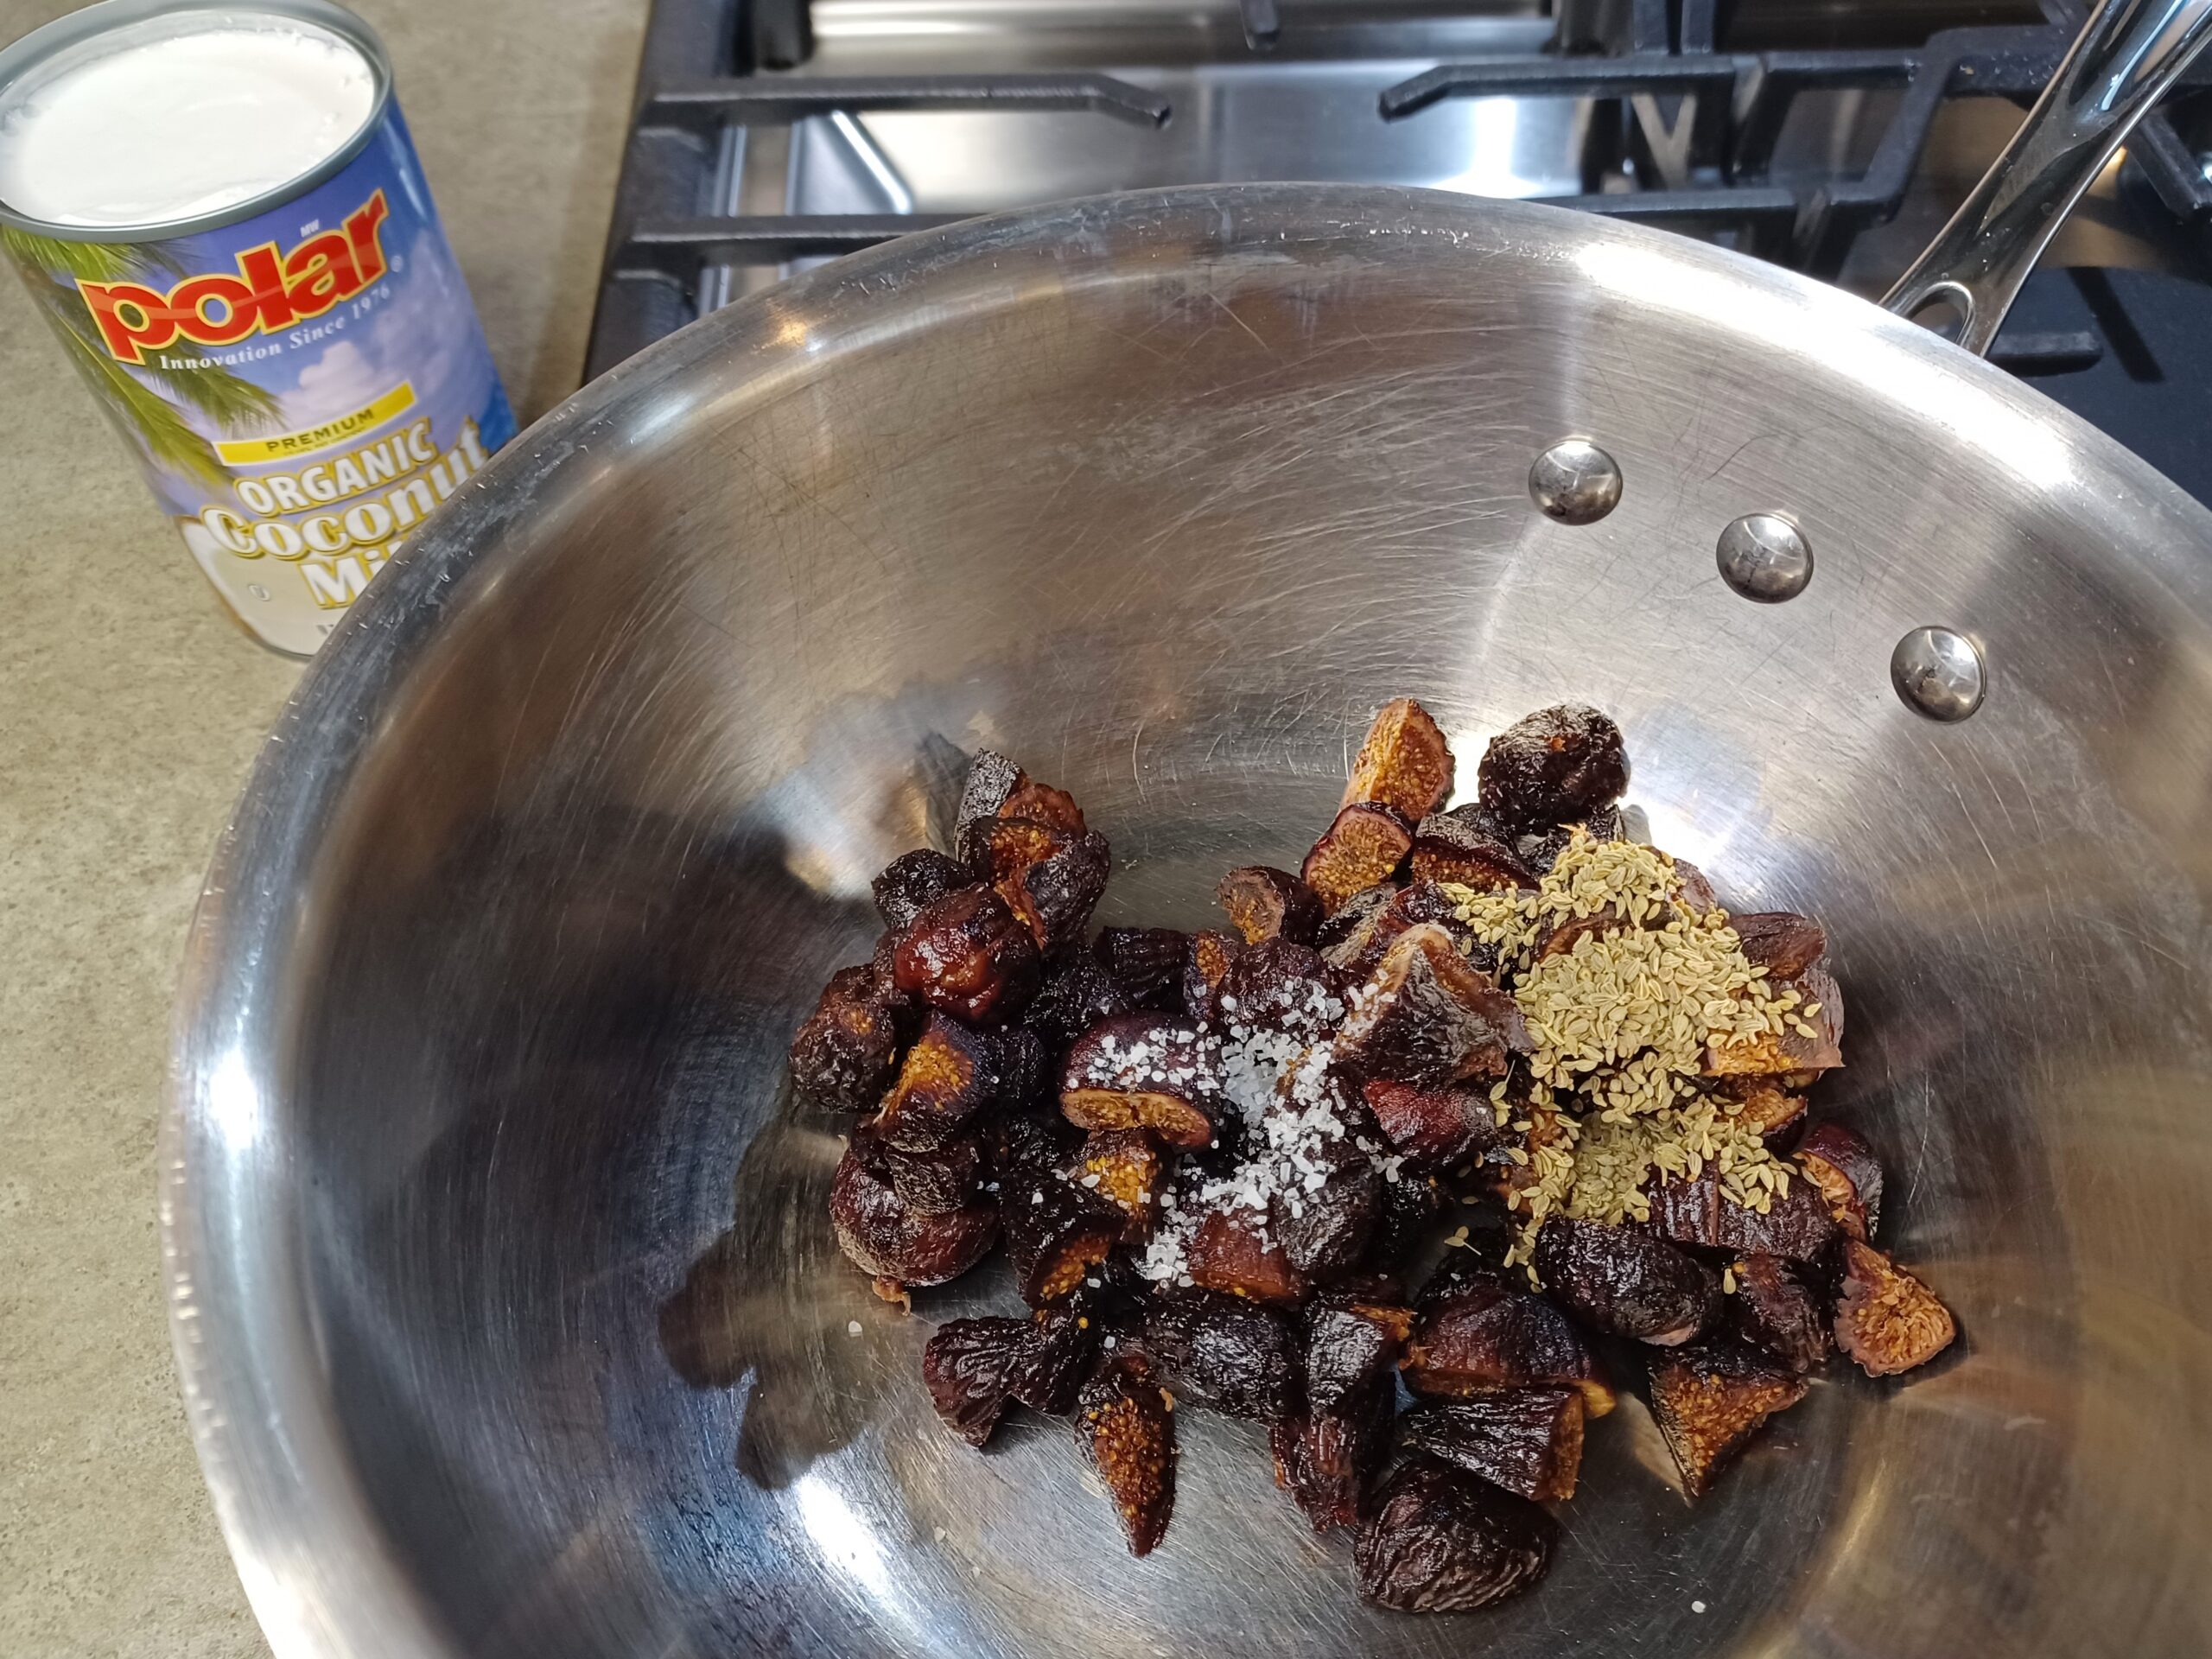
COOK THE FIGS
Roughly chop the figs -- I cut mine into quarters. Remove any stems.
To a saucepan, add the figs, anise seeds, salt, and 1 can of the coconut milk. Heat over medium until simmering, then simmer for 5 minutes. Remove from the heat and let cool for 15 minutes.
-
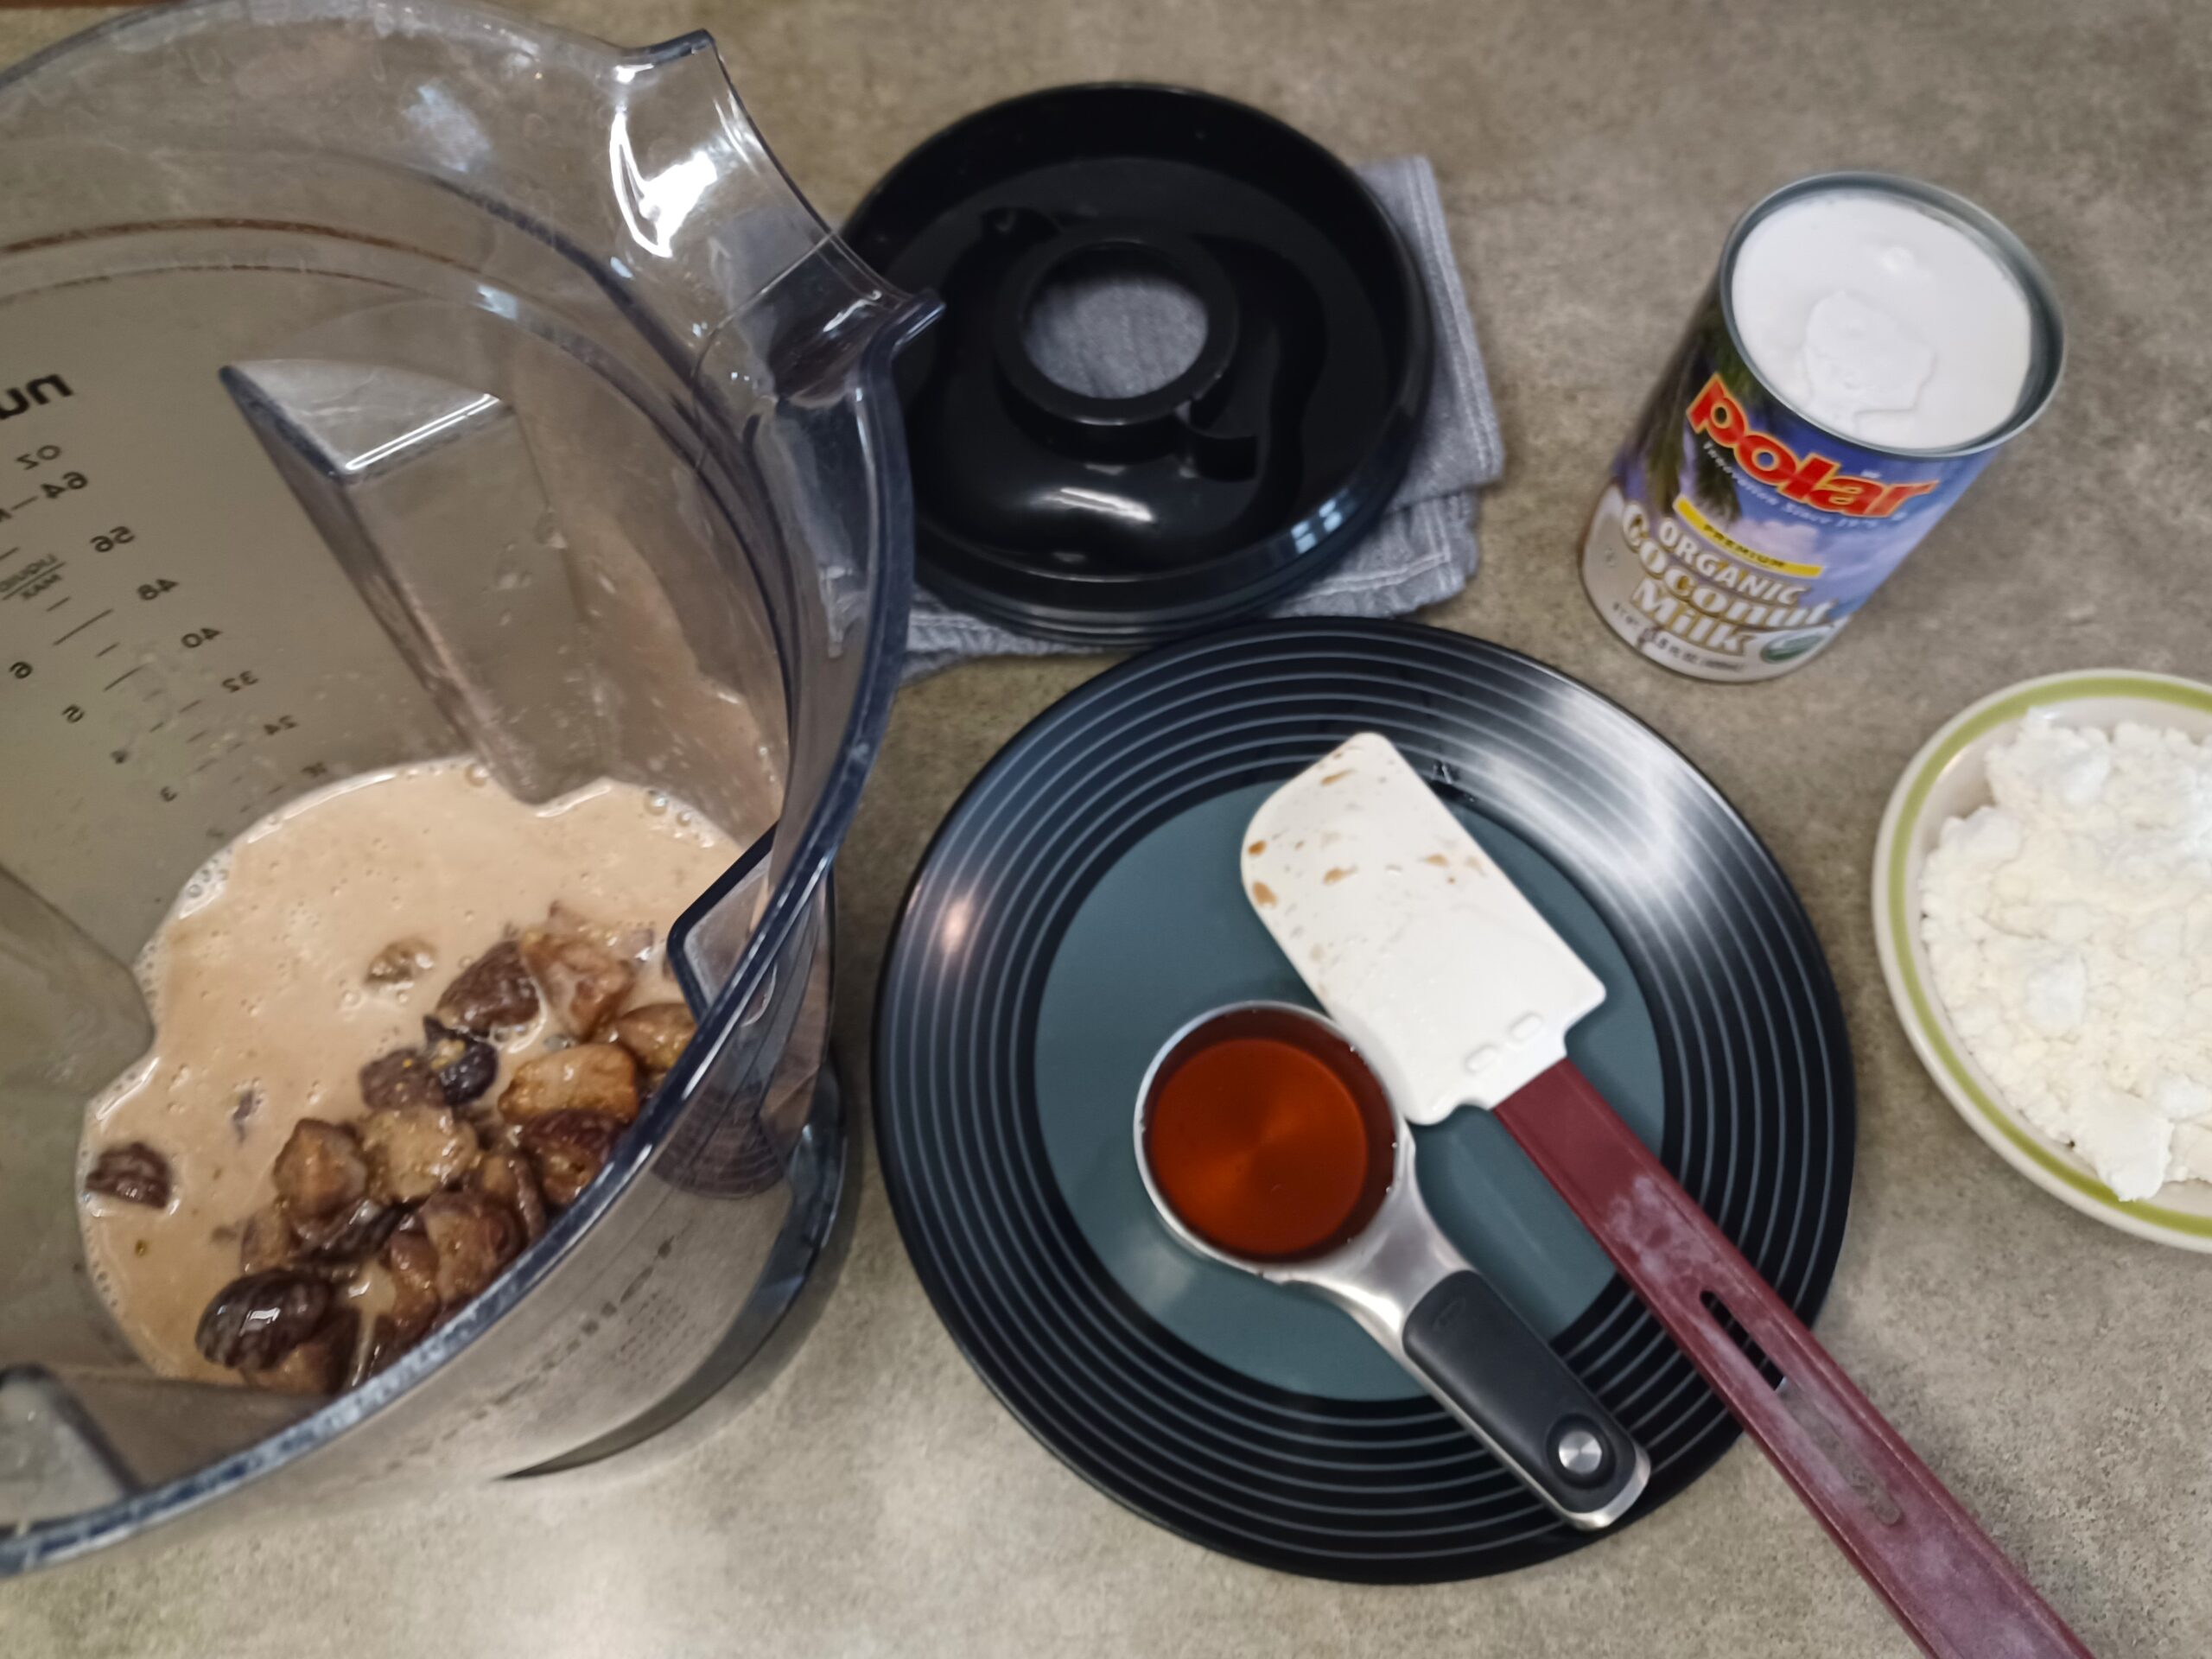
BLEND FIG MIXTURE
Put the fig mixture into a blender and add the honey. (If the fig mixture is still hot, remove the top portion of the blender lid and replace it with a kitchen towel. This will prevent steam from building up in the blender.)
Blend until smooth.
-
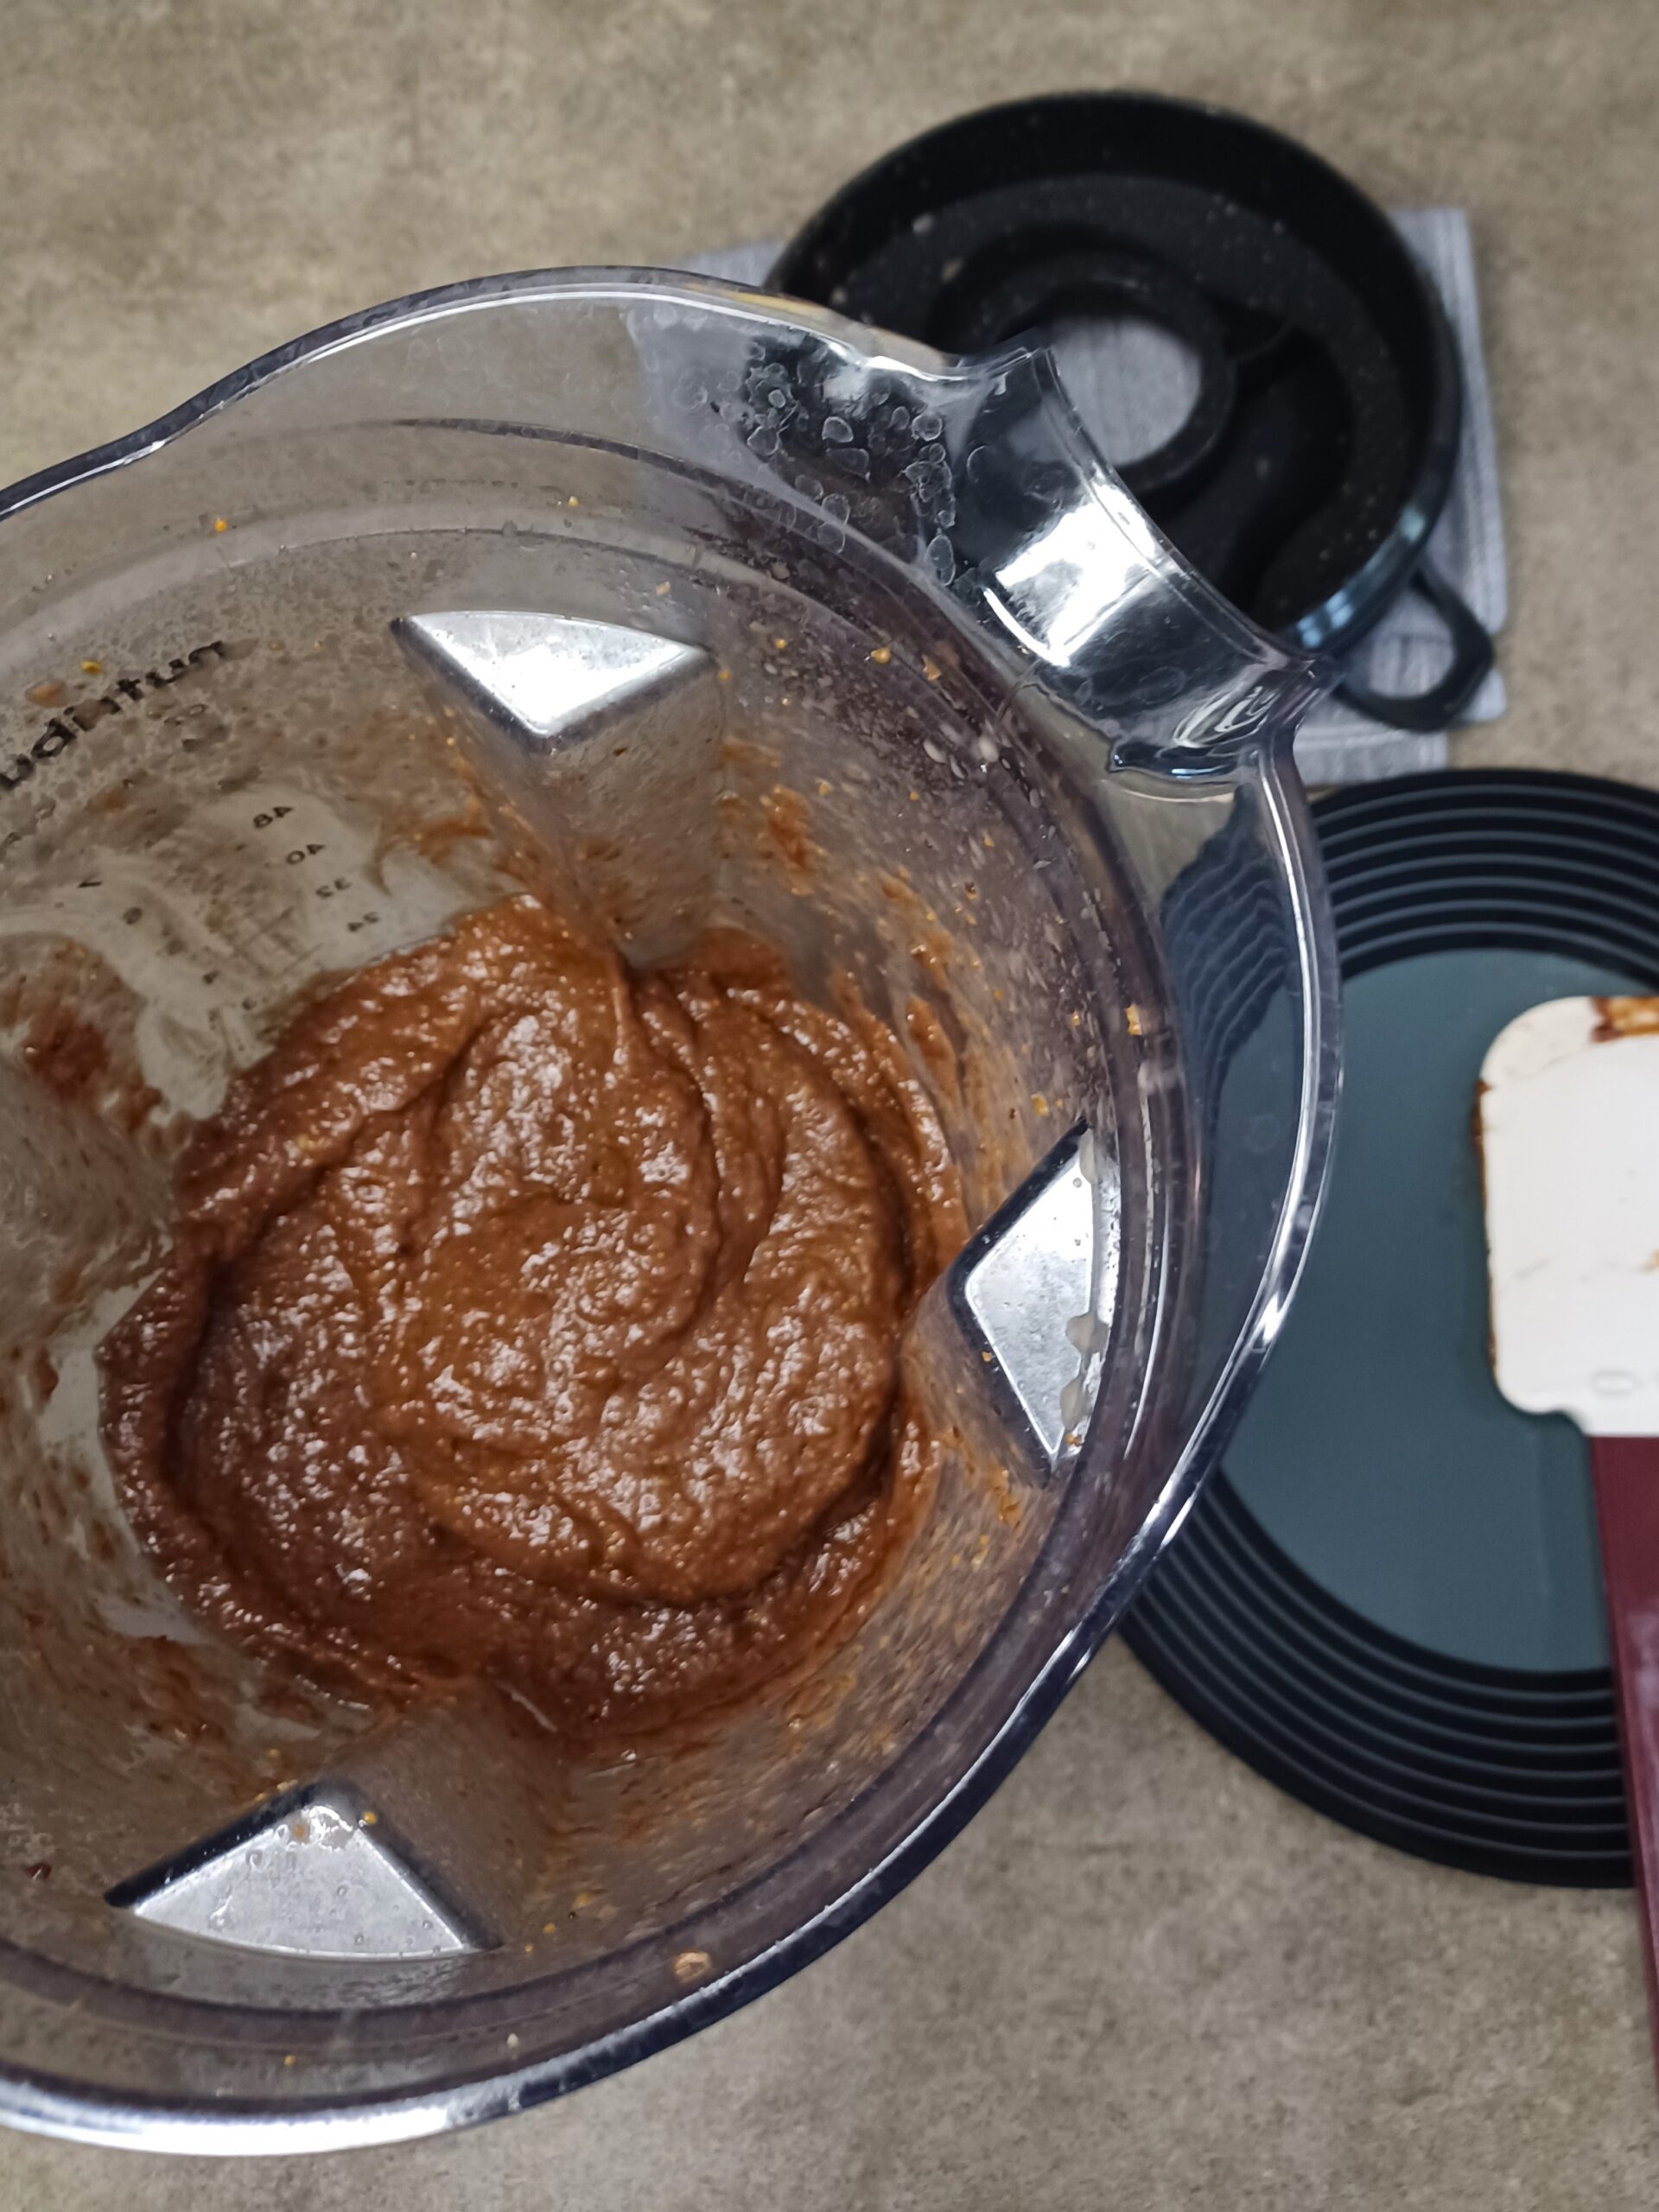
ADD SECOND CAN OF COCONUT MILK
Add the second can of coconut milk to the blender and blend again, scraping down the sides with a spatula as needed.
-
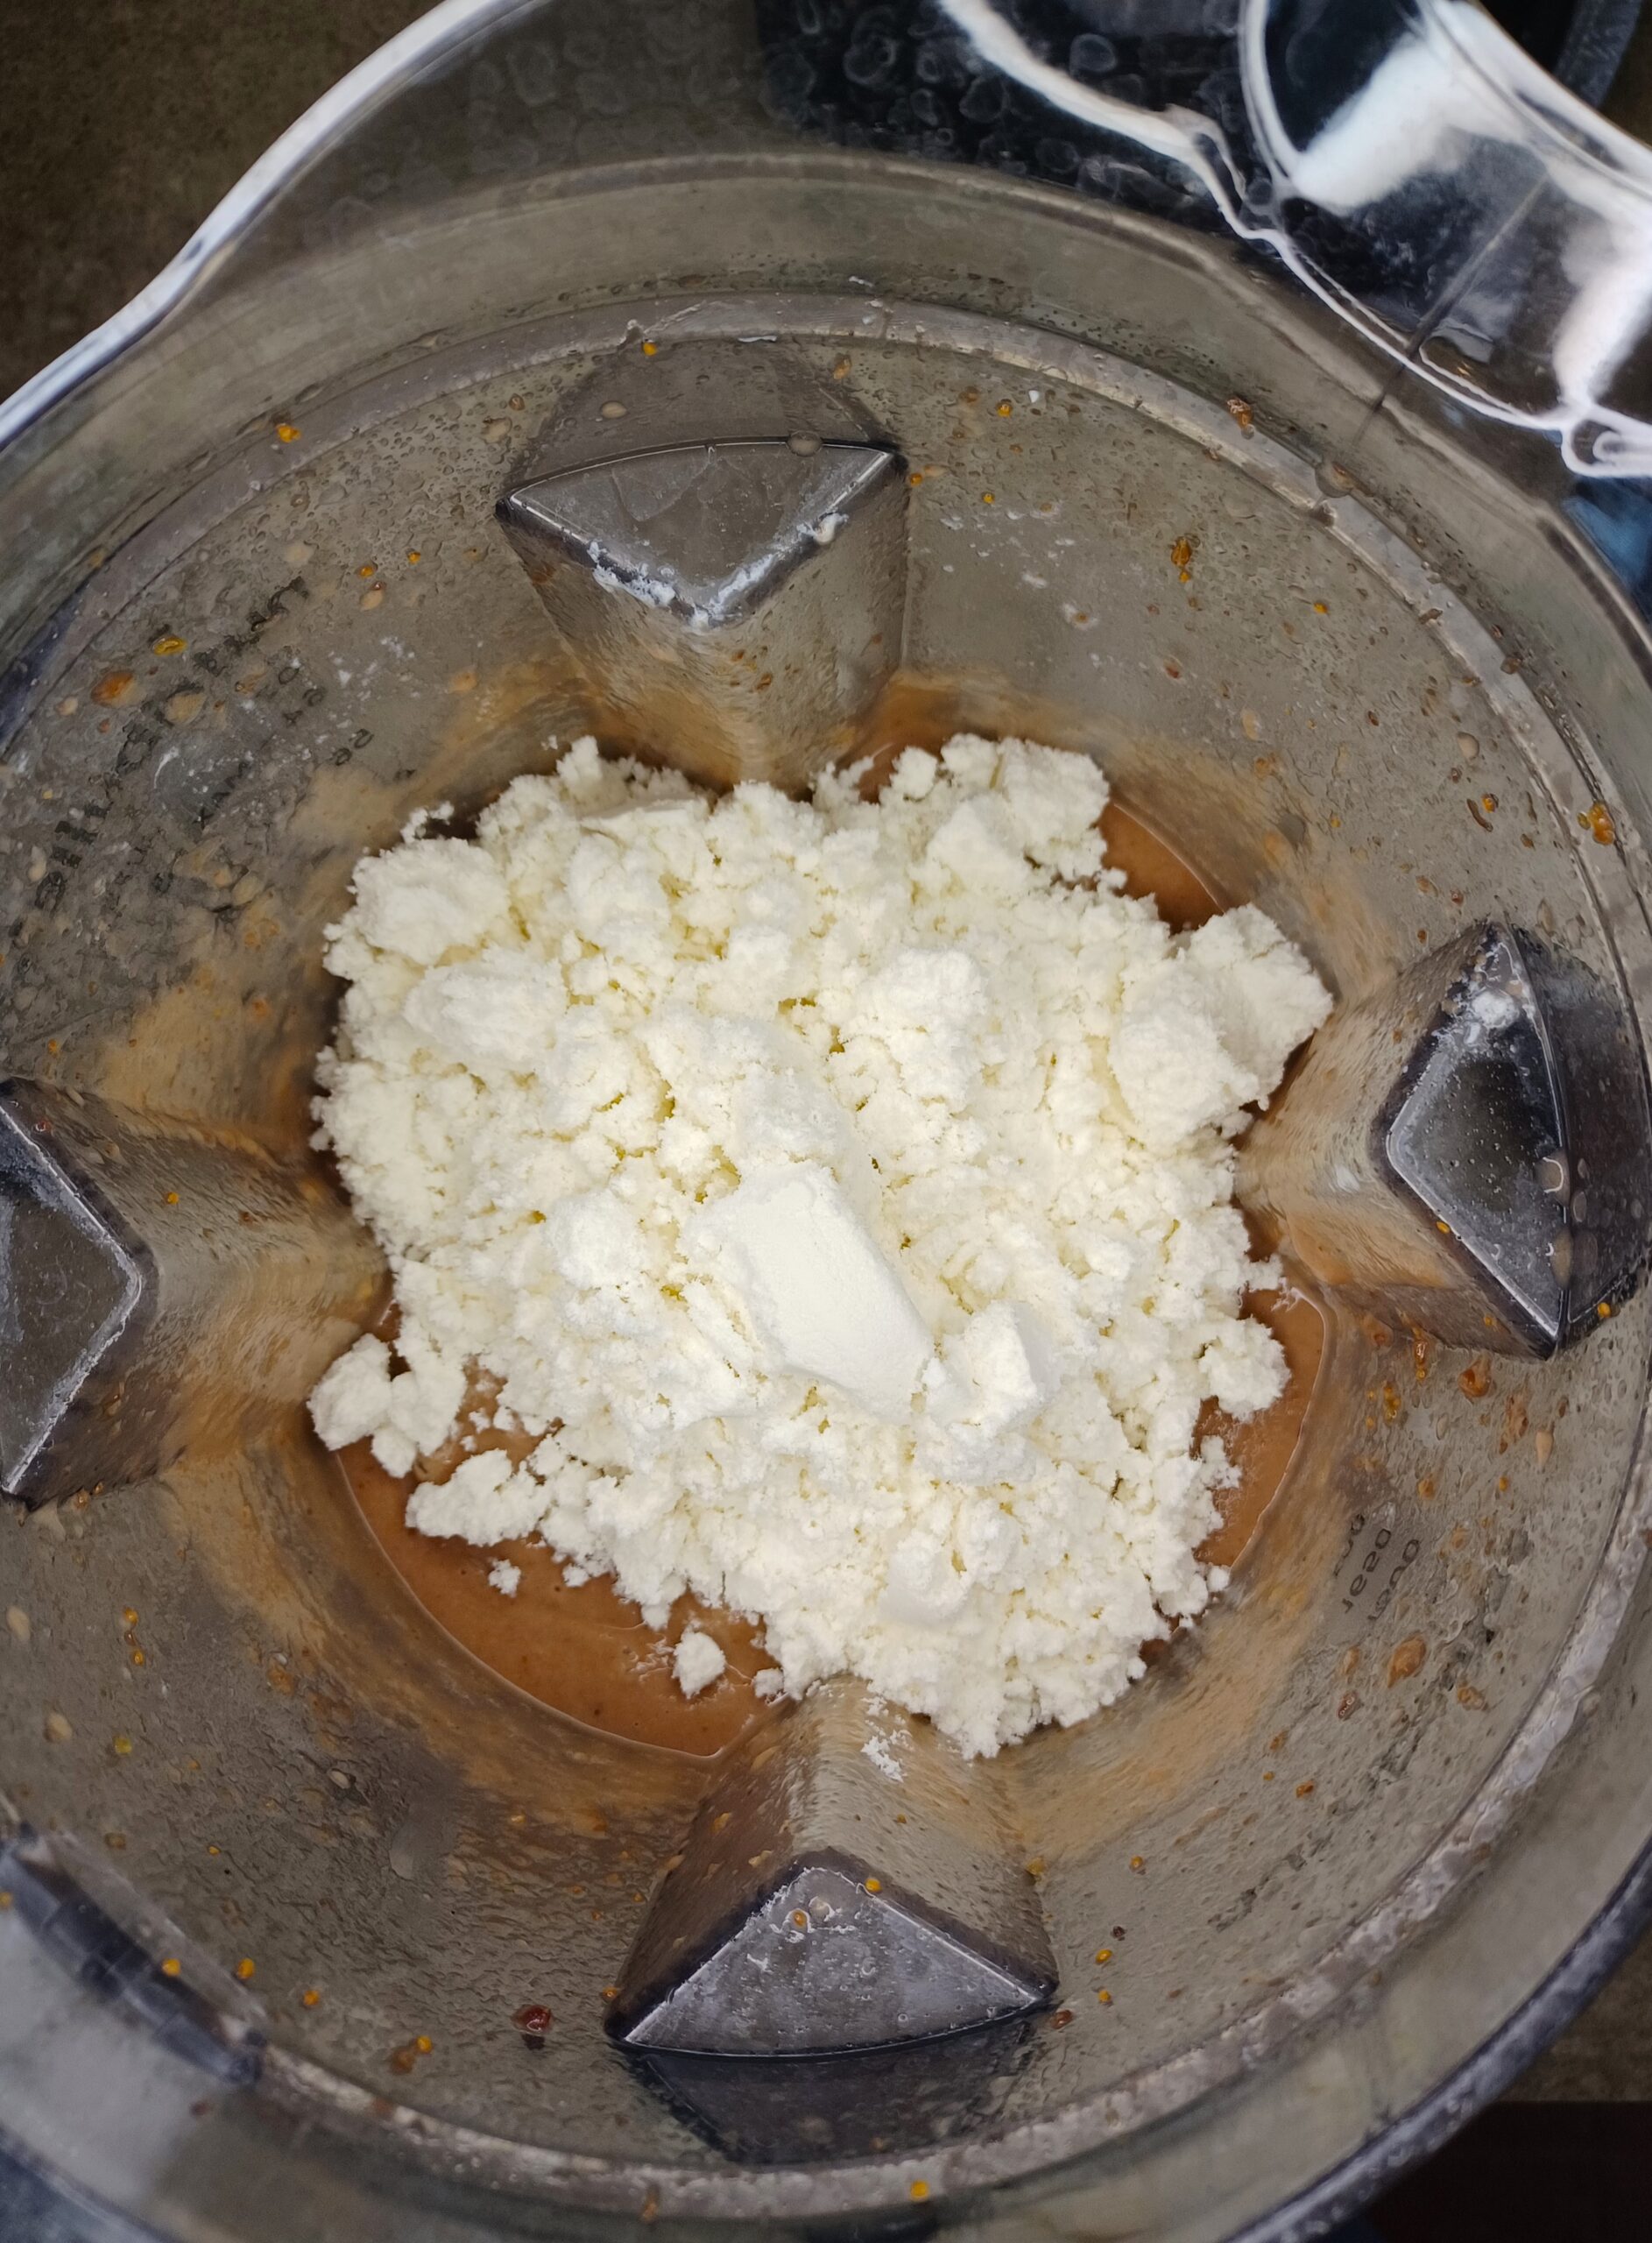
ADD WHEY PROTEIN
Finally, add the whey protein and xanthan gum (if using). (We're waiting until the very end for the whey protein, because the mixture needs to be cooled as much as possible before adding it. Adding the whey protein when the mixture is too hot will make it start to cook and clump up.)
-
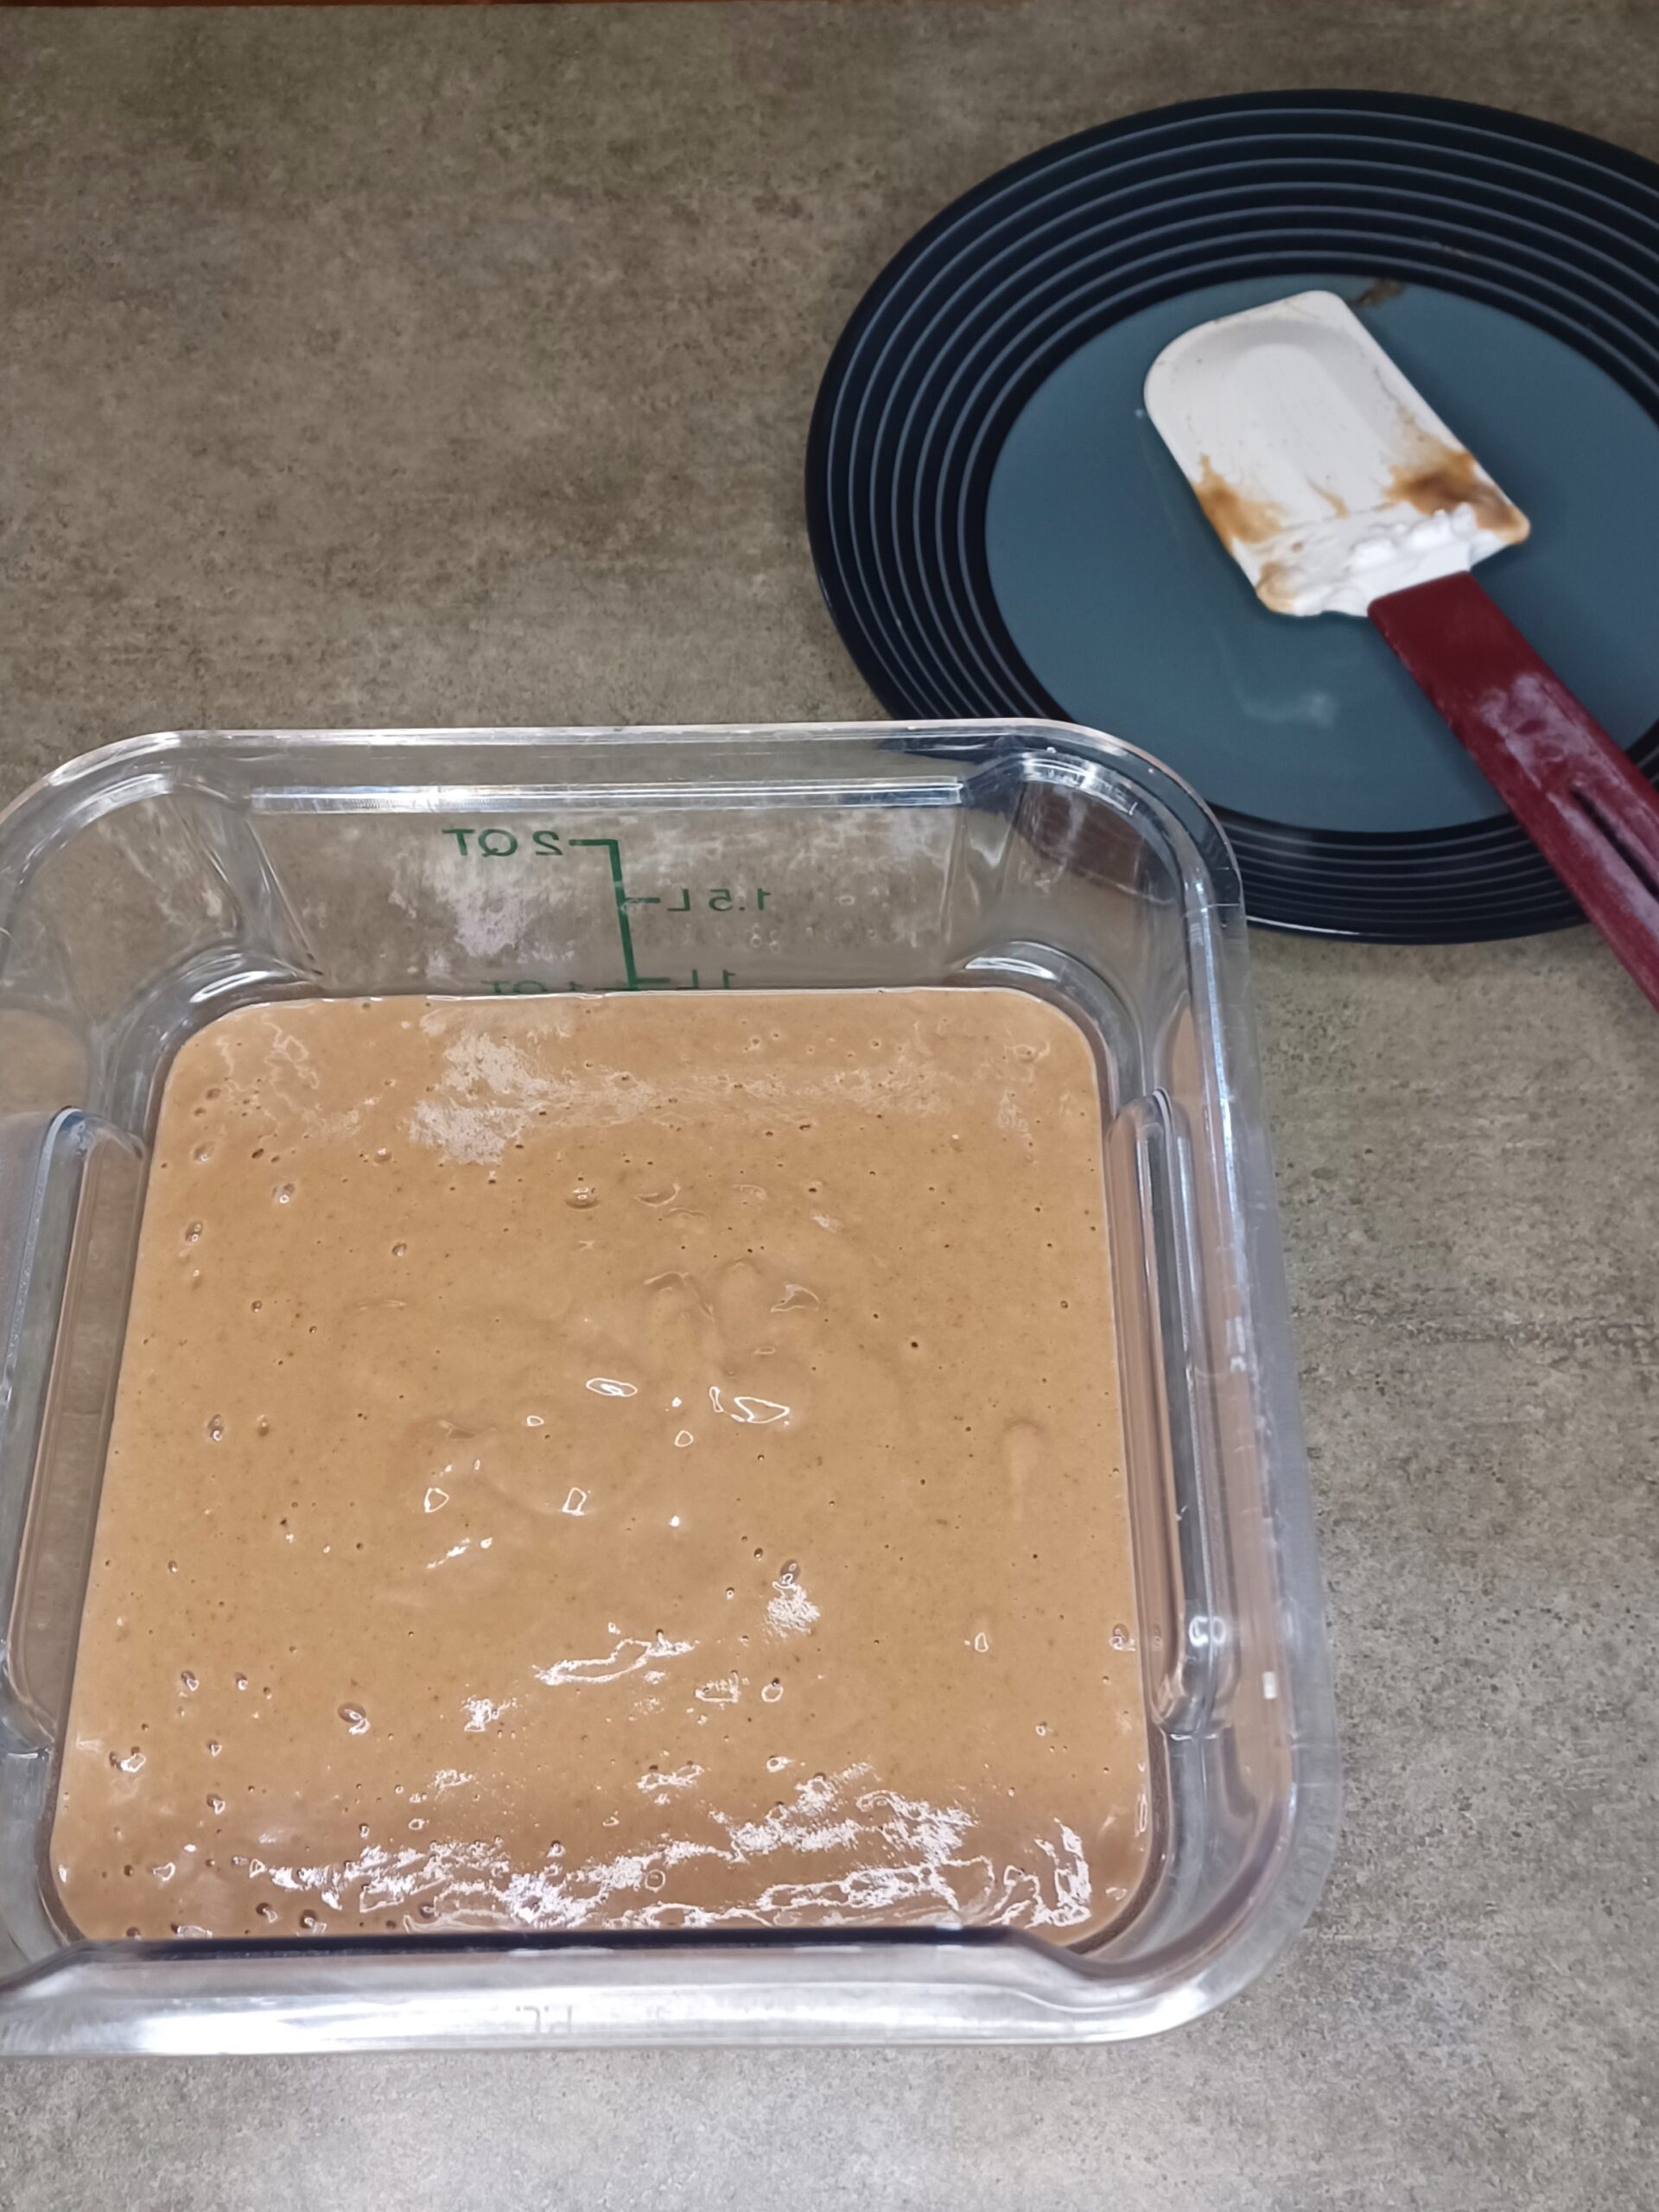
CHILL
Transfer to a container and chill in the refrigerator for 8 hours or overnight.
For a quicker chilling time, place the bowl containing your mixture in an ice bath (a larger bowl containing ice water) for a few hours. Stir the mixture occasionally. As the water in the ice bath warms up, pour off some water and add ice to keep the mixture chilling as quickly as possible.
When chilled, the mixture will be quite thick, because of the pureed figs.
-
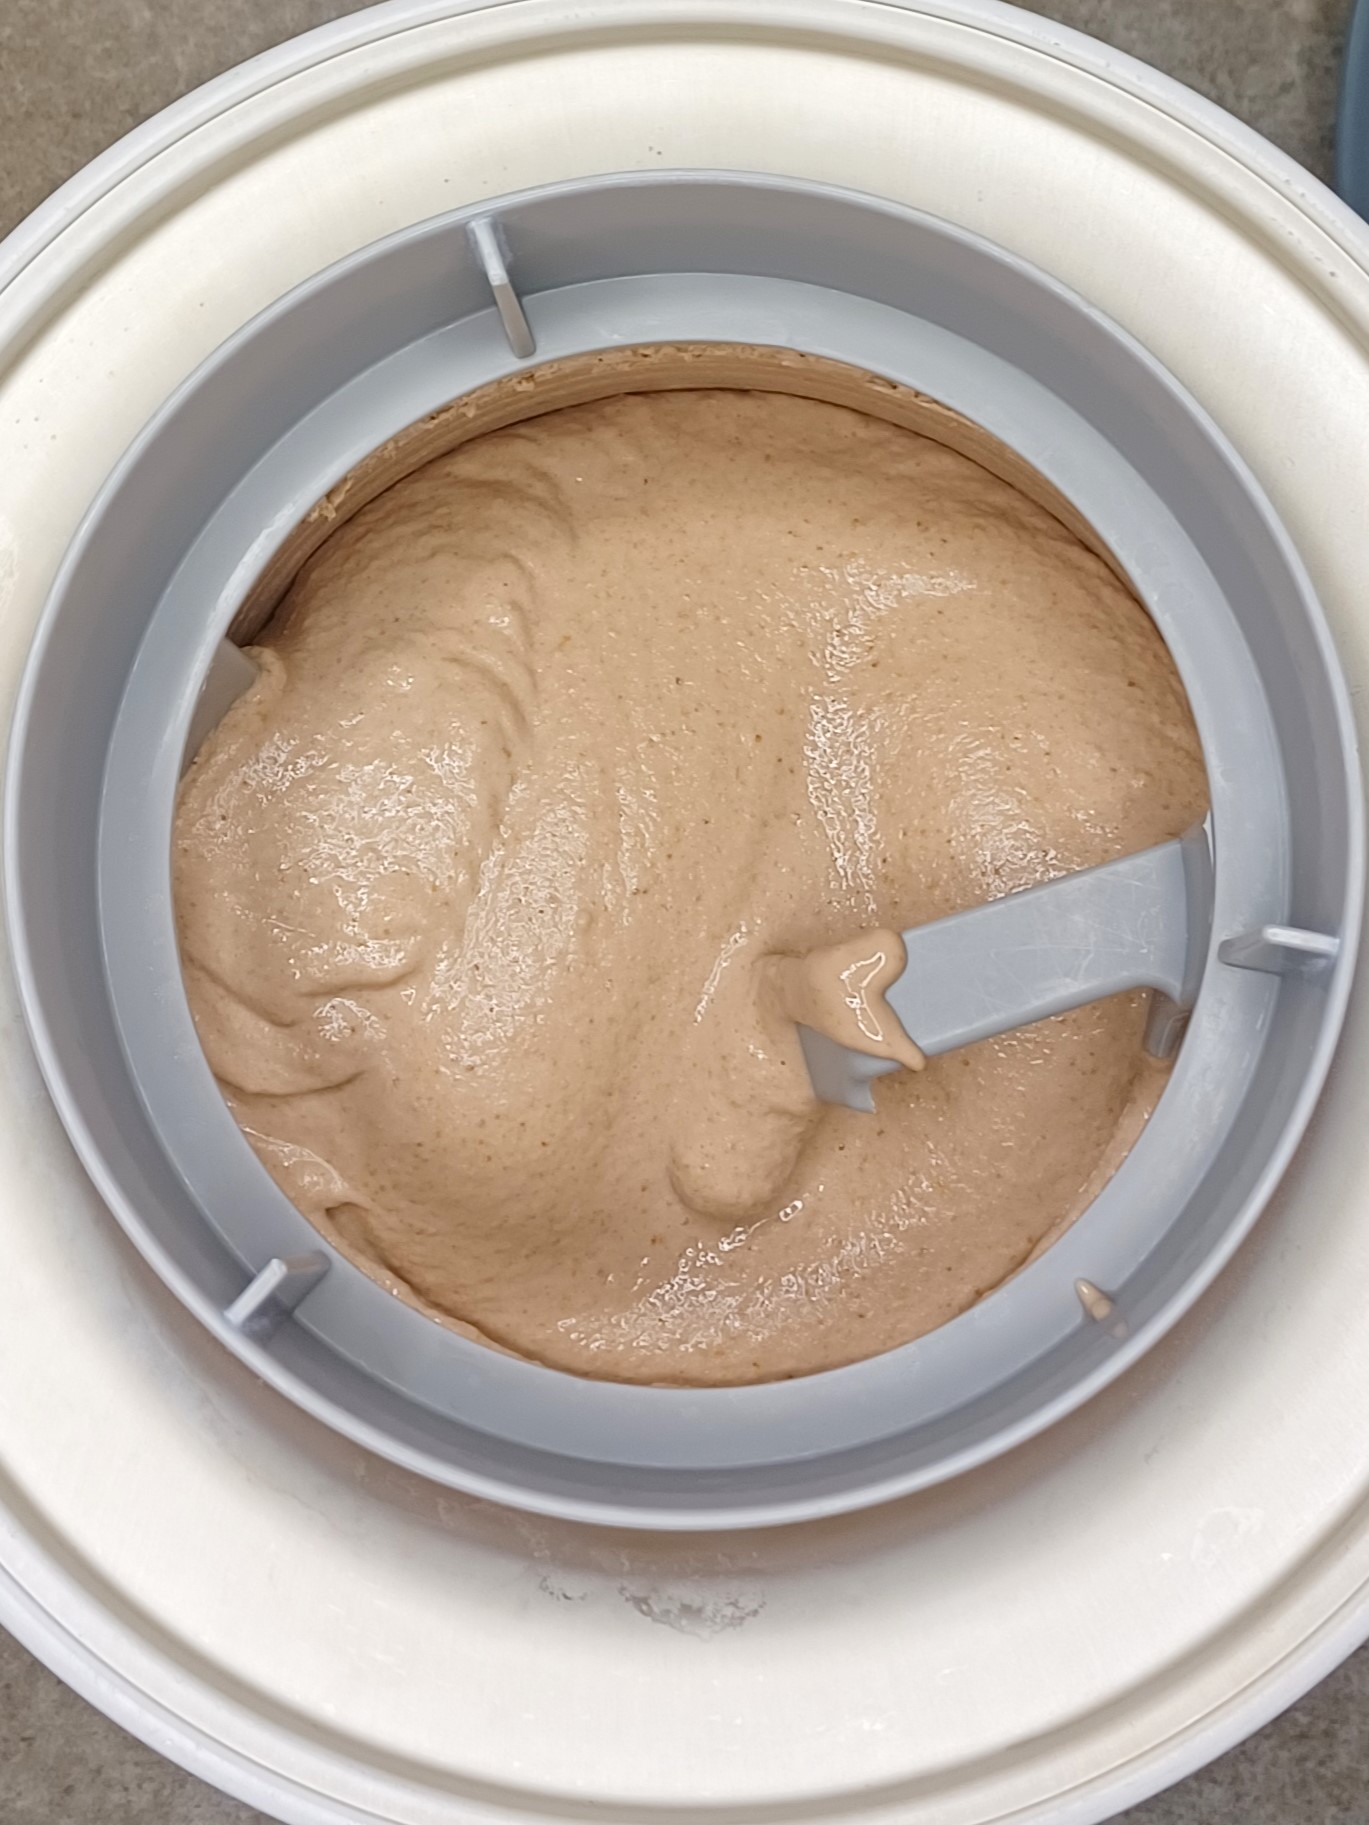
CHURN
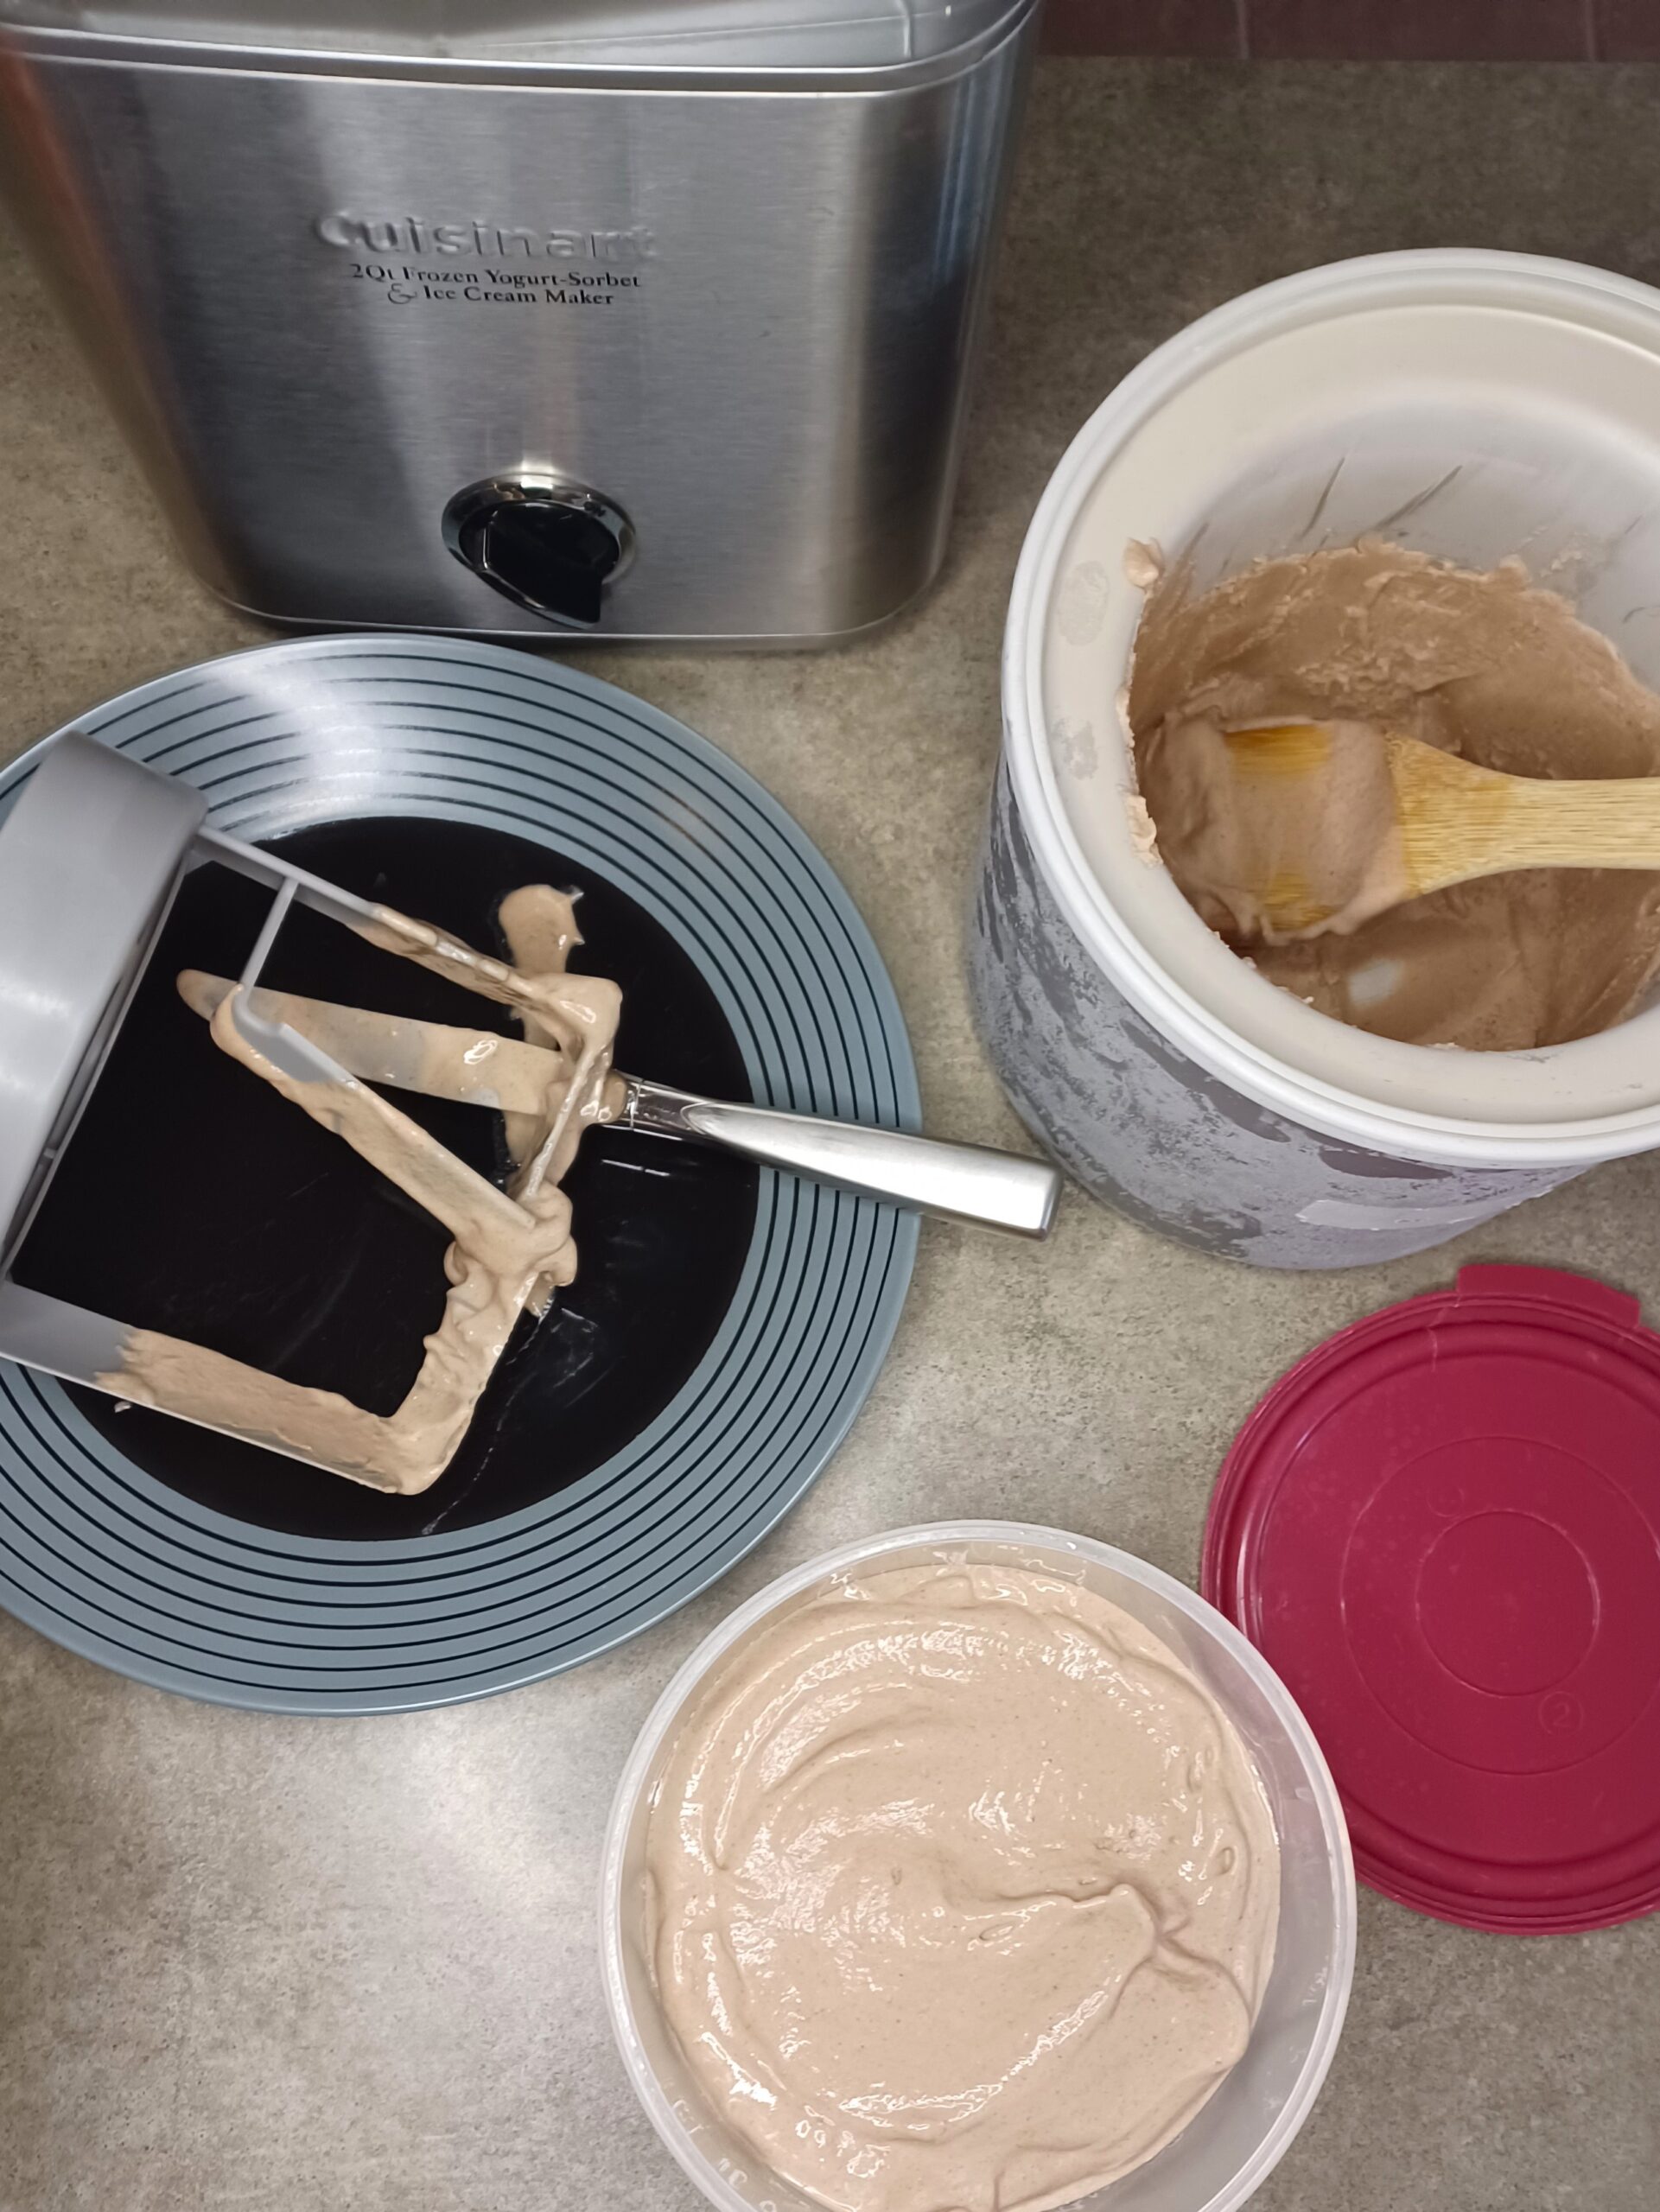
Before you start churning, set up everything you'll need to quickly transfer the ice cream from the machine into a container for freezing. I use a knife to scrape down the dasher (or paddle) and a wooden spoon to scoop out the ice cream.
Set up your ice cream maker according to the manufacturer's directions. Pour your mixture into the ice cream maker and churn. In my machine the perfect churning time is 12 minutes, but your experience may vary.
The ice cream is finished churning when it looks like soft-serve and is pulling away from the sides of the canister.
-
STORE
When the ice cream has finished churning, scoop it as quickly as possible into your storage container. Cover it with plastic wrap or parchment paper, if using. (Placing a sheet of parchment paper between the container and lid will help prevent frost, or you can press plastic wrap directly onto the surface of the ice cream.) Put the container in the freezer. The ice cream will be fully firm in a few hours.
Note
You can use any unflavored, unsweetened protein powder you want. Whey, collagen, and egg white work the best. Vegan protein powders can work too, but sometimes create a chalky texture. Because different protein powders have different textures, the same volume of different powders may weigh different amounts. Weighing is the best method for ensuring you get the 65 grams the recipe calls for, but here are some estimates for using a cup measurement:
- 65 g collagen powder = 1/2 cup + 2 tablespoons
- 65 g whey protein = 1 scant cup
- 65 g egg white protein = 3/4 cup
- 65 g soy protein = 1 cup
Optional additions:
- 1-2 tablespoons of alcohol -- Adding alcohol improves the texture and scoopability of the final product and gives a little kick of extra flavor. Whiskey or spiced rum would be good choices here.
Recommended equipment: (may include affiliate links)
- My ice cream maker (2 qt)
- Newer version of my ice cream maker (2 qt)
- Well-reviewed less expensive ice cream maker (1.5 qt)
- Insulated ice cream container
- Heat-proof spatula
- Immersion/hand blender
- Ice cream scoop
Recommended ingredients: (may include affiliate links)