
Blue cheese ice cream may sound bizarre, but plenty of desserts (and ice creams) use cheese. Typically it’s a milder cheese, but I’m all about finding the limits of strong, savory flavors in ice creams, so here we are.
I envision this as the ice cream version of a dessert cheese board: strong cheeses drizzled with honey alongside dried fruit and nuts. And of course, served with port or sherry. I love that dessert at a wine bar or a tapas restaurant, so let’s make it at home and throw it in the ice cream machine!
You may wonder why I’m using a non-dairy base of coconut milk and tofu, when I’m adding a dairy-based ingredient, like cheese. Personally, it’s because I can only process small amounts of lactose. More broadly, since many people are interested in using fewer animal products overall, I think it makes sense to develop “less dairy” options as well as dairy-free.
I’ve used protein powder (whey in this case) to increase the protein and reduce the sugar, without sacrificing texture. For more details on how that works, click here.
Honeyed Blue Cheese, Sherry, and Fig Ice Cream (coconut milk and tofu base)
This recipe calls for whey protein. Other protein powders (unsweetened, unflavored) will work too. Check the notes below for advice on making substitutions.
The base uses coconut milk and silken tofu, which lowers the fat content compared with a pure coconut milk base. The blue cheese adds back a bit of fat, contributes to the creaminess, and obviously impacts the flavor. Choose a young, creamy blue cheese, rather than a stronger, crumblier aged cheese. I've had good luck with several varieties, including gorgonzola, but roquefort was a bit overpowering. If you don't like blue cheese, you can use cream cheese, brie, or just about any soft, spreadable cheese.
Makes ~1 quart
Ingredients
Instructions
-
REDUCE THE SHERRY/INFUSE THE FIGS
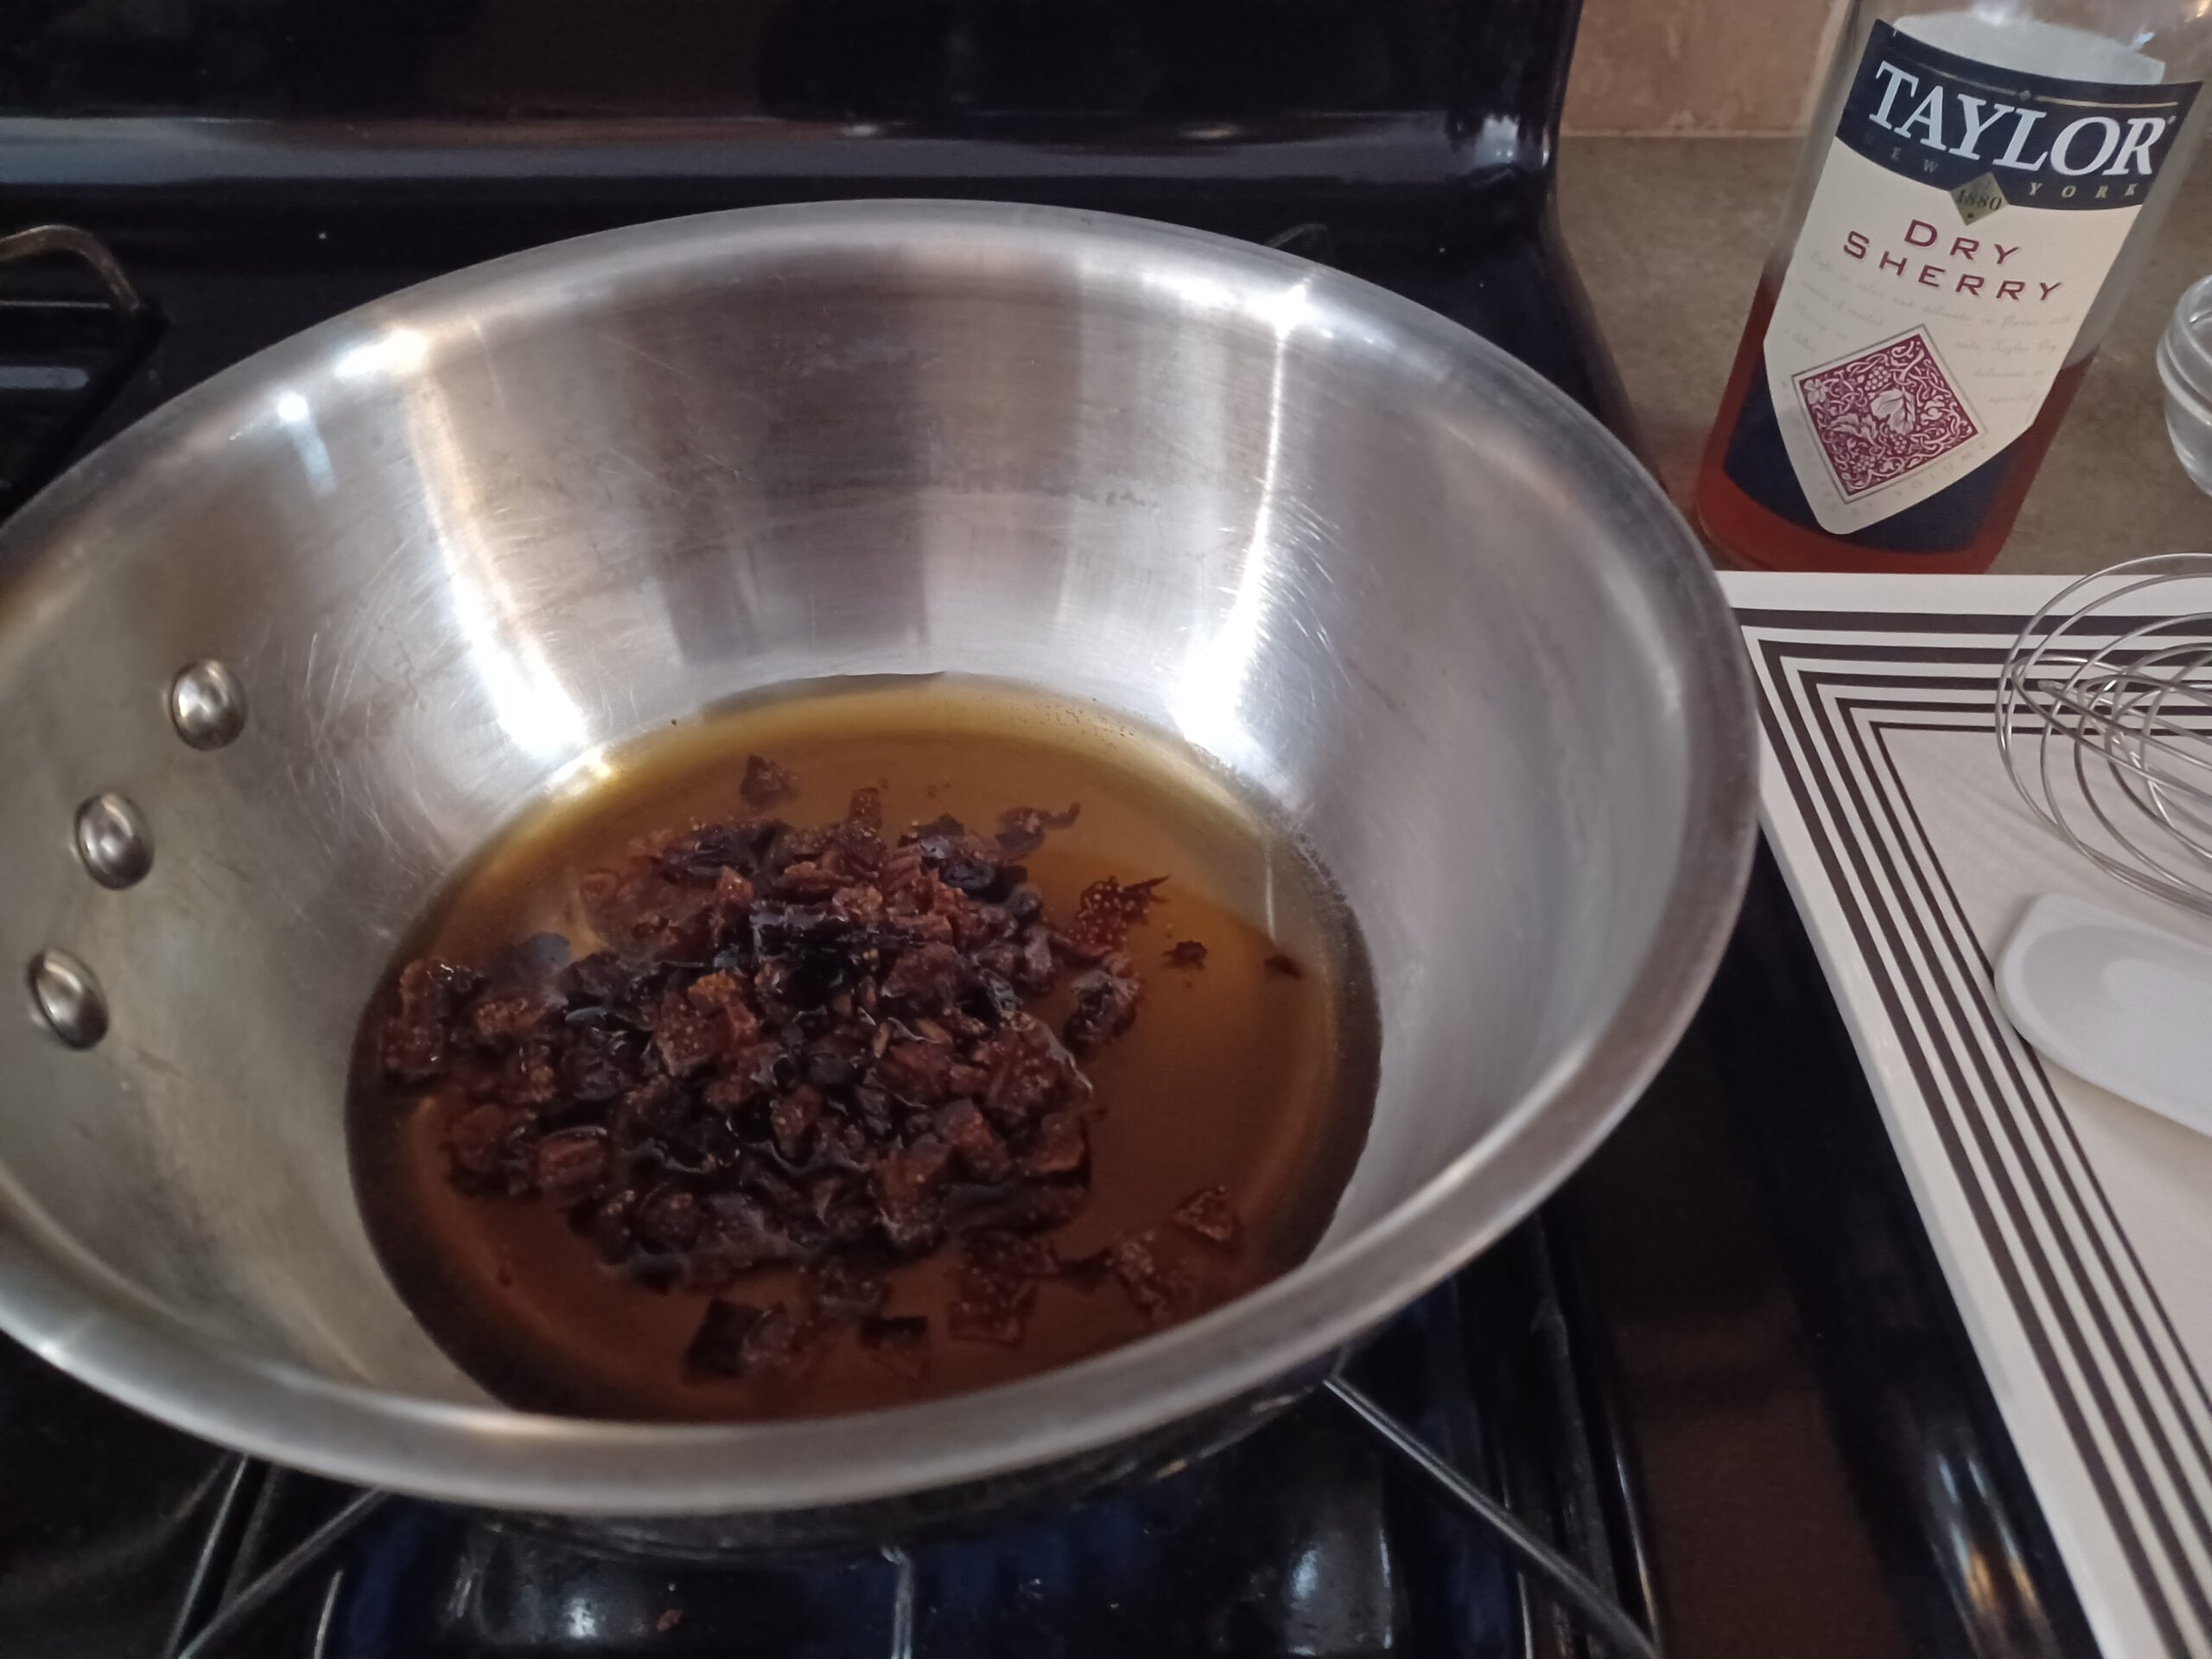
In a large sauce pan on the stove, combine the sherry, 2 tablespoons of the honey, the salt, and the figs. Bring to a simmer and cook for 5 minutes. (If it looks like the liquid is getting too thick and might burn, turn off the heat early.)
-
REMOVE FIGS
After the figs have simmered in the honey-sherry mixture for 5 minutes, turn off the heat and remove them from the pan with a slotted spoon. Place them in a container with a lid and keep them in the fridge until you're ready to churn the ice cream. Leave the remaining liquid in the pan.
-
ADD REMAINING INGREDIENTS
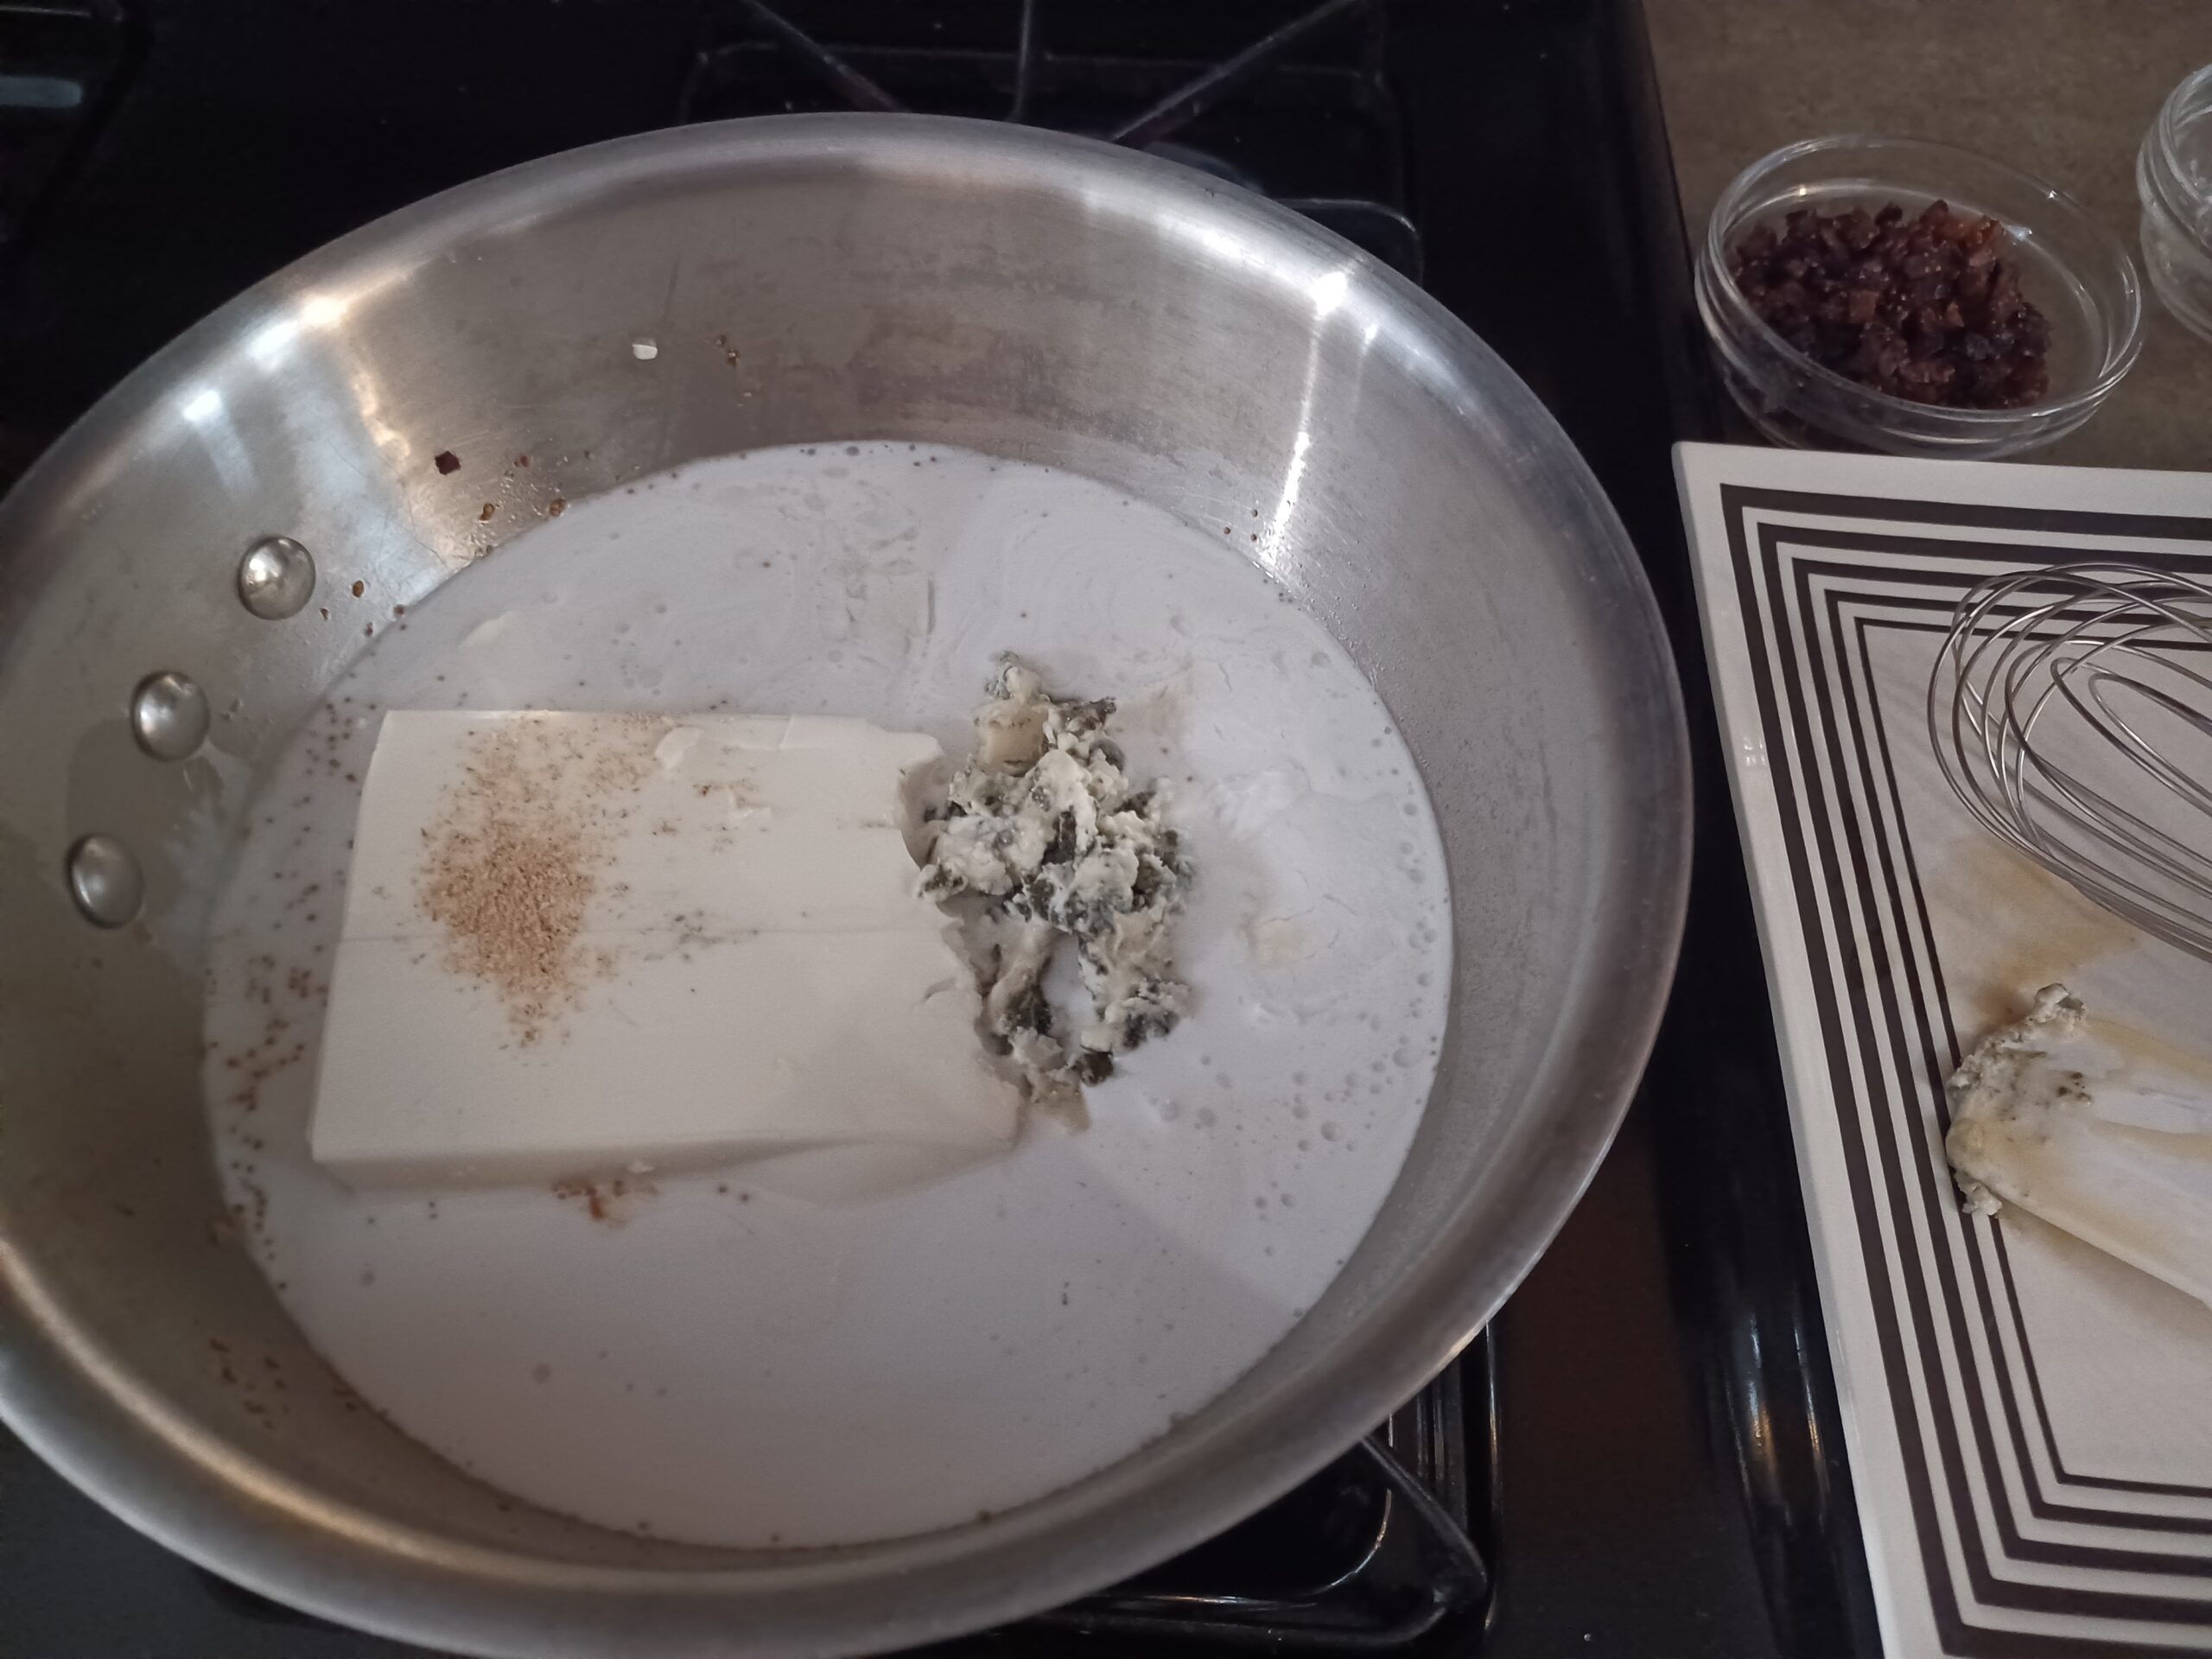
If you'll be blending directly in the sauce pan with an immersion blender, add all remaining ingredients to the pan. I like to give it an initial whisk before blending, to break up the tofu. If you'll be blending in a blender, transfer the sherry mixture to the blender along with all remaining ingredients.
-
BLEND
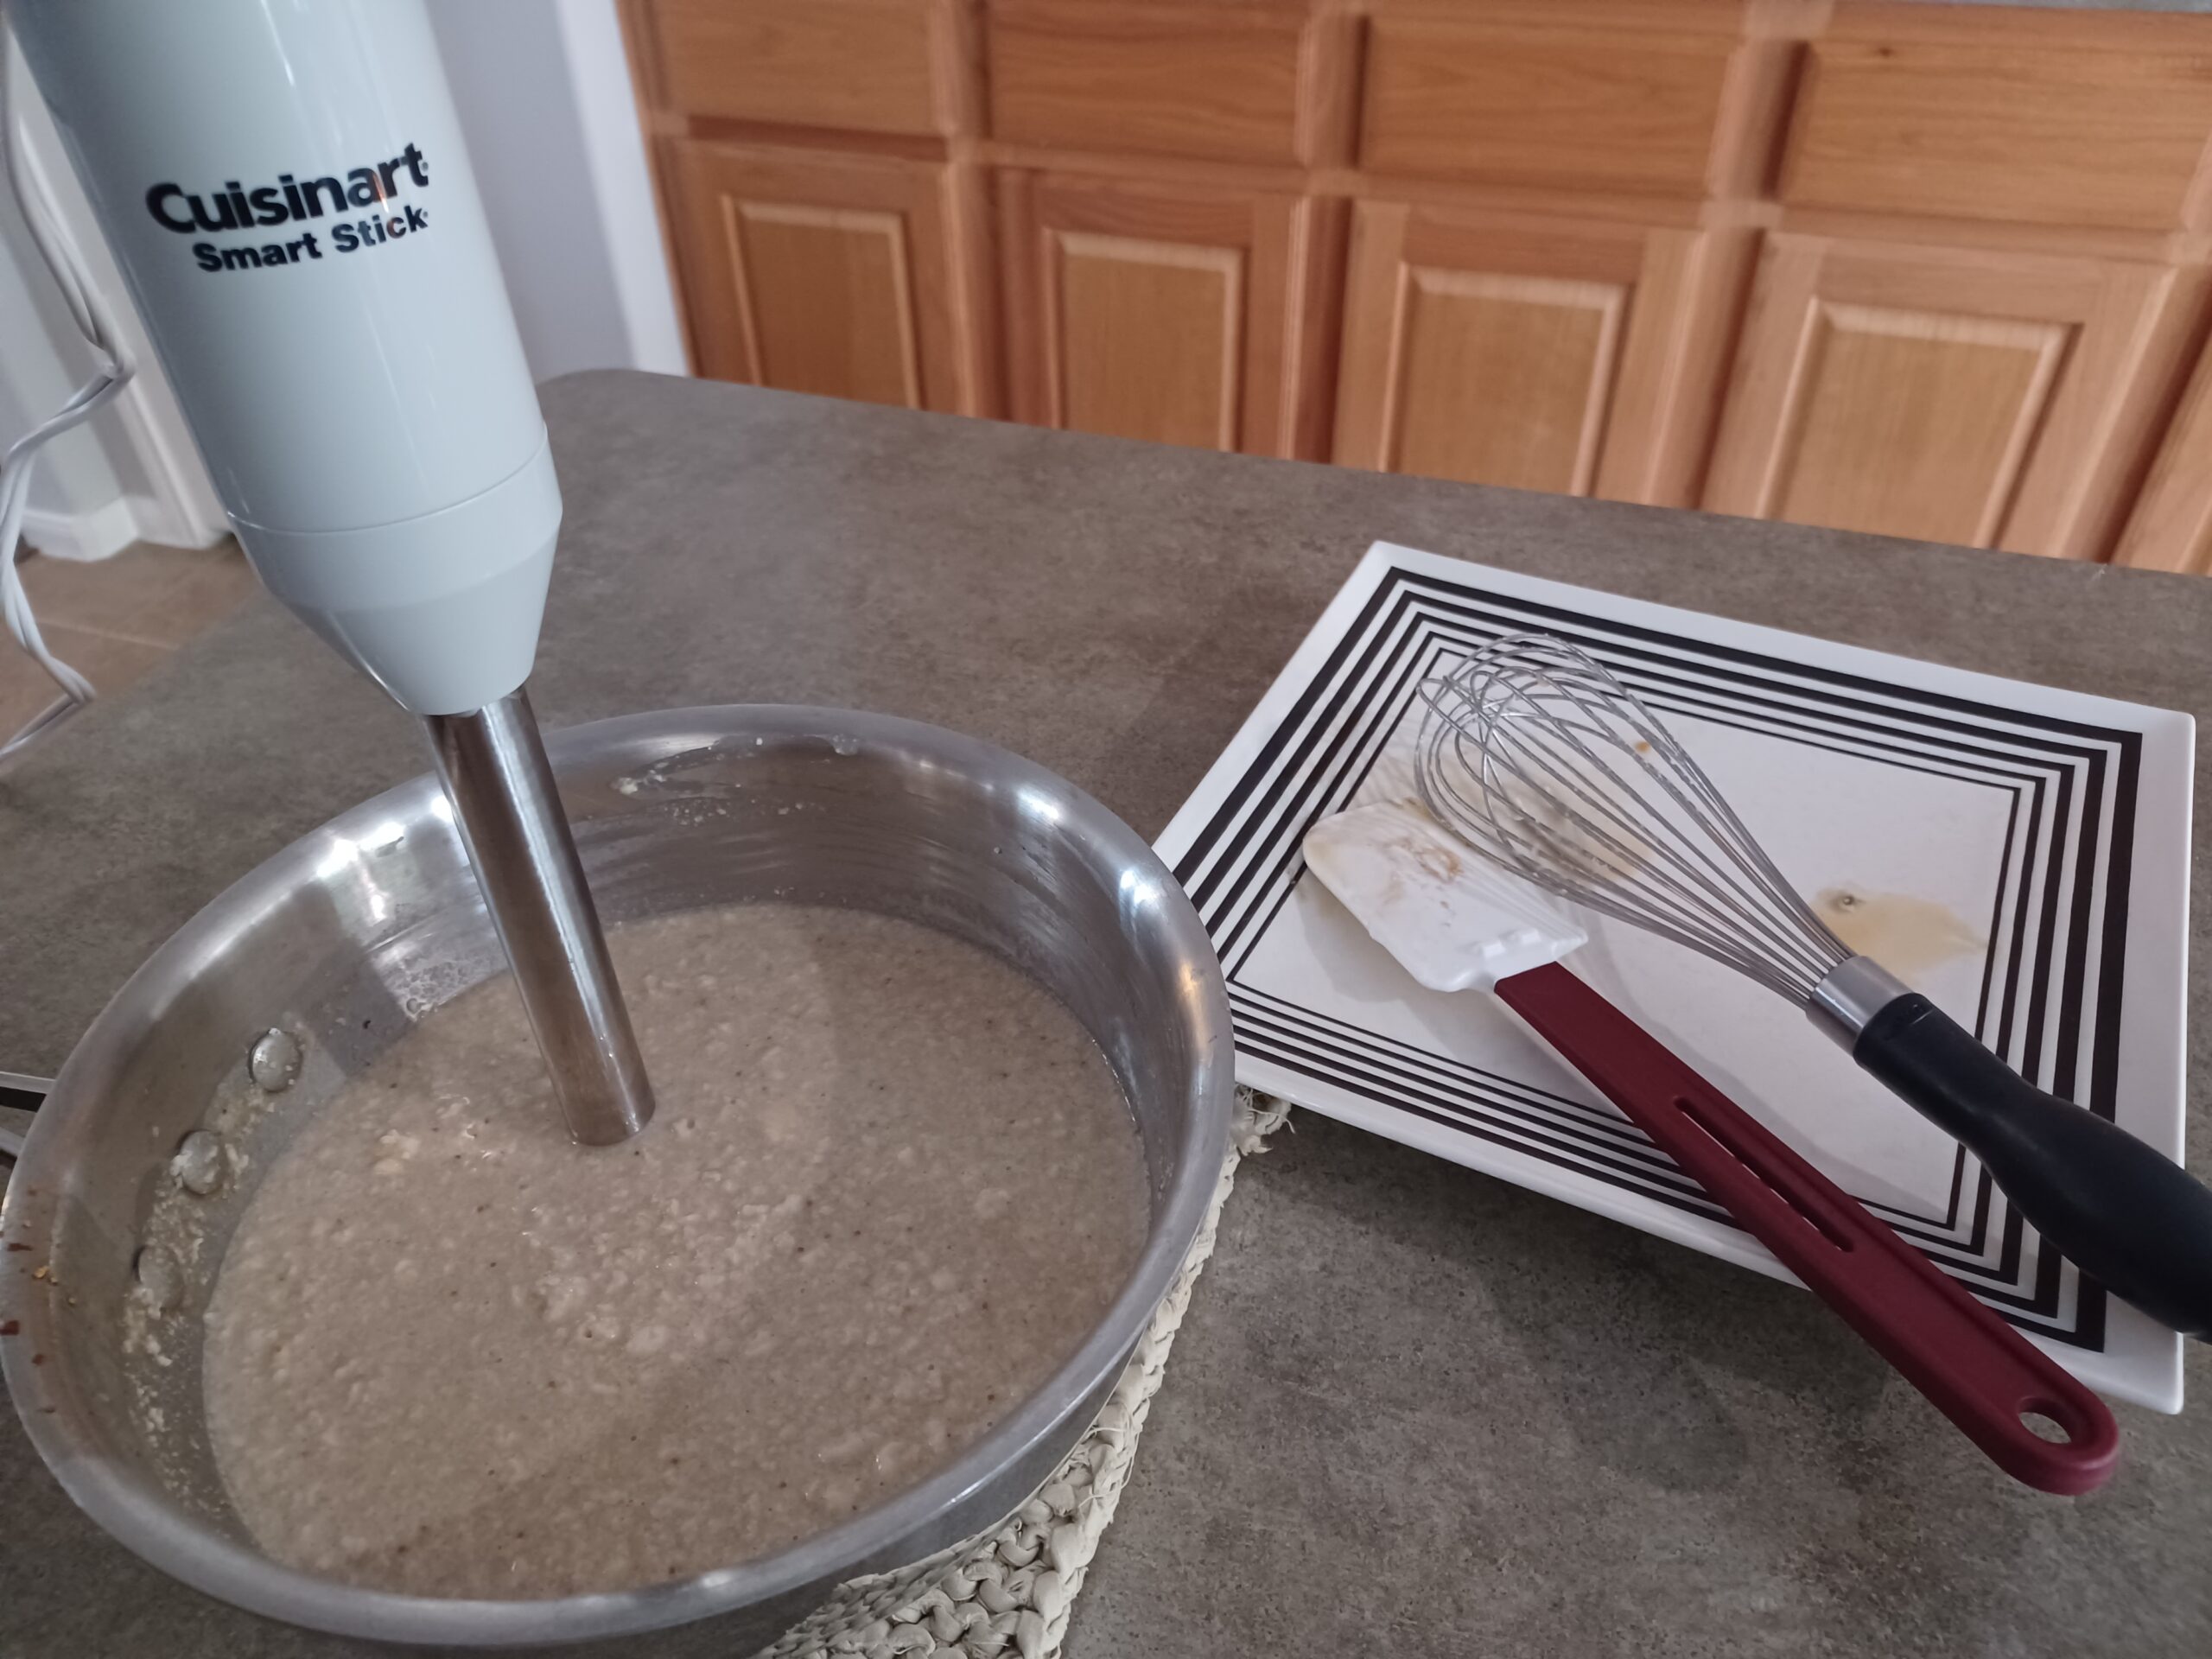
Blend in the sauce pan with an immersion blender or transfer to a standard blender and blend thoroughly, scraping down the sides with a spatula, until you can no longer see white specks of tofu. This might take a couple of minutes!
-
CHILL
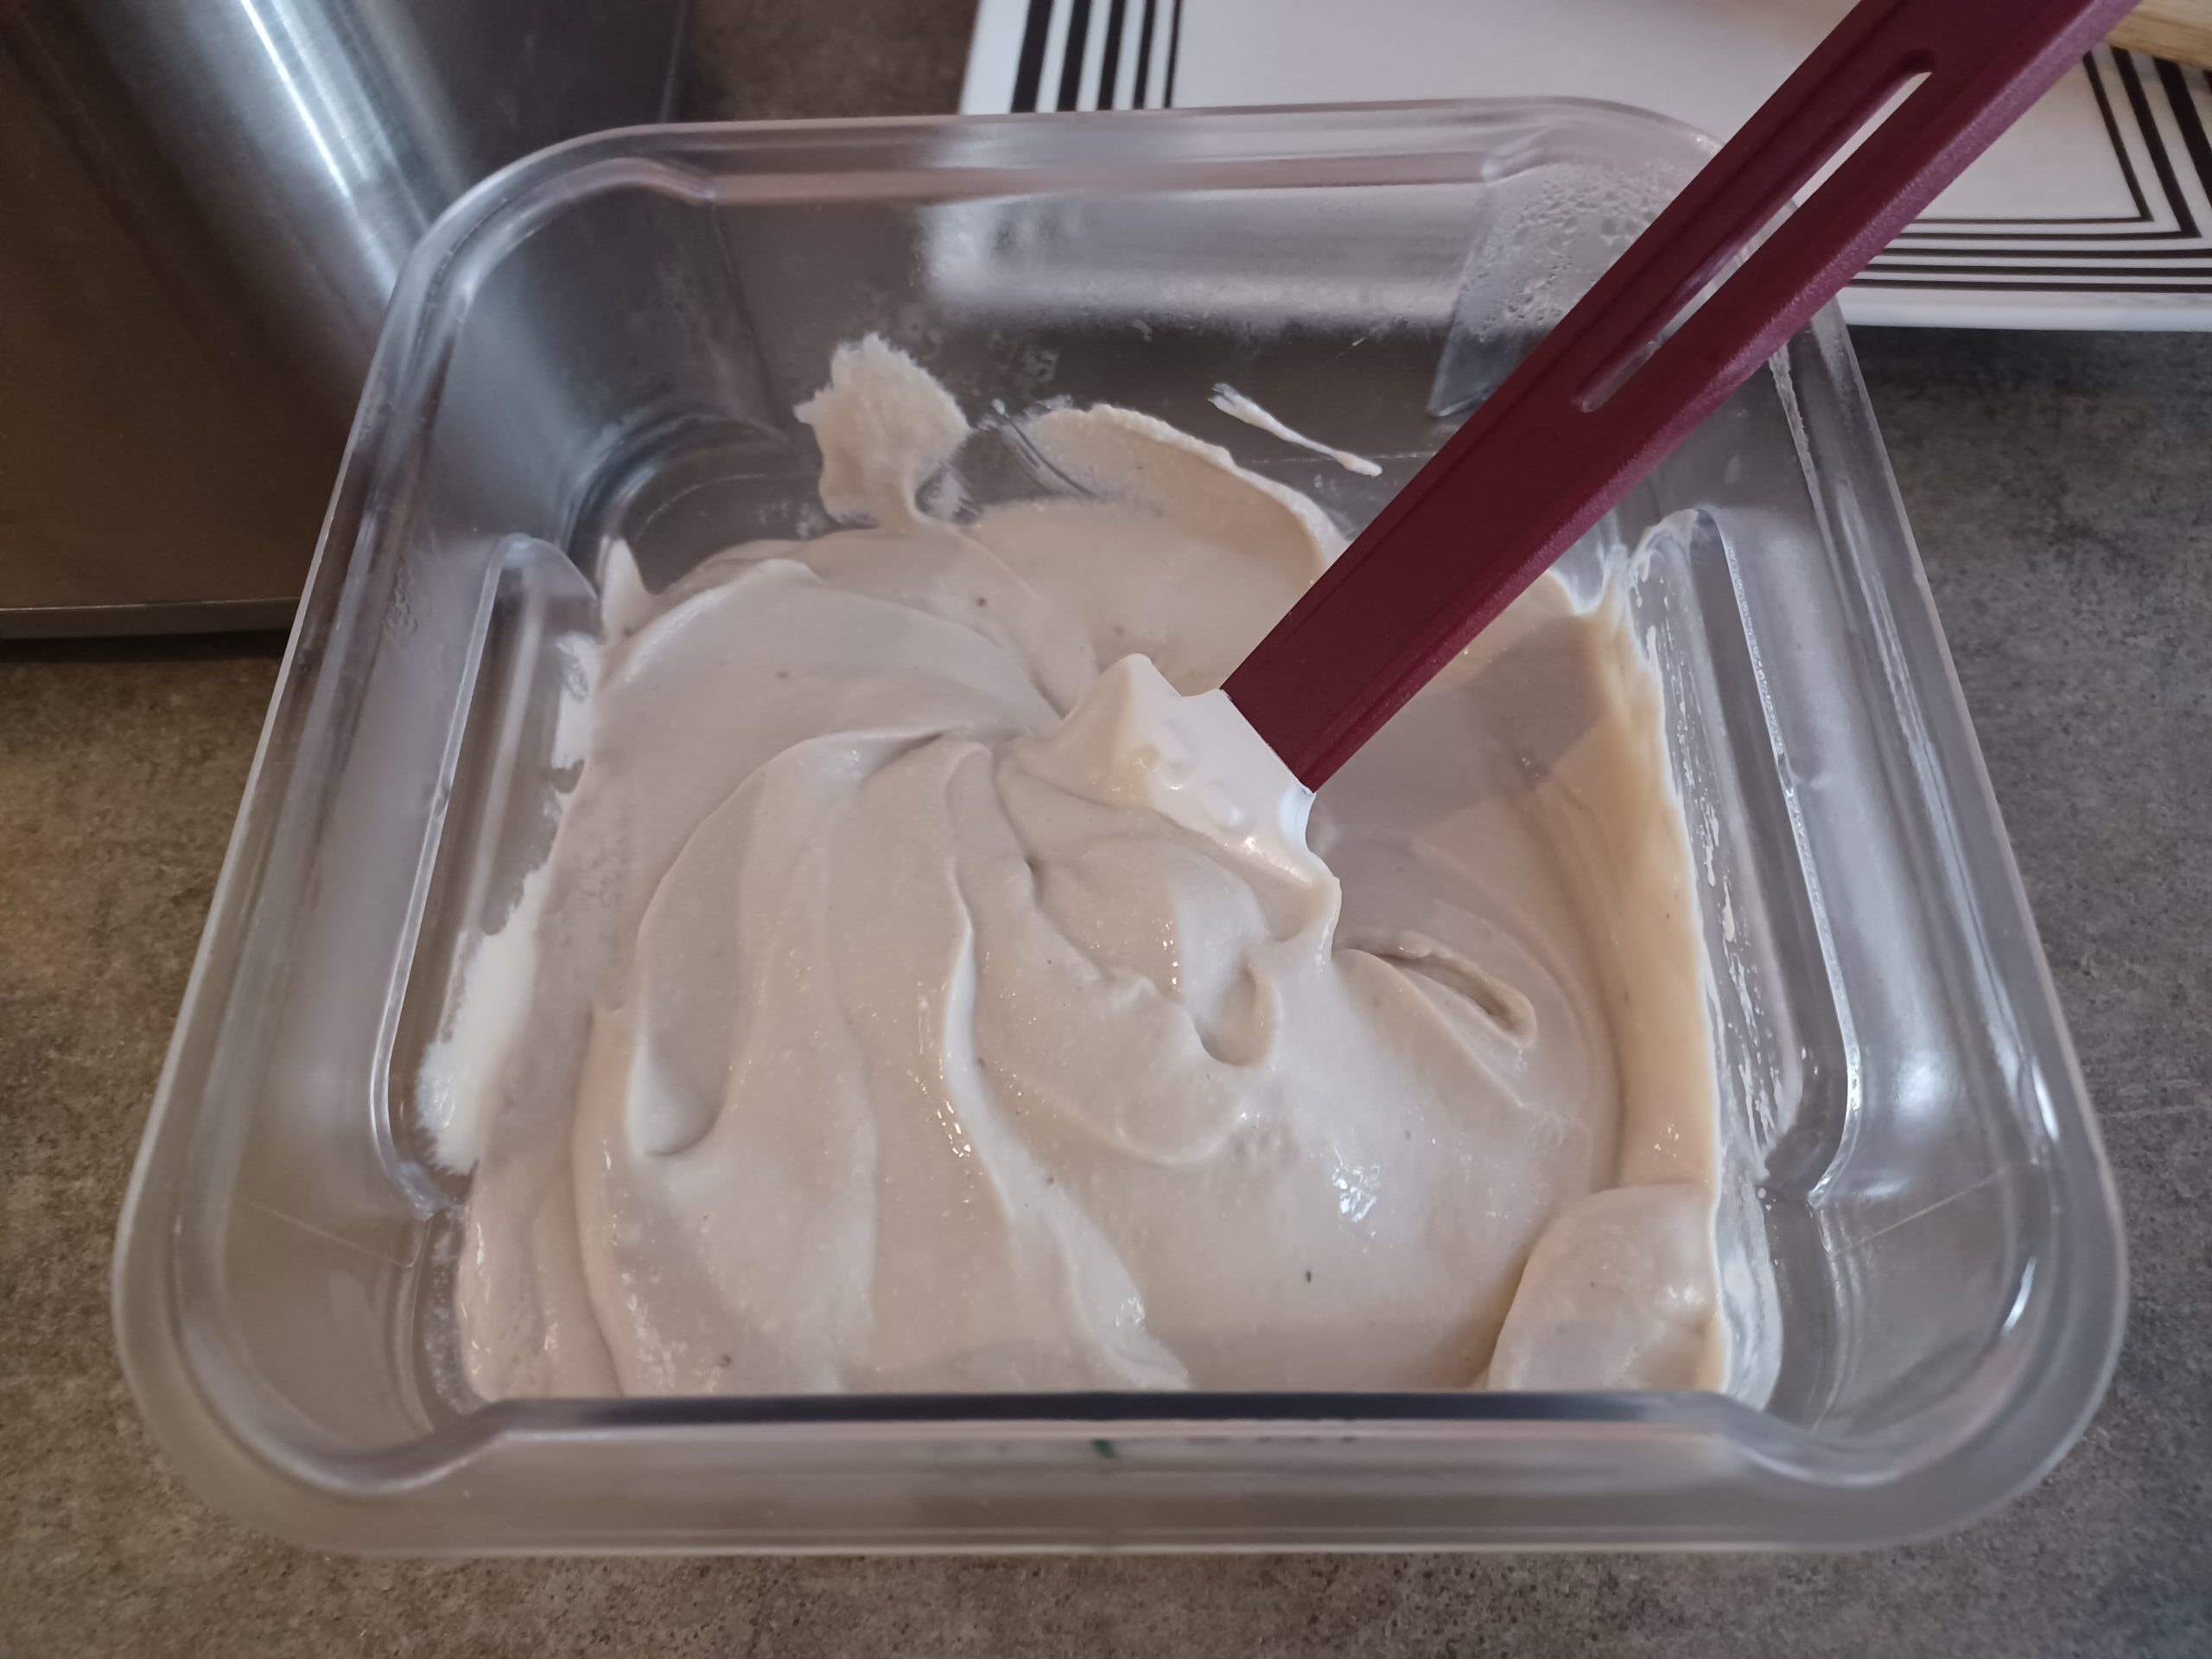
Transfer to a container and chill in the refrigerator for 8 hours or overnight.
For a quicker chilling time, place the bowl containing your mixture in an ice bath (a larger bowl containing ice water) for a few hours. Stir the mixture occasionally. As the water in the ice bath warms up, pour off some water and add ice to keep the mixture chilling as quickly as possible.
Ideally, the mixture will be about 40 degrees when you churn it. When your mixture is fully chilled, it will be thick, but pourable.
-
CHURN
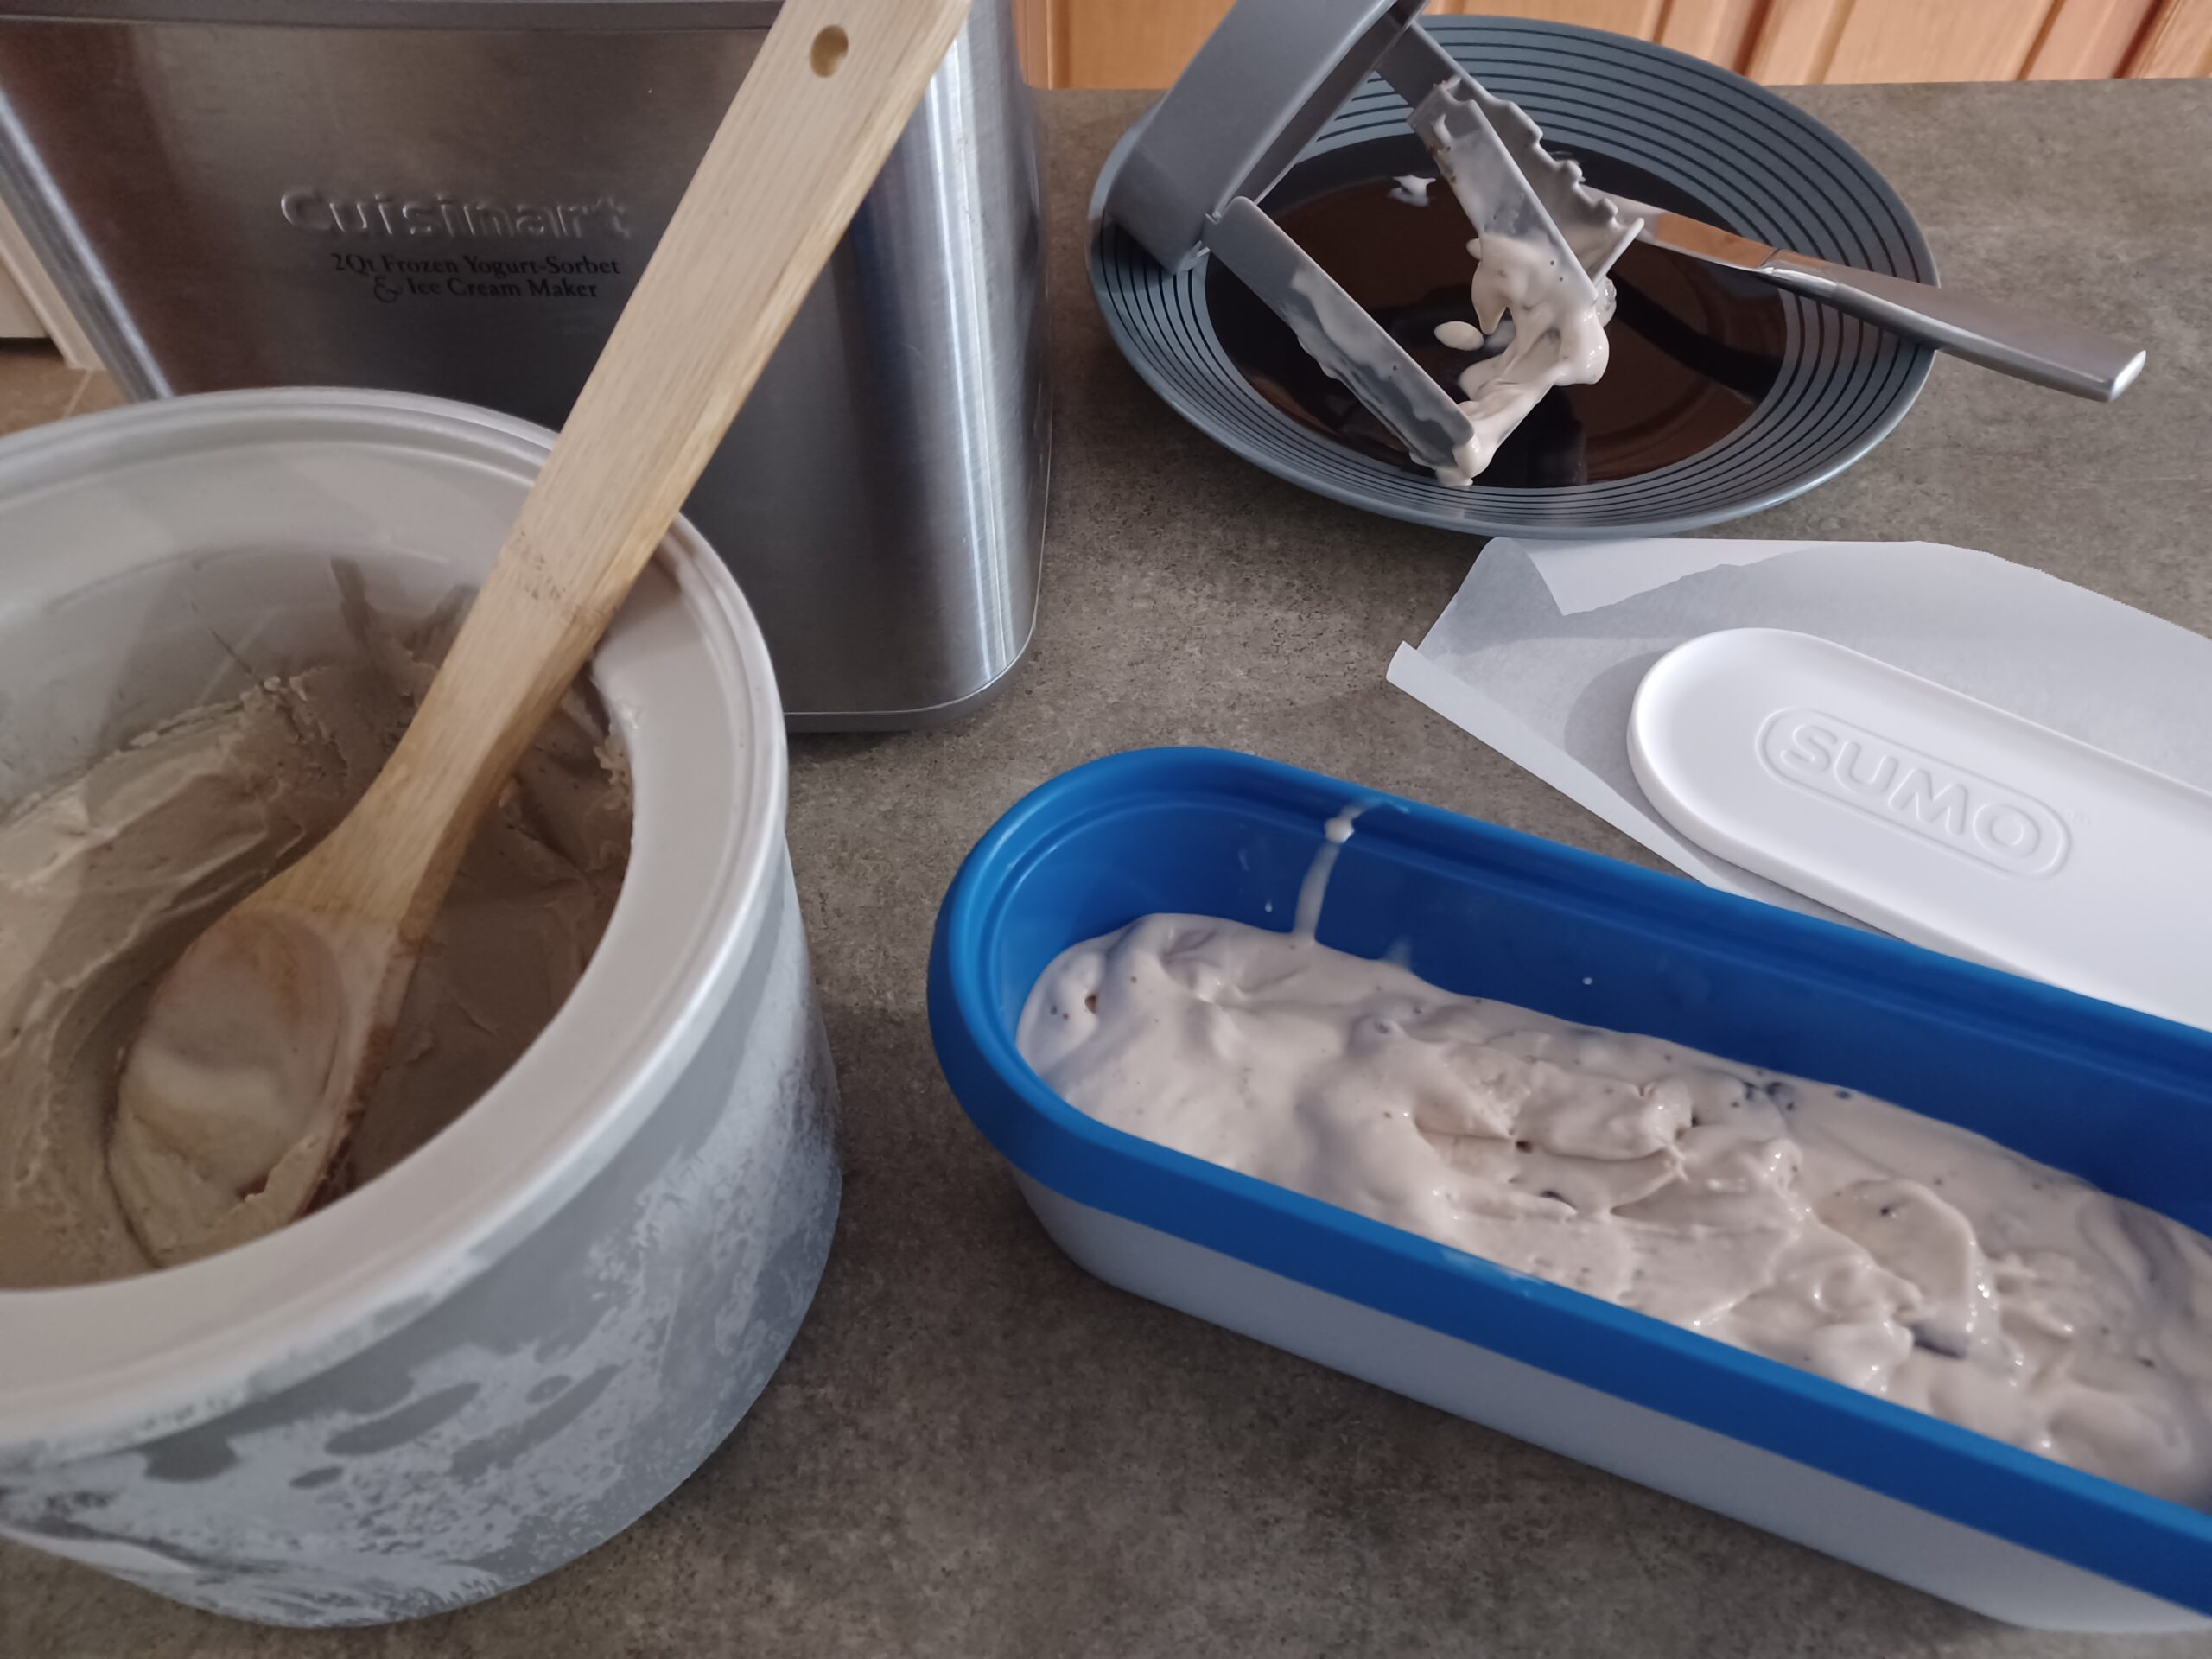
Before you start churning, set up everything you'll need to quickly transfer the ice cream from the machine into a container for freezing. I use a knife to scrape down the dasher (or paddle) and a wooden spoon to scoop out the ice cream. When you are ready to churn, ideally your base will be about 40 degrees.
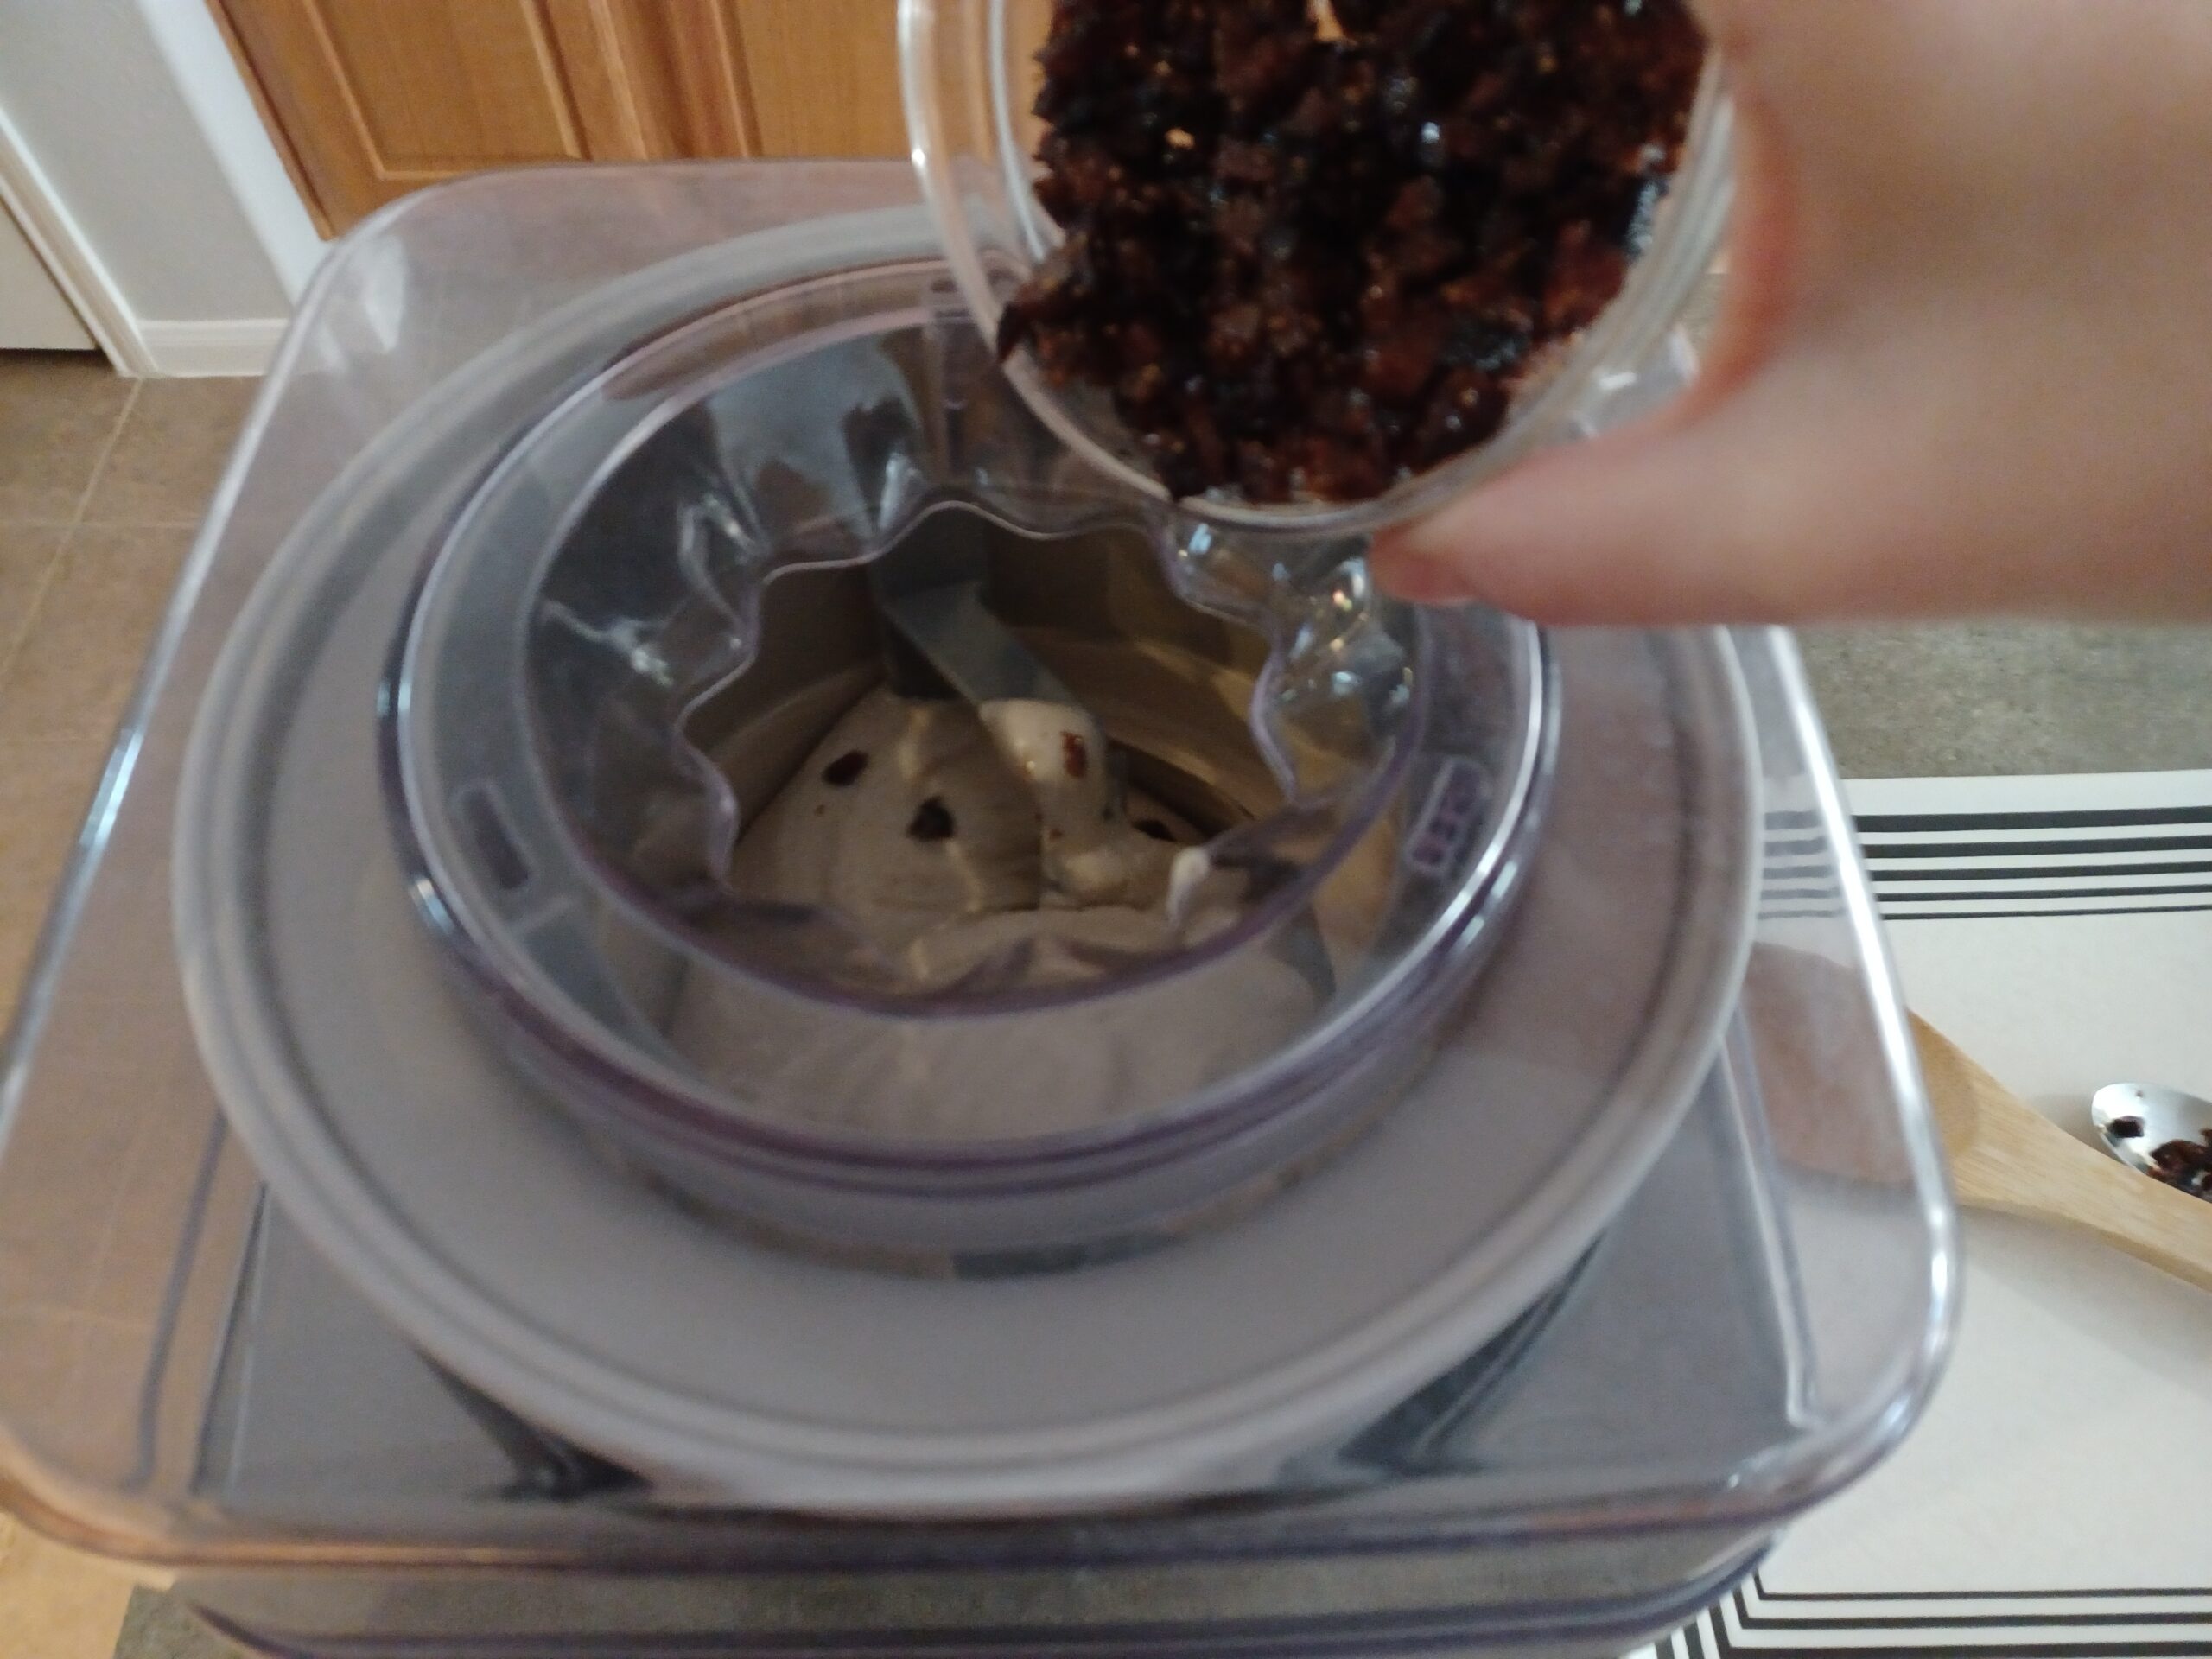
Set up your ice cream maker according to the manufacturer's directions. Grab the figs from the fridge! Pour your mixture into the ice cream maker and churn. Because this mixture is thicker than many ice cream bases, it churns more quickly than most. In my machine the perfect churning time is 15 minutes, but your experience may vary. Add the figs into the machine for the last 1-2 minutes of churning, along with any accumulated juices.
The ice cream is finished churning when it looks like soft-serve and is pulling away from the sides of the canister.
-
STORE
When the ice cream has finished churning, scoop it as quickly as possible into your storage container. Cover it with plastic wrap or parchment paper, if using. (Placing a sheet of parchment paper between the container and lid will help prevent frost, or you can press plastic wrap directly onto the surface of the ice cream.) Put the container in the freezer. The ice cream will be fully firm in a few hours.
Note
You can use any unflavored, unsweetened protein powder you want. Whey, collagen, and egg white work the best. Vegan protein powders can work too, but sometimes create a chalky texture. Because different protein powders have different textures, the same volume of different powders may weigh different amounts. Weighing is the best method for ensuring you get the 50 grams the recipe calls for, but here are some estimates for using a cup measurement:
- 50 g collagen powder = 1/2 cup
- 50 g whey protein = 3/4 cup
- 50 g egg white protein = 1/2 cup + 2 tablespoons
- 50 g soy protein = 3/4 cup
- 50 g pea protein = 1/2 cup + 2 tablespoons
Suggested toppings:
- Sliced, toasted almonds or Marcona almonds
- Balsamic vinegar reduced to a syrup
- Figs in any form (dried, fresh, cooked)