
I’ve been making this maple bacon ice cream for so many years that I can’t remember when or how the idea occurred to me. I’ve made it with a traditional milk-and-cream base, a coconut-and-tofu base, and now a pure coconut milk base. I do remember that the maple component started life as the base for maple walnut ice cream for my grandmother. Either way, the base is rich and sweet, and the candied bacon chunks are salty and crunchy with little bits of maple syrup crystals that melt into the creamy base. The whole package is addictively yummy.
One of my goals is always to make ice cream a little healthier — less sugar here, more protein there, reduce the saturated fat, etc. — while still making it delicious. However, I refuse to create a recipe for maple bacon ice cream that’s anything less than amazing. So while I’ve eliminated the dairy and increased the protein, expect more sugar and fat than usual and just know that it’s worth it.
You could serve this as dessert after dinner, but I love the idea of including it in a fancy brunch. Scoop it onto a waffle with a side of bacon and eggs. Or keep it simple and serve it in a waffle cone. I’ve also taken it to birthday parties and Super Bowl parties.
I use protein powder (collagen in this case) to increase the protein and reduce the sugar, without sacrificing texture. For more details on how that works, click here. You can substitute other protein powders as well. Use egg white protein and you’d have bacon and eggs!


Maple Bacon Ice Cream (dairy free)
This recipe calls for collage powder. Other protein powders (unsweetened, unflavored) will work too. Check the notes below for advice on making substitutions.
Makes a little more than 1 quart
Ingredients
For the candied bacon
For the ice cream base
Instructions
Make the candied bacon
-
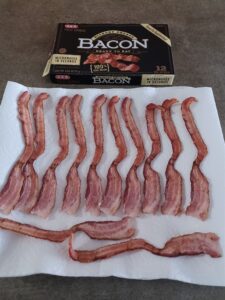
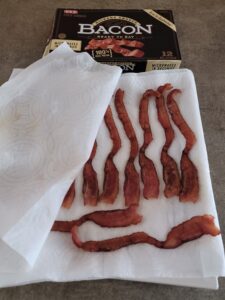
MICROWAVE THE BACON
Although the bacon is precooked, we want it extra crispy. No one wants soggy, greasy bacon pieces in their ice cream. Put several layers of paper towels on a plate and lay out the strips of bacon, covering them with another paper towel or two. Microwave for a couple of minutes (2 1/2 minutes works well in my microwave) until the bacon has given off some grease, browned a bit, and is starting to get crispy. It will crisp up more as it cools. When it's cool enough, rip/crumble the slices into pieces with your fingers.
-
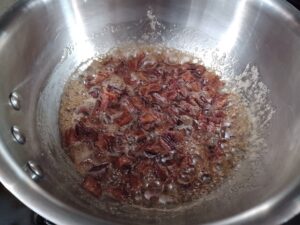
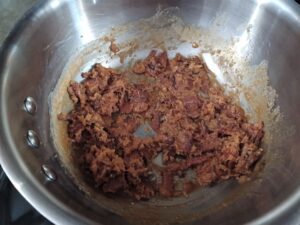
CANDY THE BACON
In a large sauce pan over medium heat, bring the sugar (1/4 cup) and maple syrup (1/4 cup) to a boil. As soon as the mixture is boiling, add the bacon pieces. Continue to boil, stirring frequently until the liquid is almost evaporated and the bacon is starting to look dry, crispy, and crunchy. Be careful not to let the sugar burn, and turn down the heat if necessary. The sugar will crystallize on the bacon and sides of the pan, and this is fine.
-
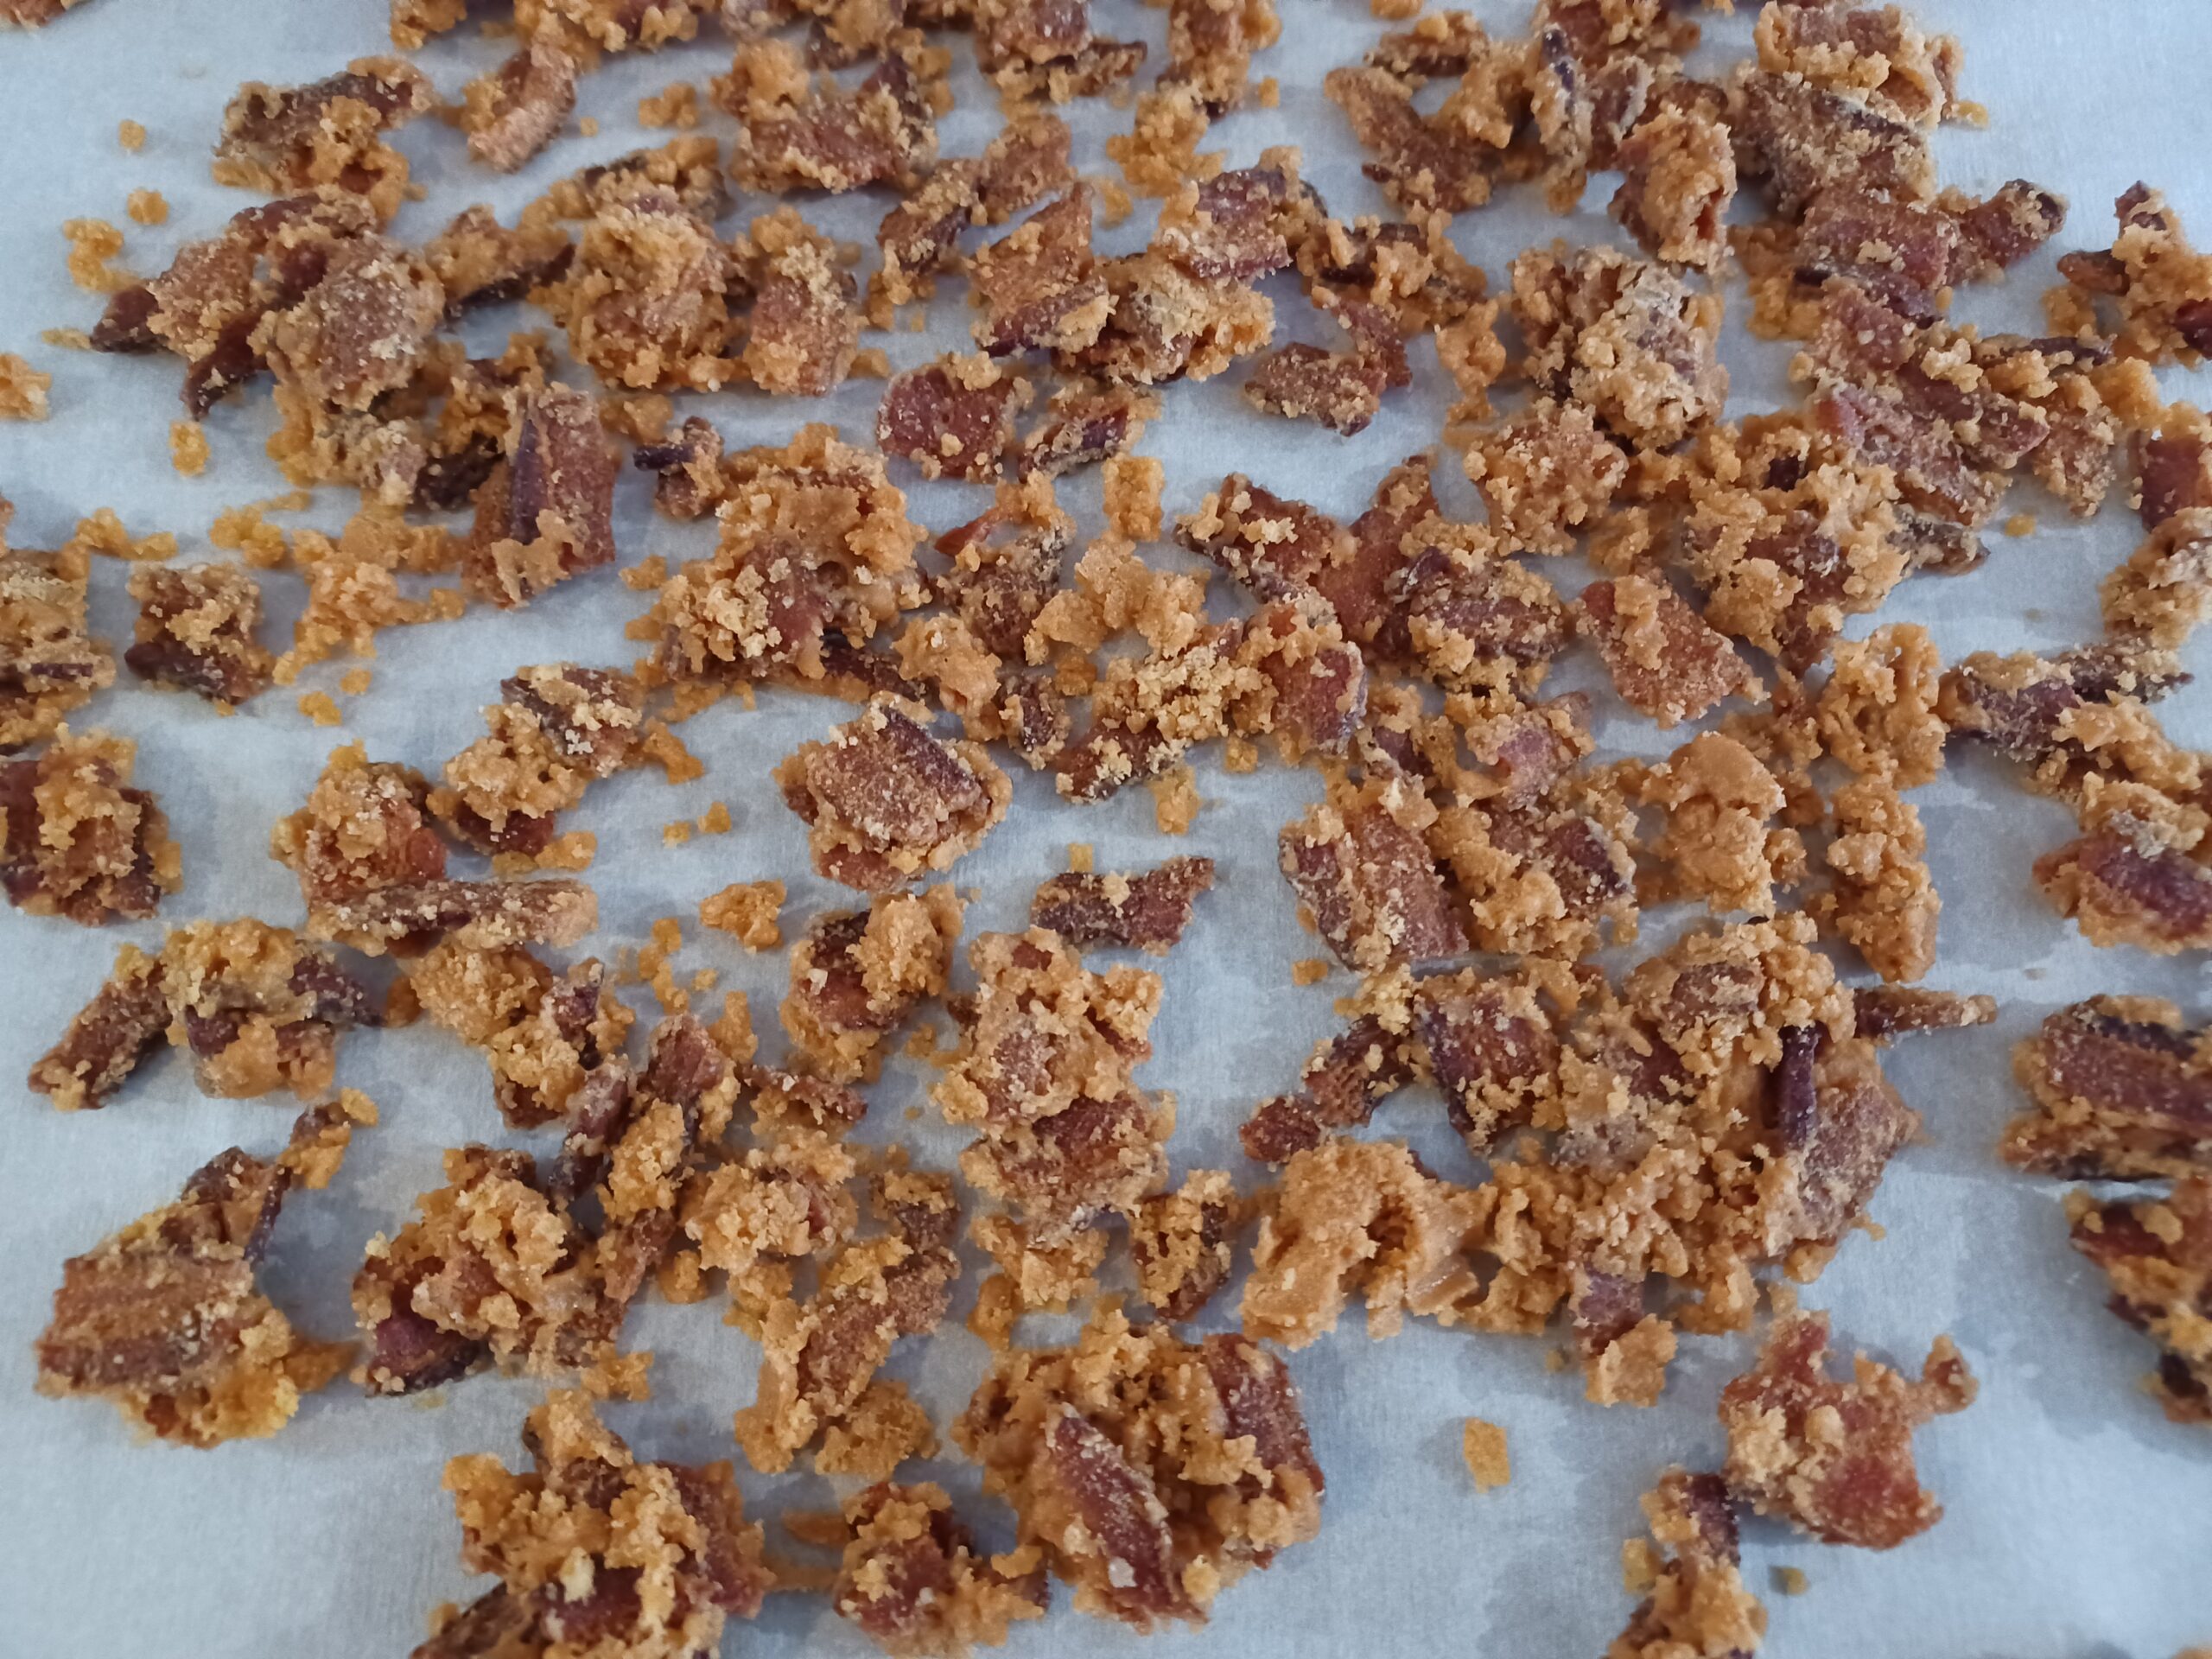
COOL THE CANDIED BACON
When the bacon mixture is ready, turn it out immediately onto parchment paper. Spread out the pieces so they don't stick to each other. Then set the bacon pieces aside until you're ready to churn your ice cream.
Make the maple ice cream
-
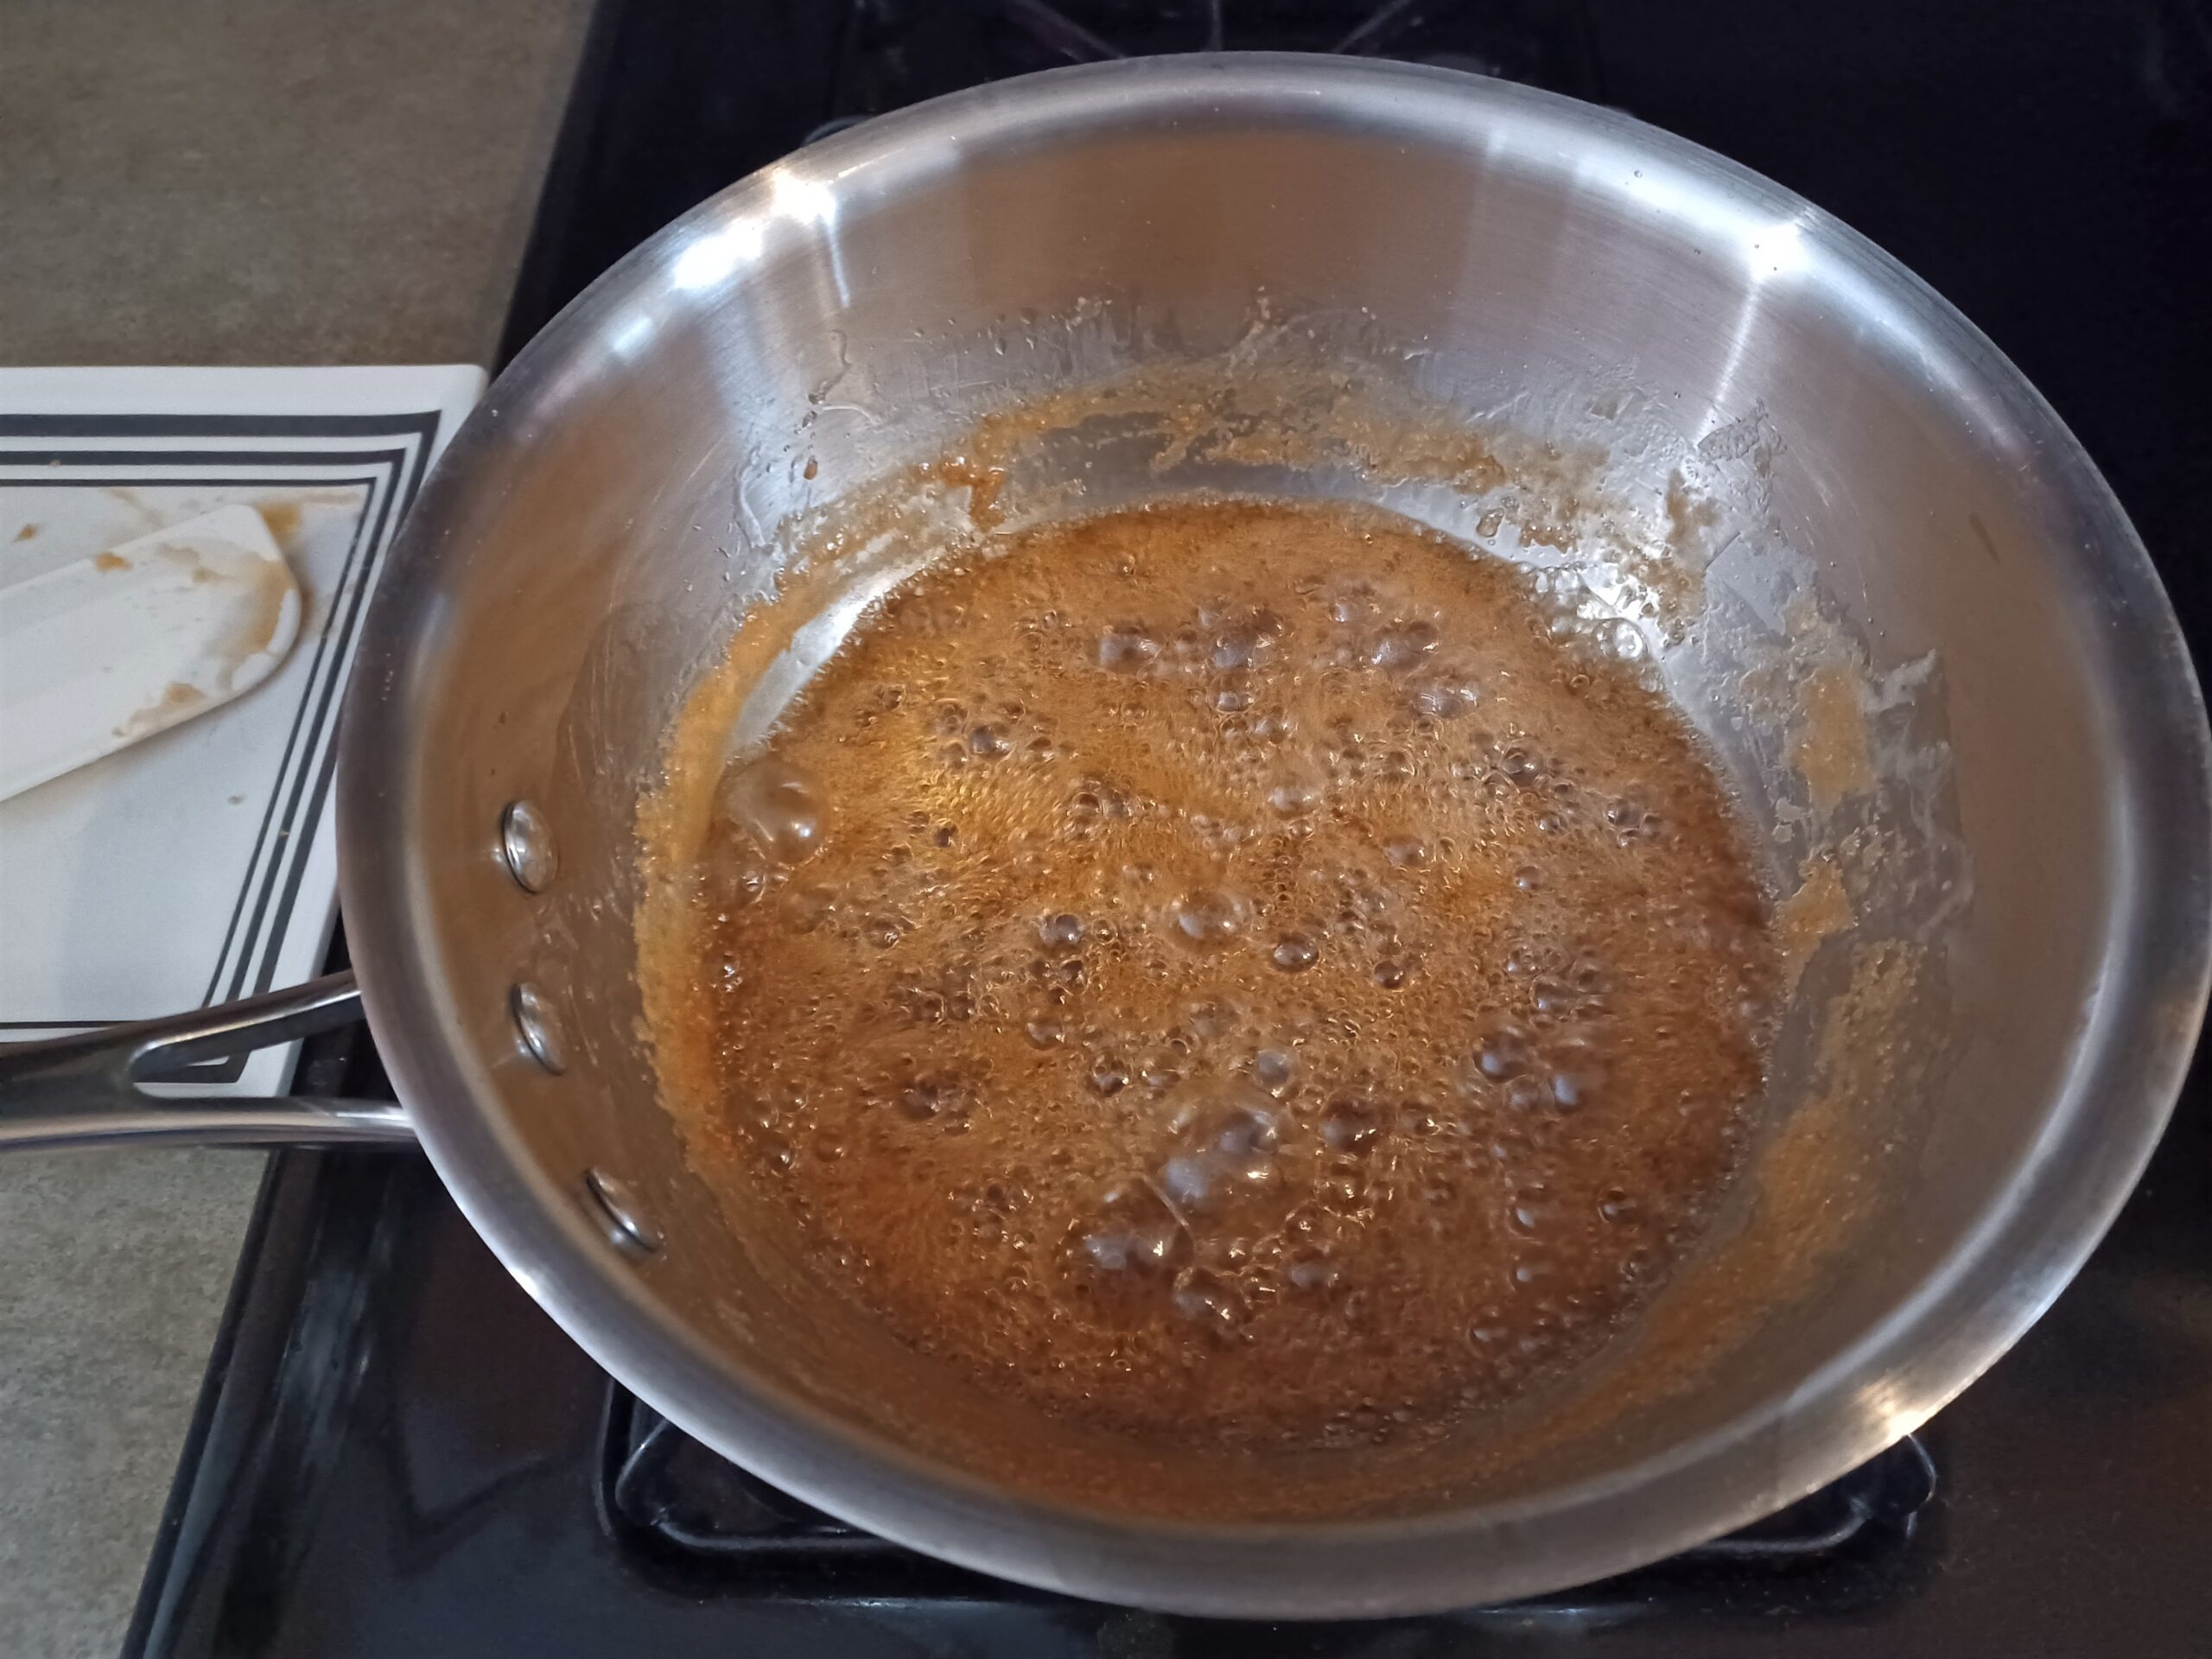
REDUCE THE MAPLE SYRUP
In the same pan you used to candy the bacon (no need to wash it), heat the maple syrup (1 cup) and salt over medium heat until it boils. Cook for 5 minutes. Since maple syrup contains water, the goal here is to boil off some of the water and concentrate the maple flavor. The maple syrup should reduce from 1 cup to about 3/4 cup, but you don't have to be exact.
The maple syrup that crystallized on the pan when you candied the bacon will melt back into mixture as you cook the maple syrup and whisk in the rest of the ingredients.
-
ADD REMAINING INGREDIENTS
After the maple syrup has reduced, add the coconut milk carefully -- it might splatter. Continue cooking over medium heat as you whisk together the coconut milk and maple syrup. The maple syrup will have become thicker and stickier, so be sure to scrape down the sides of the pan to get it fully incorporated. When the mixture comes to a simmer, take it off the heat.
Add the remaining ingredients for the ice cream base (collagen powder, maple flavor, xanthan gum) and whisk them together. You don't need to get it totally smooth, because next we will...
-
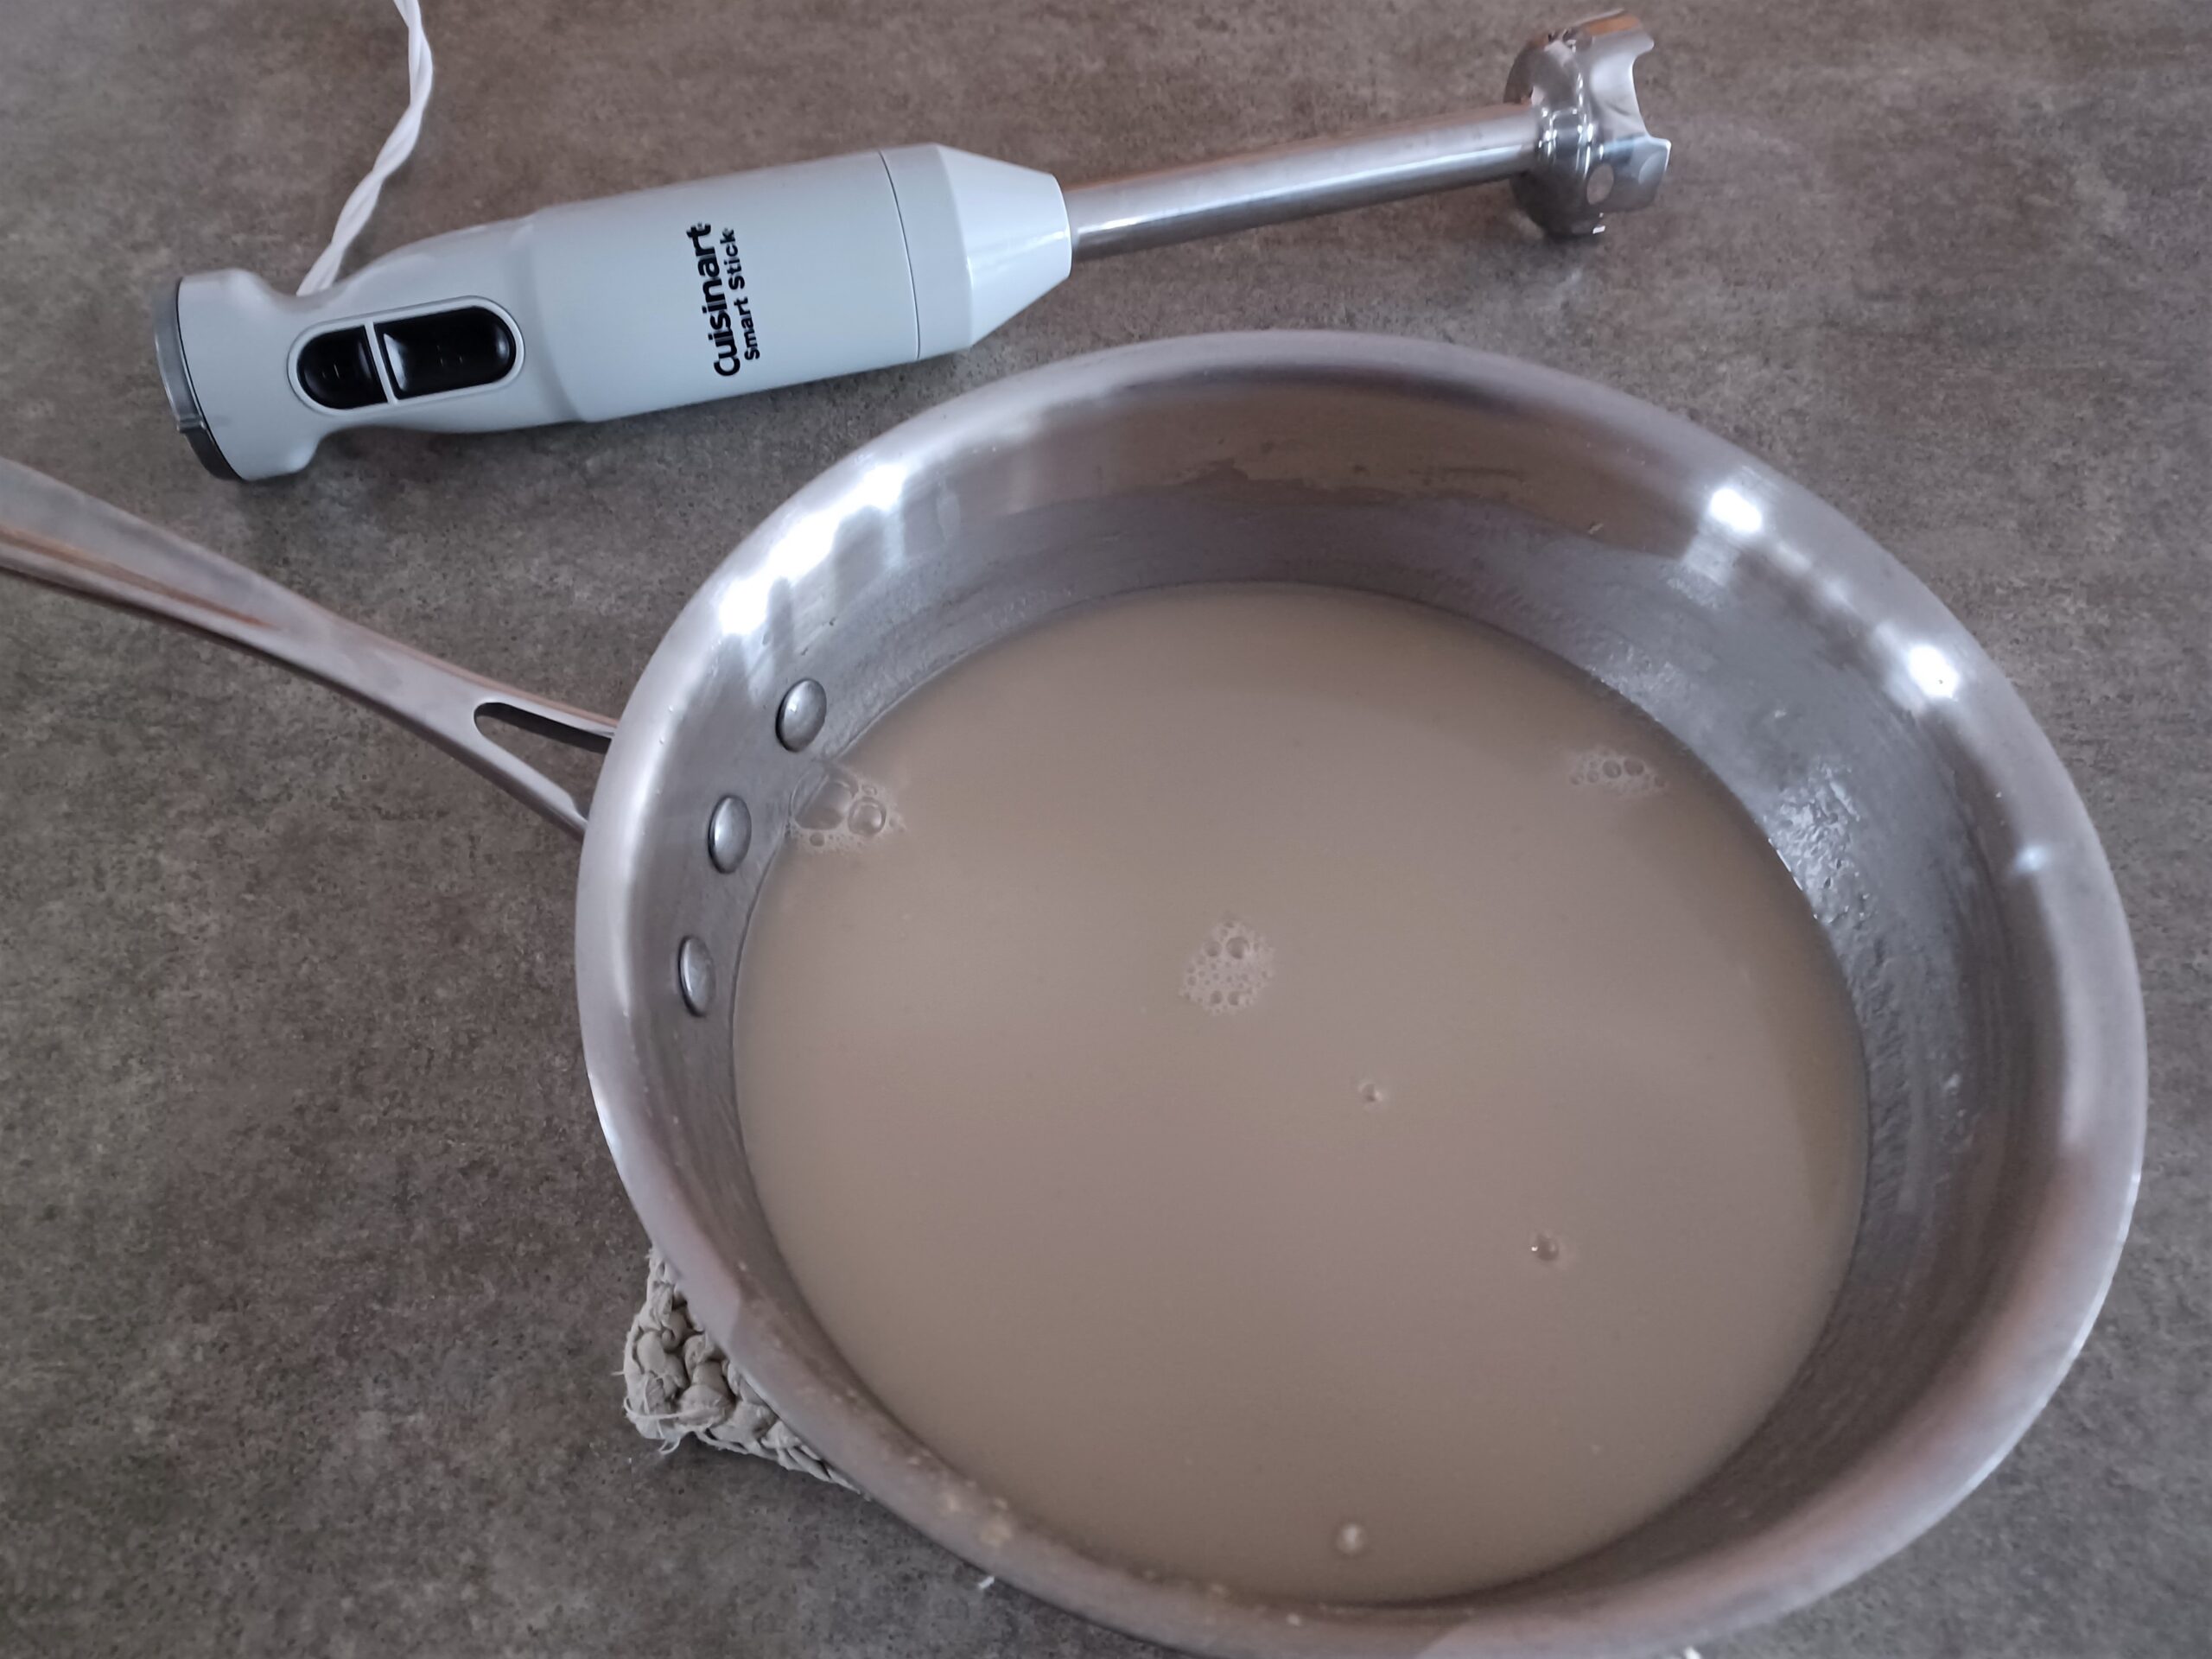
BLEND
Blend in the sauce pan with an immersion blender or transfer to a standard blender and blend thoroughly, scraping down the sides with a spatula, until the mixture is fully combined and smooth.
-
CHILL
Transfer to a container and chill in the refrigerator for 8 hours or overnight.
For a quicker chilling time, place the bowl containing your mixture in an ice bath (a larger bowl containing ice water) for a few hours. Stir the mixture occasionally. As the water in the ice bath warms up, pour off some water and add ice to keep the mixture chilling as quickly as possible.
Ideally, the mixture will be about 40 degrees when you churn it.
-
CHURN
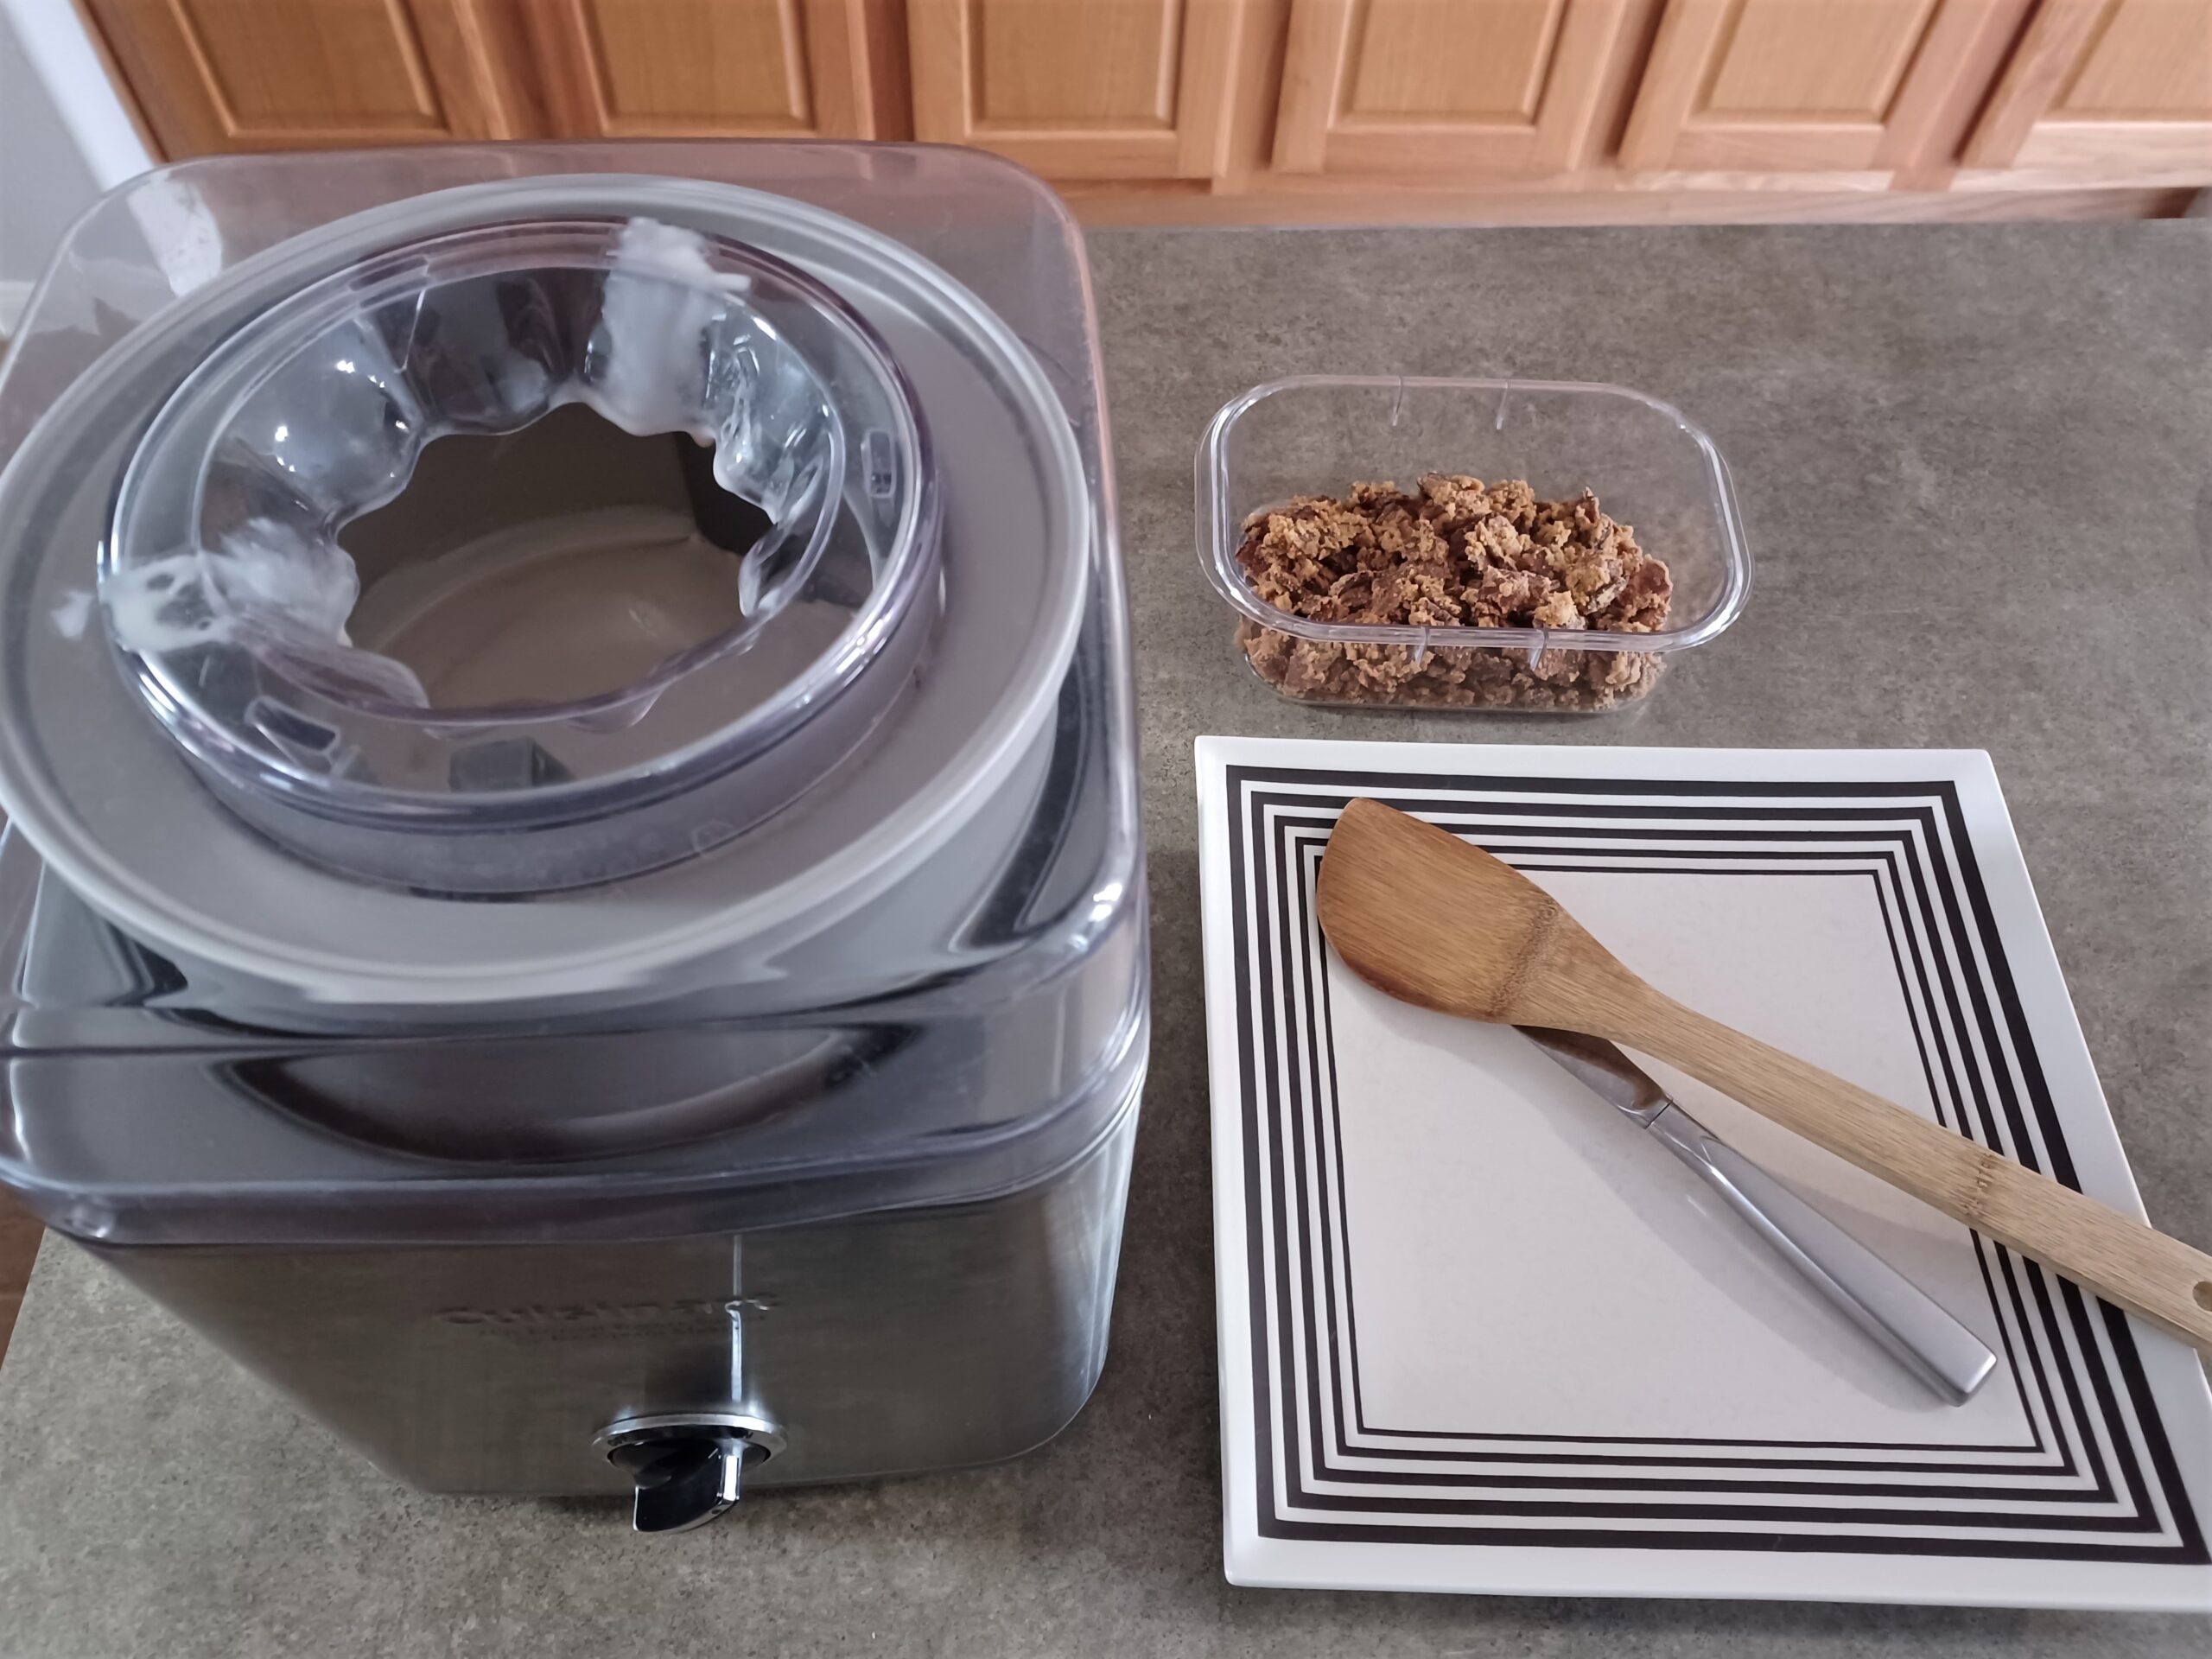
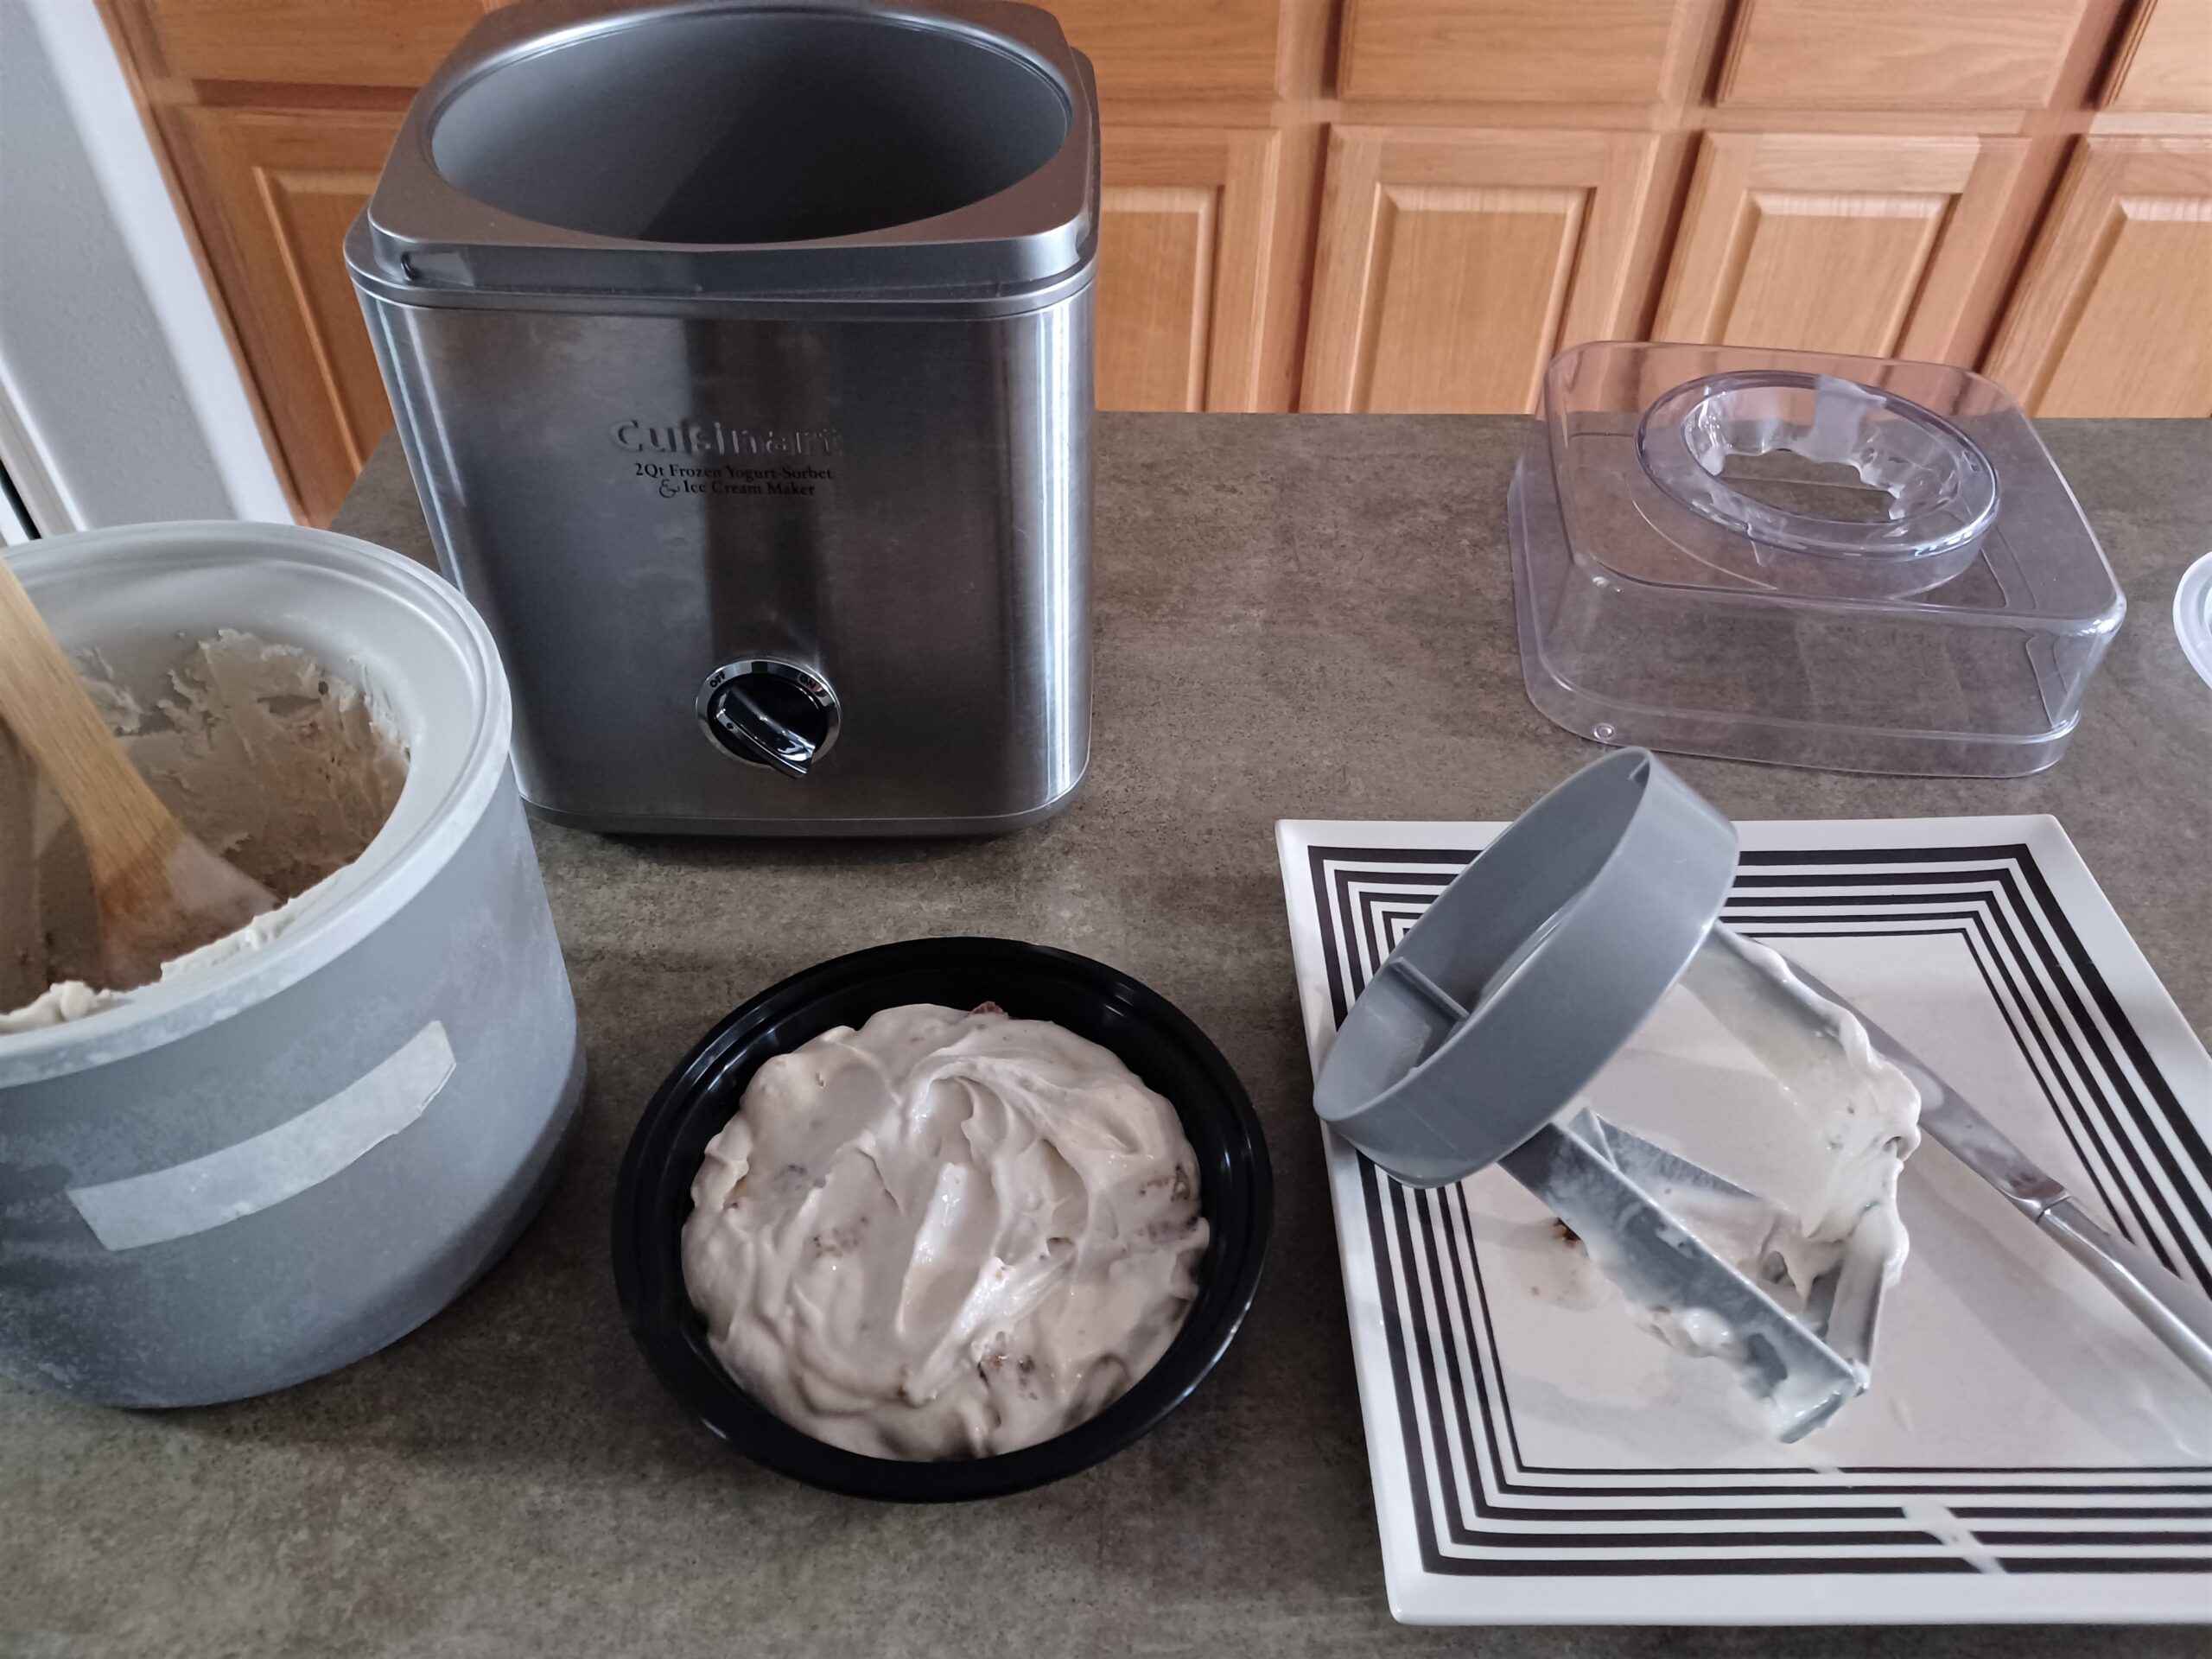
Before you start churning, set up everything you'll need to quickly transfer the ice cream from the machine into a container for freezing. I use a knife to scrape down the dasher (or paddle) and a wooden spoon to scoop out the ice cream.
Grab the candied bacon!
Set up your ice cream maker according to the manufacturer's directions. Pour your mixture into the ice cream maker and churn. In my machine the perfect churning time is 17 minutes, but your experience may vary. Add the candied bacon pieces in the last minute of churning, or fold them into the ice cream as you transfer it from the machine to your storage container.
The ice cream is finished churning when it looks like soft-serve and is pulling away from the sides of the canister.
-
STORE
When the ice cream has finished churning, scoop it as quickly as possible into your storage container. Cover it with plastic wrap or parchment paper, if using. (Placing a sheet of parchment paper between the container and lid will help prevent frost, or you can press plastic wrap directly onto the surface of the ice cream.) Put the container in the freezer. The ice cream will be fully firm in a few hours.
Note
Protein powder substitutions:
You can use any unflavored, unsweetened protein powder you want. Whey, collagen, and egg white work the best. Vegan protein powders can work too, but sometimes create a chalky texture. Because different protein powders have different textures, the same volume of different powders may weigh different amounts. Weighing is the best method for ensuring you get the 50 grams the recipe calls for, but here are some estimates for using a cup measurement:
- 50 g collagen powder = 1/2 cup
- 50 g whey protein = 3/4 cup
- 50 g egg white protein = 1/2 cup + 2 tablespoons
- 50 g soy protein = 3/4 cup
- 50 g pea protein = 1/2 cup + 2 tablespoons
Flavor variations:
- For a maple-bacon-bourbon flavor -- Add 1 tablespoon of bourbon to the sugar/maple syrup mixture that you use to candy the bacon. Also add 3 tablespoons of bourbon to the ice cream base just before blending.
Serving suggestions/toppings:
- Caramel sauce
- Whipped cream
- More crumbled bacon and maple syrup
- Serve a scoop of maple bacon ice cream on top of a waffle as part of brunch
Recommended equipment (may contain affiliate links):
- My ice cream maker (2 qt)
- Newer version of my ice cream maker (2 qt)
- Well-reviewed less expensive ice cream maker (1.5 qt)
- Insulated ice cream container
- Heat-proof spatula
- Immersion/hand blender
- Ice cream scoop
Recommended ingredients (may contain affiliate links):