I made Maple Bacon Ice Cream about a year ago and mentioned that it started life as Maple Walnut Ice Cream for my grandmother, many years back. But I never posted the Maple Walnut recipe, so here we are, better late than never. This classic combination may be simple, but it’s far from boring.
Balancing sugar and flavor
If you’re trying to make a lower-sugar ice cream, maple walnut presents a challenge. The primary flavor of the ice cream comes from the maple syrup, so if you reduce the sugar (in the form of maple syrup), you also reduce the flavor.
The recipe calls for 3/4 cup of maple syrup, which will make a nice maple flavor, with plenty of sweetness, and a great texture — overall an excellent ice cream. However, if you don’t mind the extra sugar, you can increase the maple syrup to 1 cup and have a more intense flavor. I also cook the maple syrup to further concentrate the flavor.
Either way, I like the addition of maple extract to ensure a strong maple flavor.
How many walnuts?
Do you like lots of tiny walnut bits or big chunks? Do you want a walnut in every bite, or a walnut to pop up occasionally? The 3/4 cup of walnuts called for in the recipe should get you close to a walnut in every bite, but feel free to customize the amount to your preferences. Chopping the nuts into smaller pieces will make them distribute more evenly and feel like more. Whatever you do, make sure to toast them — the difference in flavor is huge!
Protein options
I use protein powder (collagen in this case) to increase the protein and reduce the sugar, without sacrificing texture. For more details on how that works, click here. You can substitute other protein powders as well, as long as they’re unsweetened and unflavored. My favorites are collagen and whey, but egg white and soy also work well. See the notes below the recipe for details.
Maple Walnut Ice Cream (dairy free)
Makes ~ 1 quart
Ingredients
For the ice cream base
For the walnuts
Instructions
Prepare the walnuts
-
TOAST AND CHOP THE WALNUTS
Toast your walnuts. I put mine into an air fryer at 350 for about 4 minutes. Toaster ovens also work well. Here's a method for toasting nuts in the microwave.
Chop the walnuts into whatever size you prefer. I like mine in big chunks.
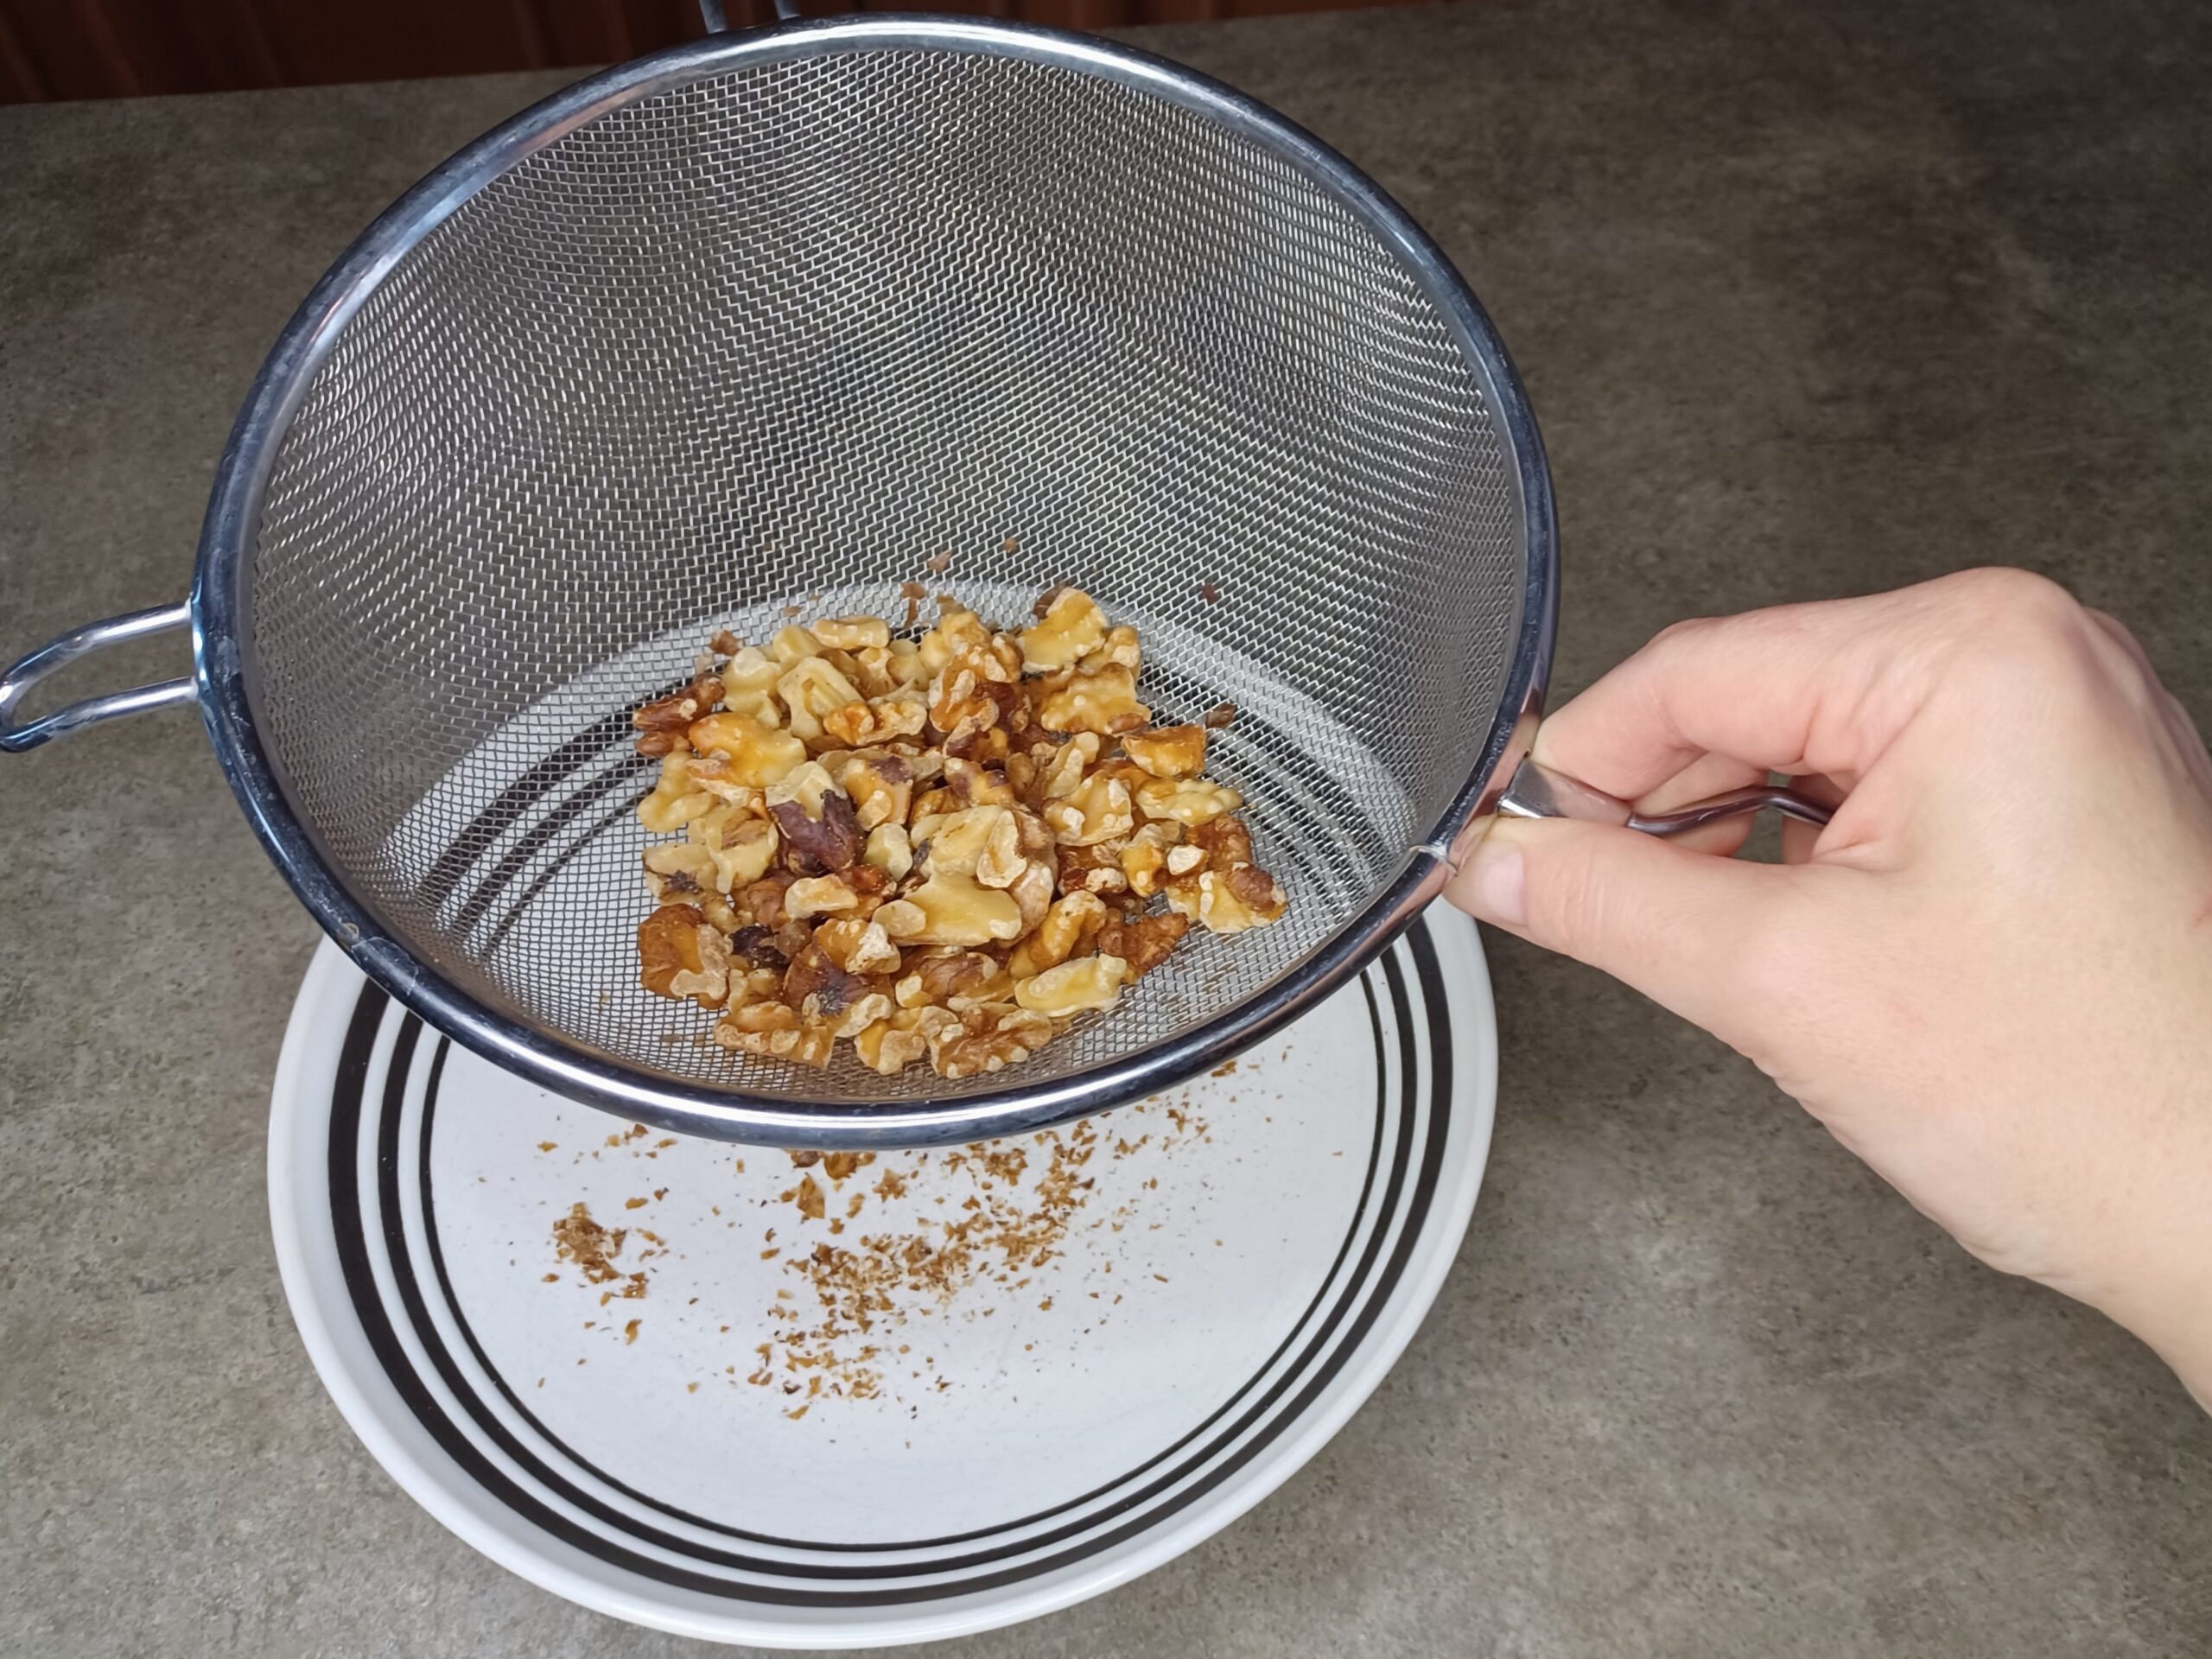
You may want to use a sieve to remove the tiny particles from the nuts. The smooth, creamy base is nicer without them.
Make the maple ice cream
-
REDUCE THE MAPLE SYRUP
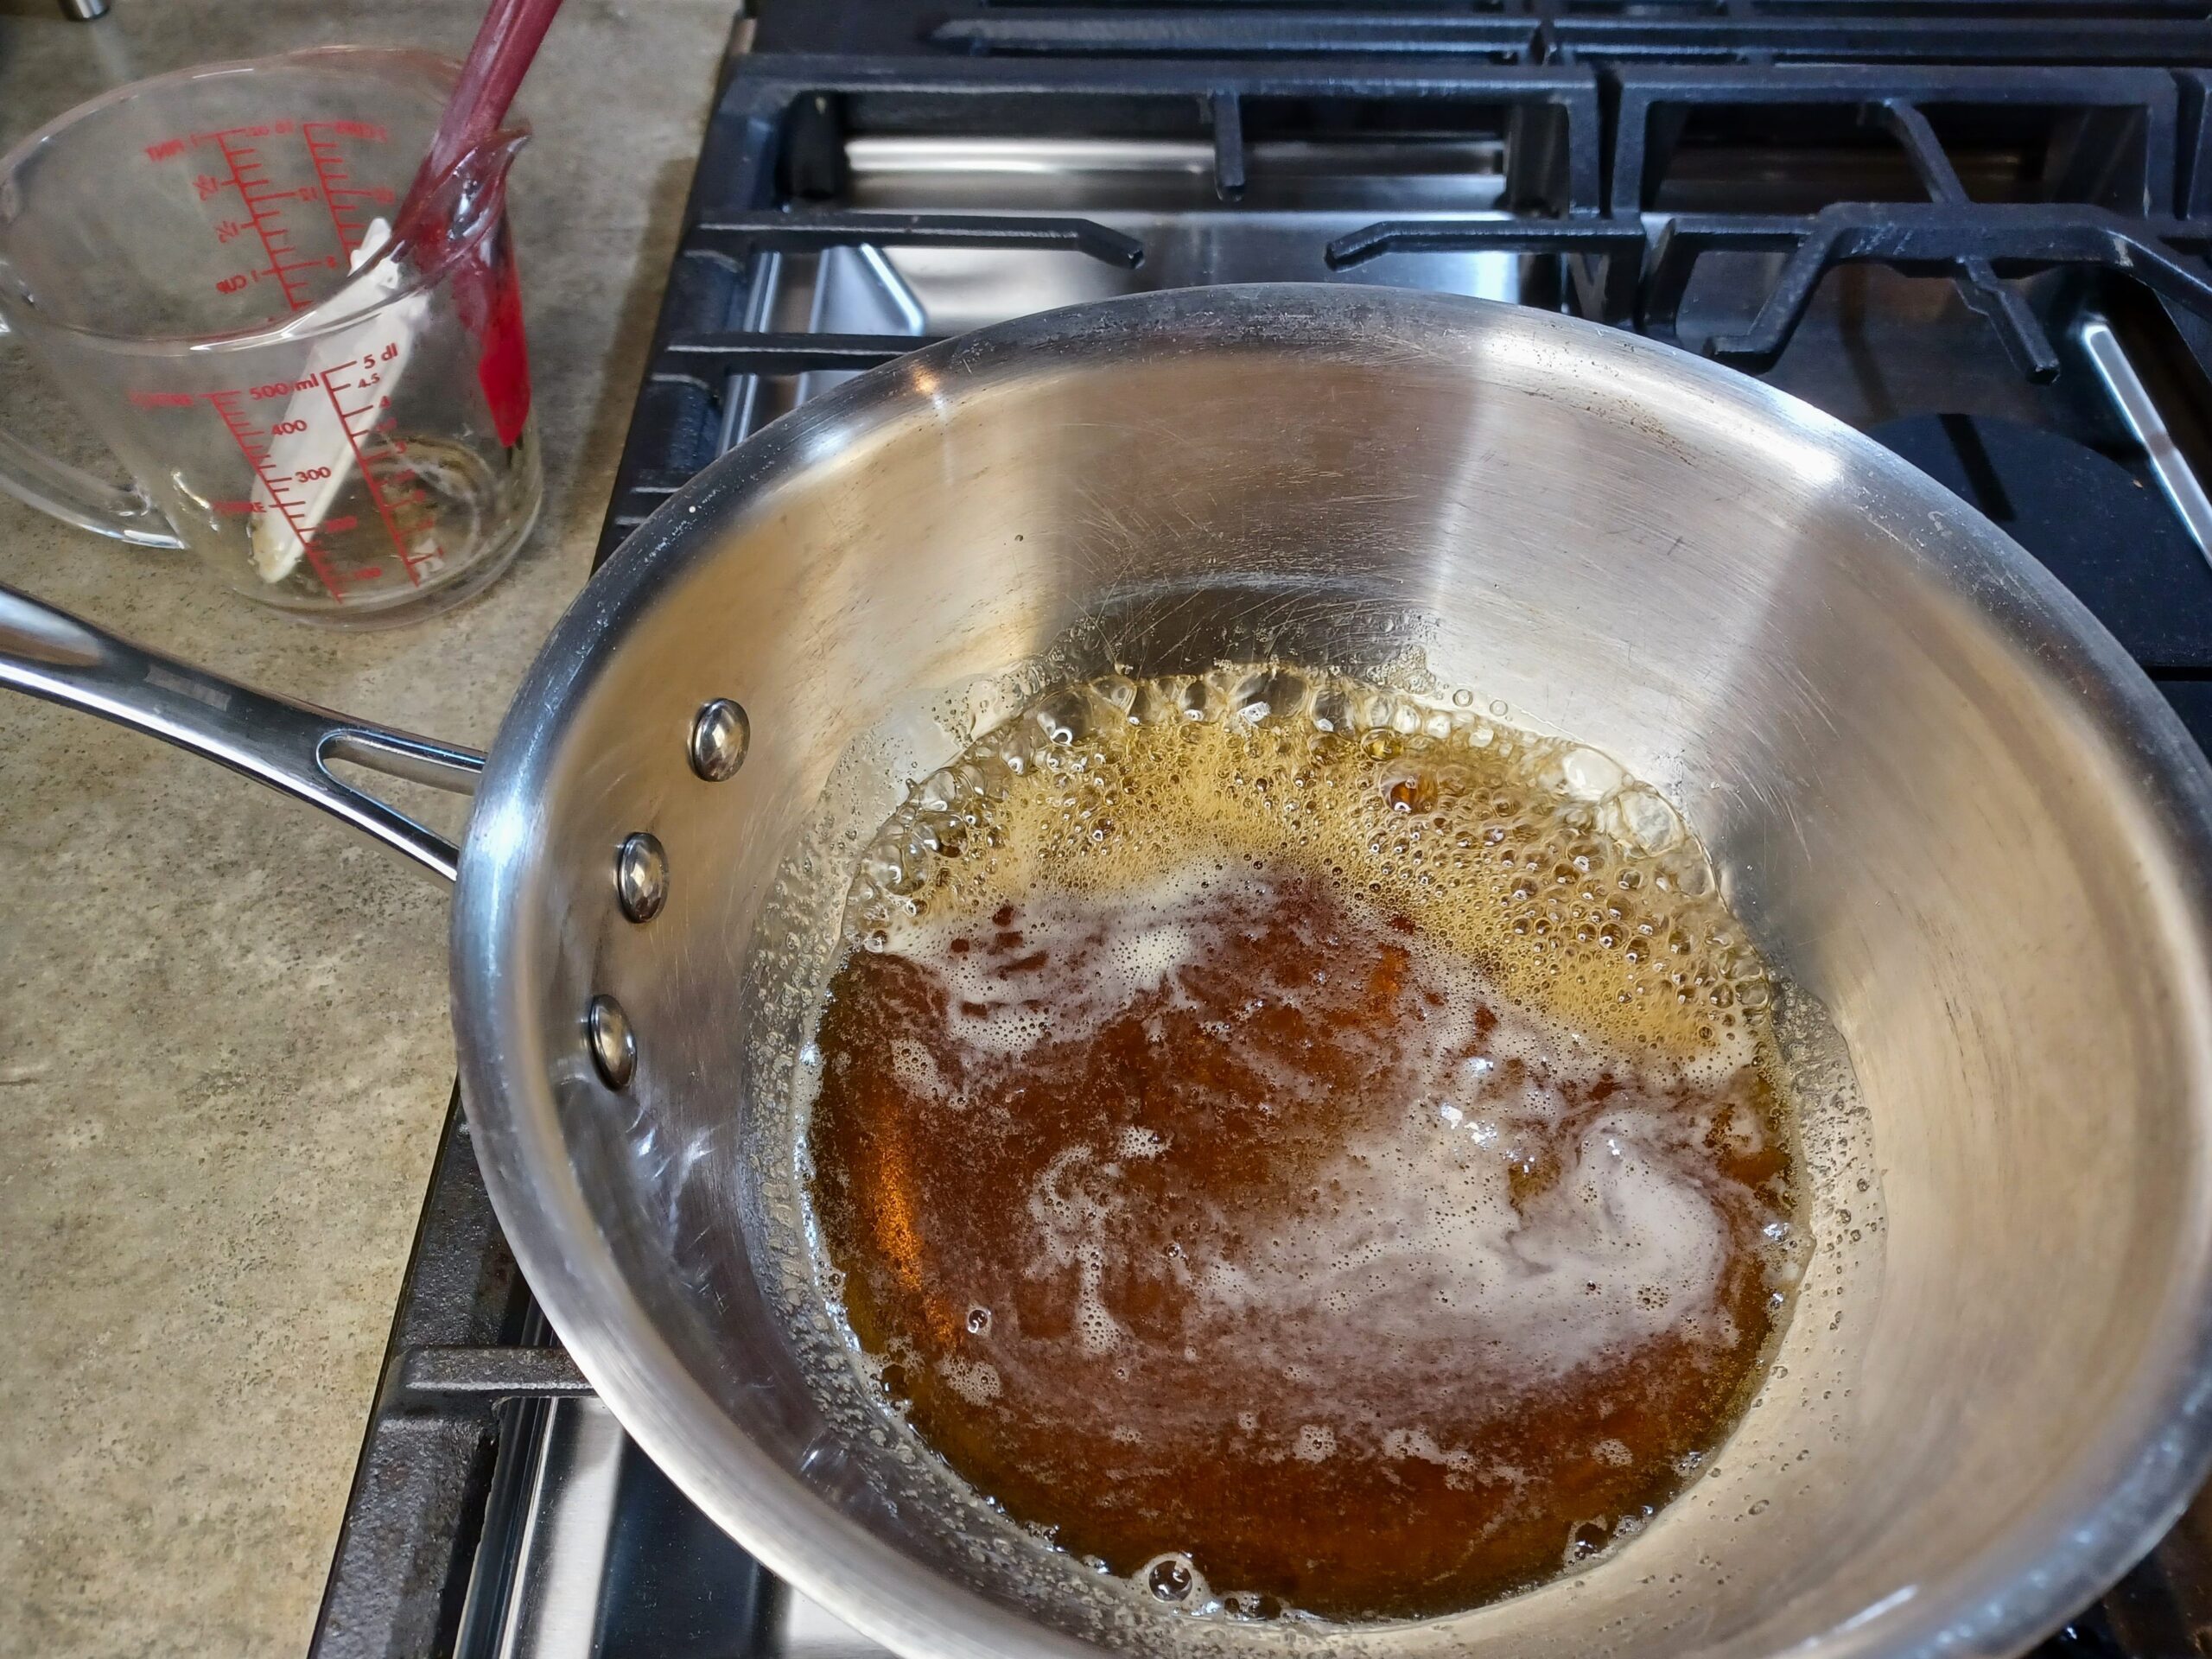
Place the maple syrup and salt in a sauce pan over medium heat until it starts to boil. Boil for 5 minutes, then turn off the heat. Since maple syrup contains water, the goal here is to boil off some of the water and concentrate the maple flavor.
-
ADD REMAINING INGREDIENTS AND BLEND
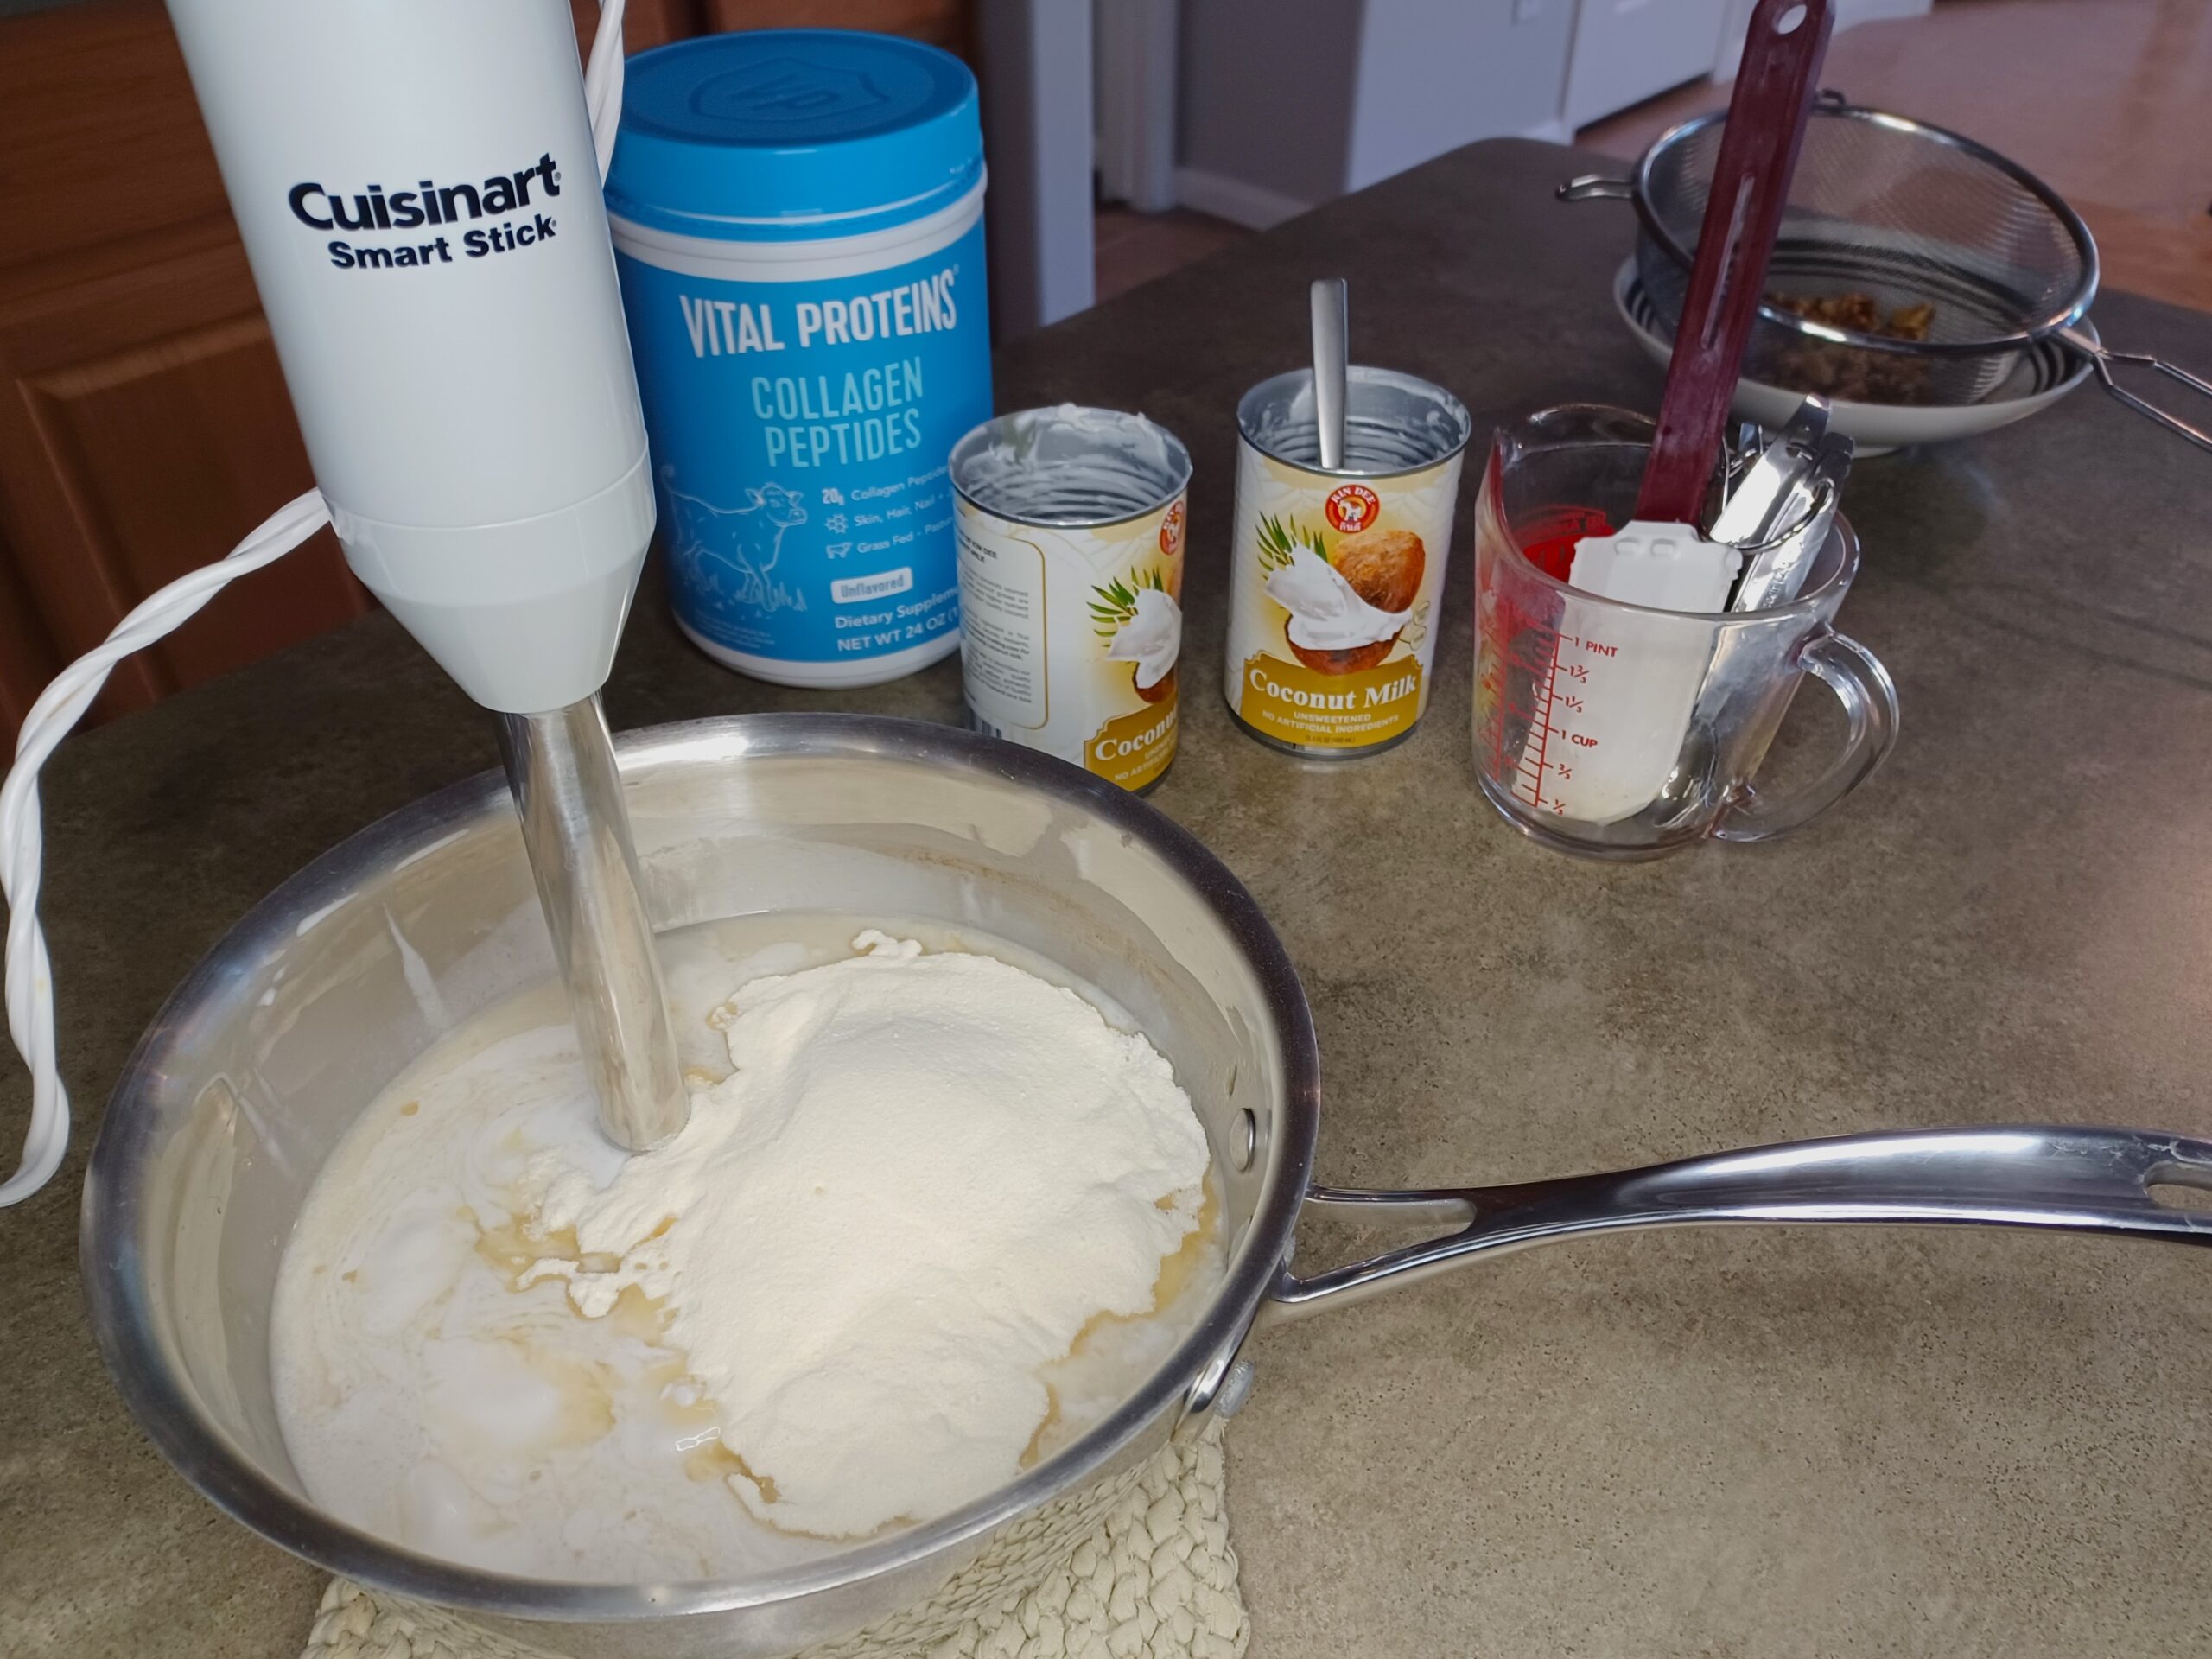
After the maple syrup has reduced, let it cool for a few minutes, then add all the remaining ingredients (except the walnuts).
Blend in the sauce pan with an immersion blender or transfer to a standard blender and blend thoroughly, scraping down the sides with a spatula, until the mixture is fully combined and smooth.
-
CHILL
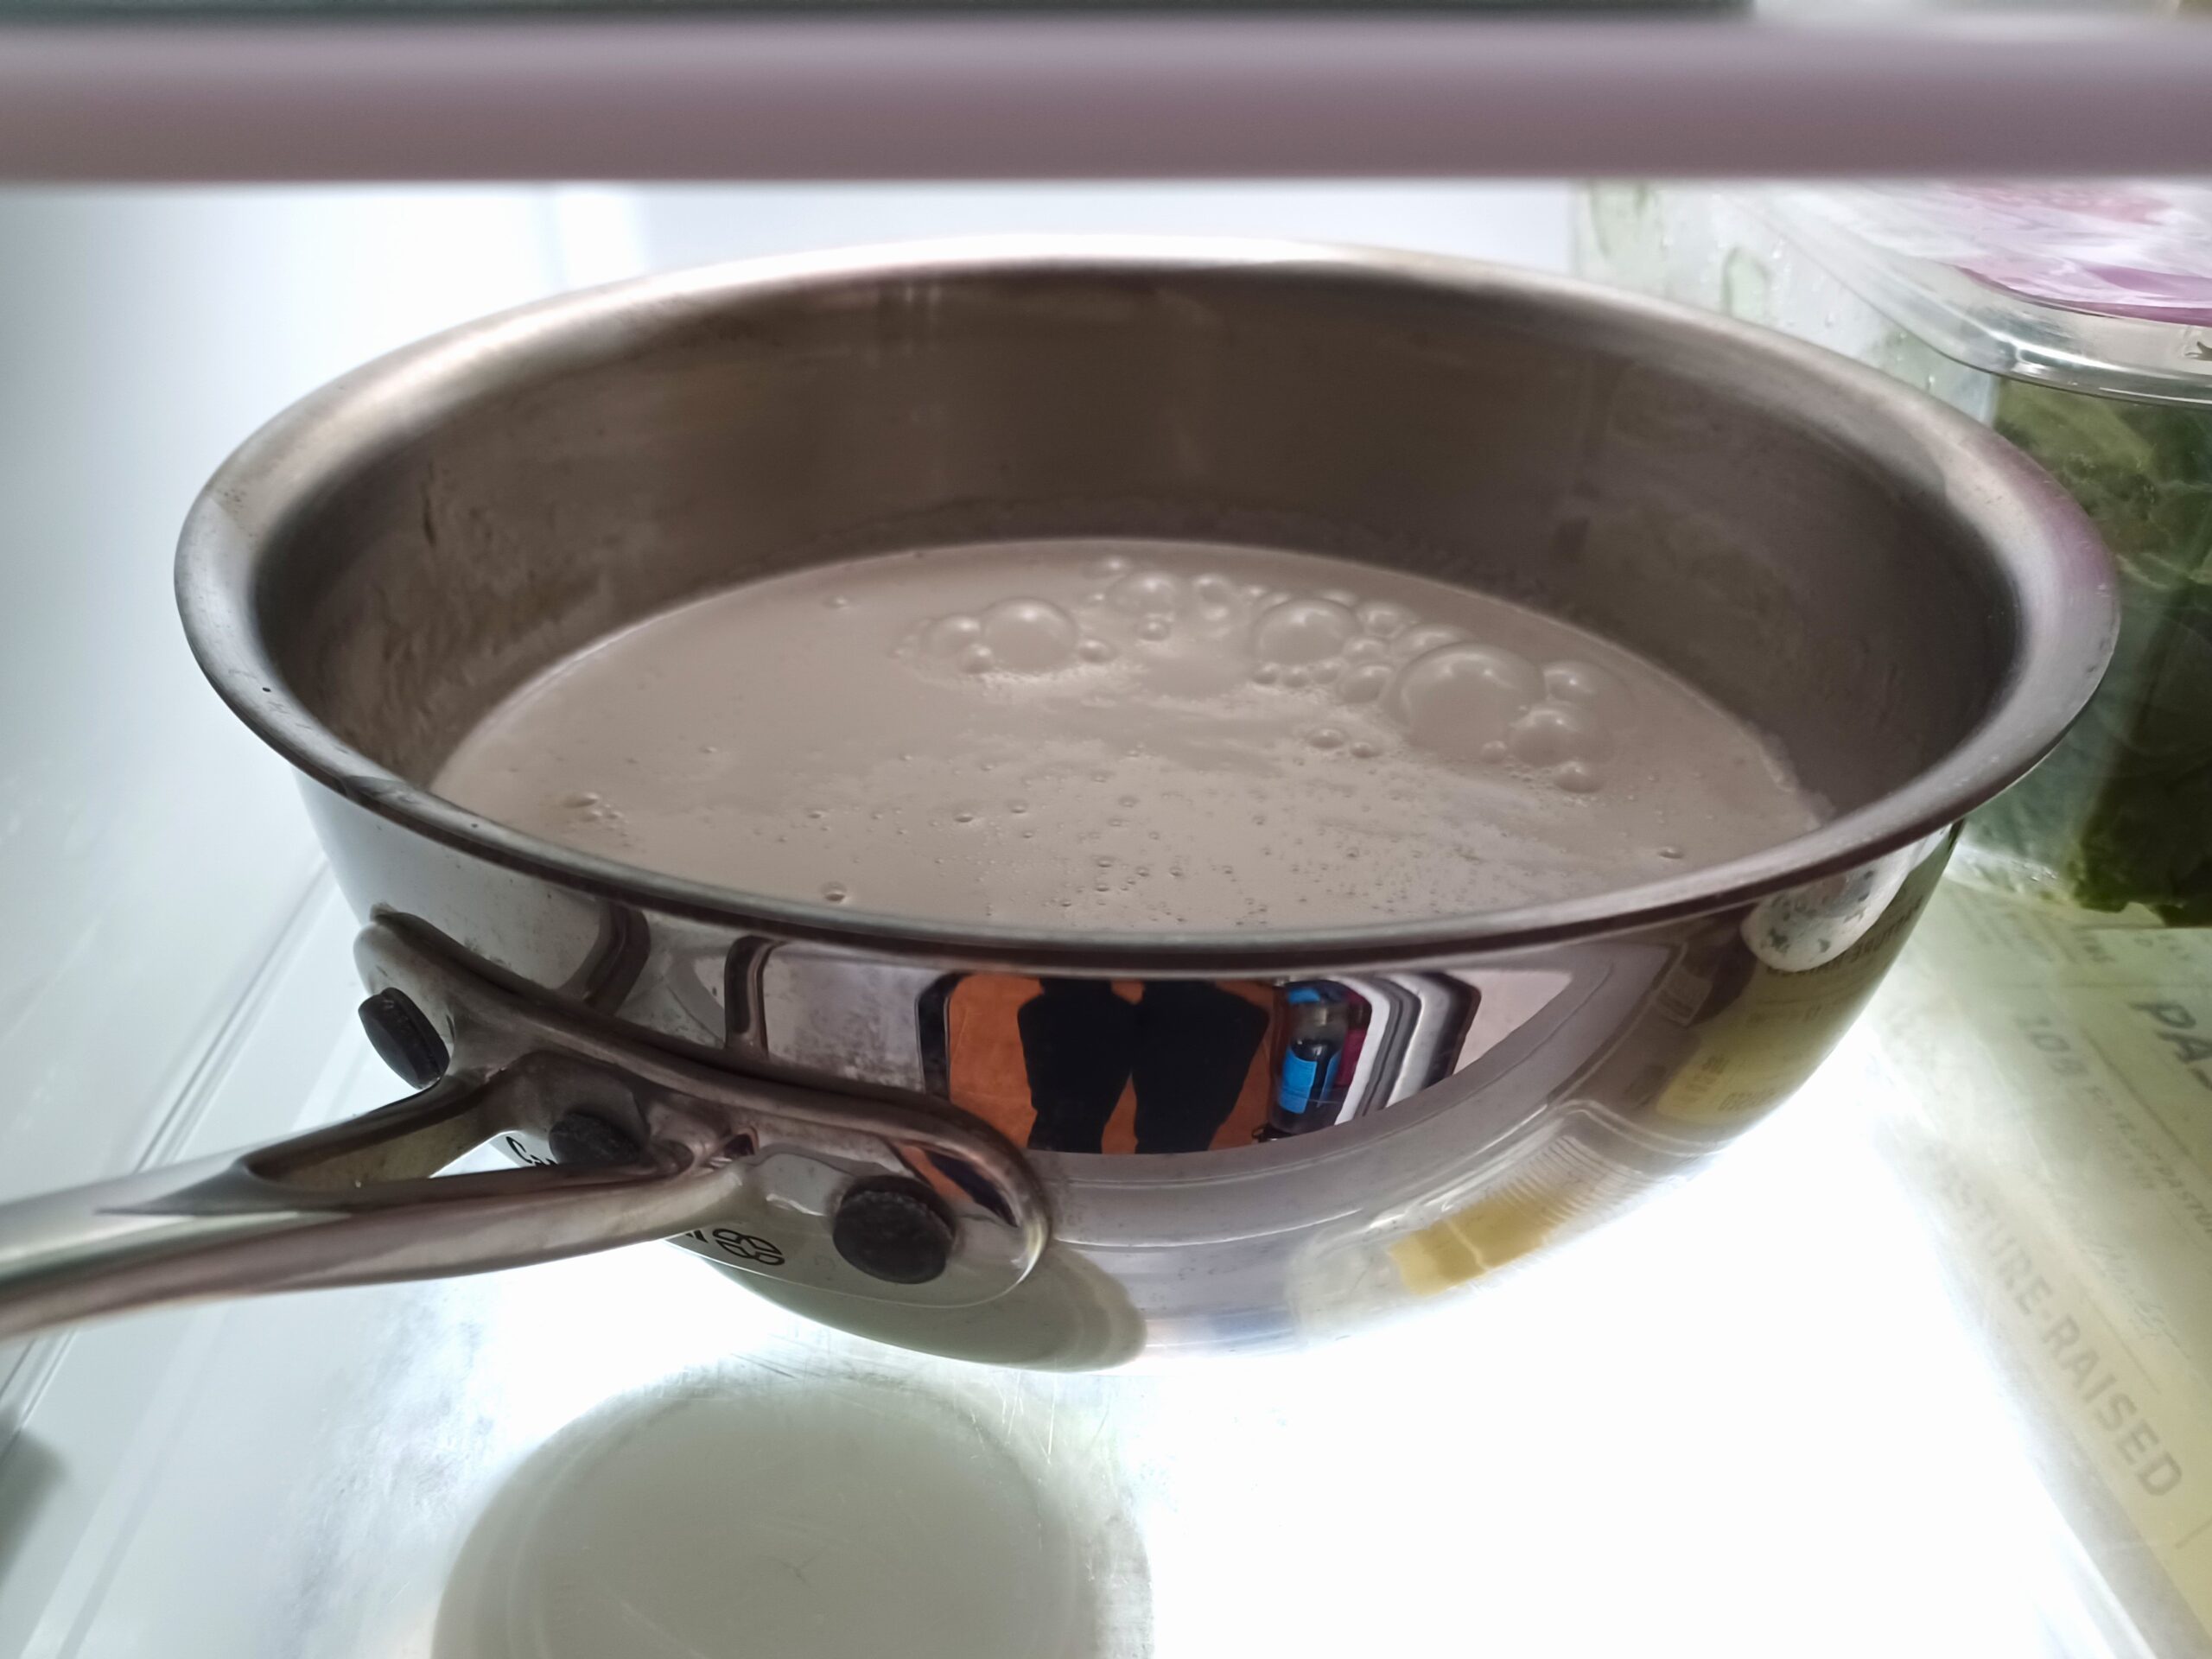
Transfer to a container and chill in the refrigerator for several hours or overnight.
For a quicker chilling time, place the bowl containing your mixture in an ice bath (a larger bowl containing ice water) for a few hours. Stir the mixture occasionally. As the water in the ice bath warms up, pour off some water and add ice to keep the mixture chilling as quickly as possible.
Ideally, the mixture will be about 40 degrees when you churn it.
-
CHURN
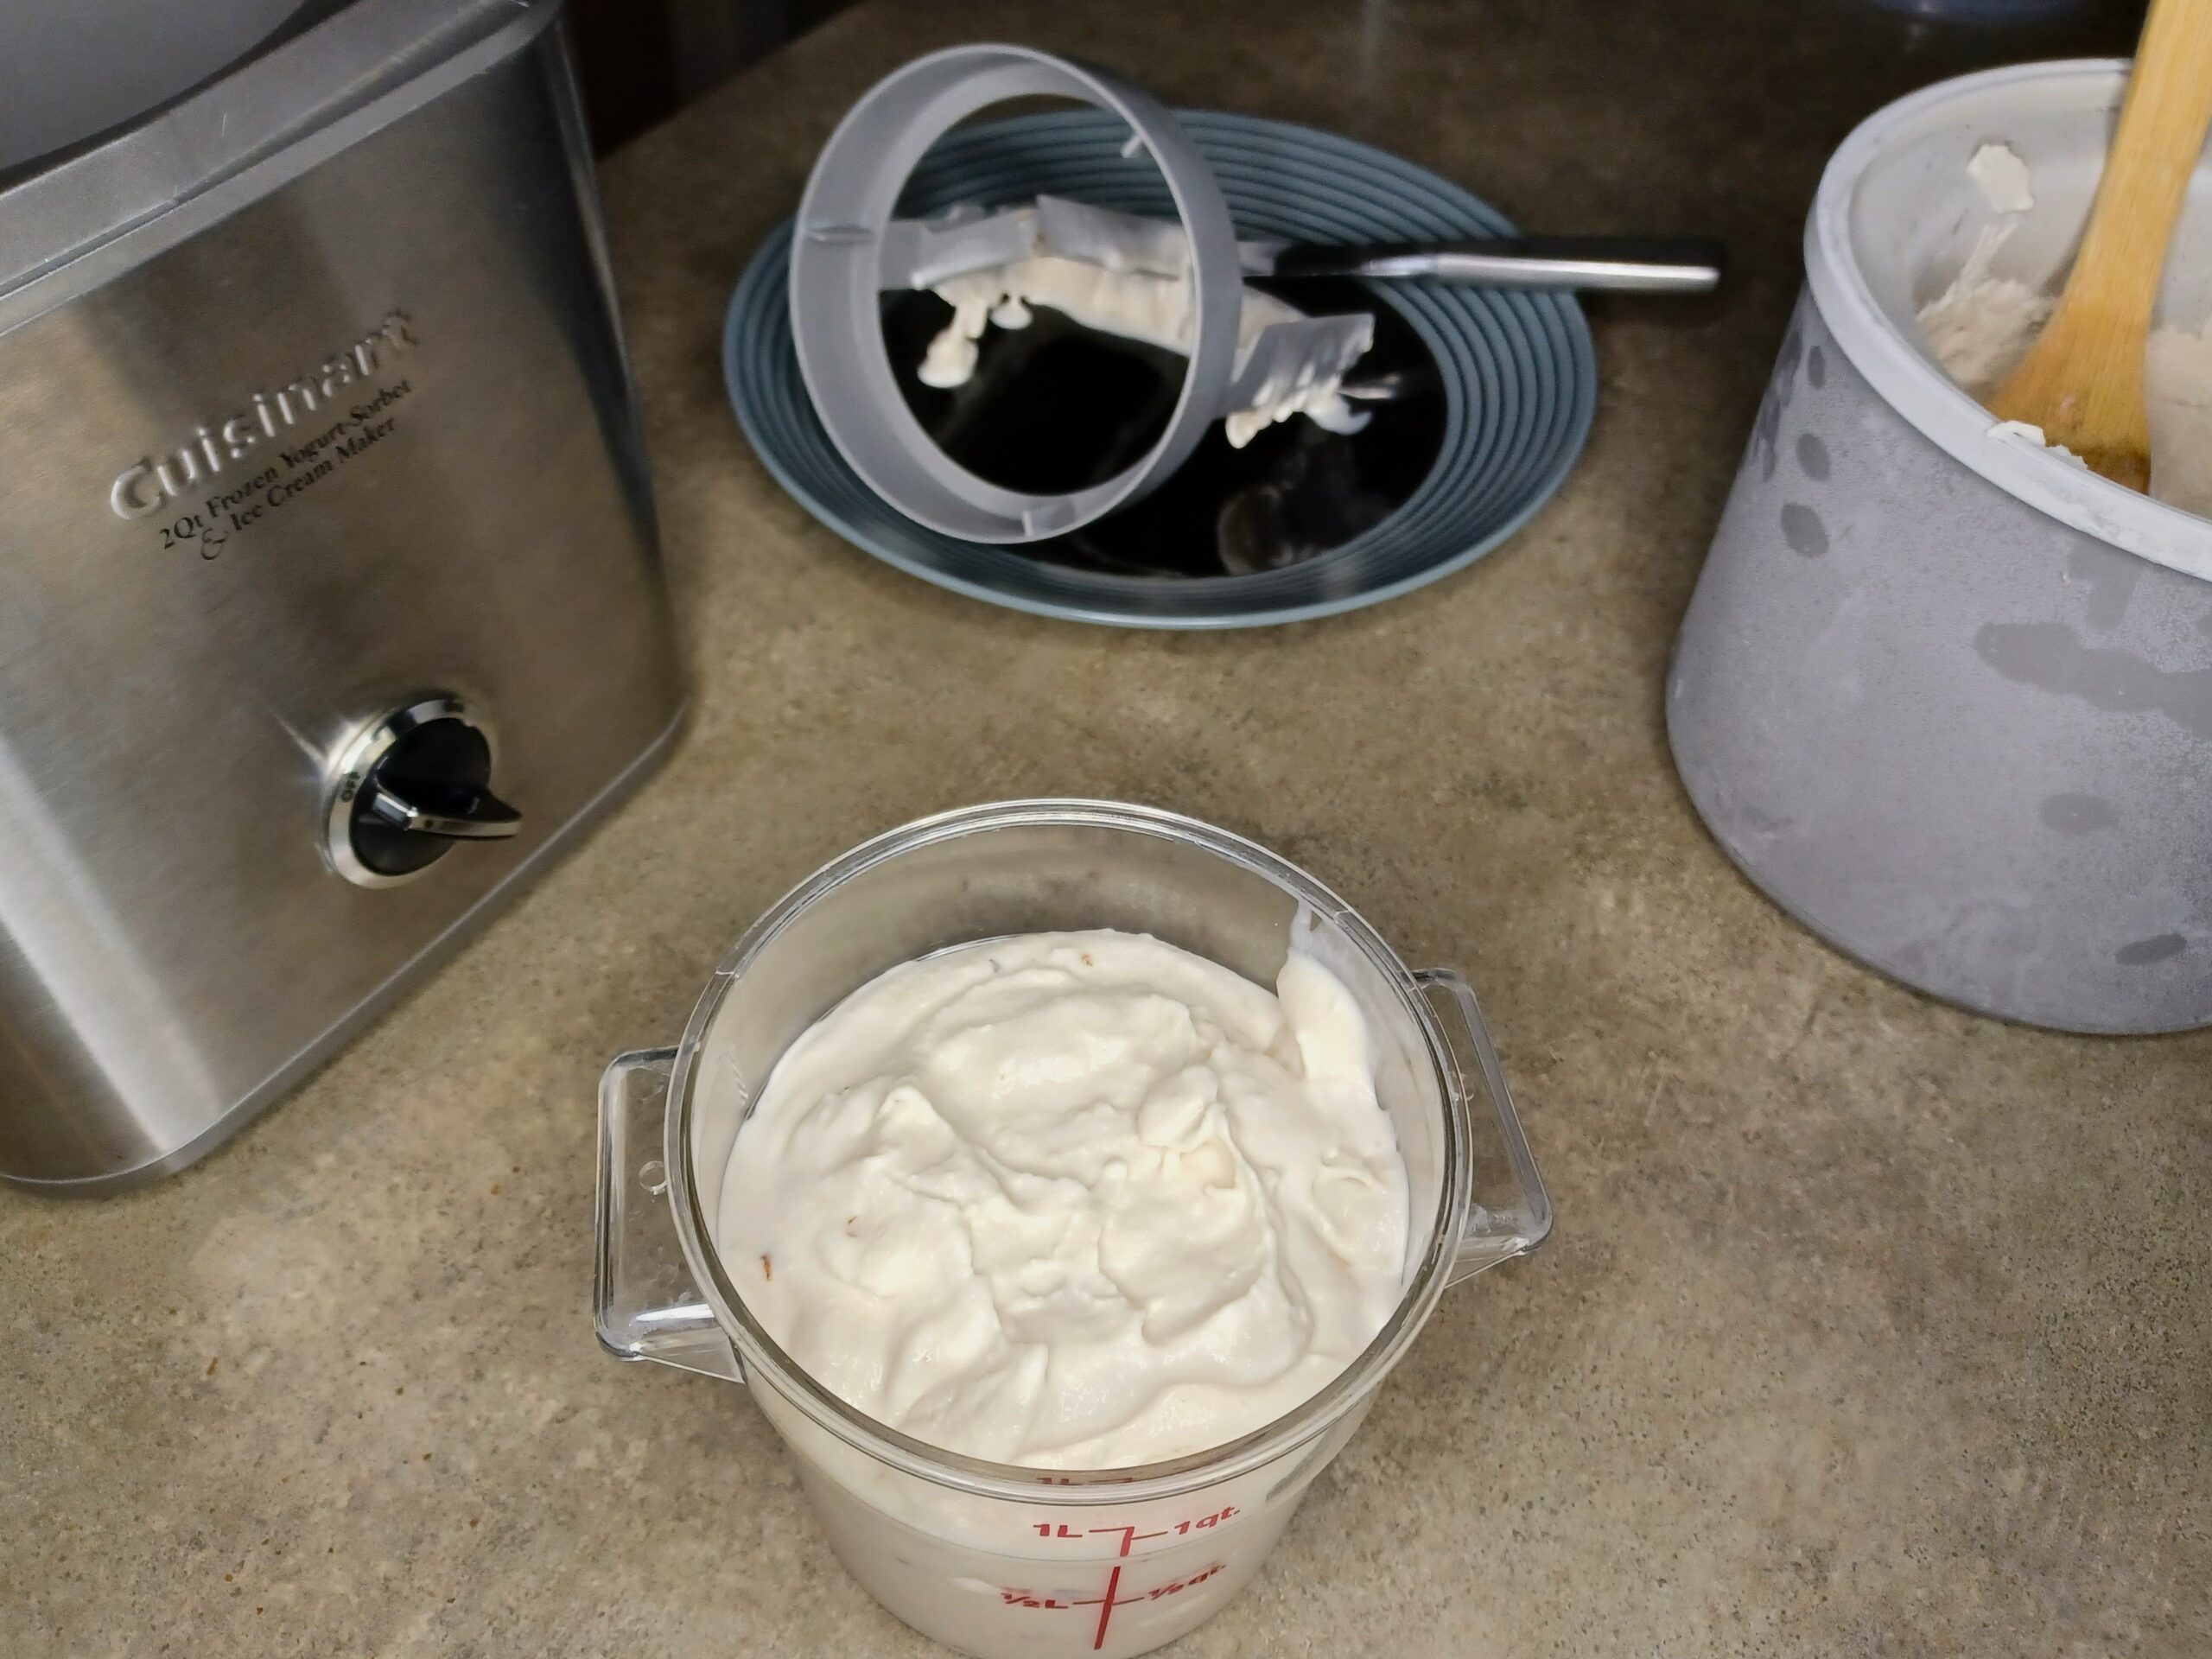
Before you start churning, set up everything you'll need to quickly transfer the ice cream from the machine into a container for freezing. I use a knife to scrape down the dasher (or paddle) and a wooden spoon to scoop out the ice cream.
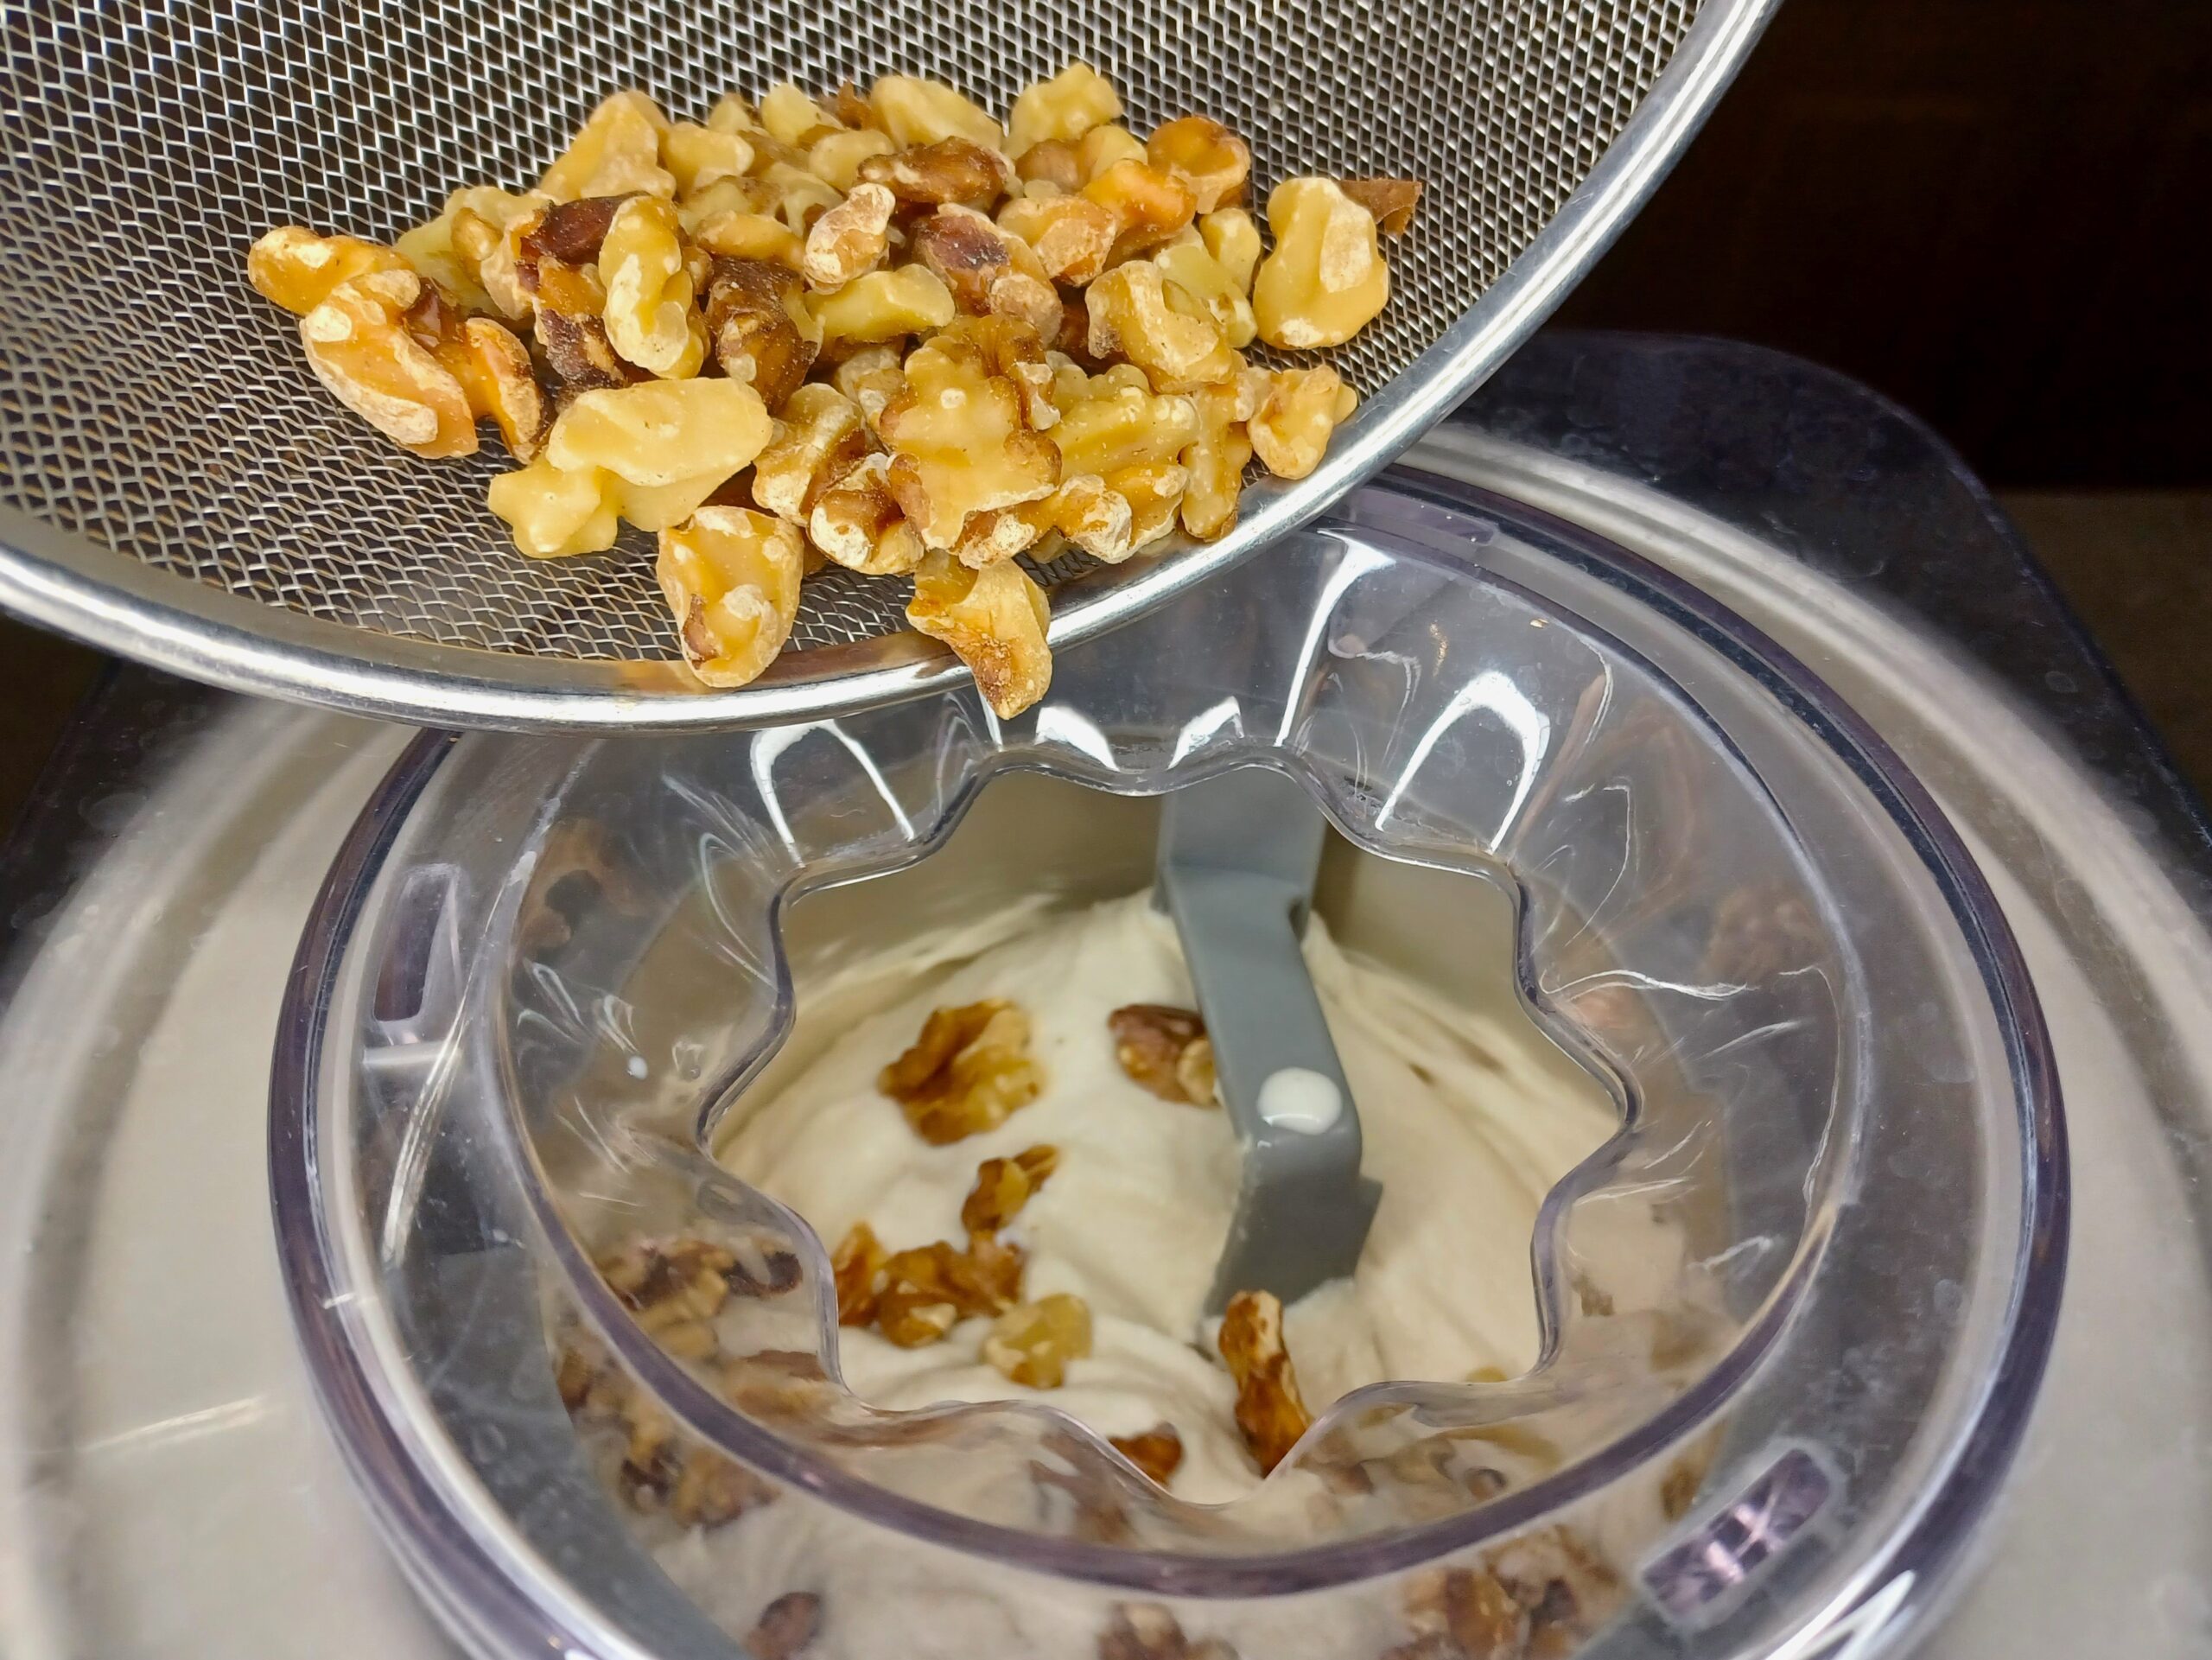
Grab the walnuts!
Set up your ice cream maker according to the manufacturer's directions. Pour your mixture into the ice cream maker and churn. In my machine the perfect churning time is 18 minutes, but your experience may vary. Add the walnuts in the last minute of churning, or fold them into the ice cream as you transfer it from the machine to your storage container.
The ice cream is finished churning when it looks like soft-serve and is pulling away from the sides of the canister.
-
STORE
When the ice cream has finished churning, scoop it as quickly as possible into your storage container. Cover it with plastic wrap or parchment paper, if using. (Placing a sheet of parchment paper between the container and lid will help prevent frost, or you can press plastic wrap directly onto the surface of the ice cream.) Put the container in the freezer. The ice cream will be fully firm in a few hours.
Note
Protein powder substitutions:
You can use any unflavored, unsweetened protein powder you want. Whey, collagen, and egg white work the best. Vegan protein powders can work too, but sometimes create a chalky texture. Because different protein powders have different textures, the same volume of different powders may weigh different amounts. Weighing is the best method for ensuring you get the 65 grams the recipe calls for, but here are some estimates for using a cup measurement:
- 65 g collagen powder = 1/2 cup + 2 tablespoons
- 65 g whey protein = 1 cup (scant)
- 65 g egg white protein = 3/4 cup
- 65 g soy protein = 1 cup
Serving suggestions/toppings:
- Caramel sauce
- Whipped cream
- Chocolate sauce
- Flaky sea salt
Flavor variations:
- Maple Walnut with Bourbon -- Add 2 tablespoons of bourbon to the ice cream base.
- Maple and Candied Walnut -- Use candied walnuts as the mix-in.
- Maple Pecan -- Use toasted or candied pecans as the mix-in.
- Maple Bacon
Recommended equipment (may contain affiliate links):
- My ice cream maker (2 qt)
- Newer version of my ice cream maker (2 qt)
- Well-reviewed less expensive ice cream maker (1.5 qt)
- Insulated ice cream container
- Heat-proof spatula
- Immersion/hand blender
- Ice cream scoop
Recommended ingredients (may contain affiliate links):

Quality articles is the important to be a focus for the uders to visit the webb page, that’s
what this site is providing.
my blg post; Gretta