
Before working on this recipe, I had never had the opportunity to taste Ube Ice Cream, though I had wanted to. Ube is a purple yam native to southeast Asia and a popular flavor of ice cream in the Philippines.
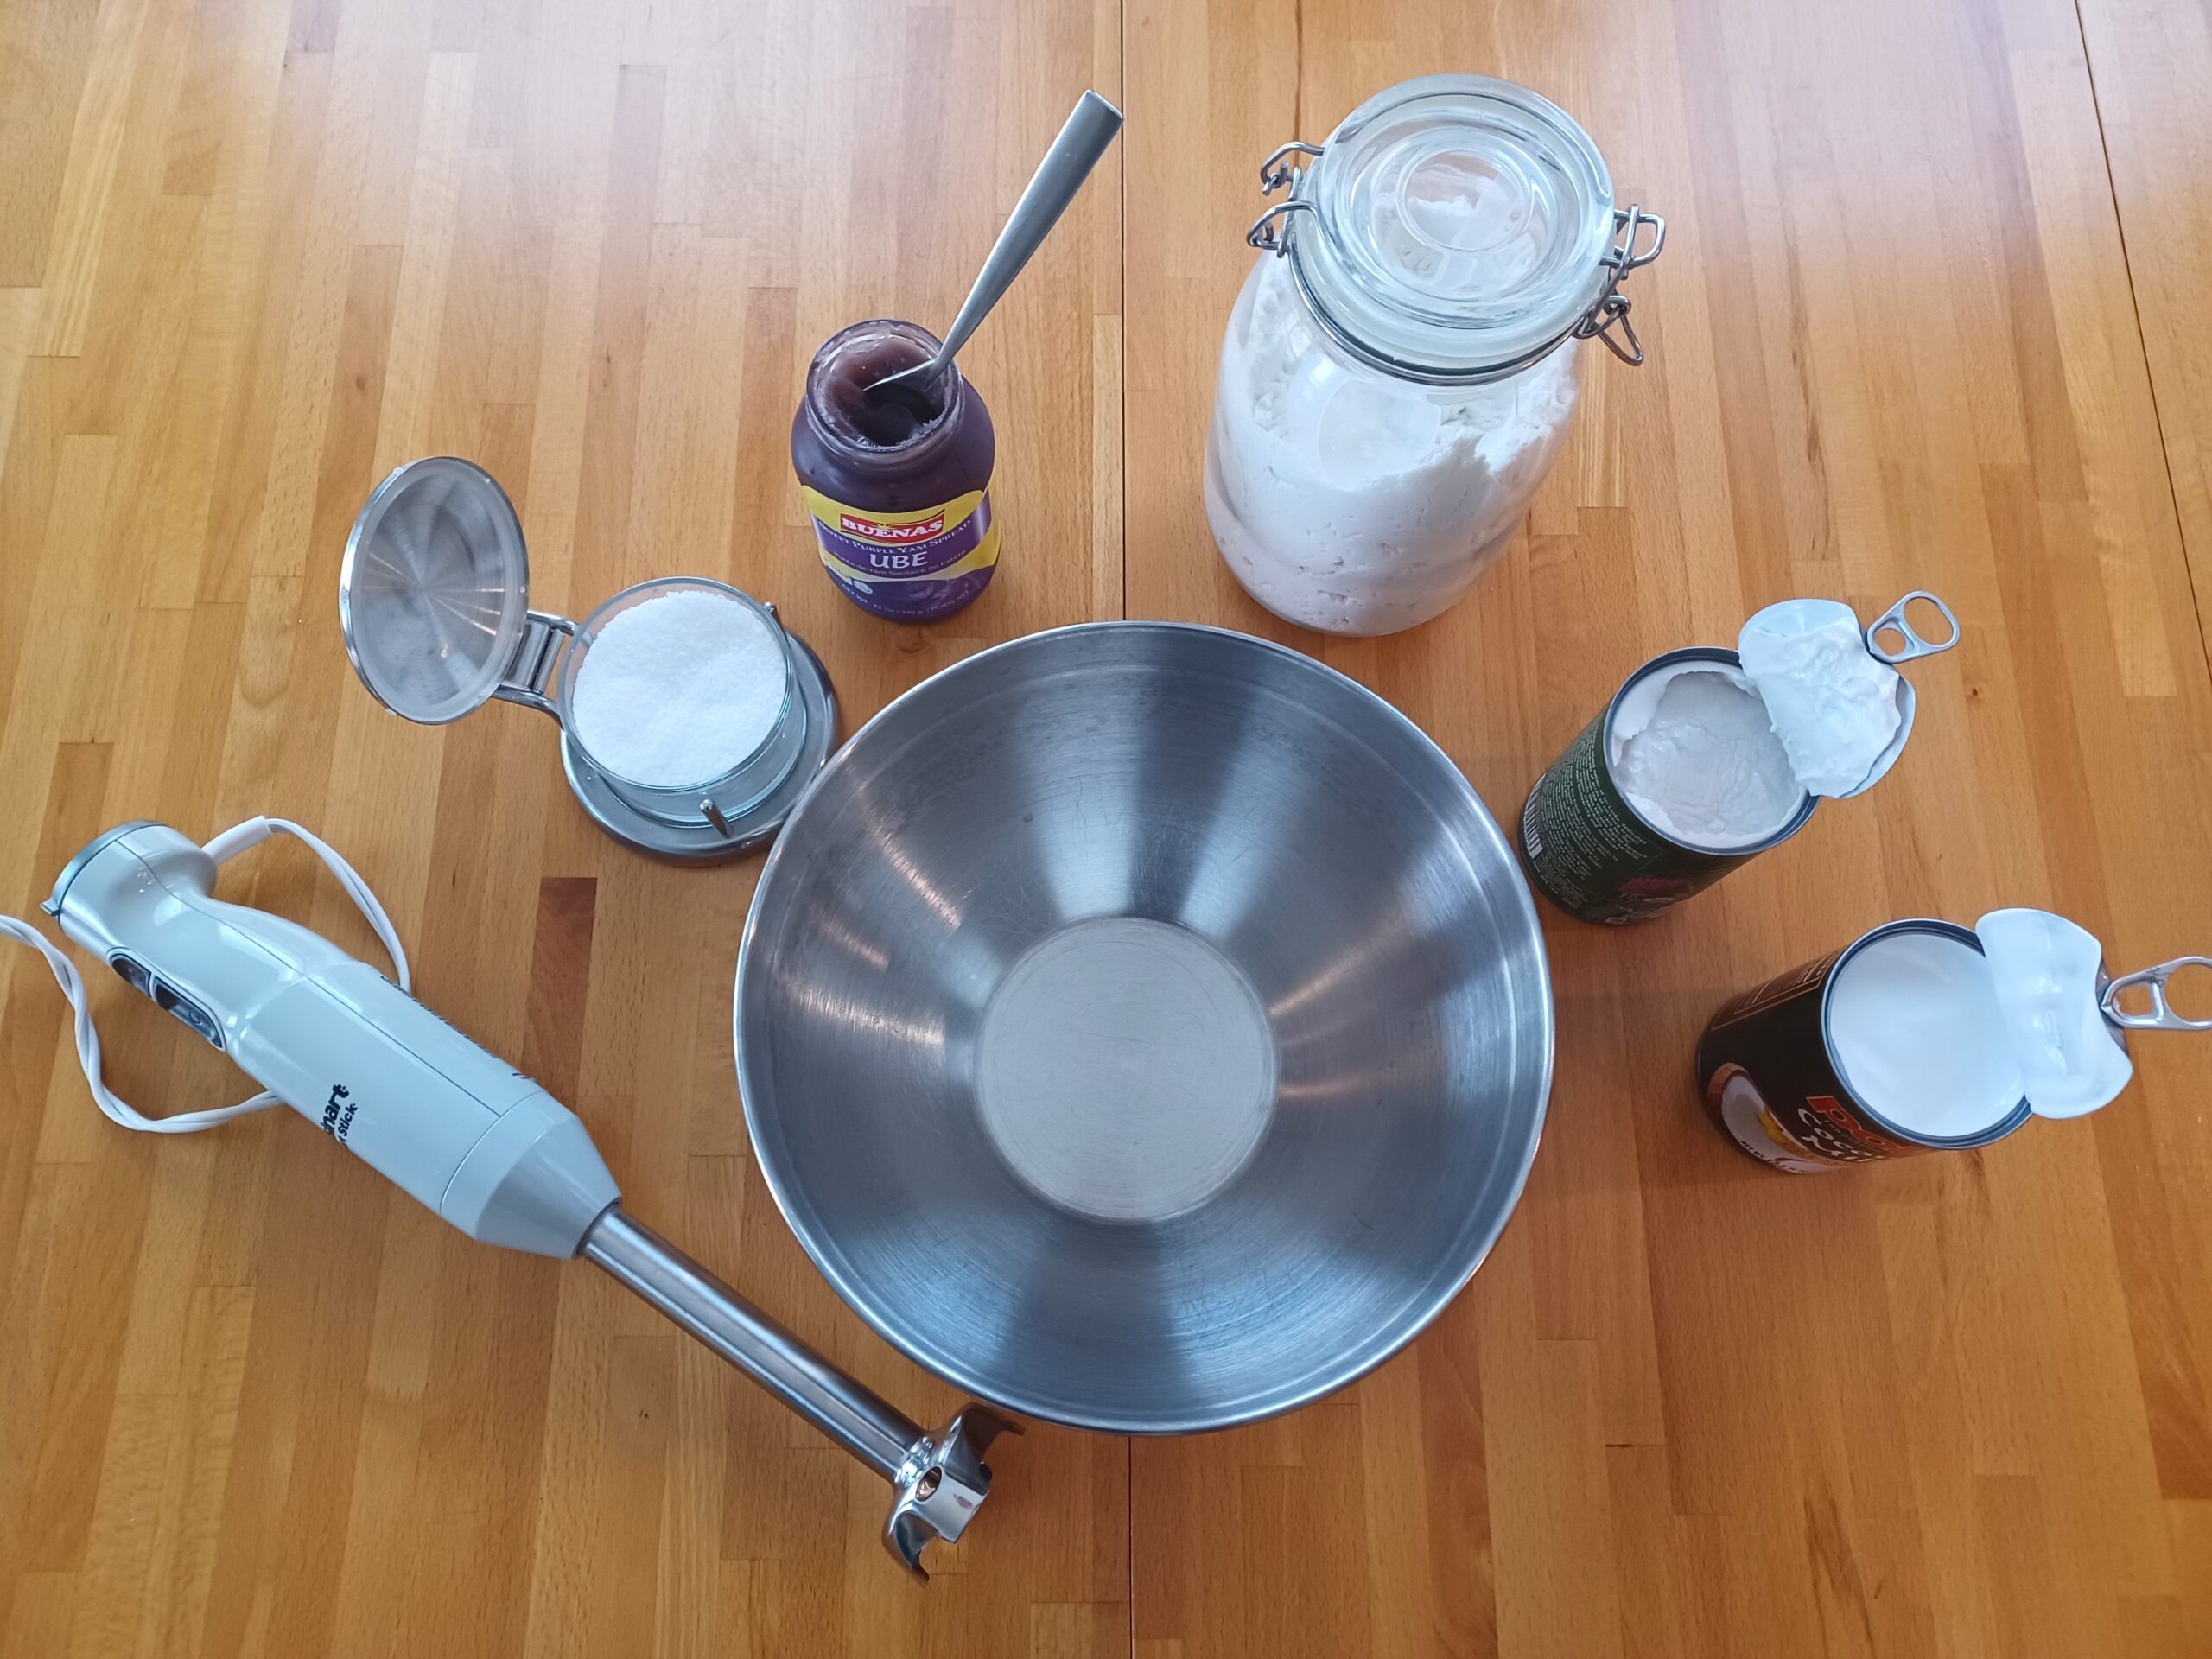
You can find ube in Asian markets in a few different forms: a frozen puree, a sweetened paste in a jar (ube halaya or purple yam jam), and an ube powder. I was lucky that my local Asian grocery carried all 3 options, but I went with a version of the jam, because my research indicated it’s most often used in making ice cream, possibly because it’s already been cooked down, concentrated, and sweetened. (If you don’t have an Asian grocery nearby, you can get ube halaya from Amazon [affiliate link]).
Ube has a mild, delicate flavor which is difficult to describe. I guess sweet potato comes the closest, but with more nutty and floral notes. I’ve also seen the flavor compared to coconut, so using coconut milk as the ice cream base pairs nicely.
As with many of my recipes, I use protein powder to increase the protein while keeping the sugar as low as possible. (I explain the science behind this here.) Feel free to substitute any protein powder you like, but in my testing I found some vegan versions leave a chalky aftertaste. My favorite options are whey and collagen. Let me know if you try a vegan one that works! If you are lactose intolerant (like me), this ice cream should work for you. Whey protein is the only milk-based ingredient, and it contains no lactose.
This flavor comes together quickly and uses the easiest possible process: blend, chill, churn. You will need a blender to fully incorporate the protein powder and emulsify the coconut milk. Whisking alone will leave lumps. Also, the ube paste is very thick and sticky, so the blender ensures everything is well mixed.
If Ube Ice Cream sounds good to you, you might also like:
- Miso-Maple-Pecan Ice Cream (dairy free)
- Black Tahini Ice Cream (vegan)
- Banana-Sesame Frozen Yogurt (lactose friendly)
Ube Ice Cream (lactose free)
Makes a little more than 1 quart
Ingredients
Instructions
-
BLEND
Place all the ingredients into a blender and blend until smooth. (The picture shows a bowl and an immersion blender, which is how I made the ice cream the first time. I discovered that a blender works much better and more quickly, so I strongly recommend going that route instead of using an immersion blender.)
-
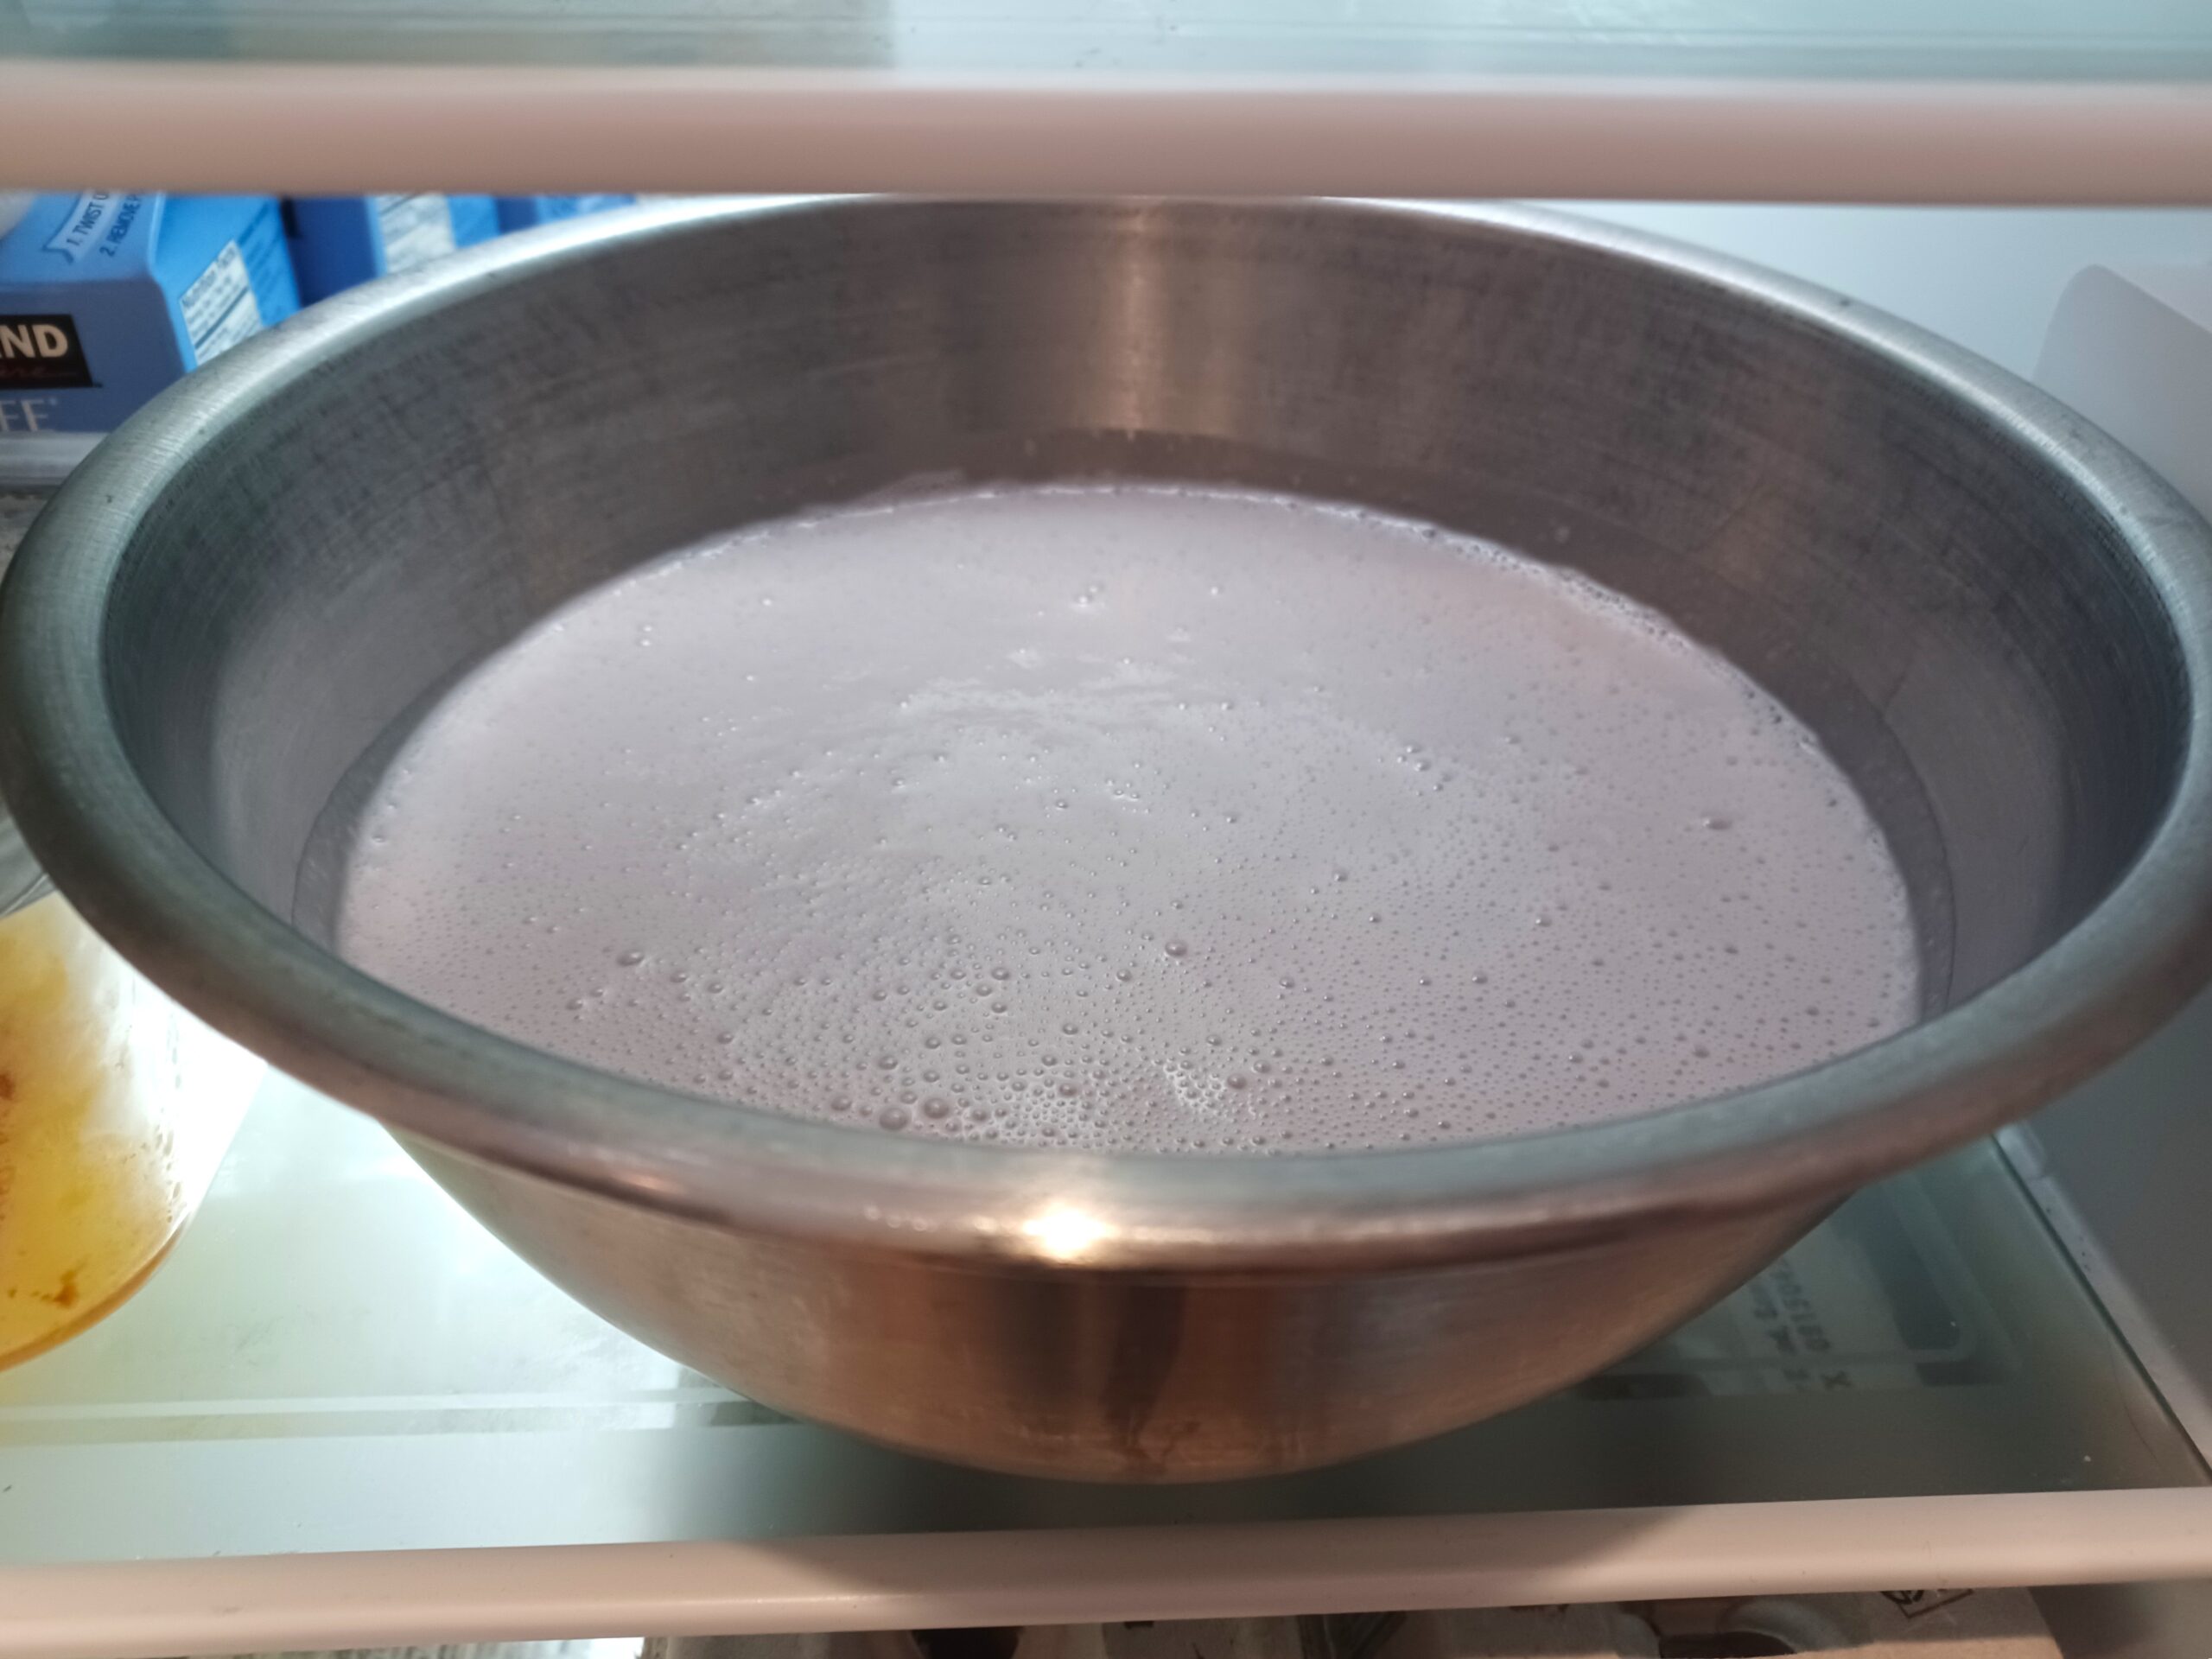
CHILL
Chill in the fridge for 8 hours or overnight.
For a quicker chilling time, place the bowl containing your mixture in an ice bath (a larger bowl containing ice water) for a few hours. Stir the mixture occasionally. As the water in the ice bath warms up, pour off some water and add ice to keep the mixture chilling as quickly as possible.
Ideally, the mixture will be about 40 degrees when you churn it.
-
CHURN
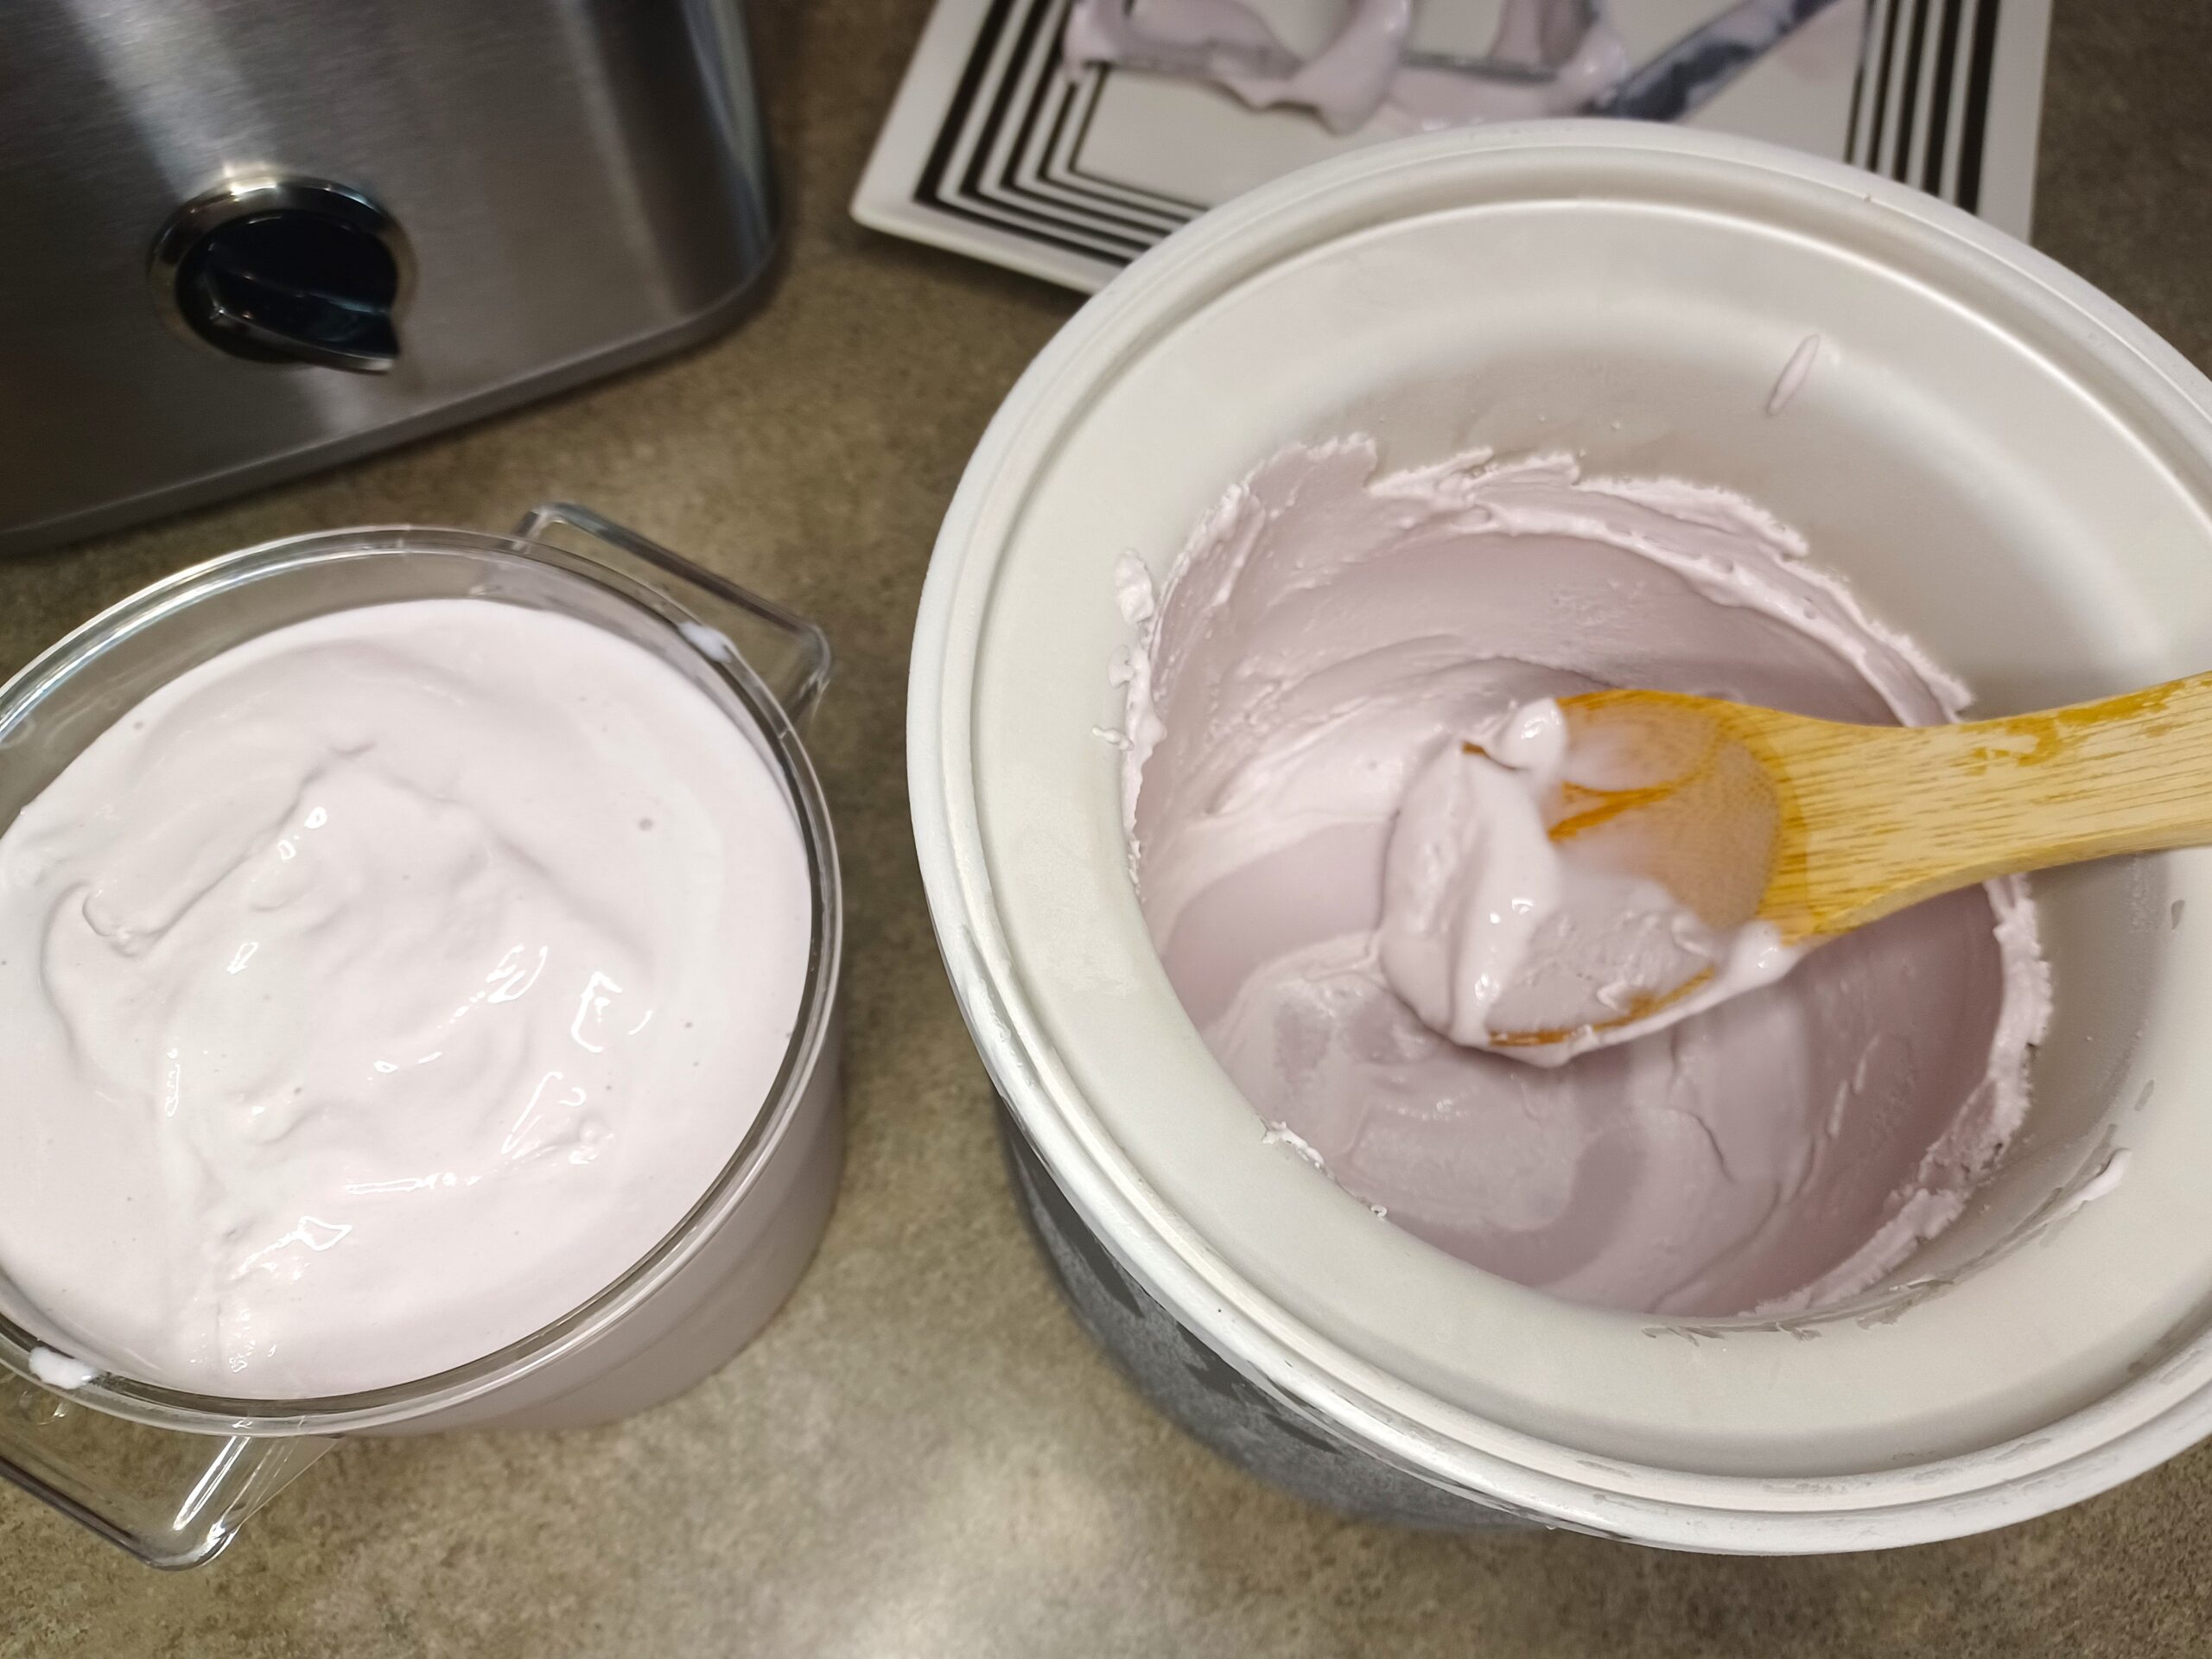
Before you start churning, set up everything you'll need to quickly transfer the ice cream from the machine into a container for freezing. I use a knife to scrape down the dasher (or paddle) and a wooden spoon to scoop out the ice cream. When you are ready to churn, ideally your base will be about 40 degrees.
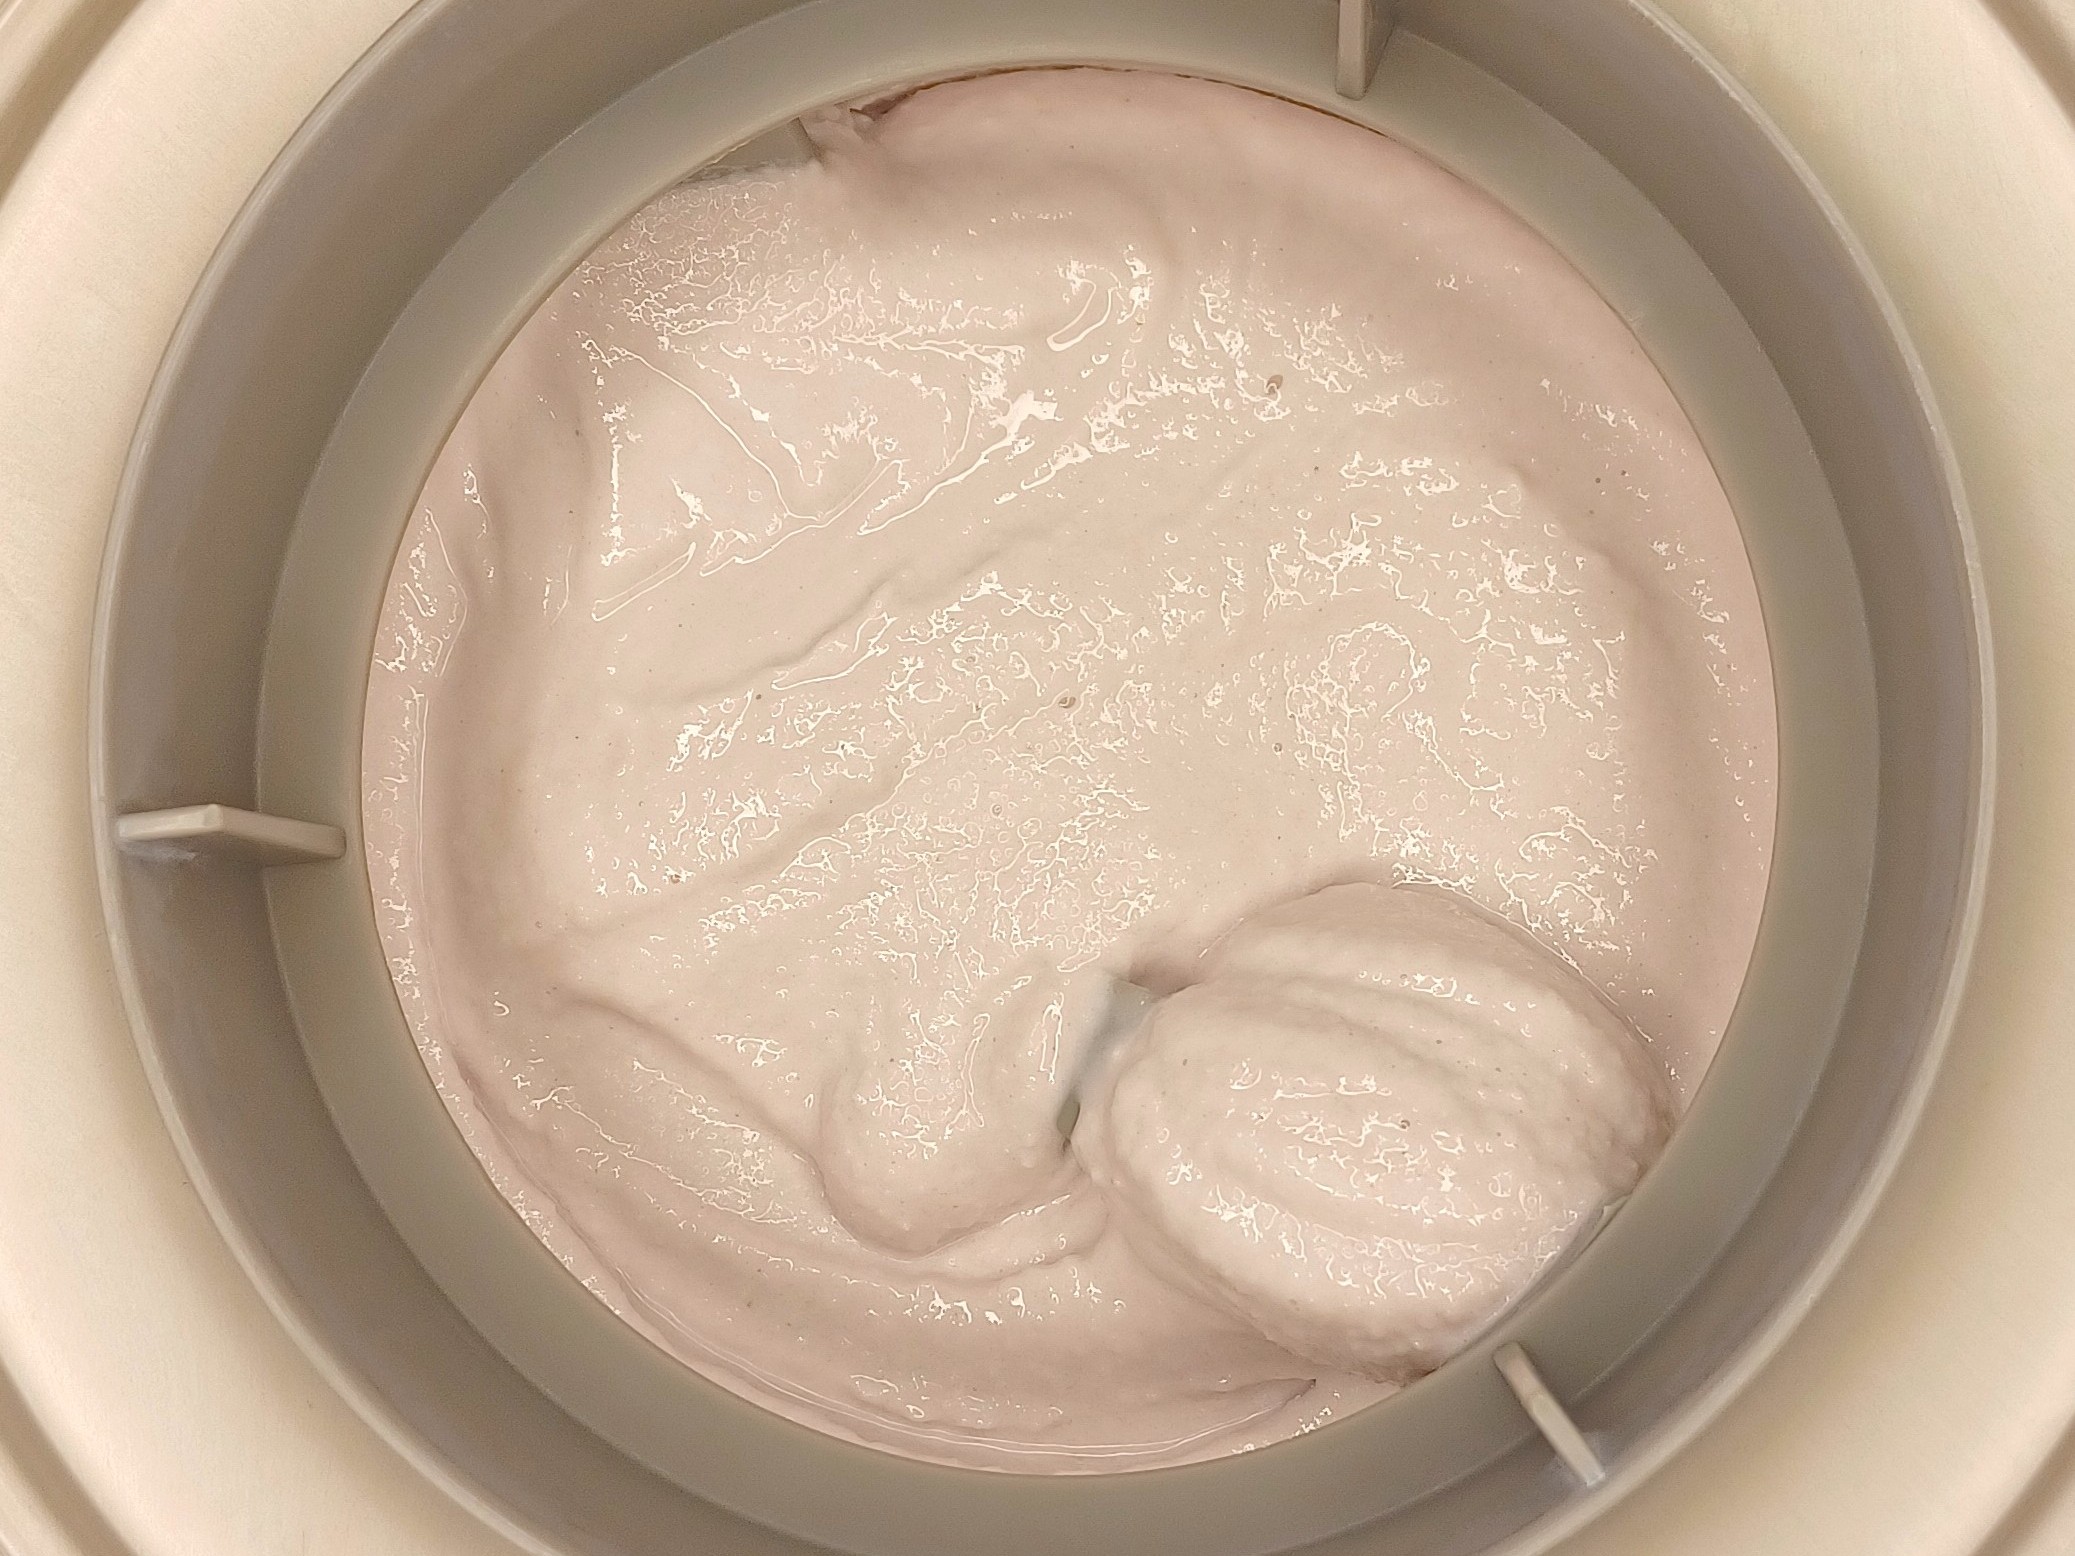
Set up your ice cream maker according to the manufacturer's directions. Pour your mixture into the ice cream maker and churn. In my machine the perfect churning time is 15 minutes, but your experience may vary.
The ice cream is ready when it has the consistency of soft serve and has started pulling away from the edge of the canister.
-
STORE
When the ice cream has finished churning, scoop it as quickly as possible into your storage container. Cover it with plastic wrap or parchment paper, if using. (Placing a sheet of parchment paper between the container and lid will help prevent frost, or you can press plastic wrap directly onto the surface of the ice cream.) Put the container in the freezer. The ice cream will be fully firm in a few hours.
Note
Recommended equipment: (may include affiliate links)