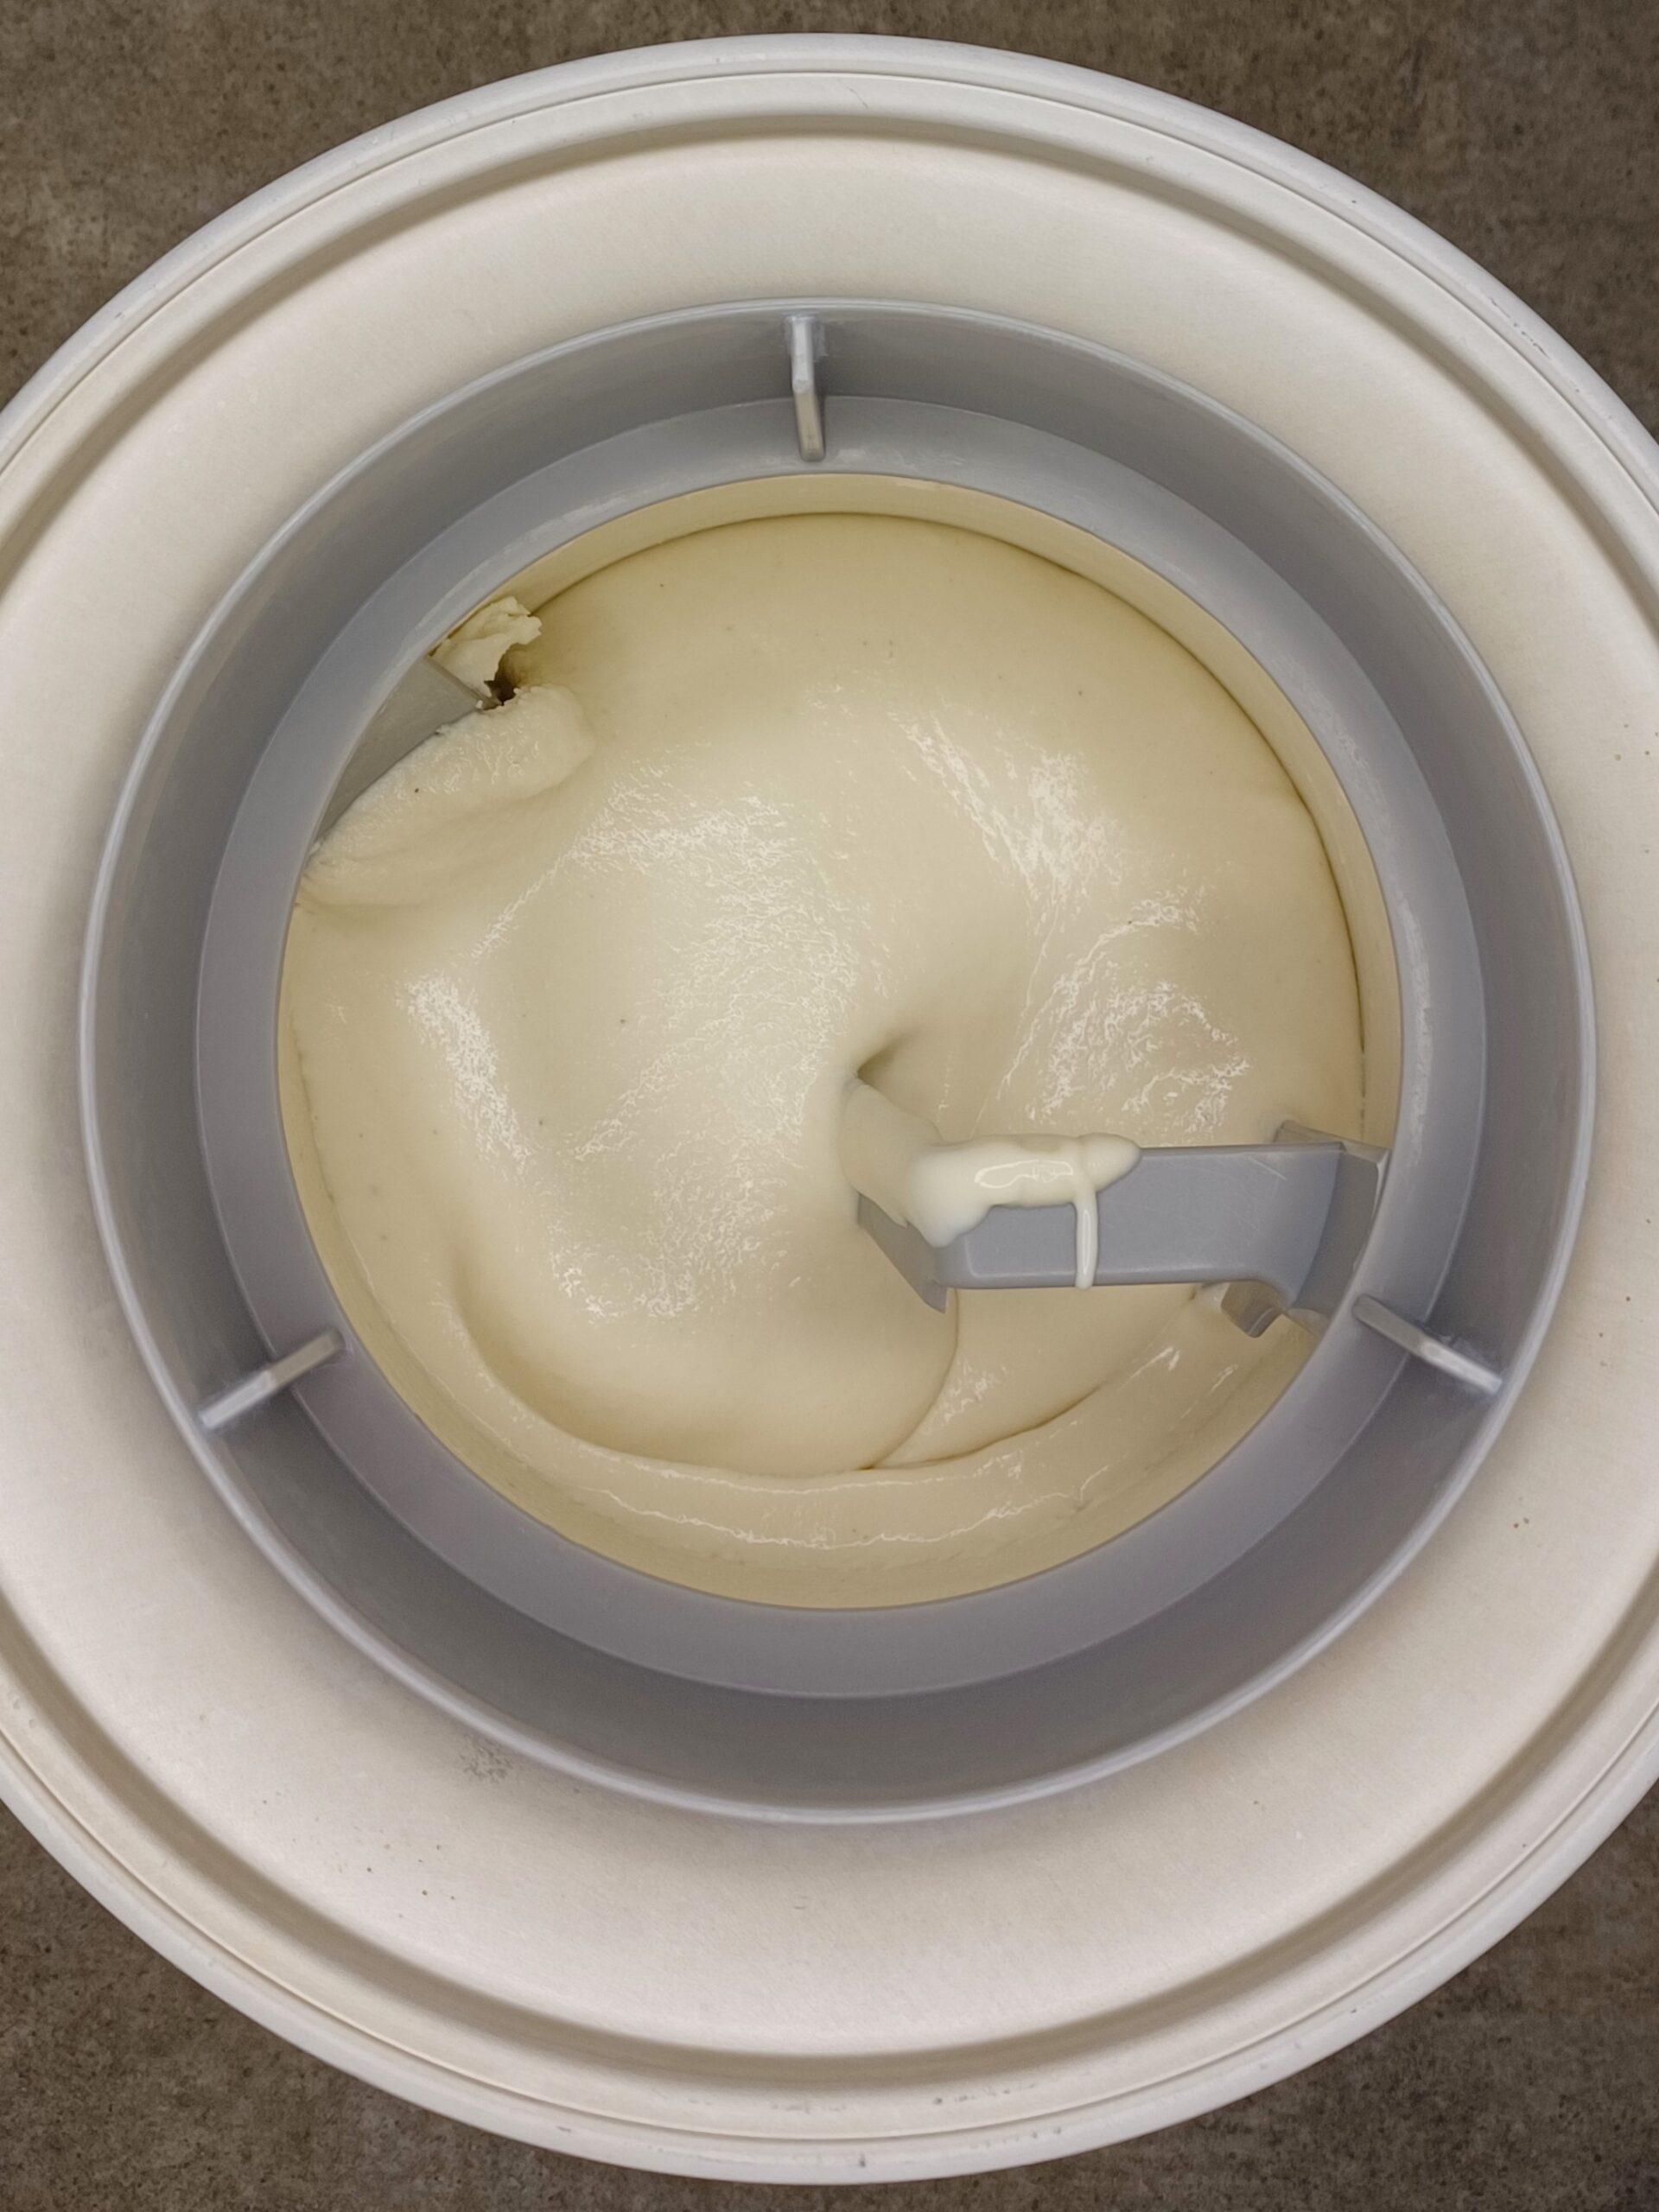
Last year I had my first experience with vegan cream cheese. I used it to make Pumpkin Cheesecake Ice Cream, and it worked so well that I’ve been thinking ever since about other ways to use it. (I use a vegan cream cheese based on cashew nuts, but you could also use regular cream cheese if you don’t mind dairy. More info at the link above.) I was also thinking about white chocolate ice cream, inspired by David Lebovitz’s recipe here. Then it suddenly occurred to me that they belonged together in White Chocolate Cheesecake Ice Cream.
I’m not a huge lover of either white chocolate or cheesecake, but I find this ice cream disturbingly addictive. It’s not too sweet, a bit tangy from the cream cheese, and has the most wonderful texture.
This recipe is very simple, but does require heating the ingredients to melt and incorporate the white chocolate. White chocolate needs gentle handling, so we heat the coconut milk and cream cheese over medium-low heat, before adding the chopped chocolate to melt. Make sure to buy a non-dairy or vegan white chocolate if you want to avoid the dairy, since white chocolate often has powdered milk added to it.
White Chocolate Cheesecake Ice Cream tastes amazing on its own, but also makes a great backdrop for other flavors. Try adding ginger (like the David Lebovitz recipe linked above), serving it with graham crackers or fresh berries, or topping it with a fruit or caramel sauce (link goes to my vegan version). I’ve been meaning to try this quick, 3-ingredient strawberry sauce from Serious Eats, which would pair well. Check the recipe notes below for more detailed mix-in and serving suggestions.
Most of my recipes contain protein powder in some form, because it helps to maintain a good texture while allowing me to use less sugar. (More details on that here.) White Chocolate Cheesecake Ice Cream doesn’t need the extra protein for textural purposes, but if you’d like to add protein powder, feel free. About a half a cup should work well and not affect the recipe significantly.
You can really get creative with this one, so let me know what fantastic pairings you come up with!
White Chocolate Cheesecake Ice Cream (vegan)
Makes ~1 quart
Ingredients
Instructions
-
HEAT THE COCONUT MILK AND CREAM CHEESE
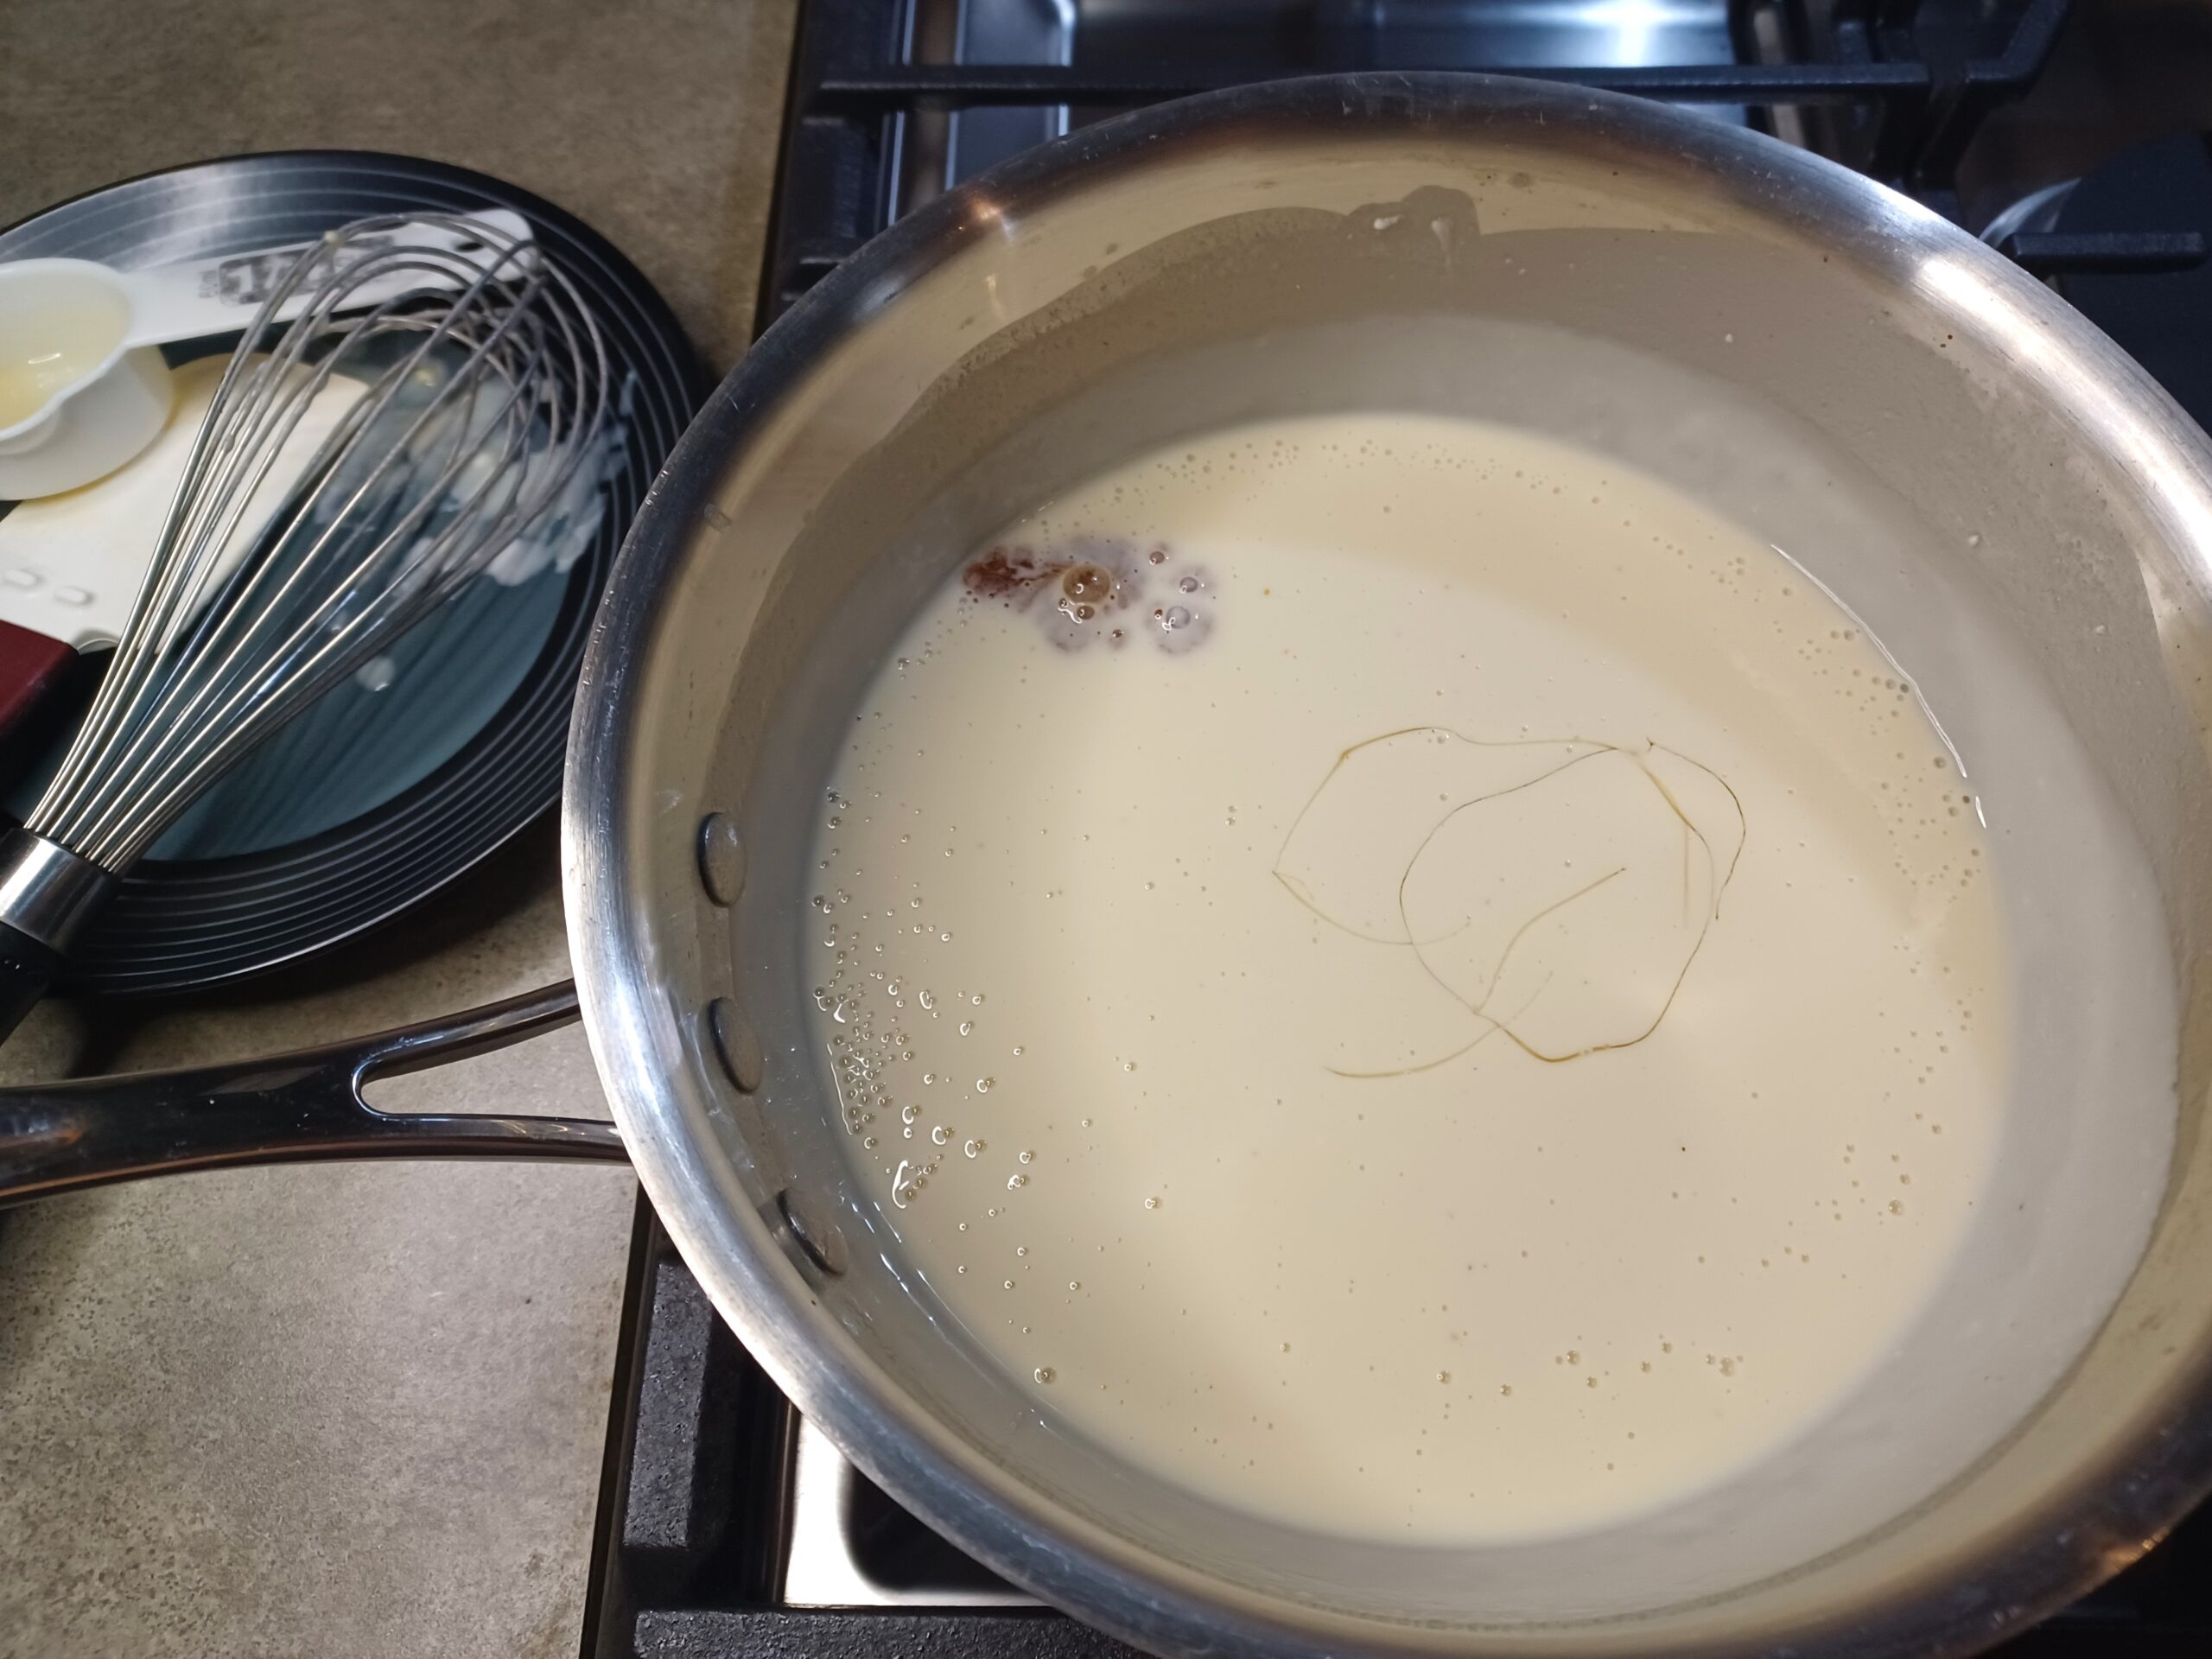
Place the coconut milk, cream cheese, and salt in a pan on the stove set to medium-low heat. Whisk to combine.
-
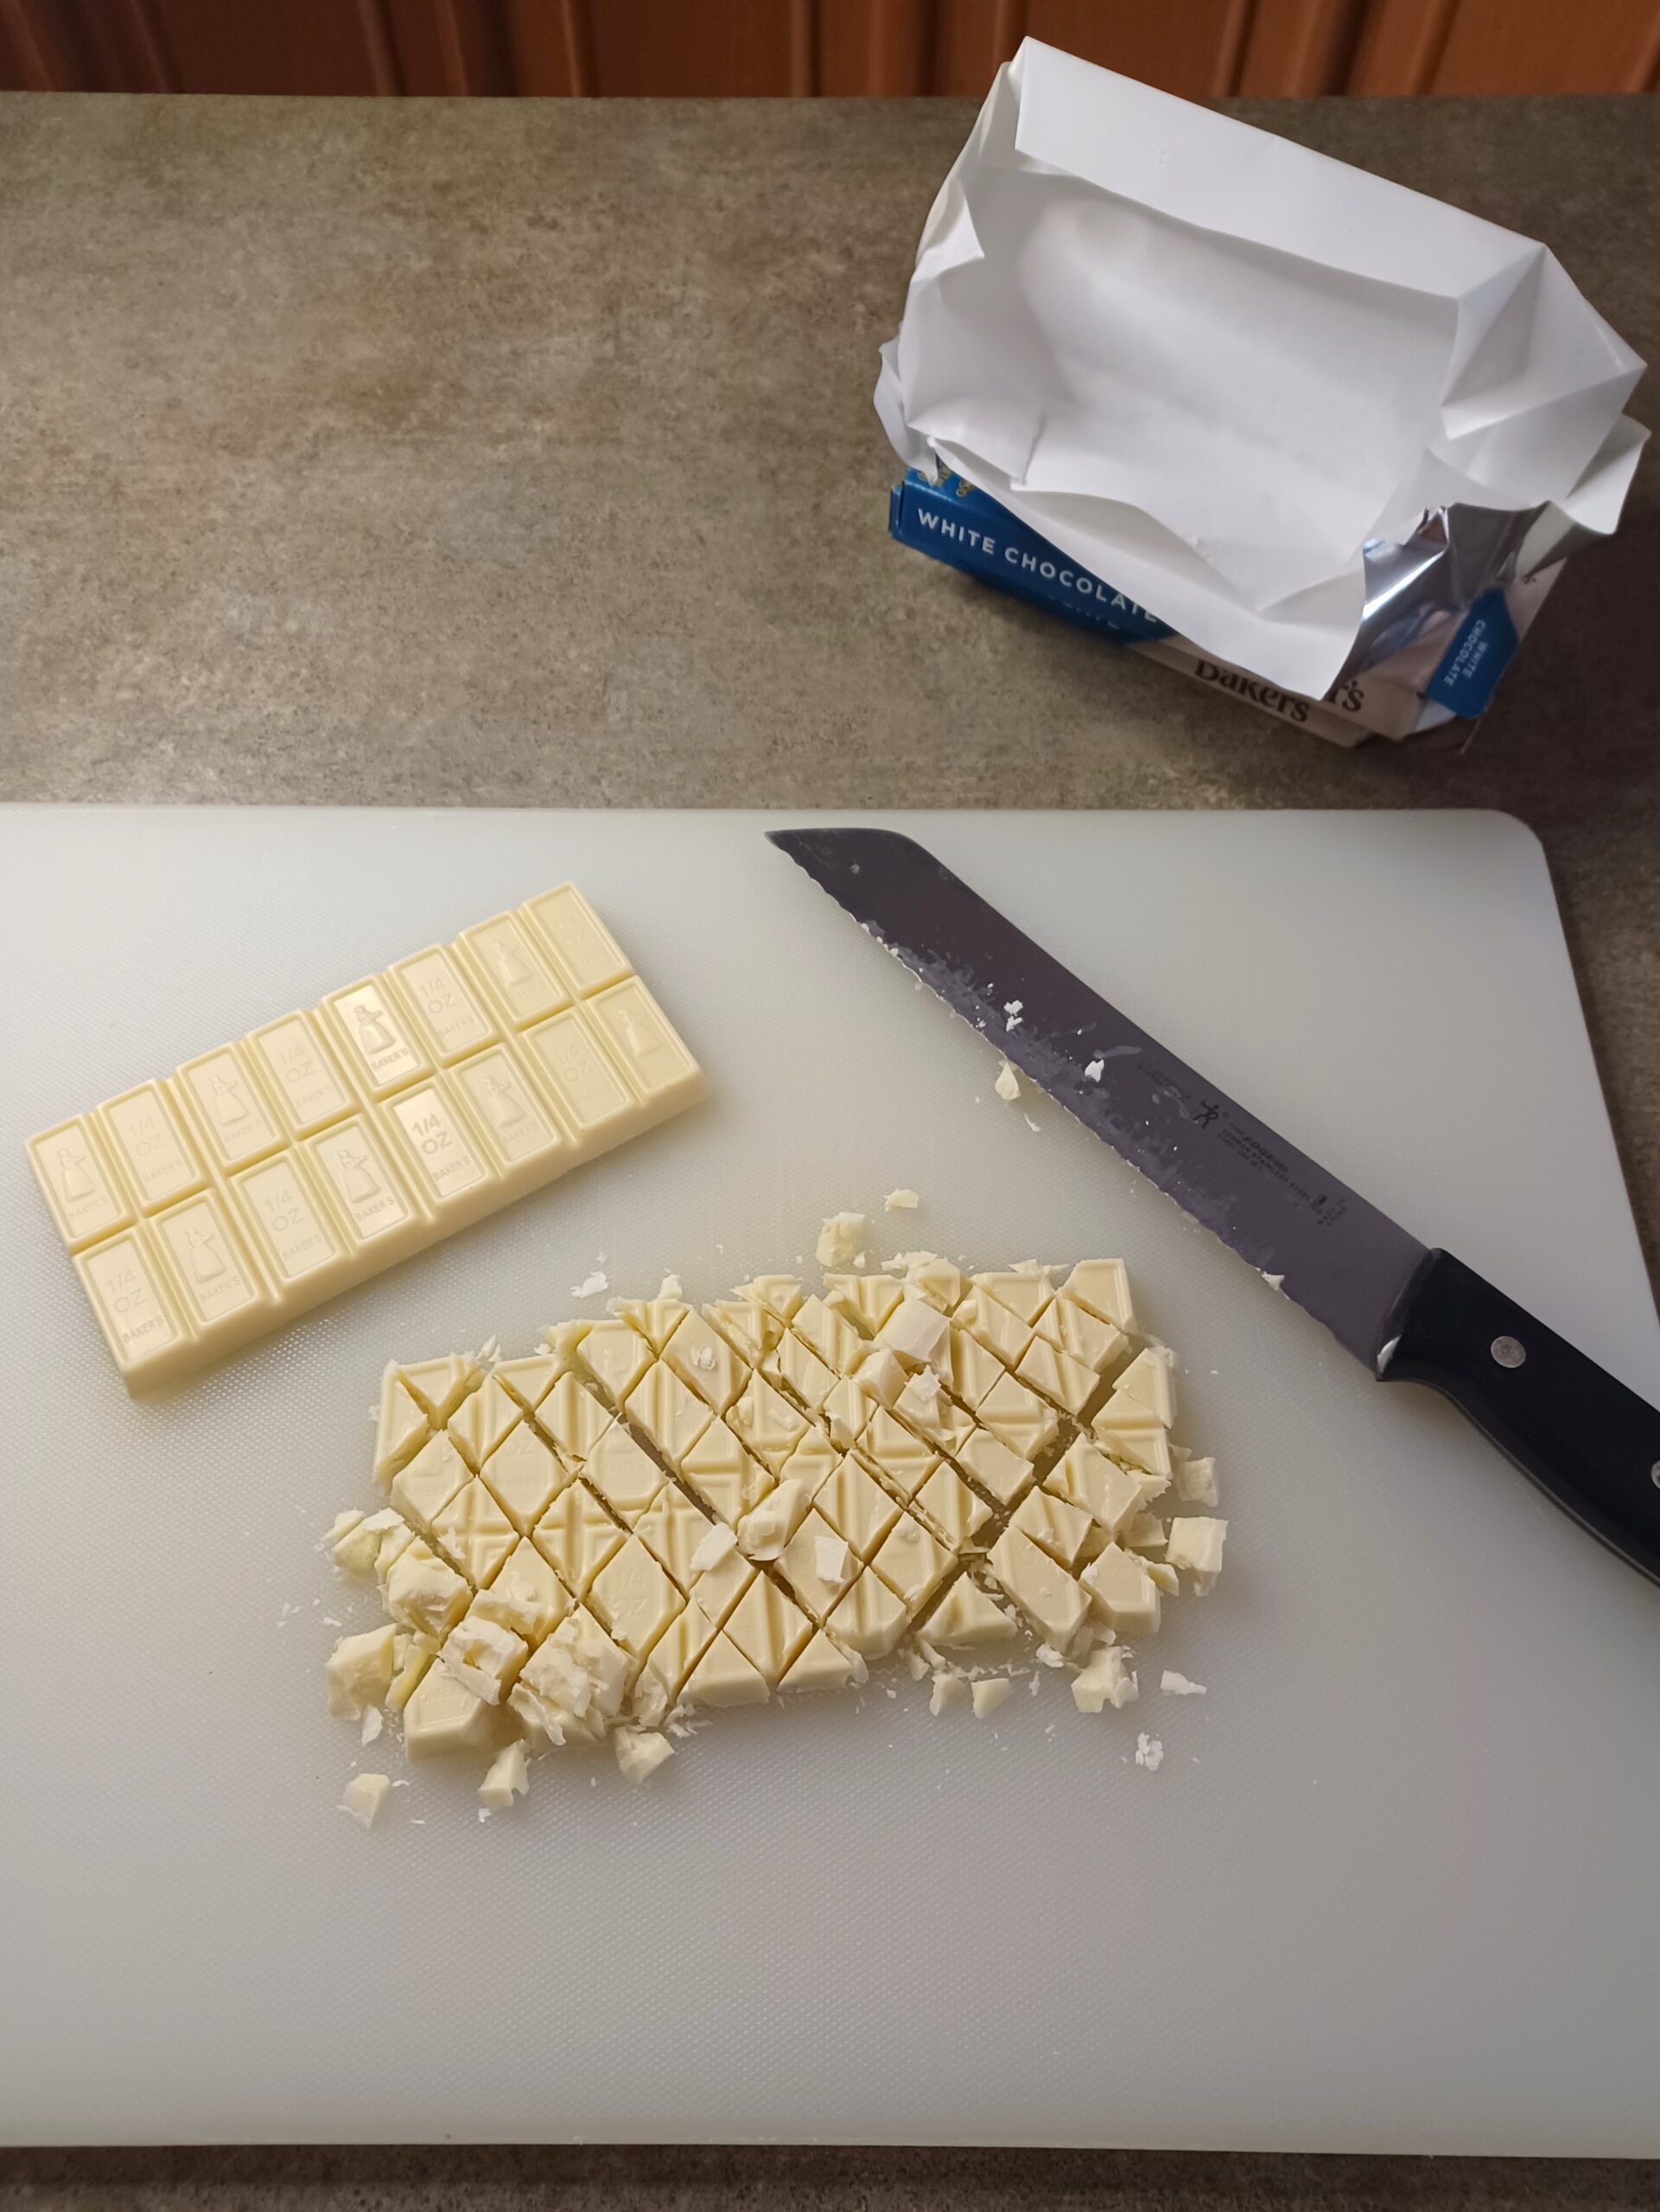
CHOP THE WHITE CHOCOLATE
If your chocolate already comes in pieces, skip this step. Otherwise, chop your chocolate bar into smaller pieces so they will melt quickly and evenly.
-
ADD WHITE CHOCOLATE TO HEATED COCONUT MILK MIXTURE
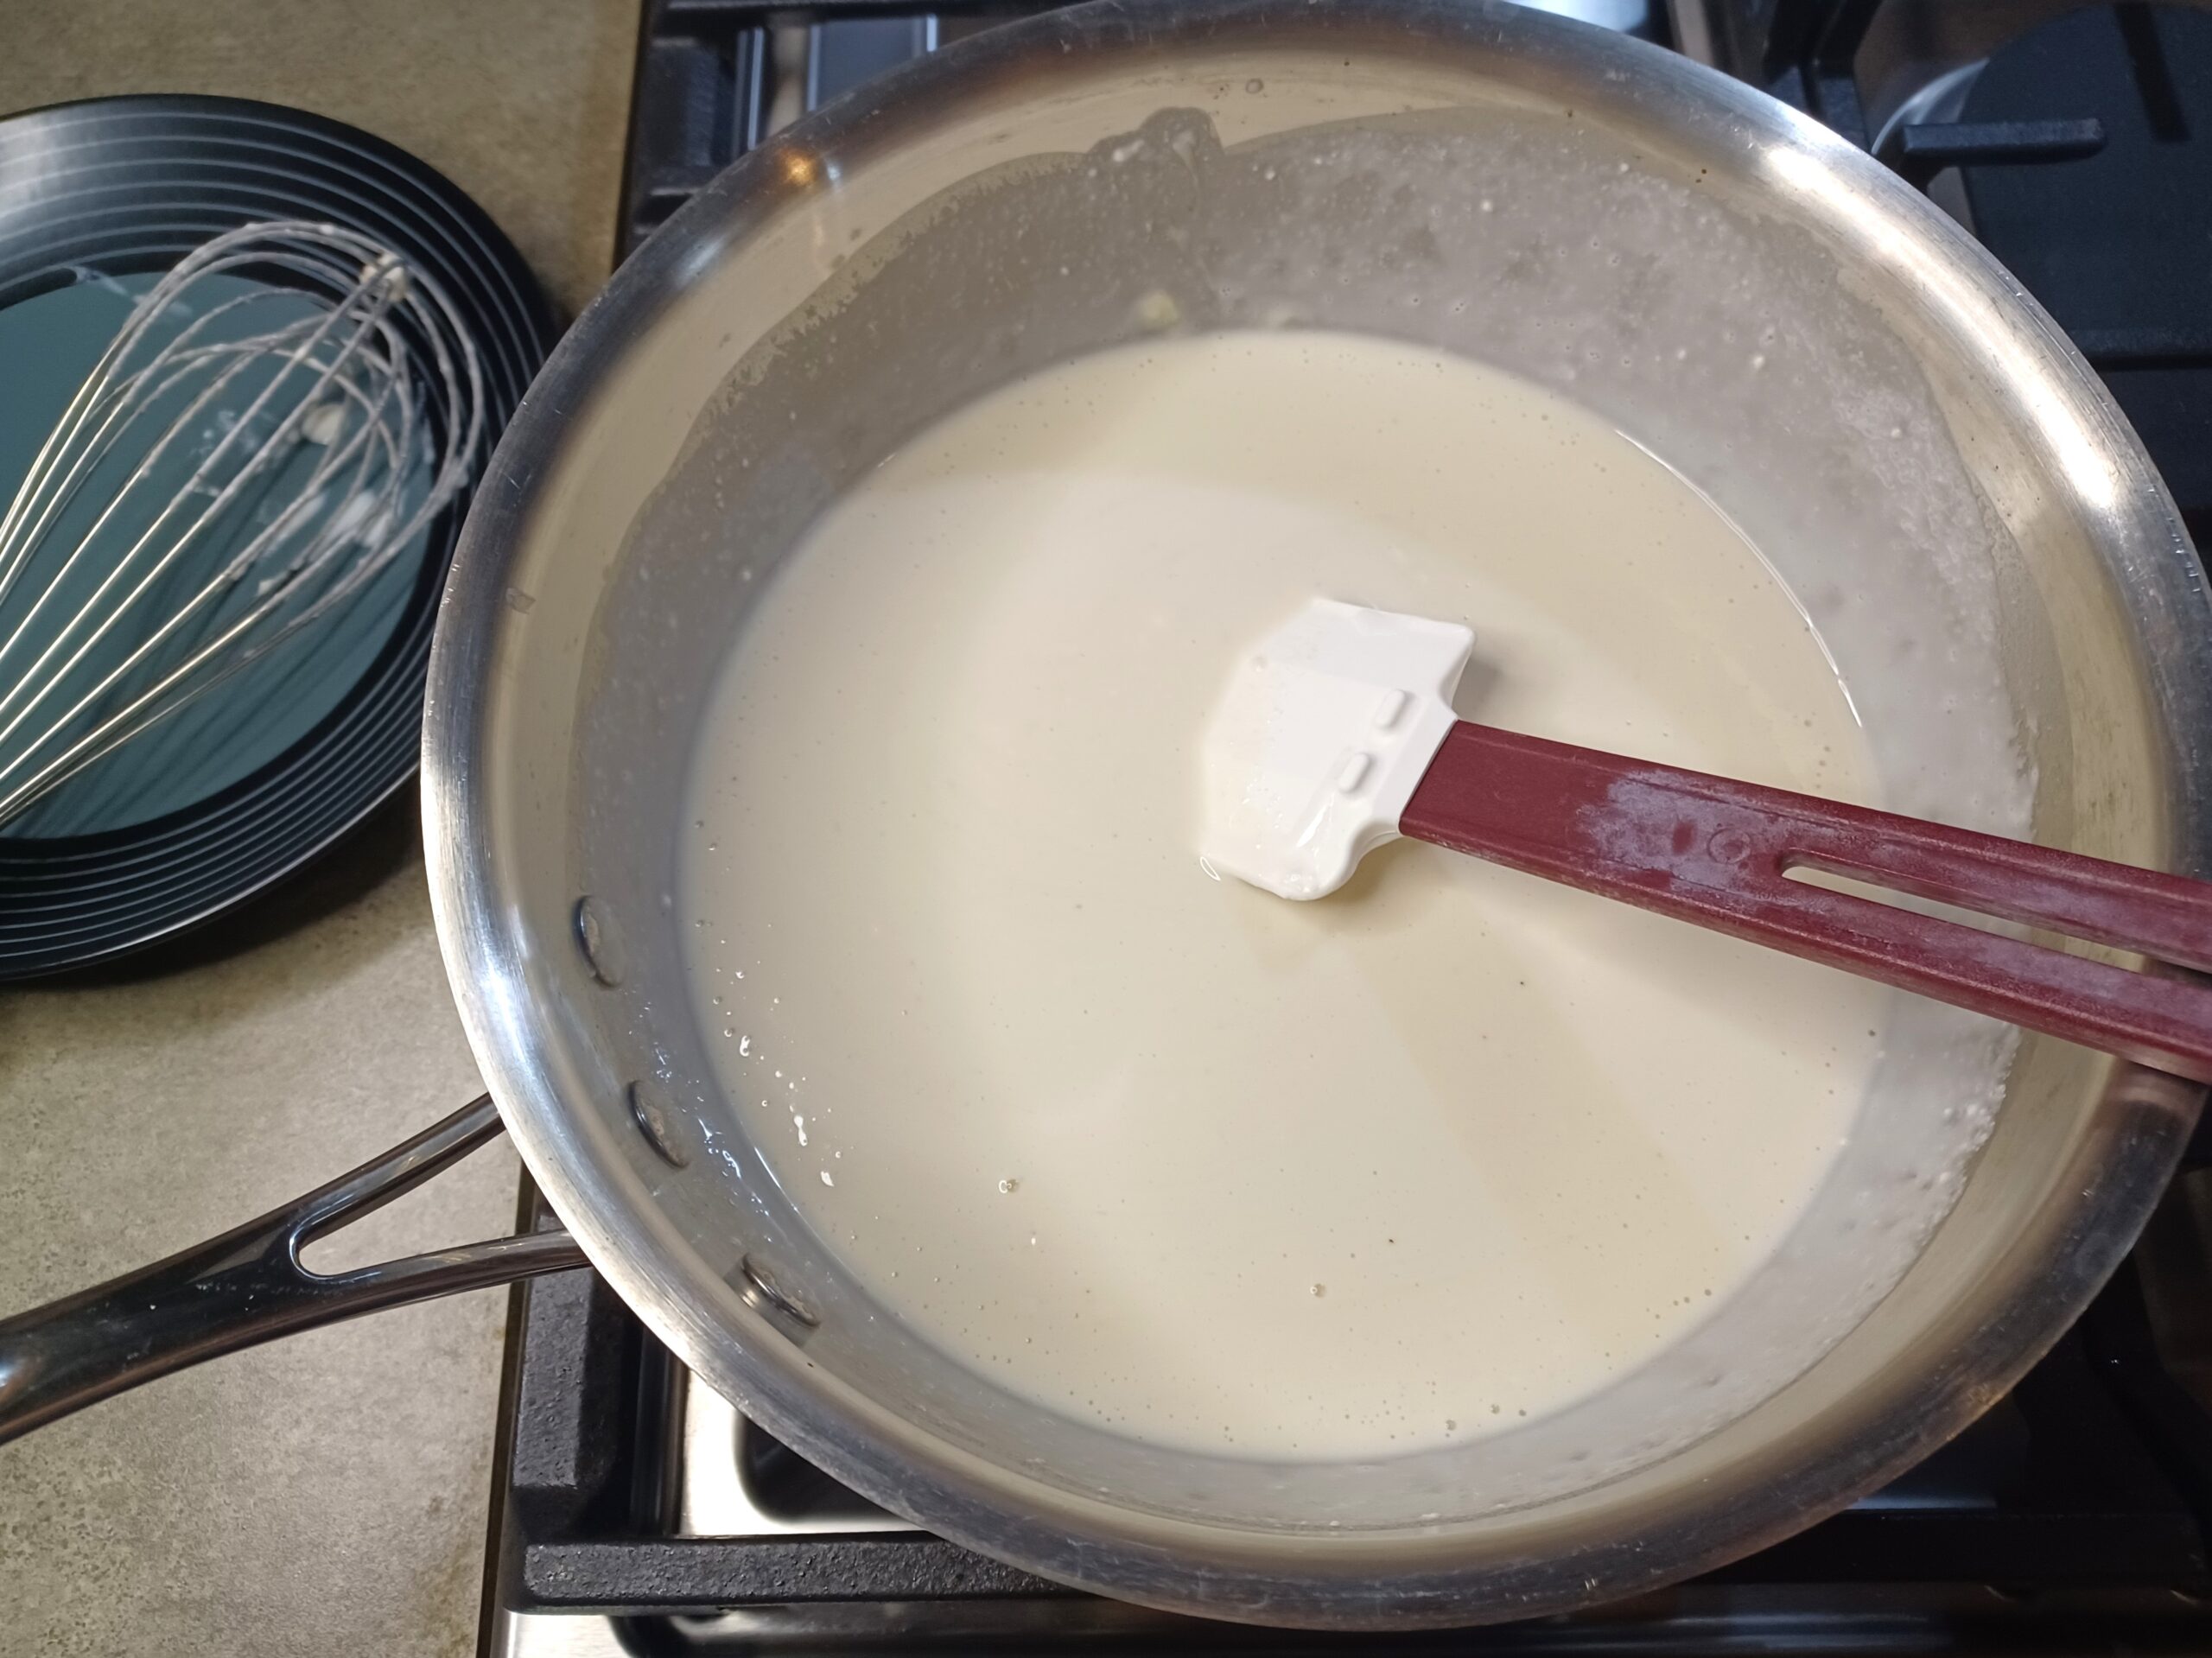
Add the white chocolate to the heated coconut milk mixture and stir almost constantly until the chocolate melts. White chocolate needs to be melted very gently, so you may need to turn your stove down from medium-low to low as the chocolate melts.
-
ADD REMAINING INGREDIENTS
When the white chocolate has melted, turn off the heat and add in the remaining ingredients -- agave syrup, vanilla, and xanthan gum (if using). Whisk to combine. Allow the mixture to cool almost to room temperature.
-
CHILL
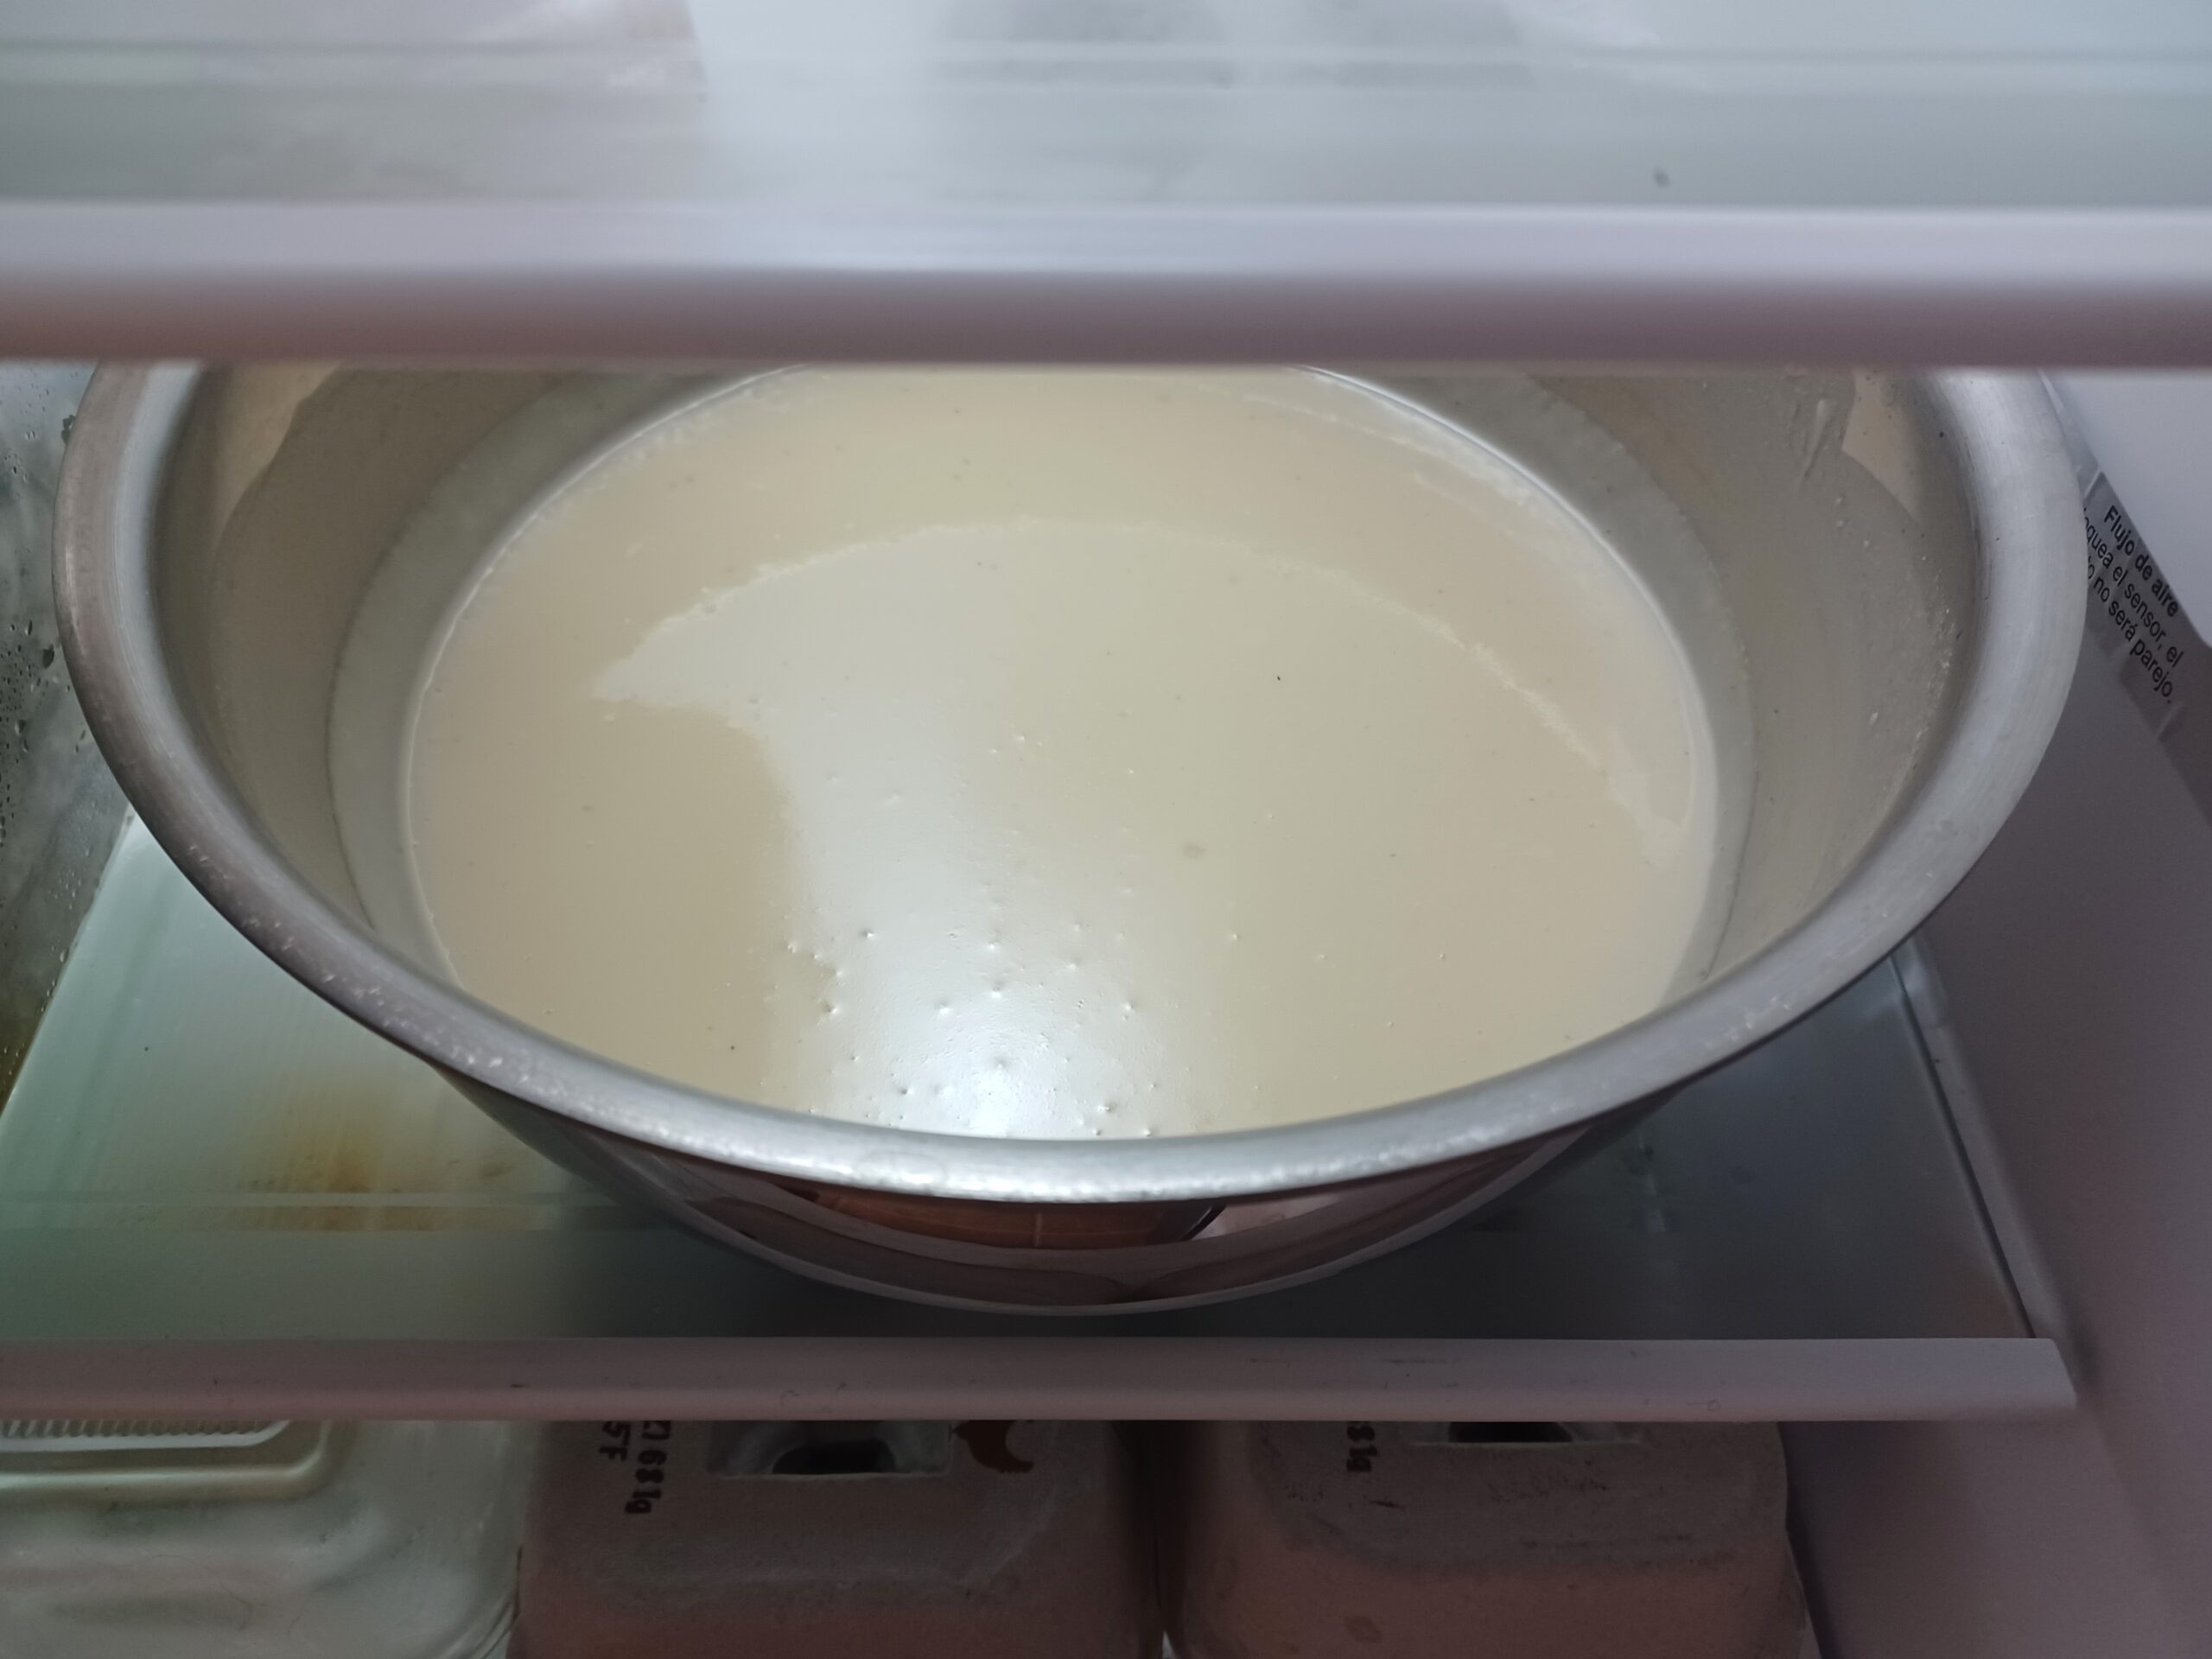
Transfer to a container (or leave in the pan) and chill in the fridge for 8 hours or overnight.
For a quicker chilling time, place the bowl containing your mixture in an ice bath (a larger bowl containing ice water) for a few hours. Stir the mixture occasionally. As the water in the ice bath warms up, pour off some water and add ice to keep the mixture chilling as quickly as possible.
Ideally, the mixture will be about 40 degrees when you churn it.
When fully chilled, the mixture will be quite thick, because of the white chocolate and cream cheese.
-
CHURN
Before you start churning, set up everything you'll need to quickly transfer the ice cream from the machine into a container for freezing. I use a knife to scrape down the dasher (or paddle) and a wooden spoon to scoop out the ice cream.
Set up your ice cream maker according to the manufacturer's directions. Pour your mixture into the ice cream maker and churn. Because this mixture is very thick, it churns more quickly than most. In my machine the perfect churning time is 9 minutes, but your experience may vary.
The ice cream is ready when it has the consistency of soft serve and has started pulling away from the edge of the canister.
-
STORE
When the ice cream has finished churning, scoop it as quickly as possible into your storage container. Cover it with plastic wrap or parchment paper, if using. (Placing a sheet of parchment paper between the container and lid will help prevent frost, or you can press plastic wrap directly onto the surface of the ice cream.) Put the container in the freezer. The ice cream will be fully firm in a few hours.
Note
Flavor variations:
- Ginger -- Add 2 teaspoons of fresh grated ginger to the base when you add the vanilla.
- Boozy -- Add 2 tablespoons of whiskey or dark rum to the base when you add the vanilla.
Suggested toppings/accompaniments:
- Candied ginger
- Ginger snaps
- Graham crackers
- Chocolate sauce
- Caramel
- Berries (fresh are better for a topping, but dried are better for a mix-in)
To create a mix-in, wait until the last minute of churning to add it to the ice cream maker. Adding the bits too early will mean they sink to the bottom. Alternatively, you can layer and swirl them into the ice cream as you transfer it to your storage container. I like using 1/2 to 3/4 cups (~2-3 oz). It's usually enough to get a little mix-in in every bite of ice cream.
Recommended equipment: (may include affiliate links)
- My ice cream maker (2 qt)
- Newer version of my ice cream maker (2 qt)
- Well-reviewed less expensive ice cream maker (1.5 qt)
- Insulated ice cream container
- Heat-proof spatula
- Immersion/hand blender
- Standard blender
- Ice cream scoop
- Measuring cups
Recommended ingredients (may contain affiliate links):

